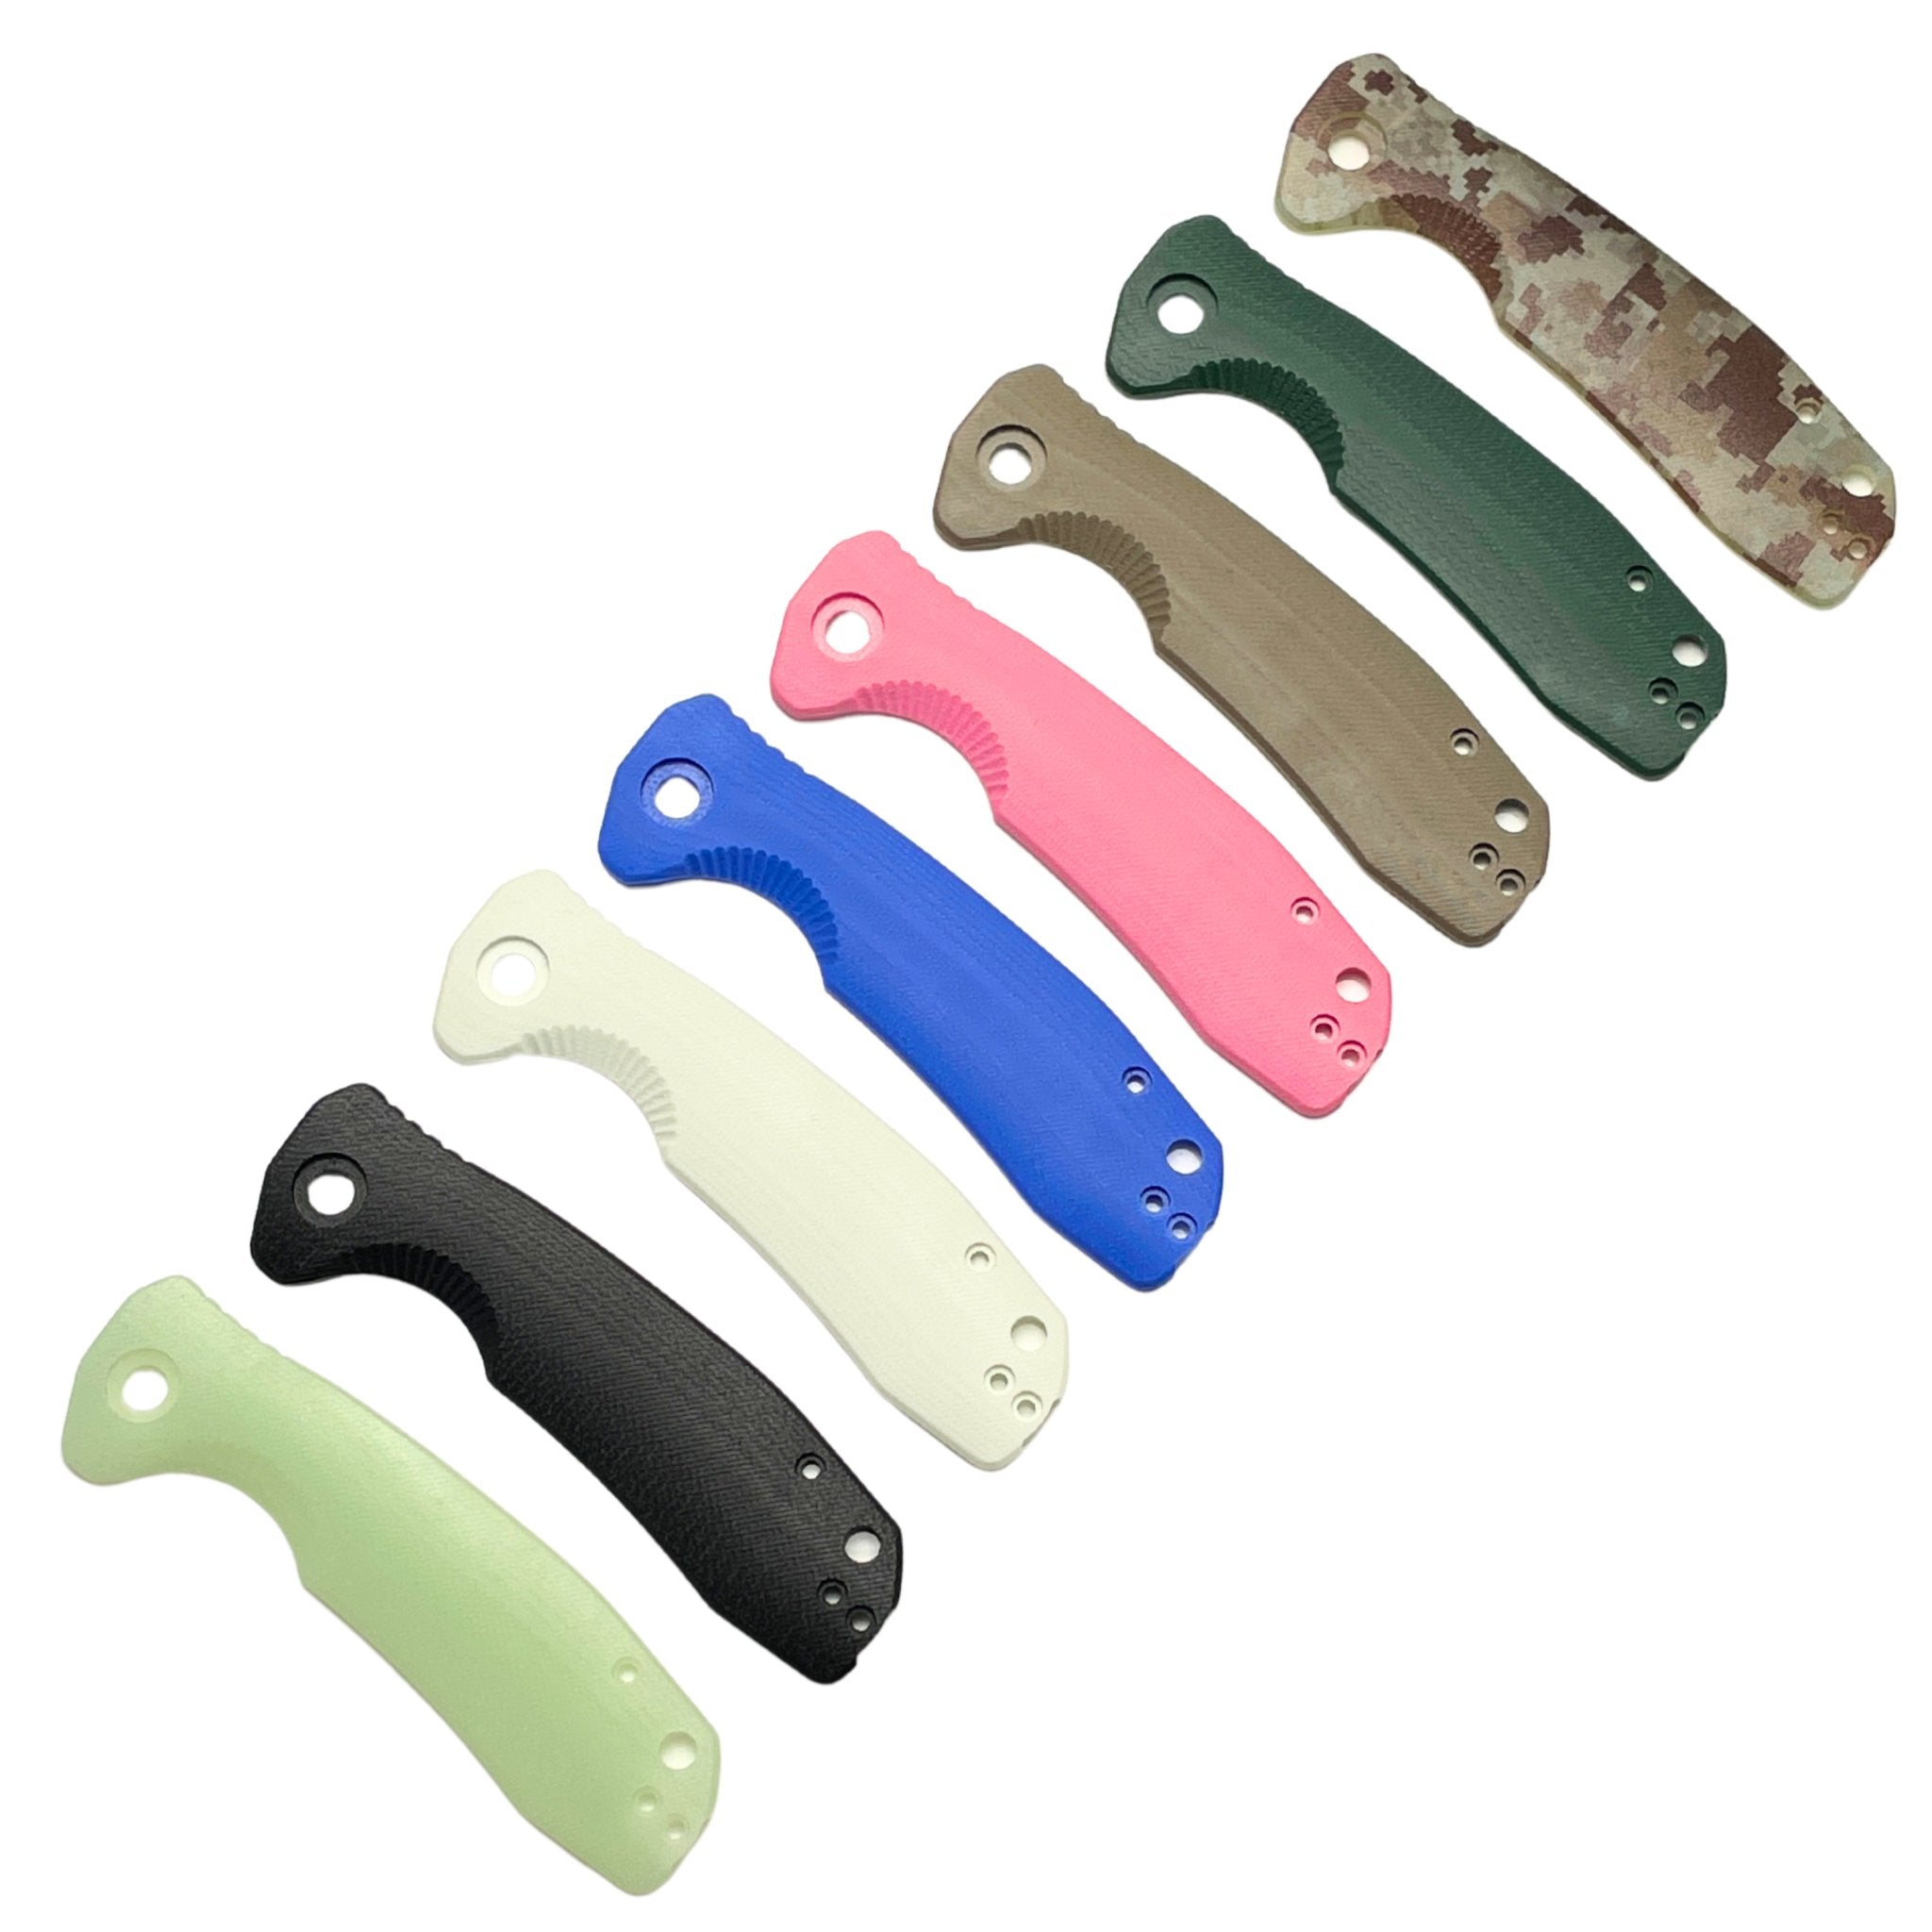
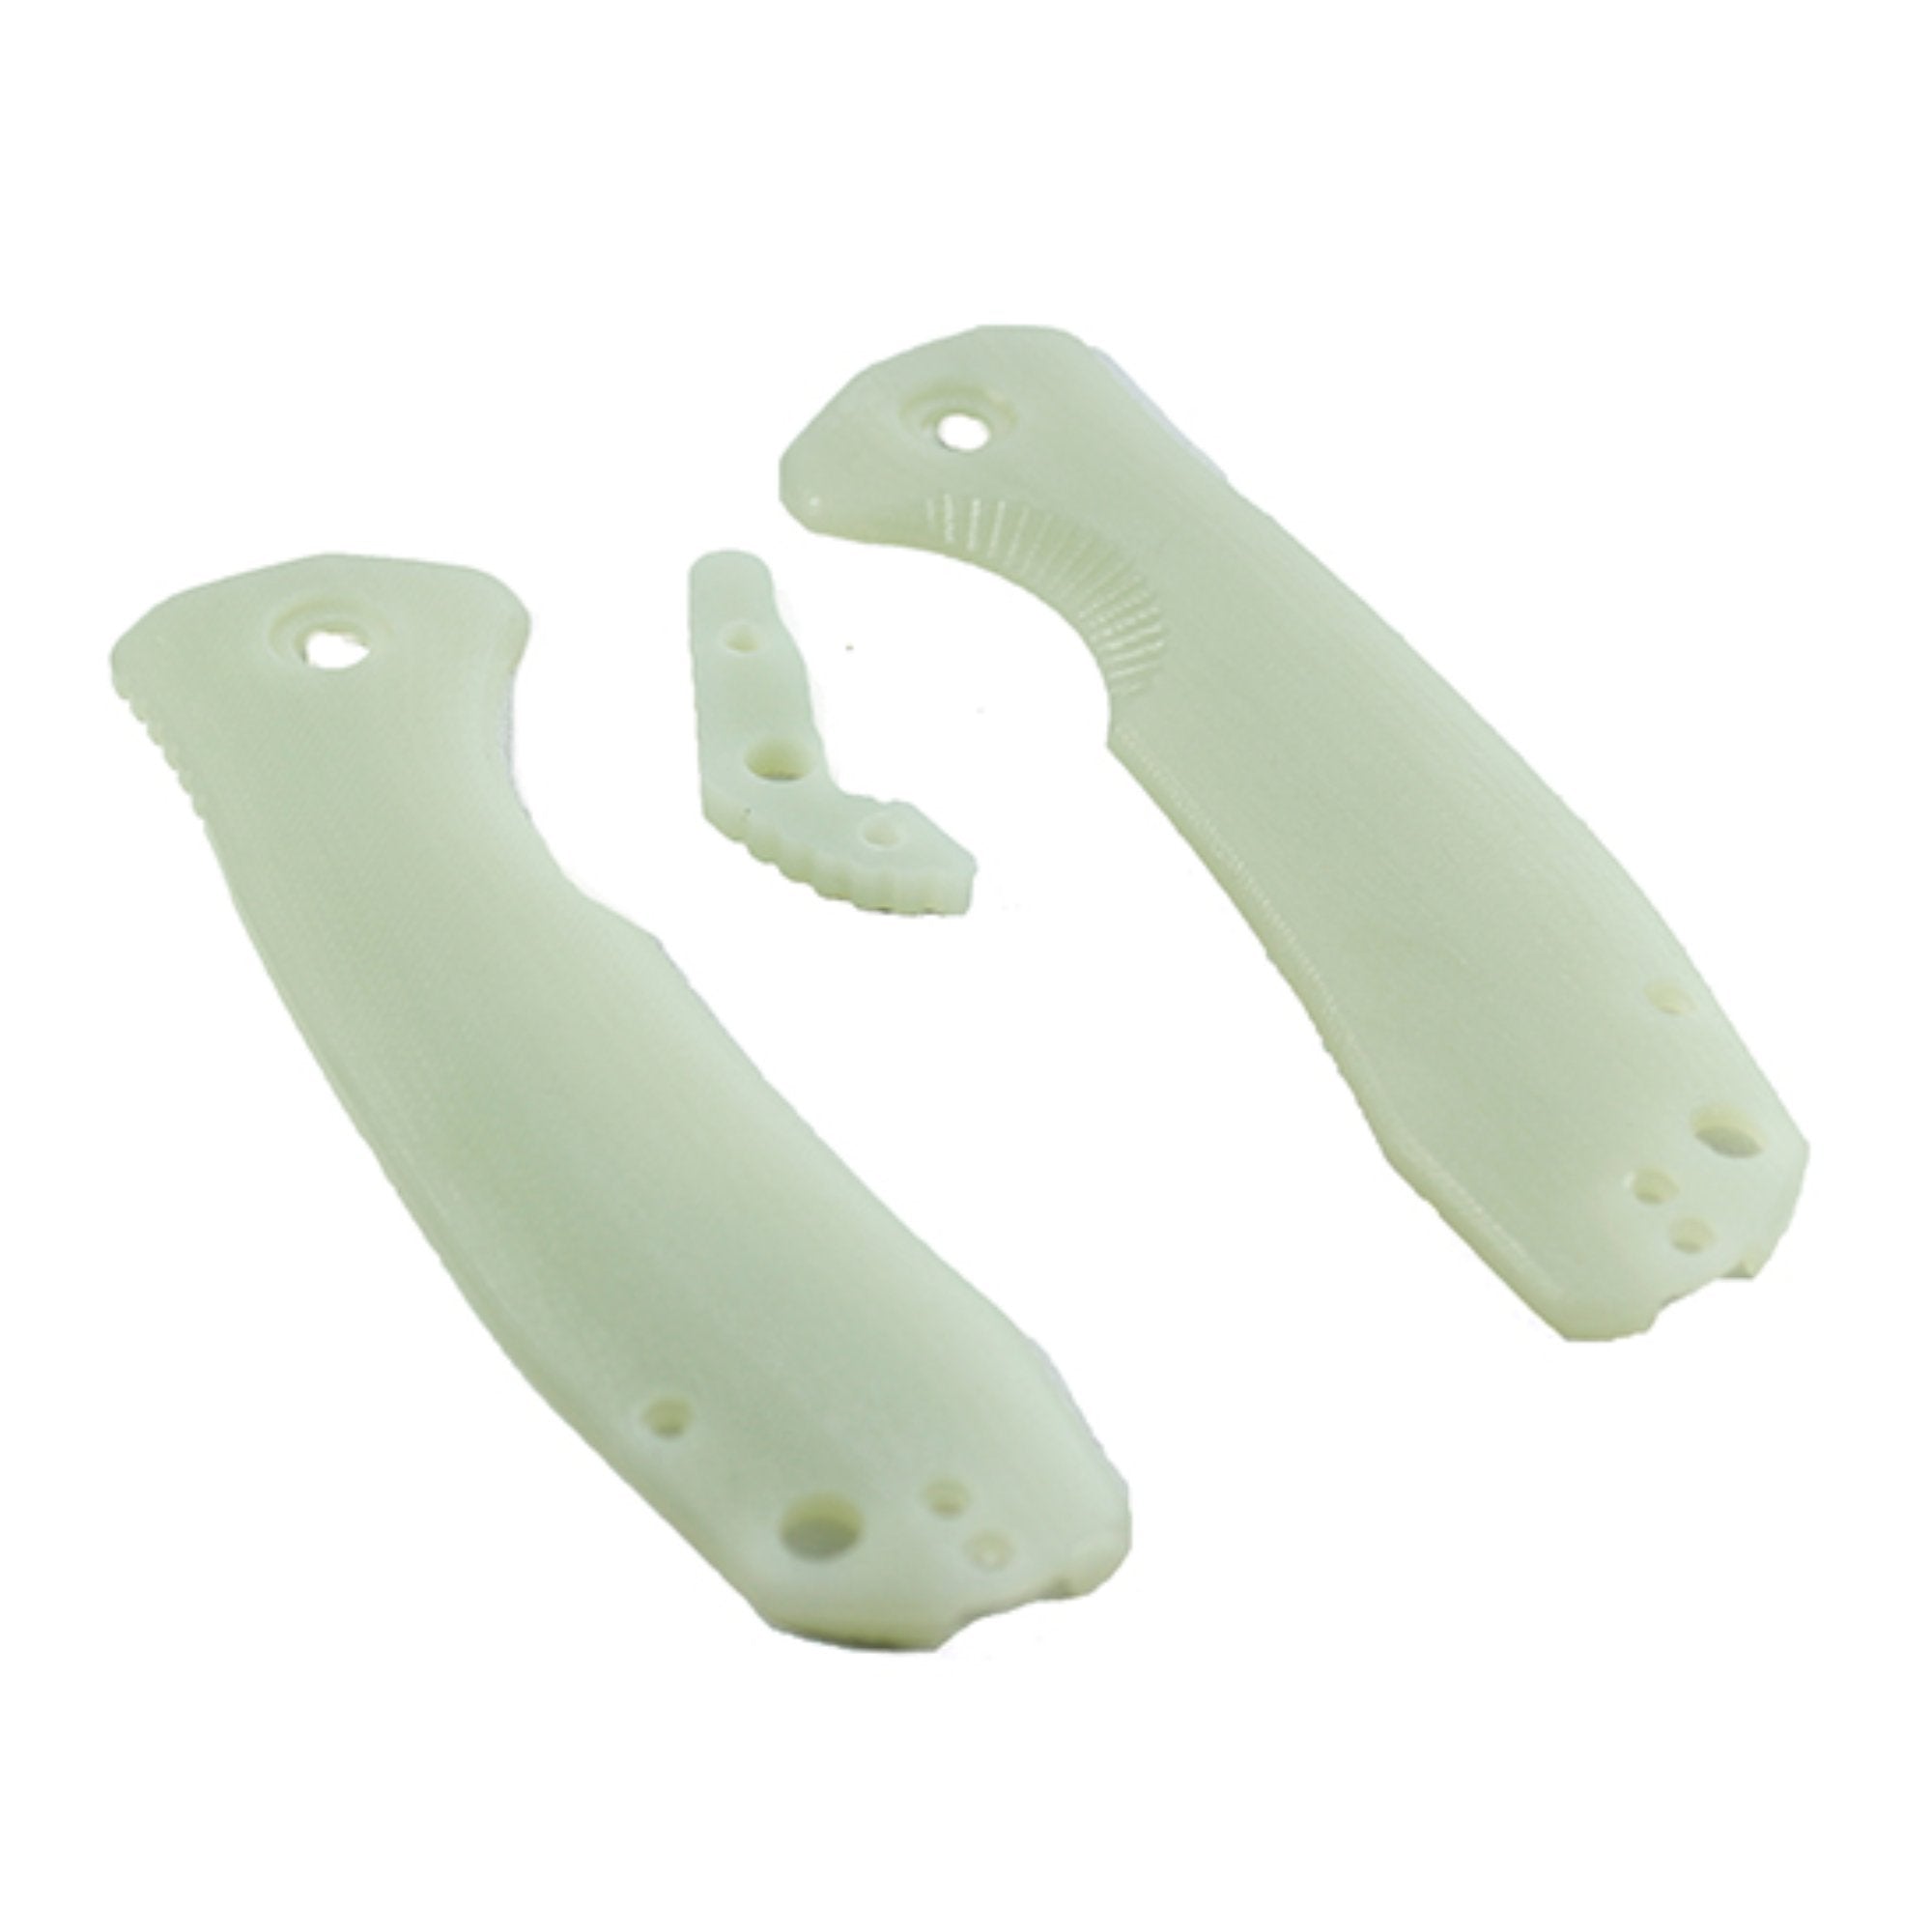
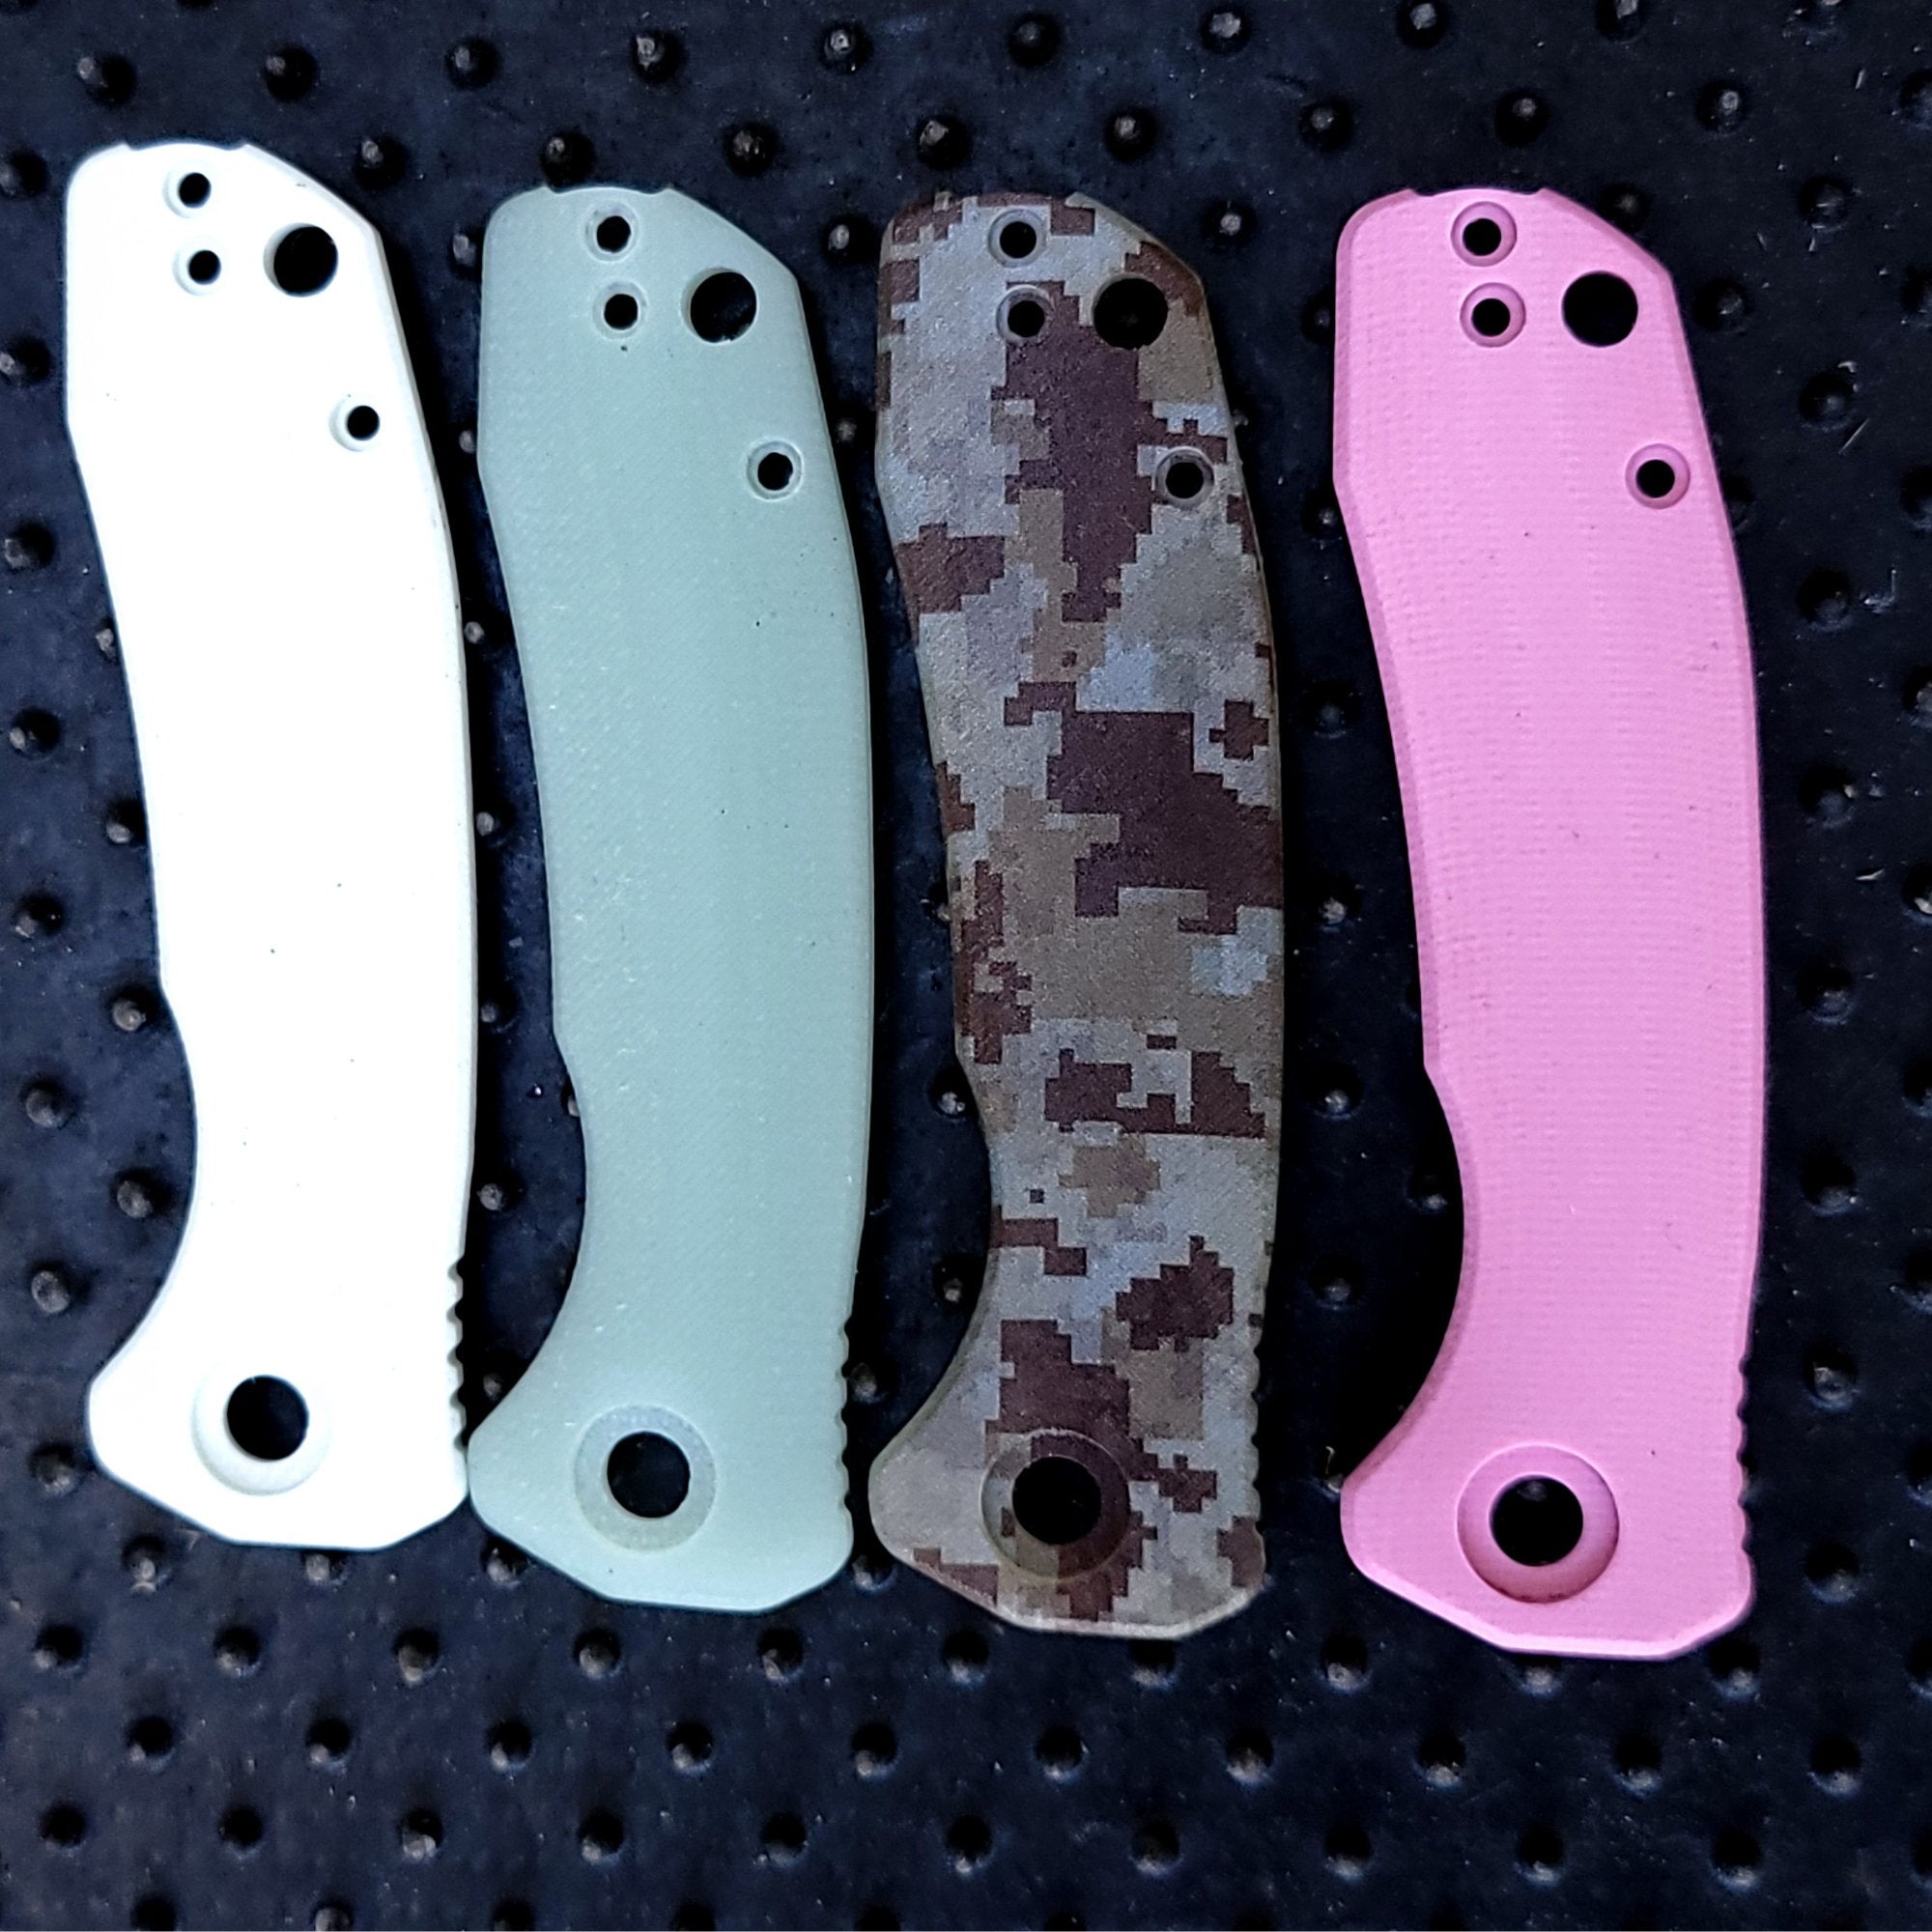
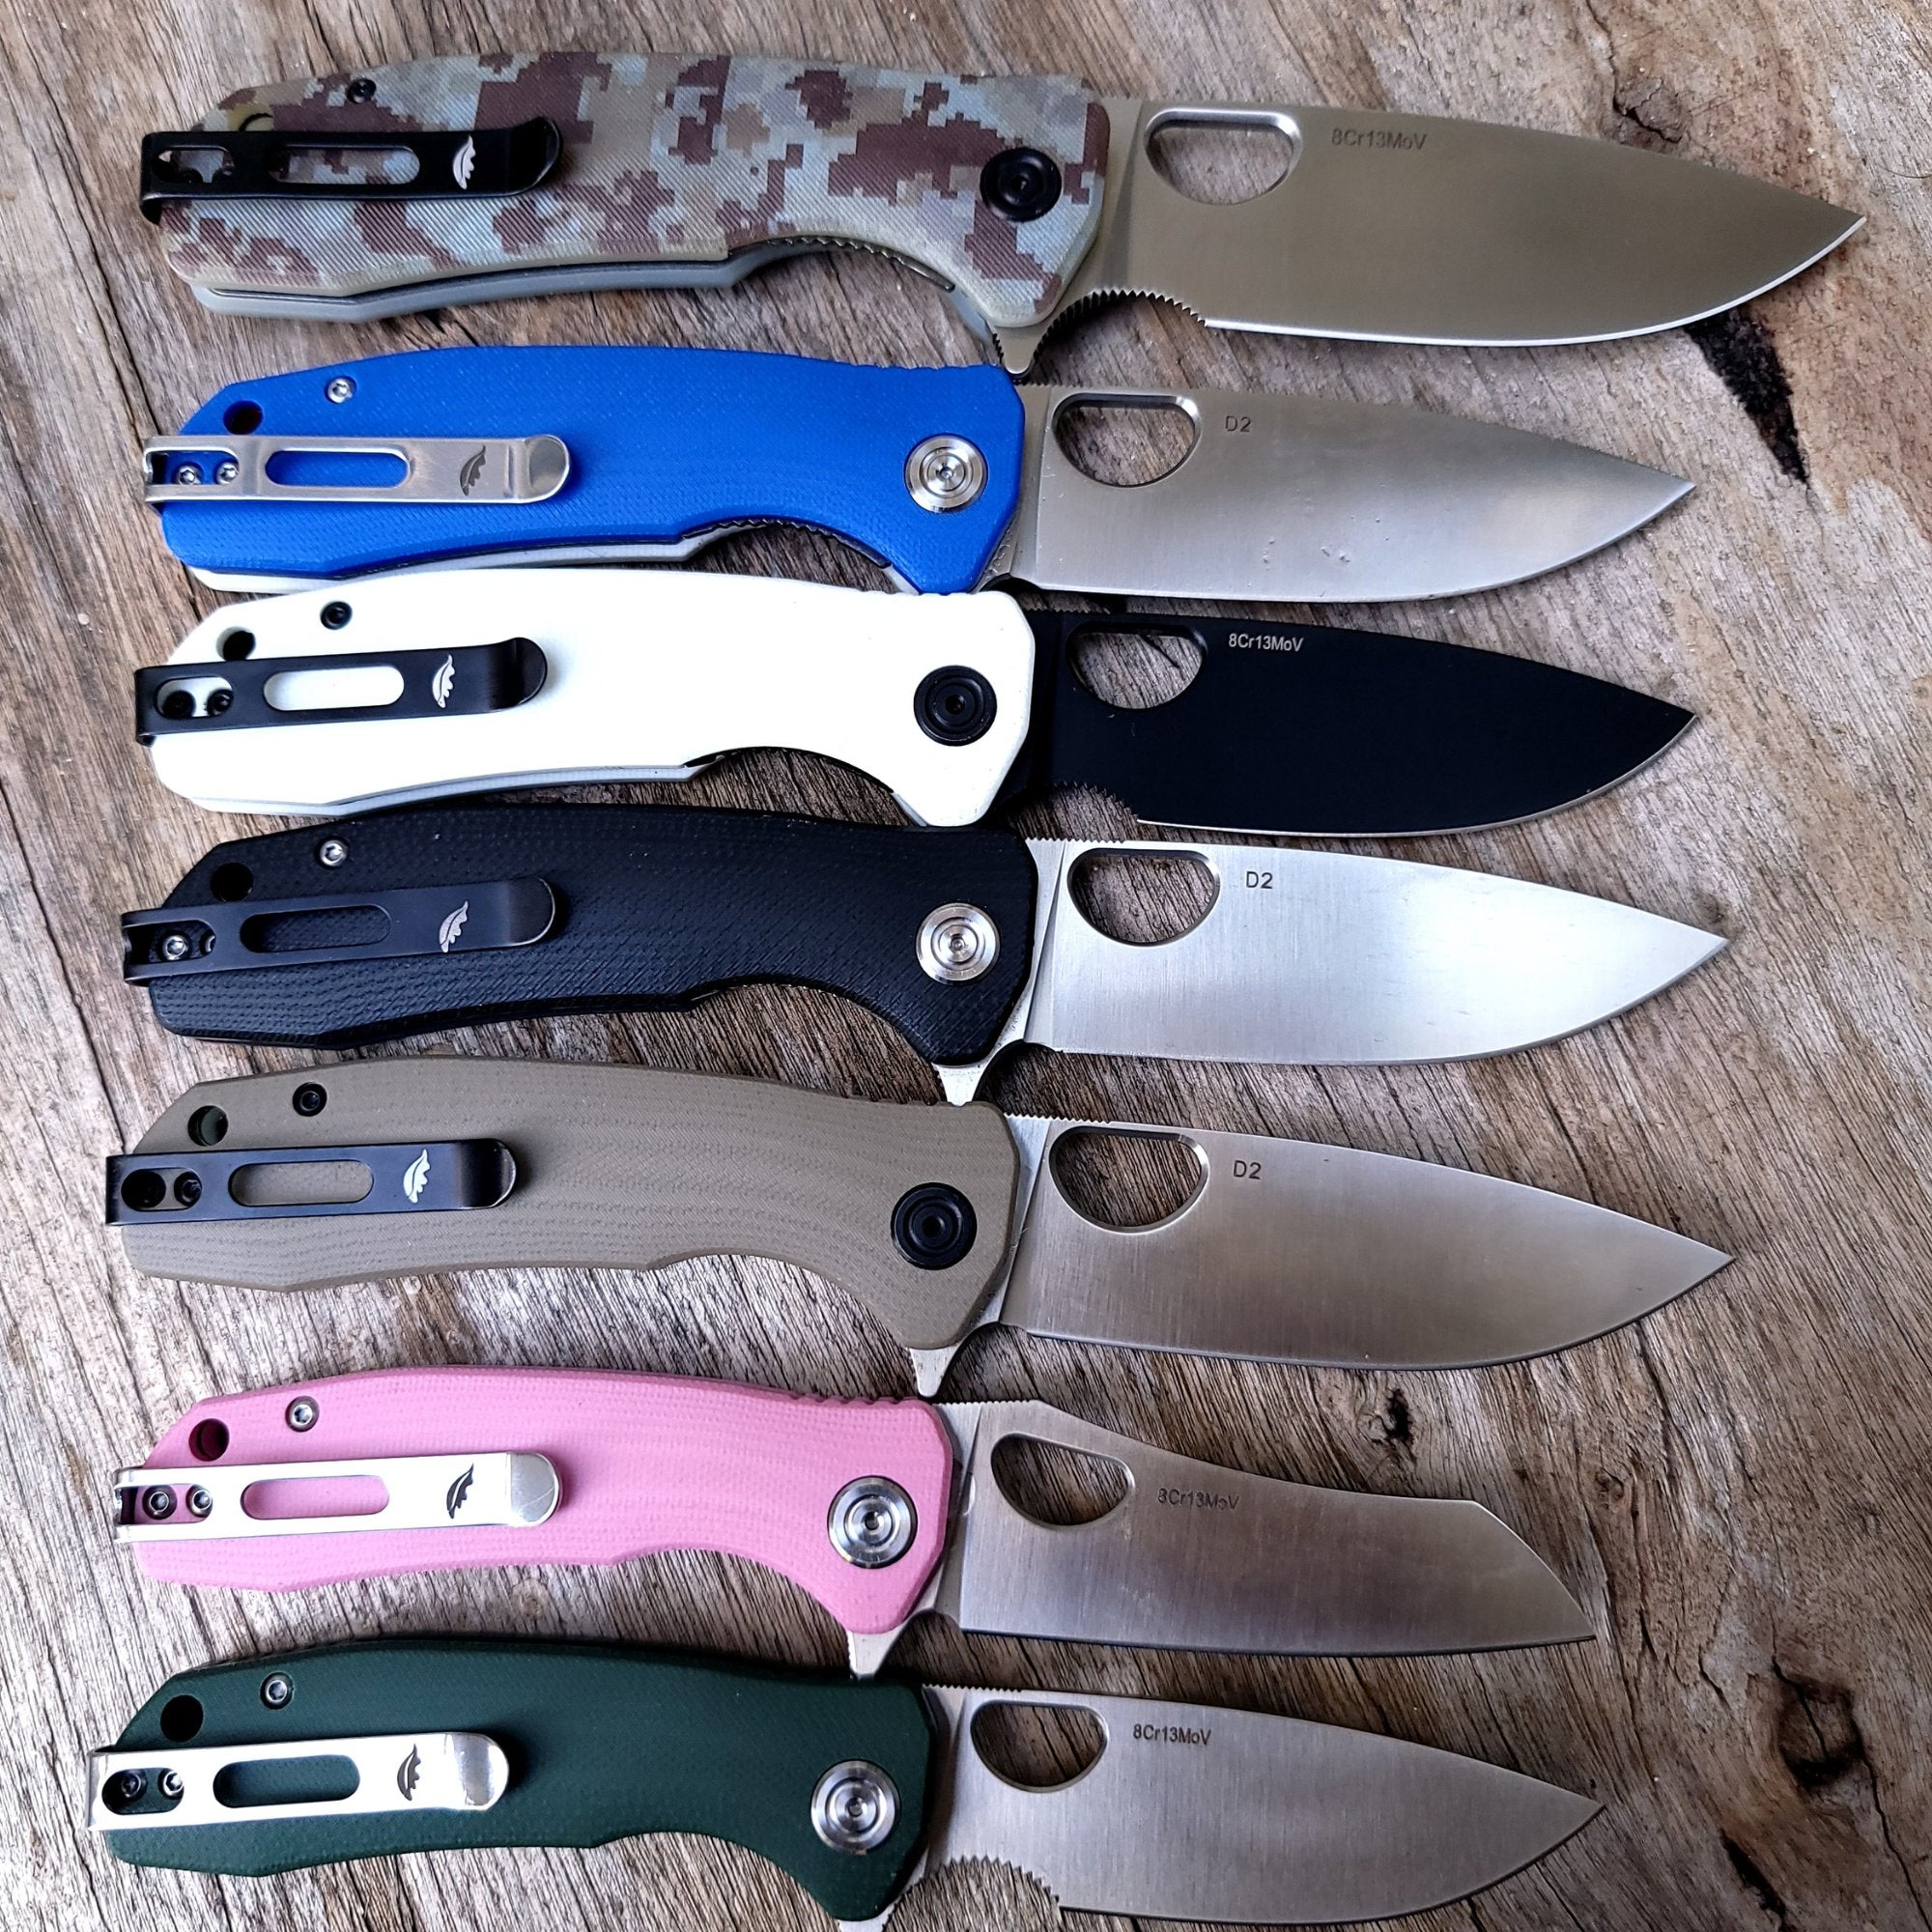
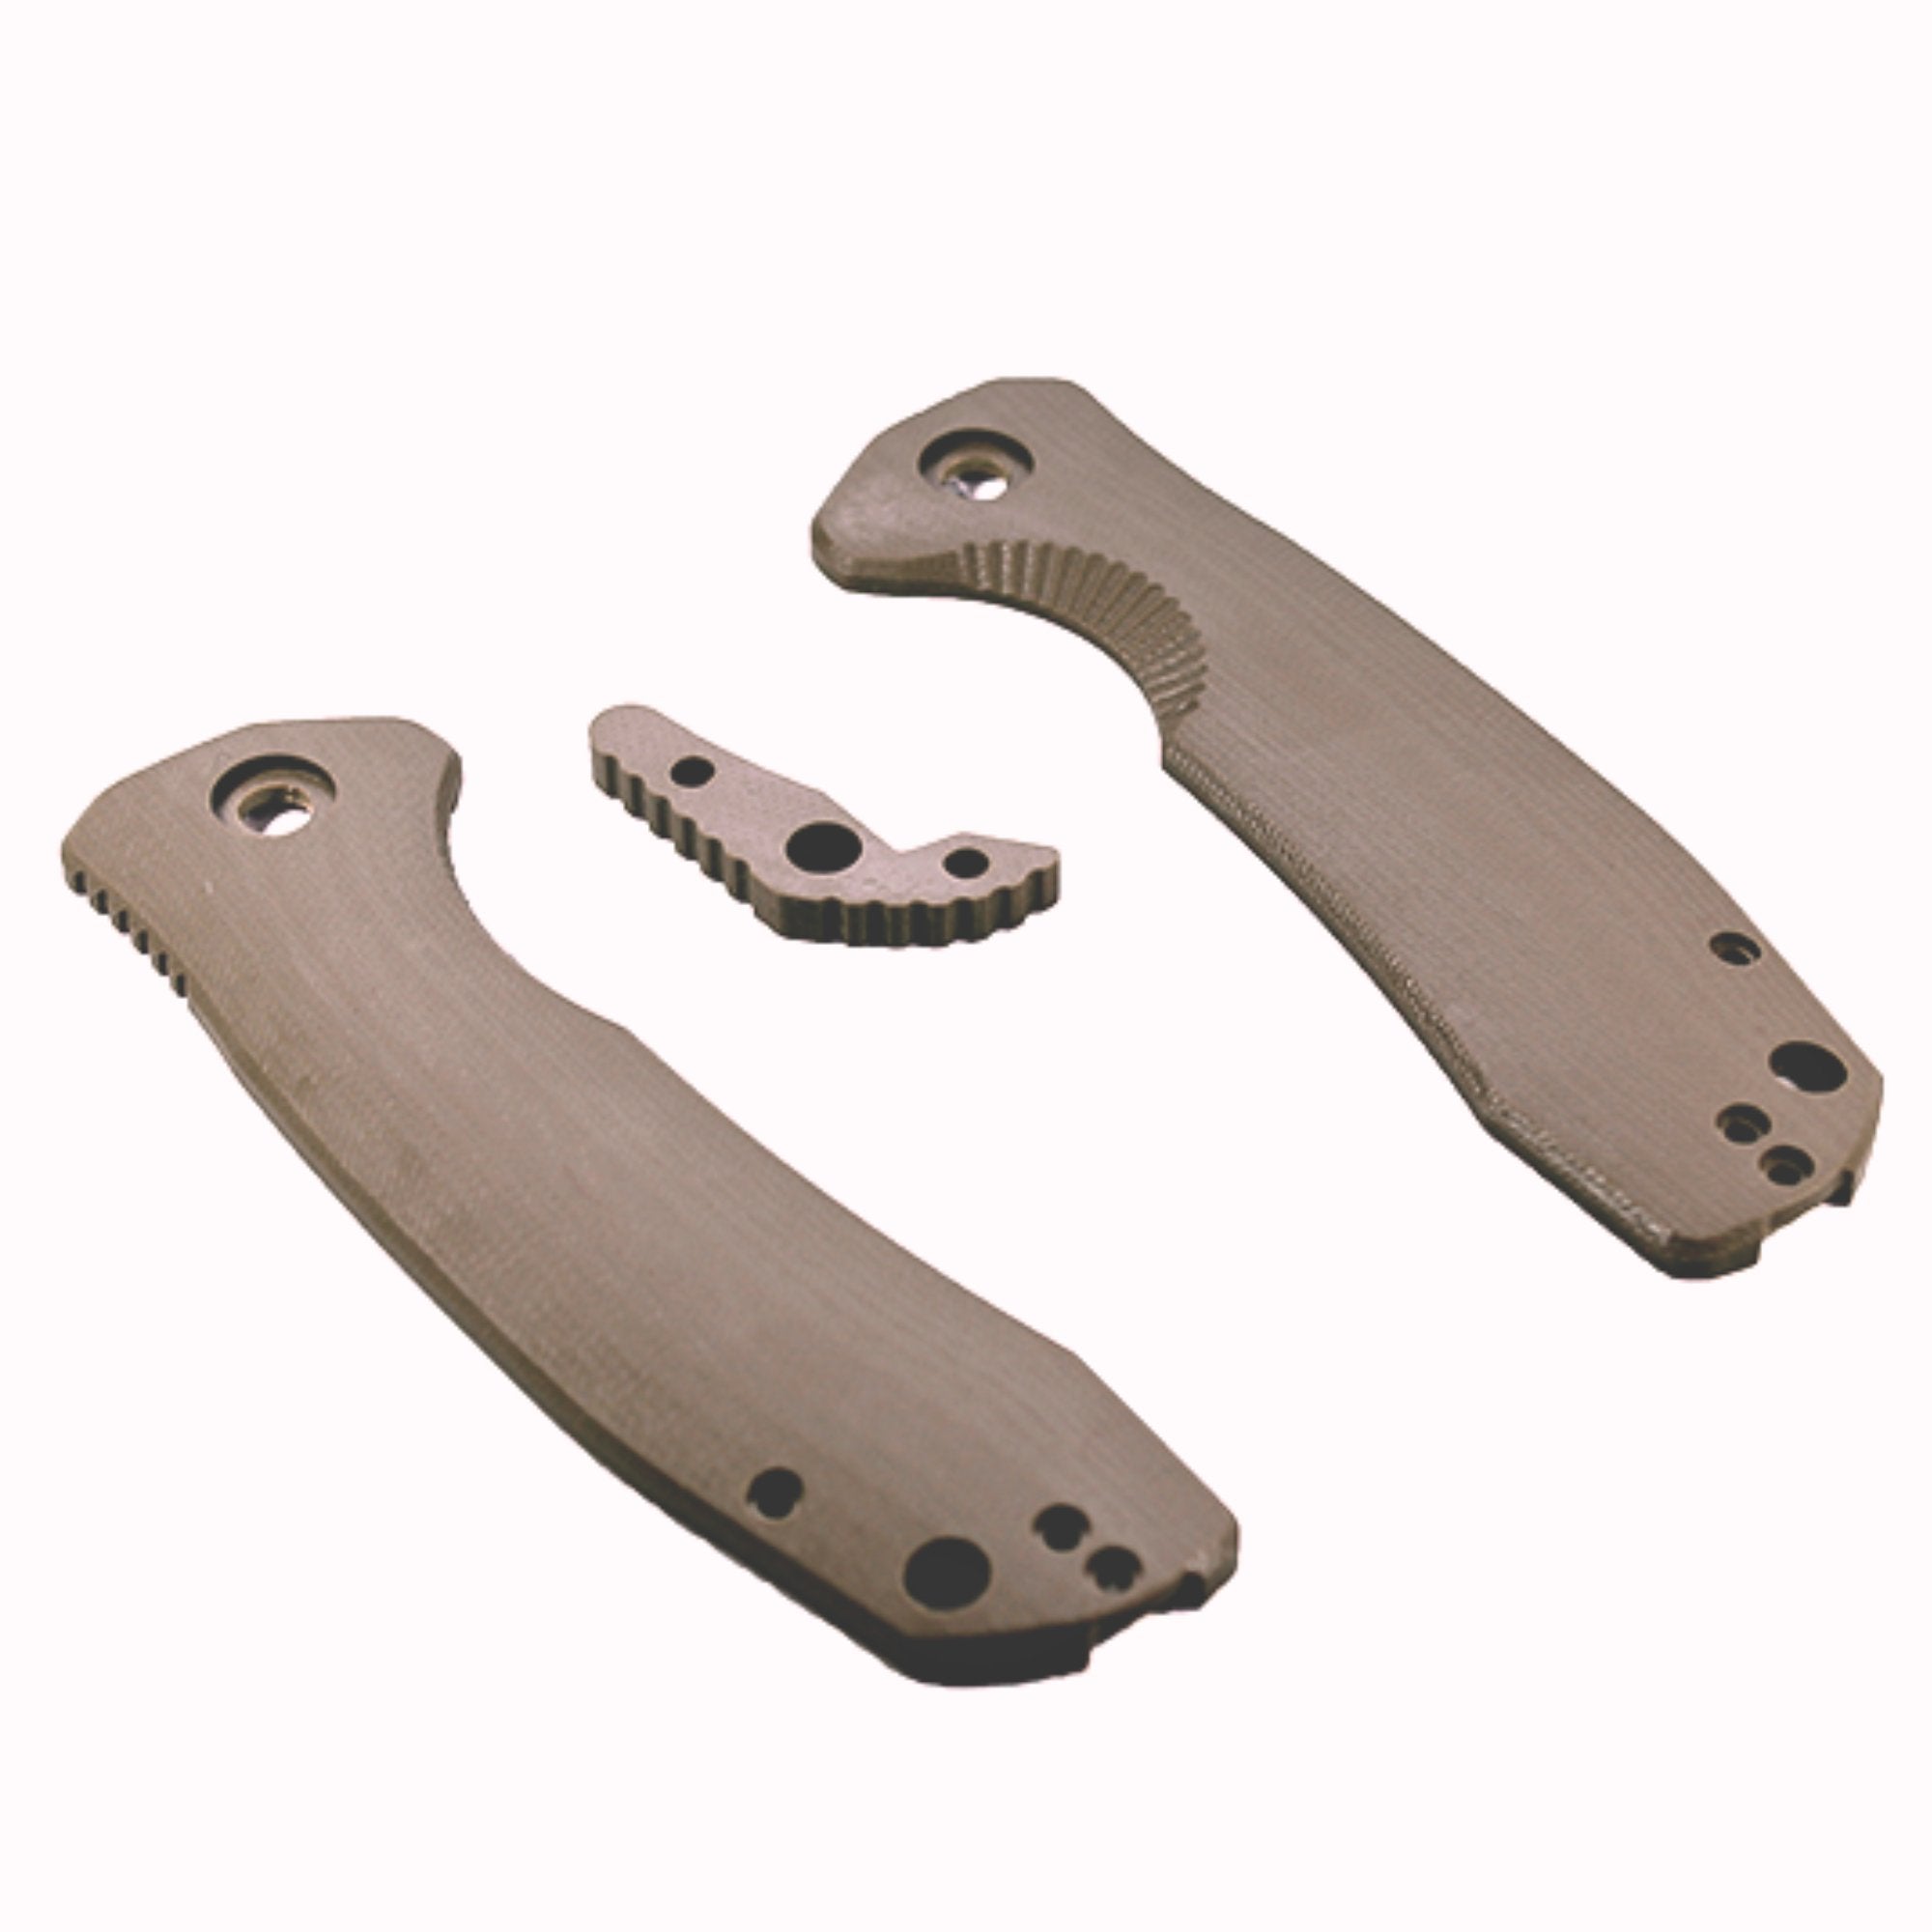
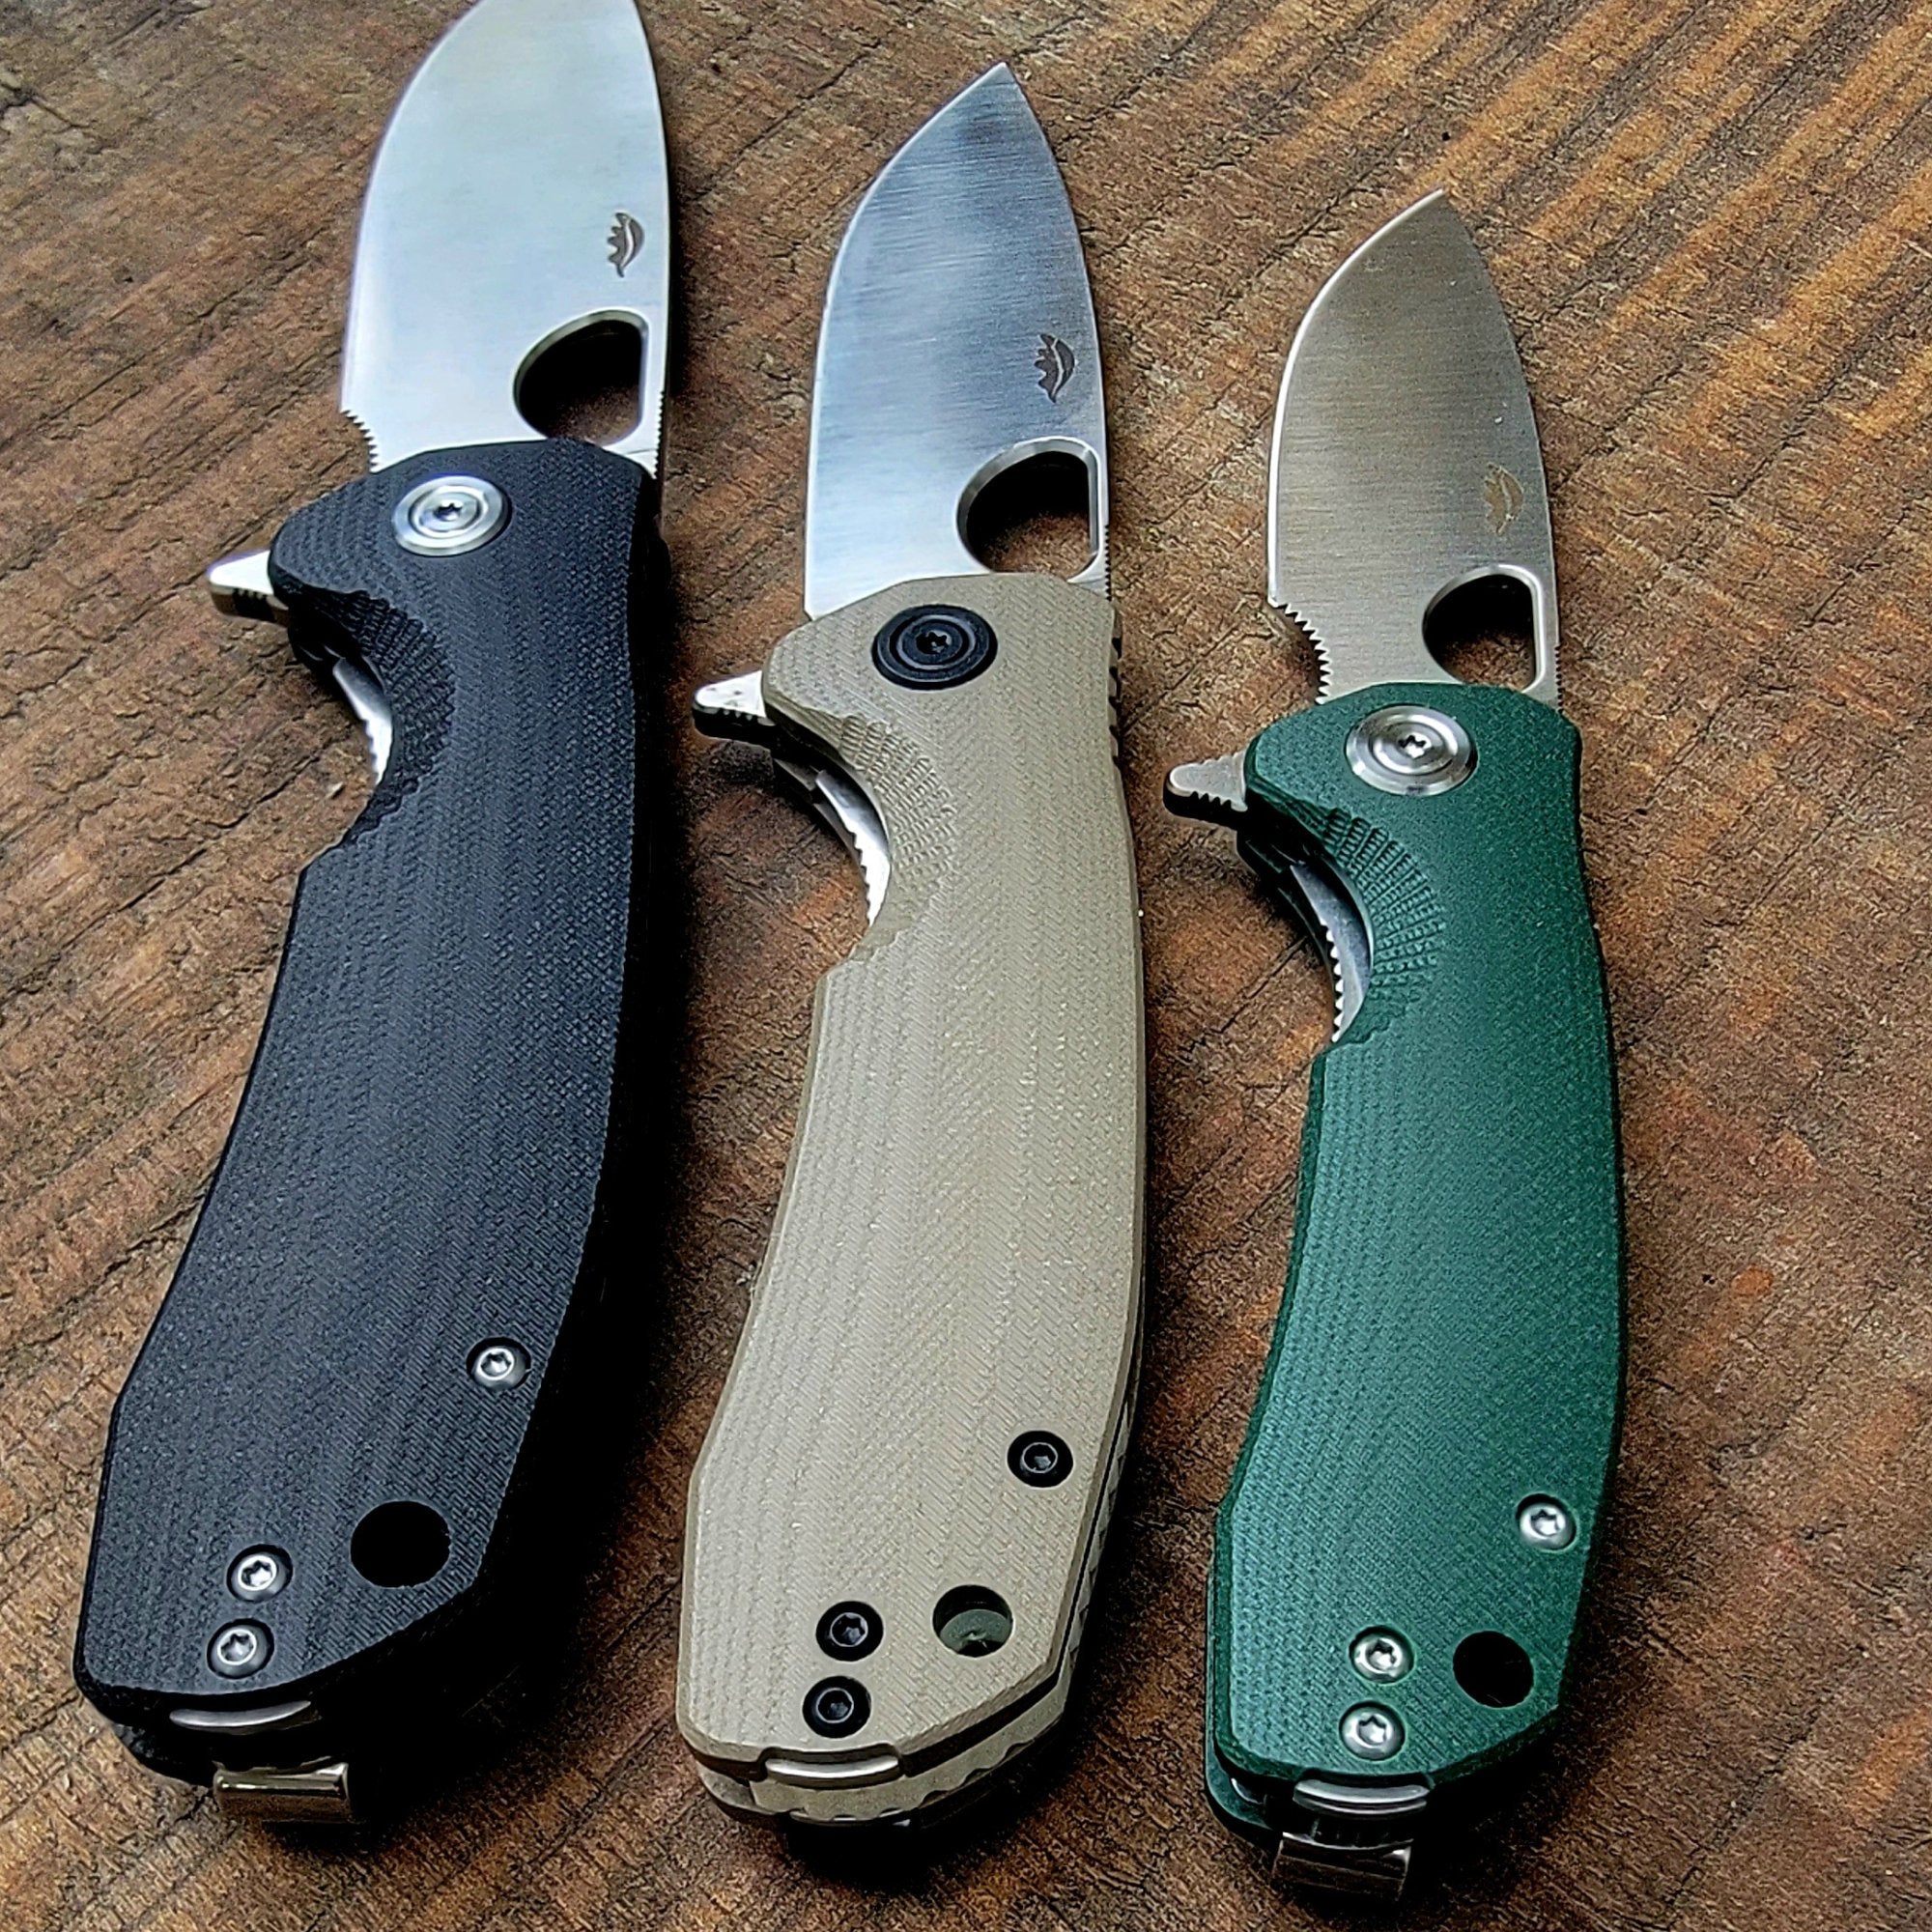
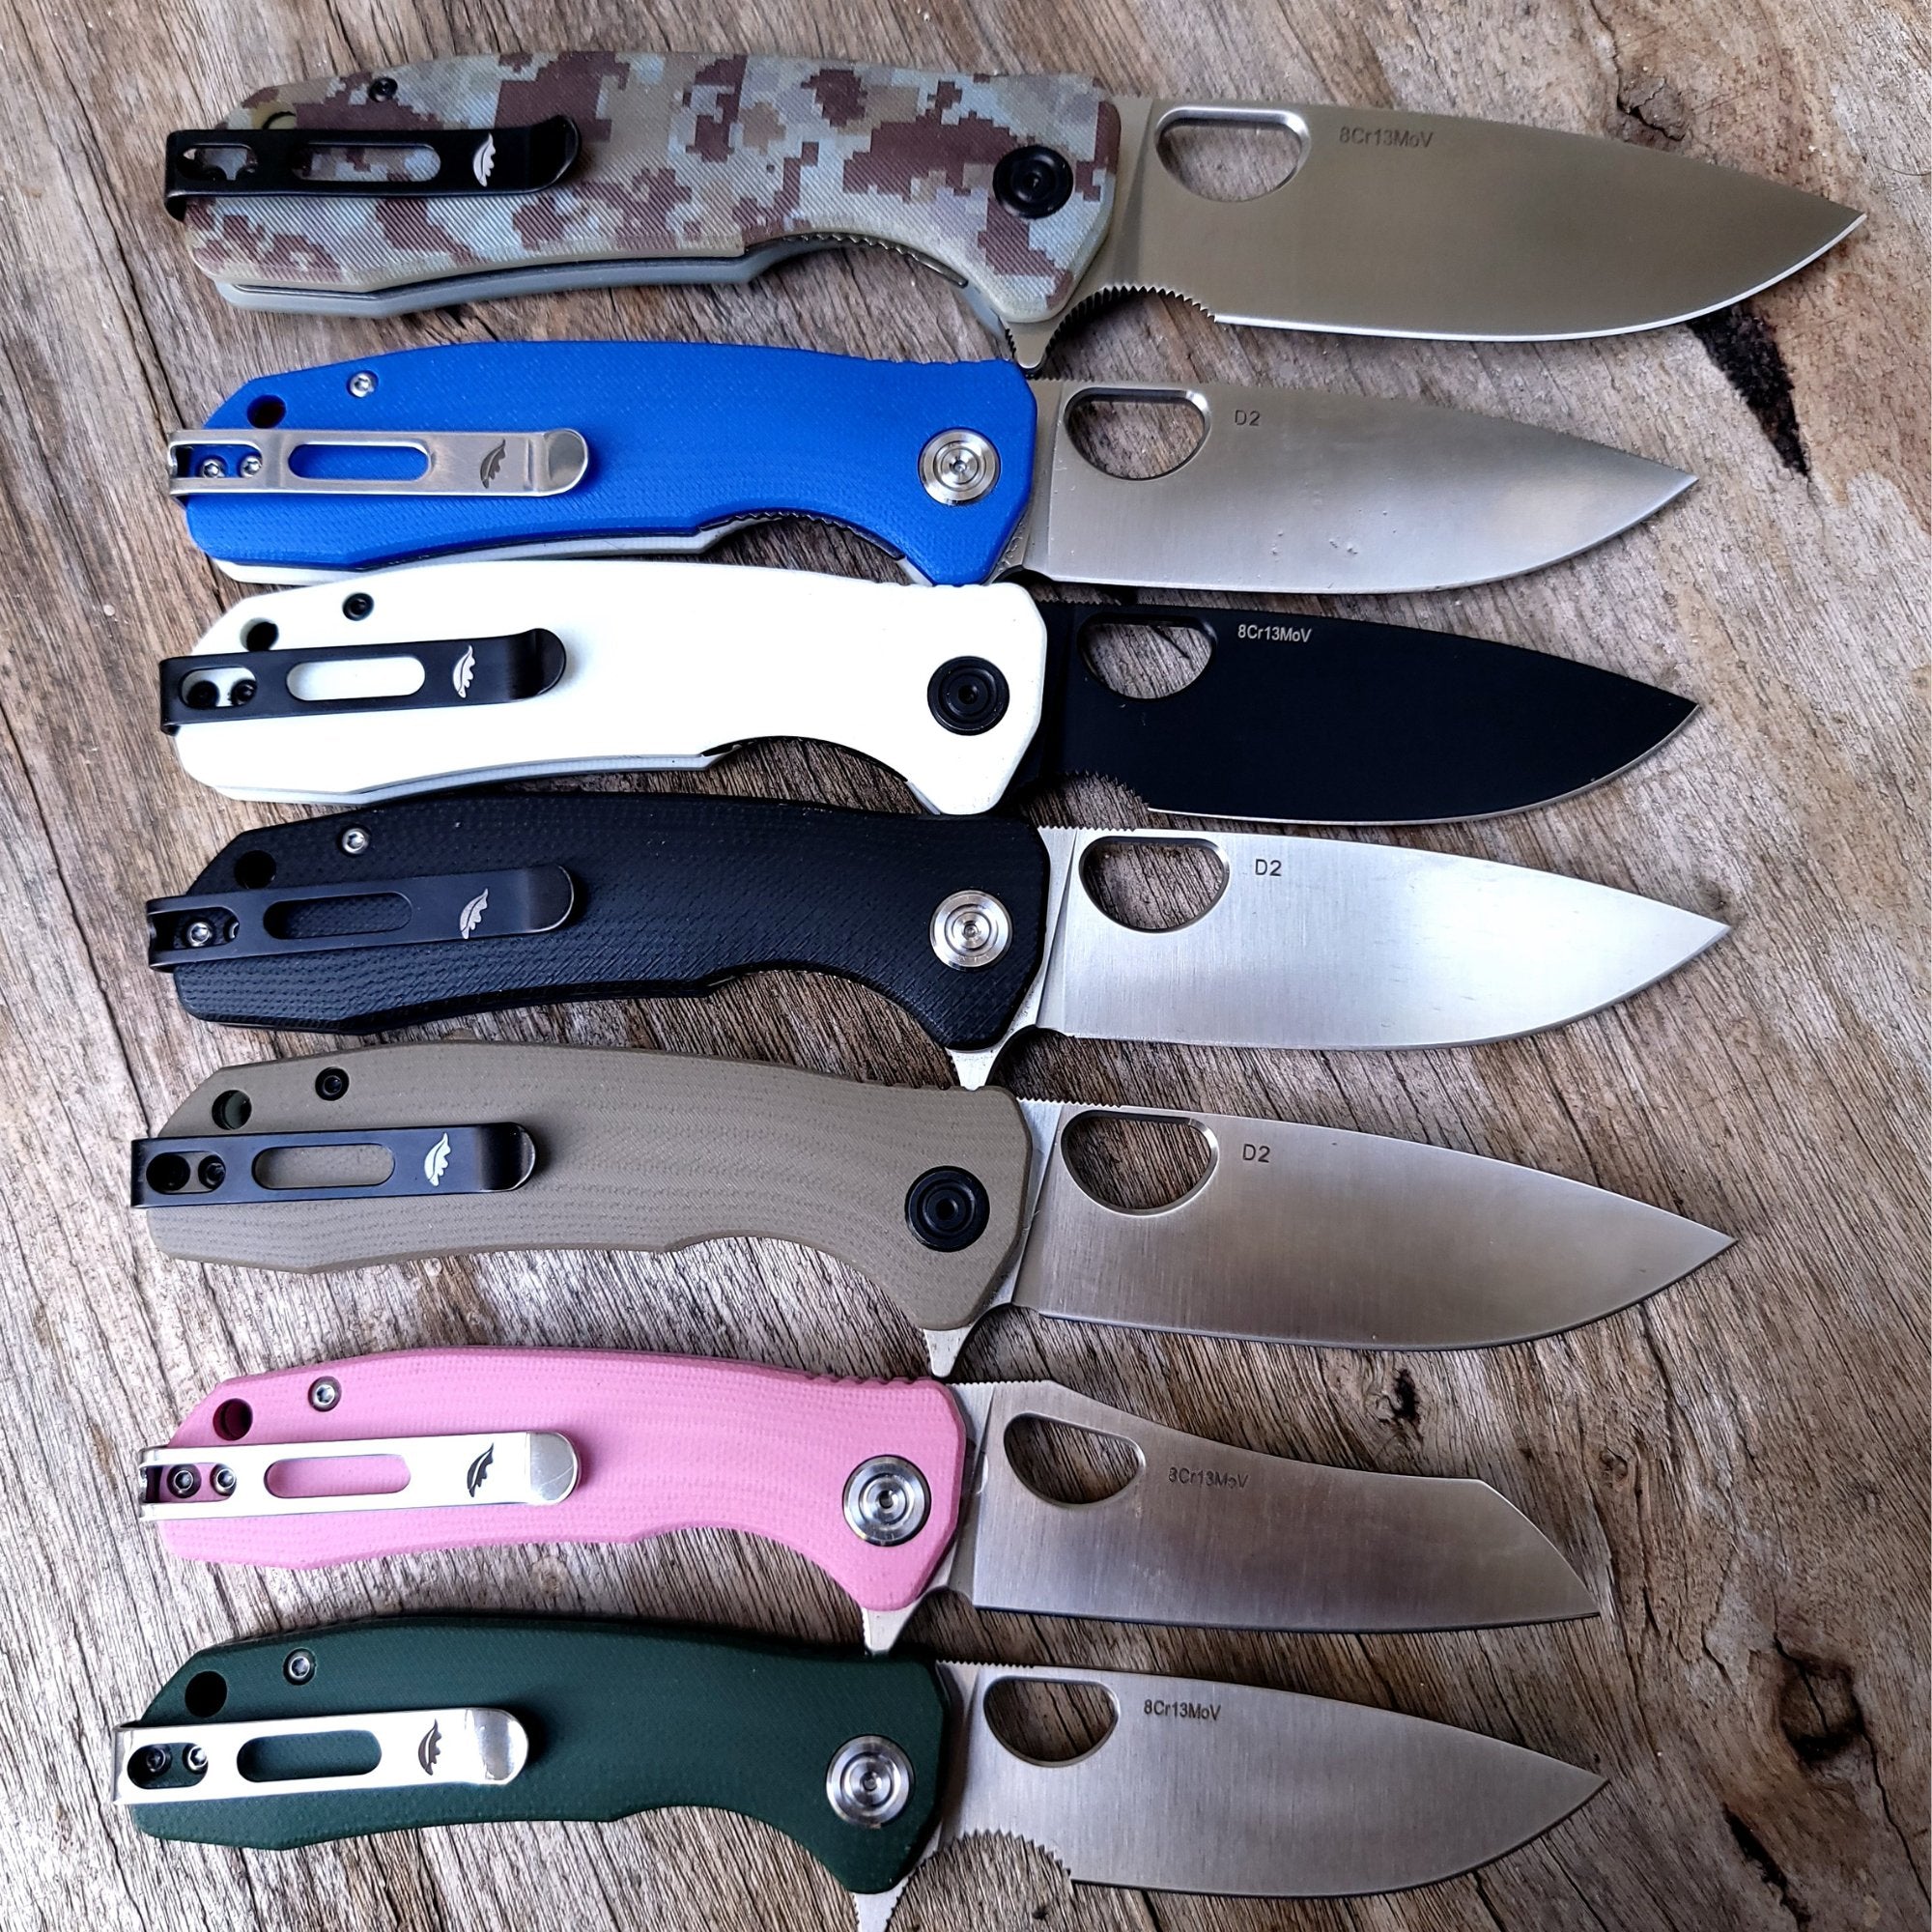
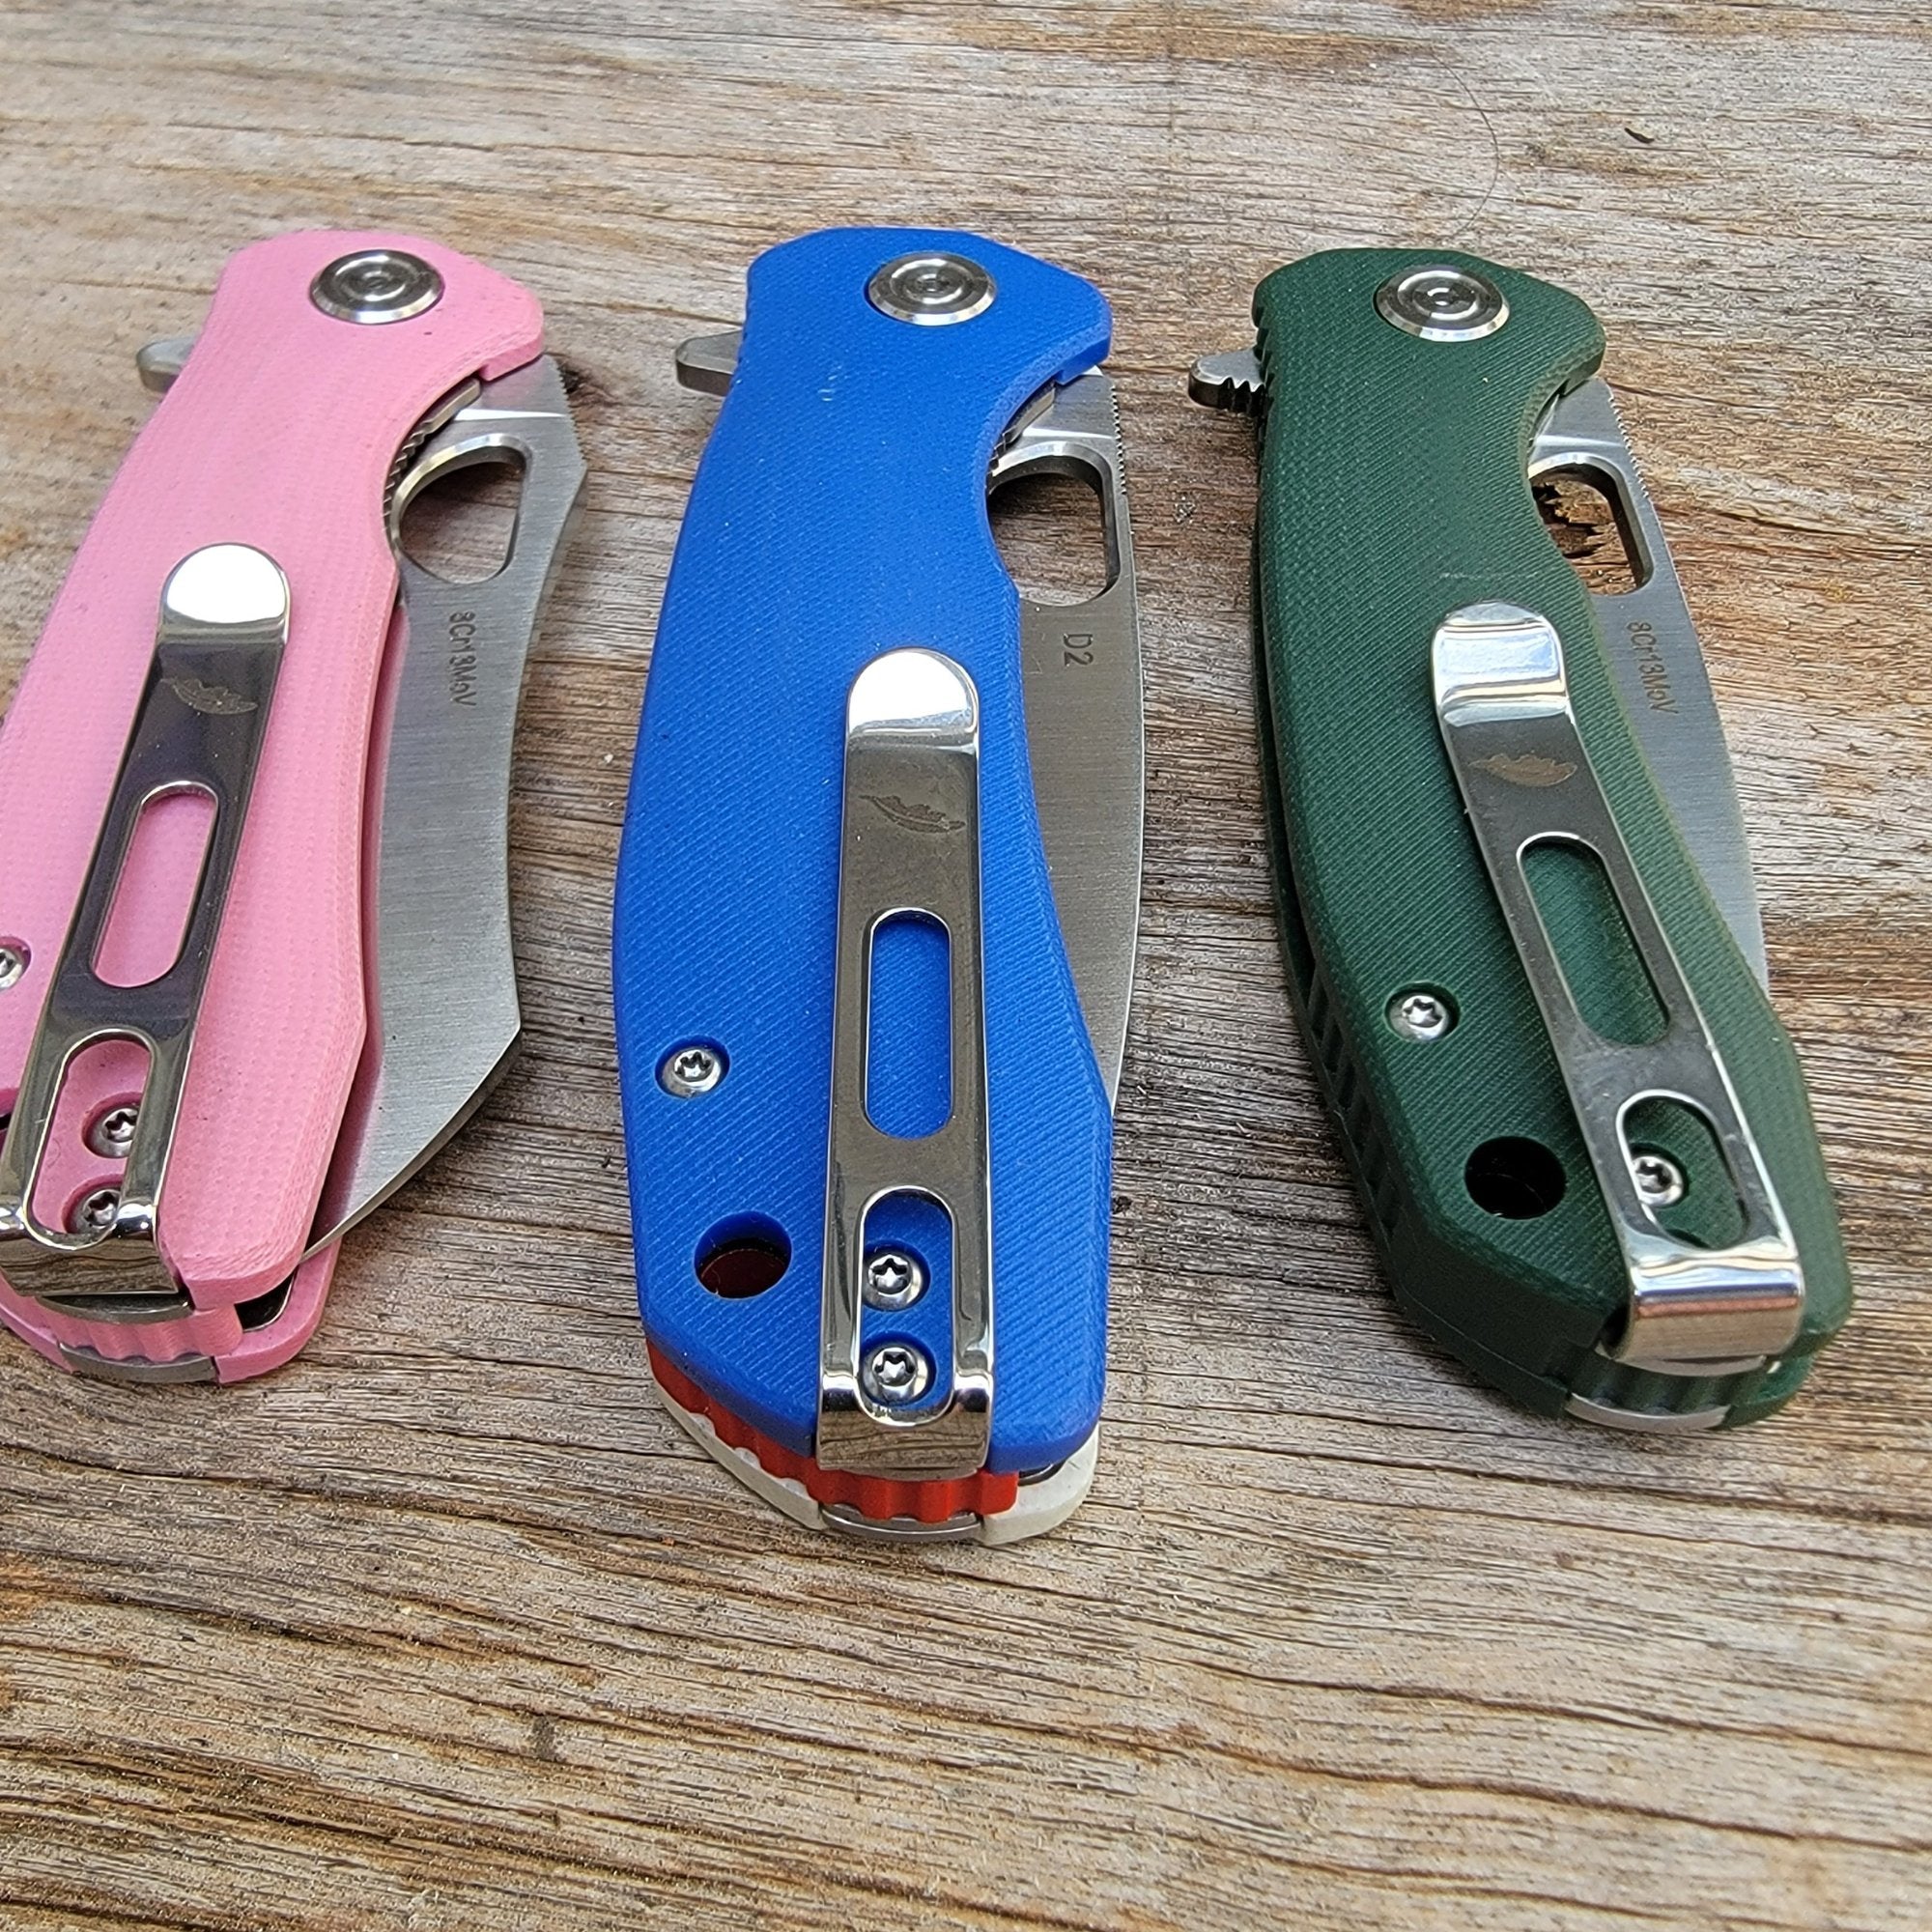
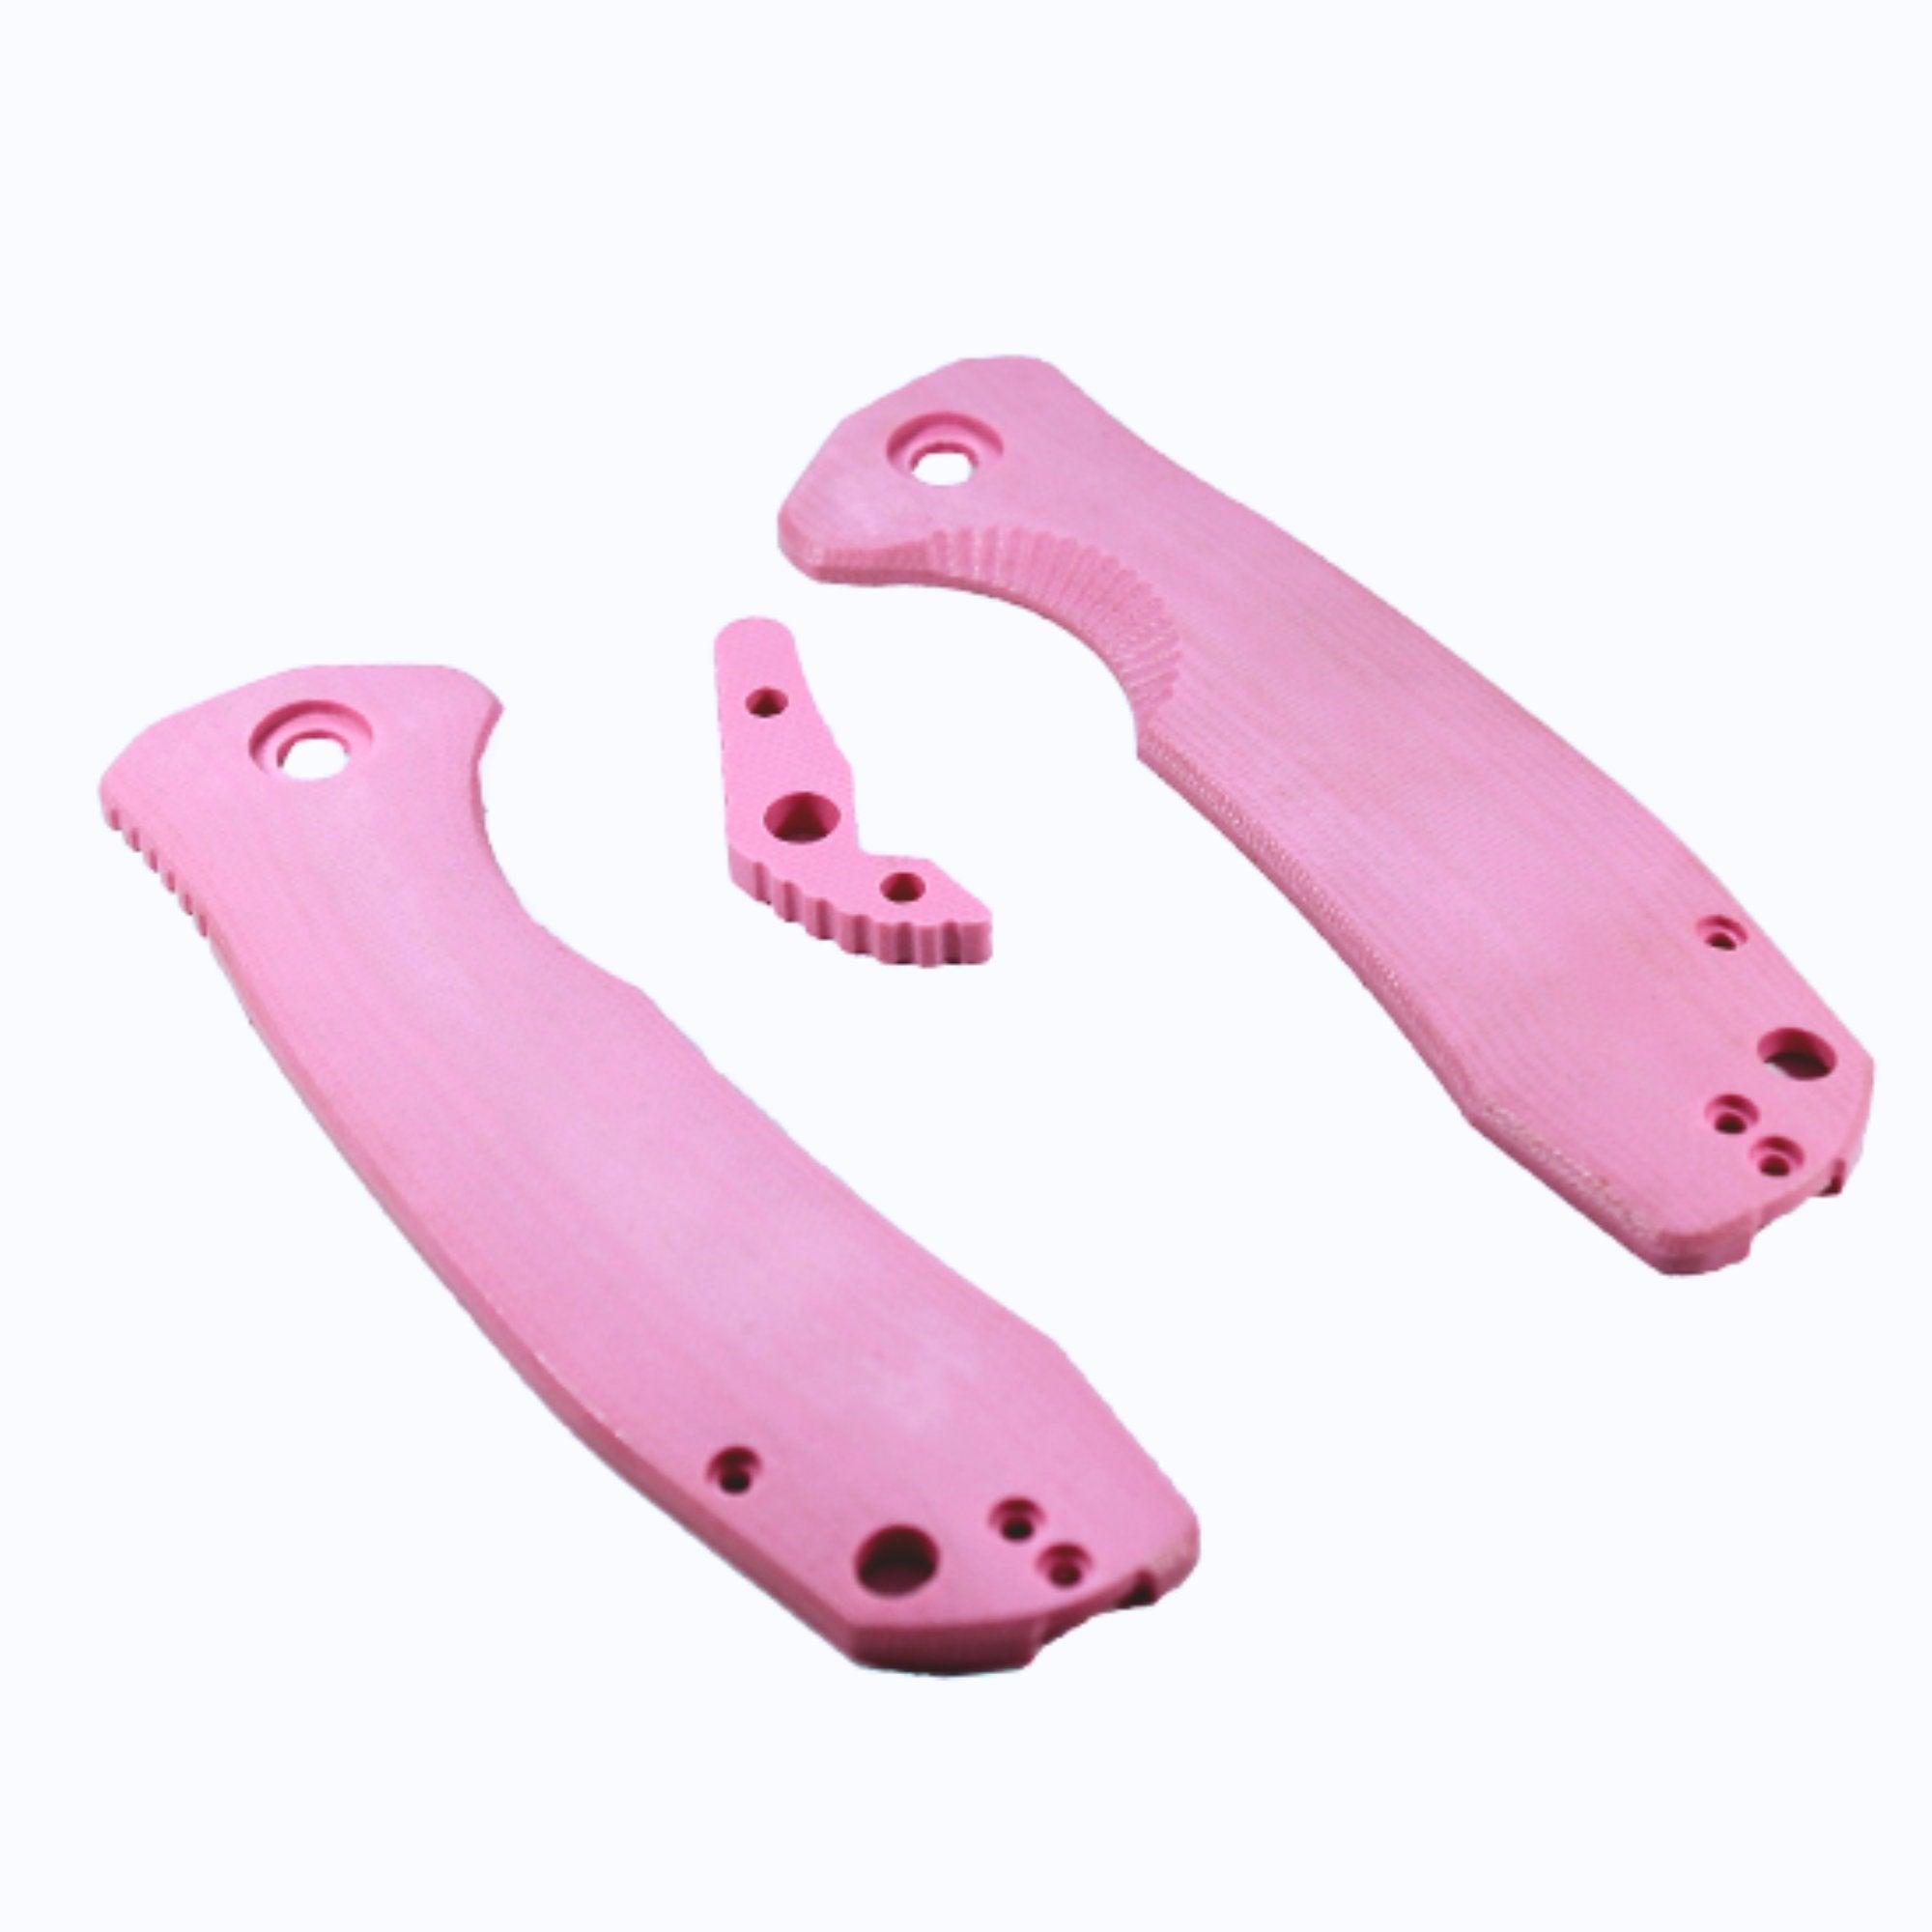
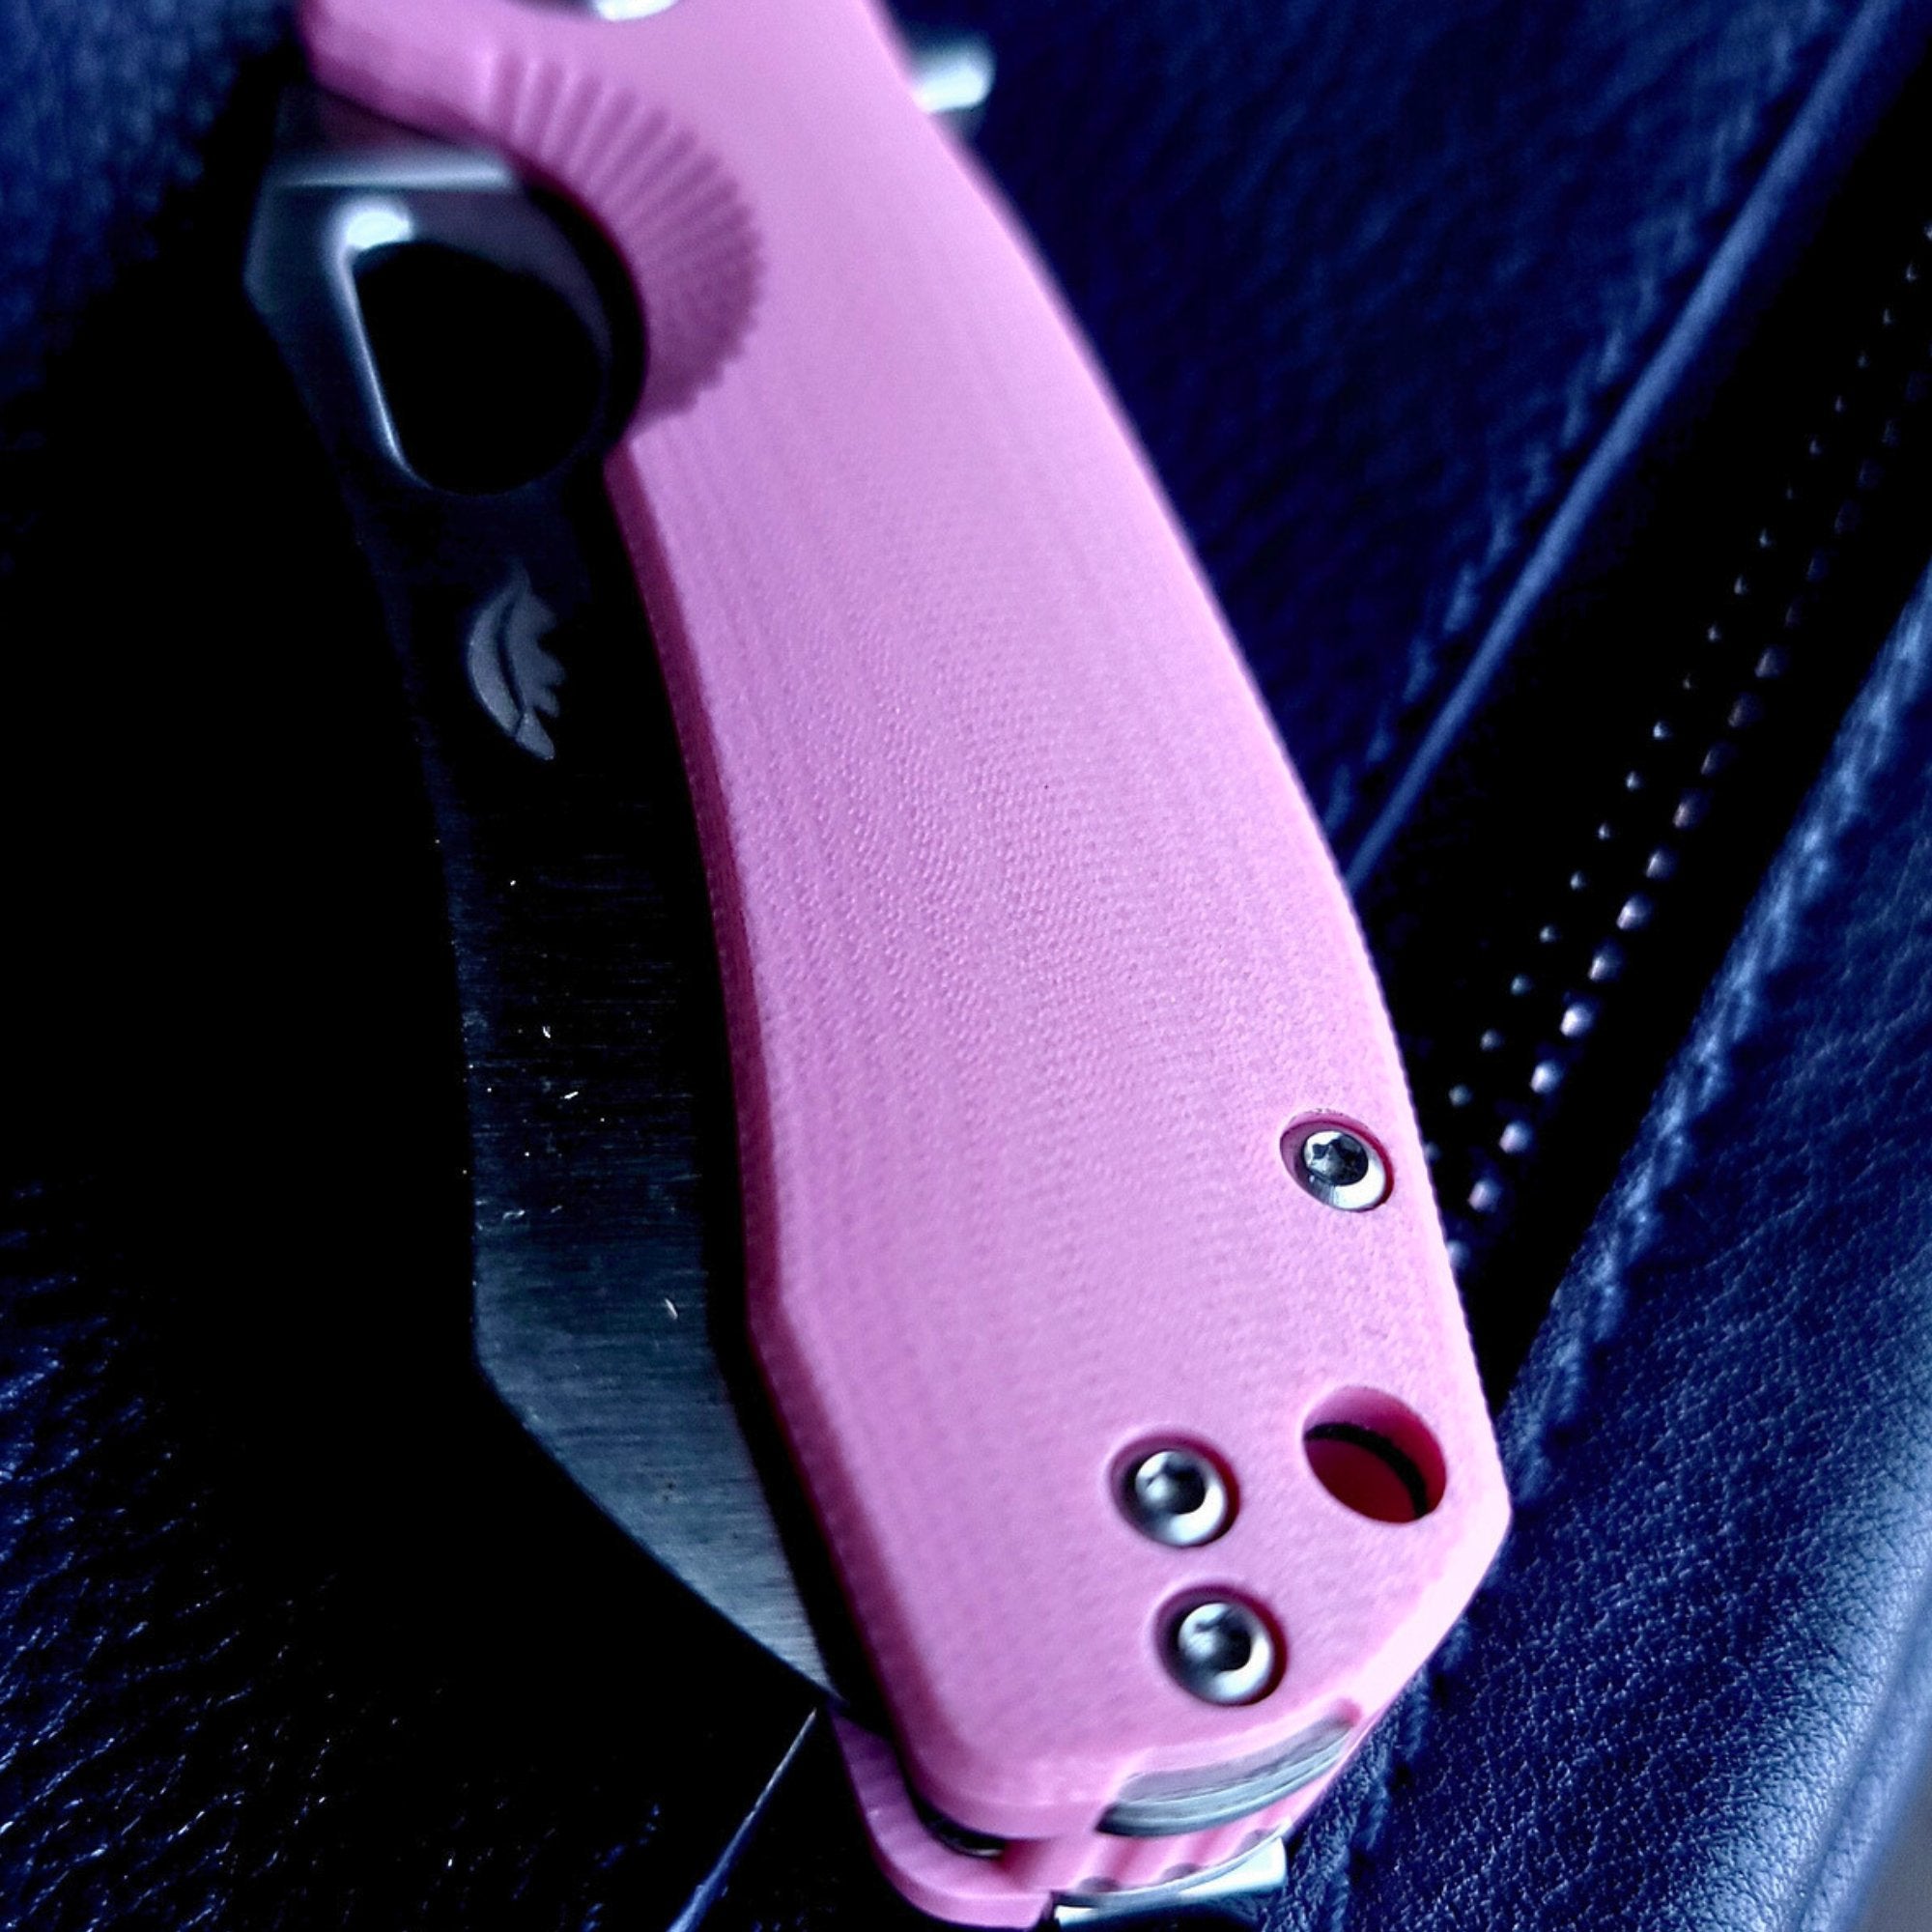
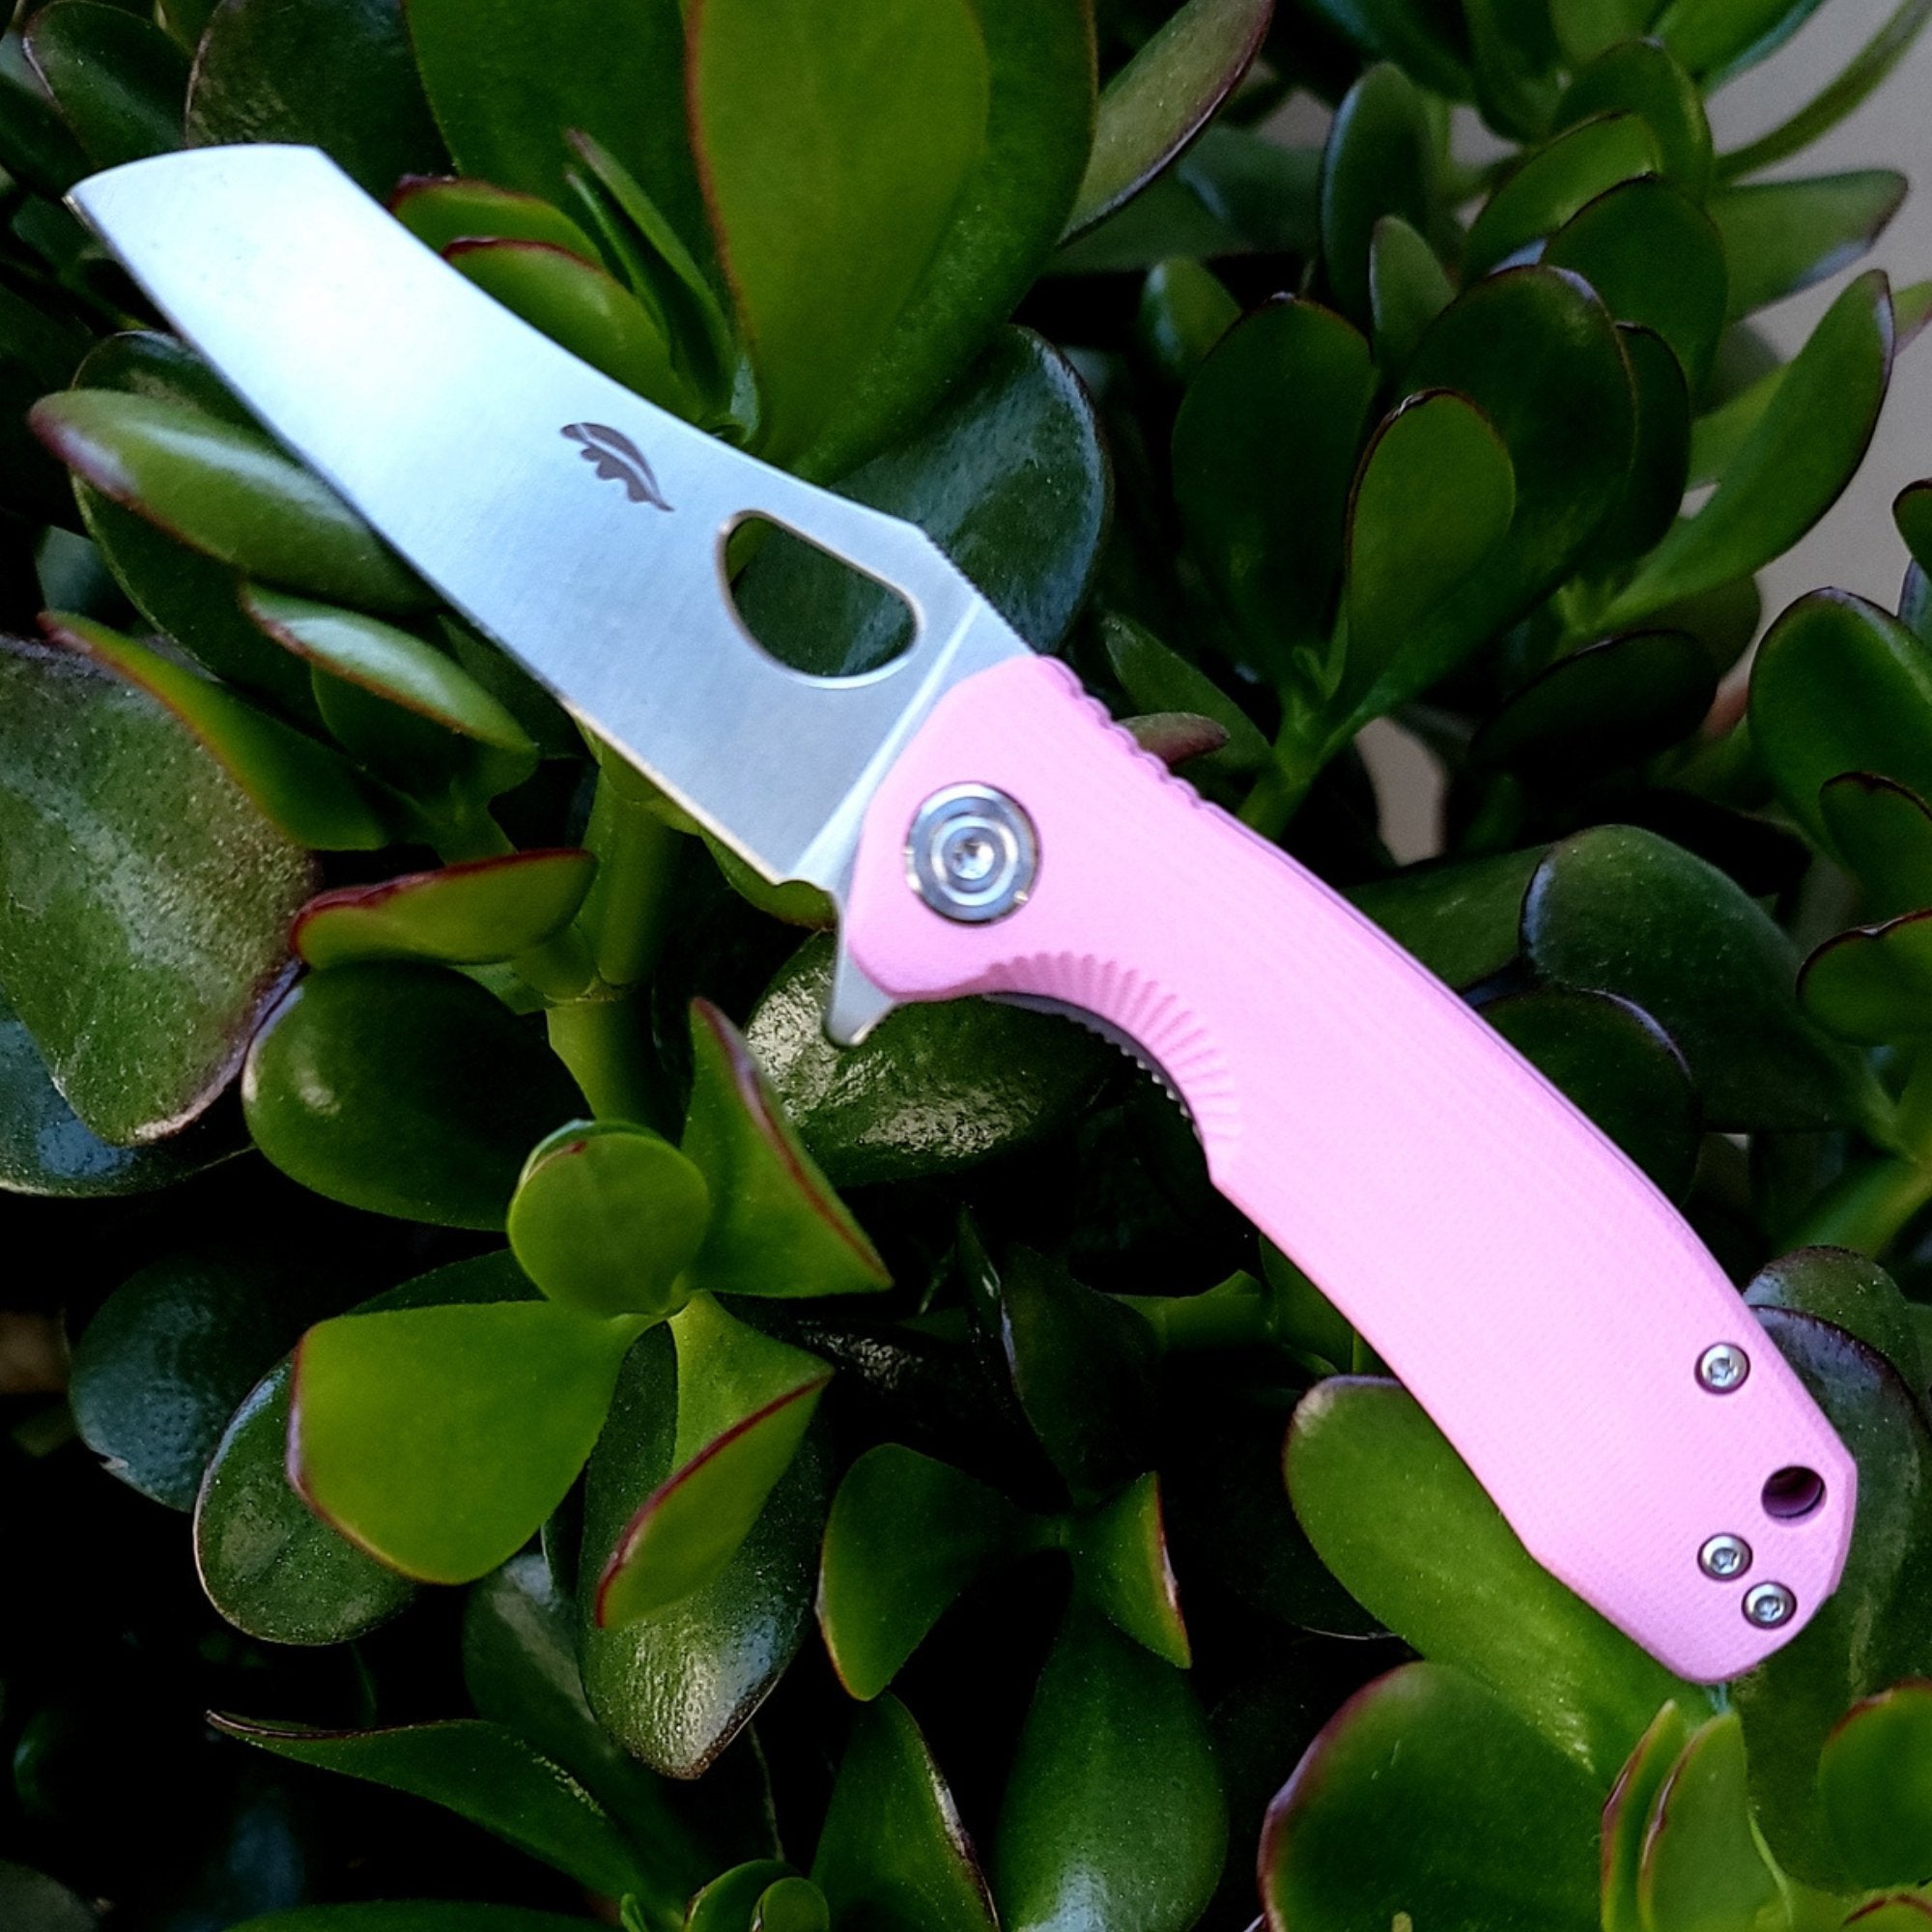
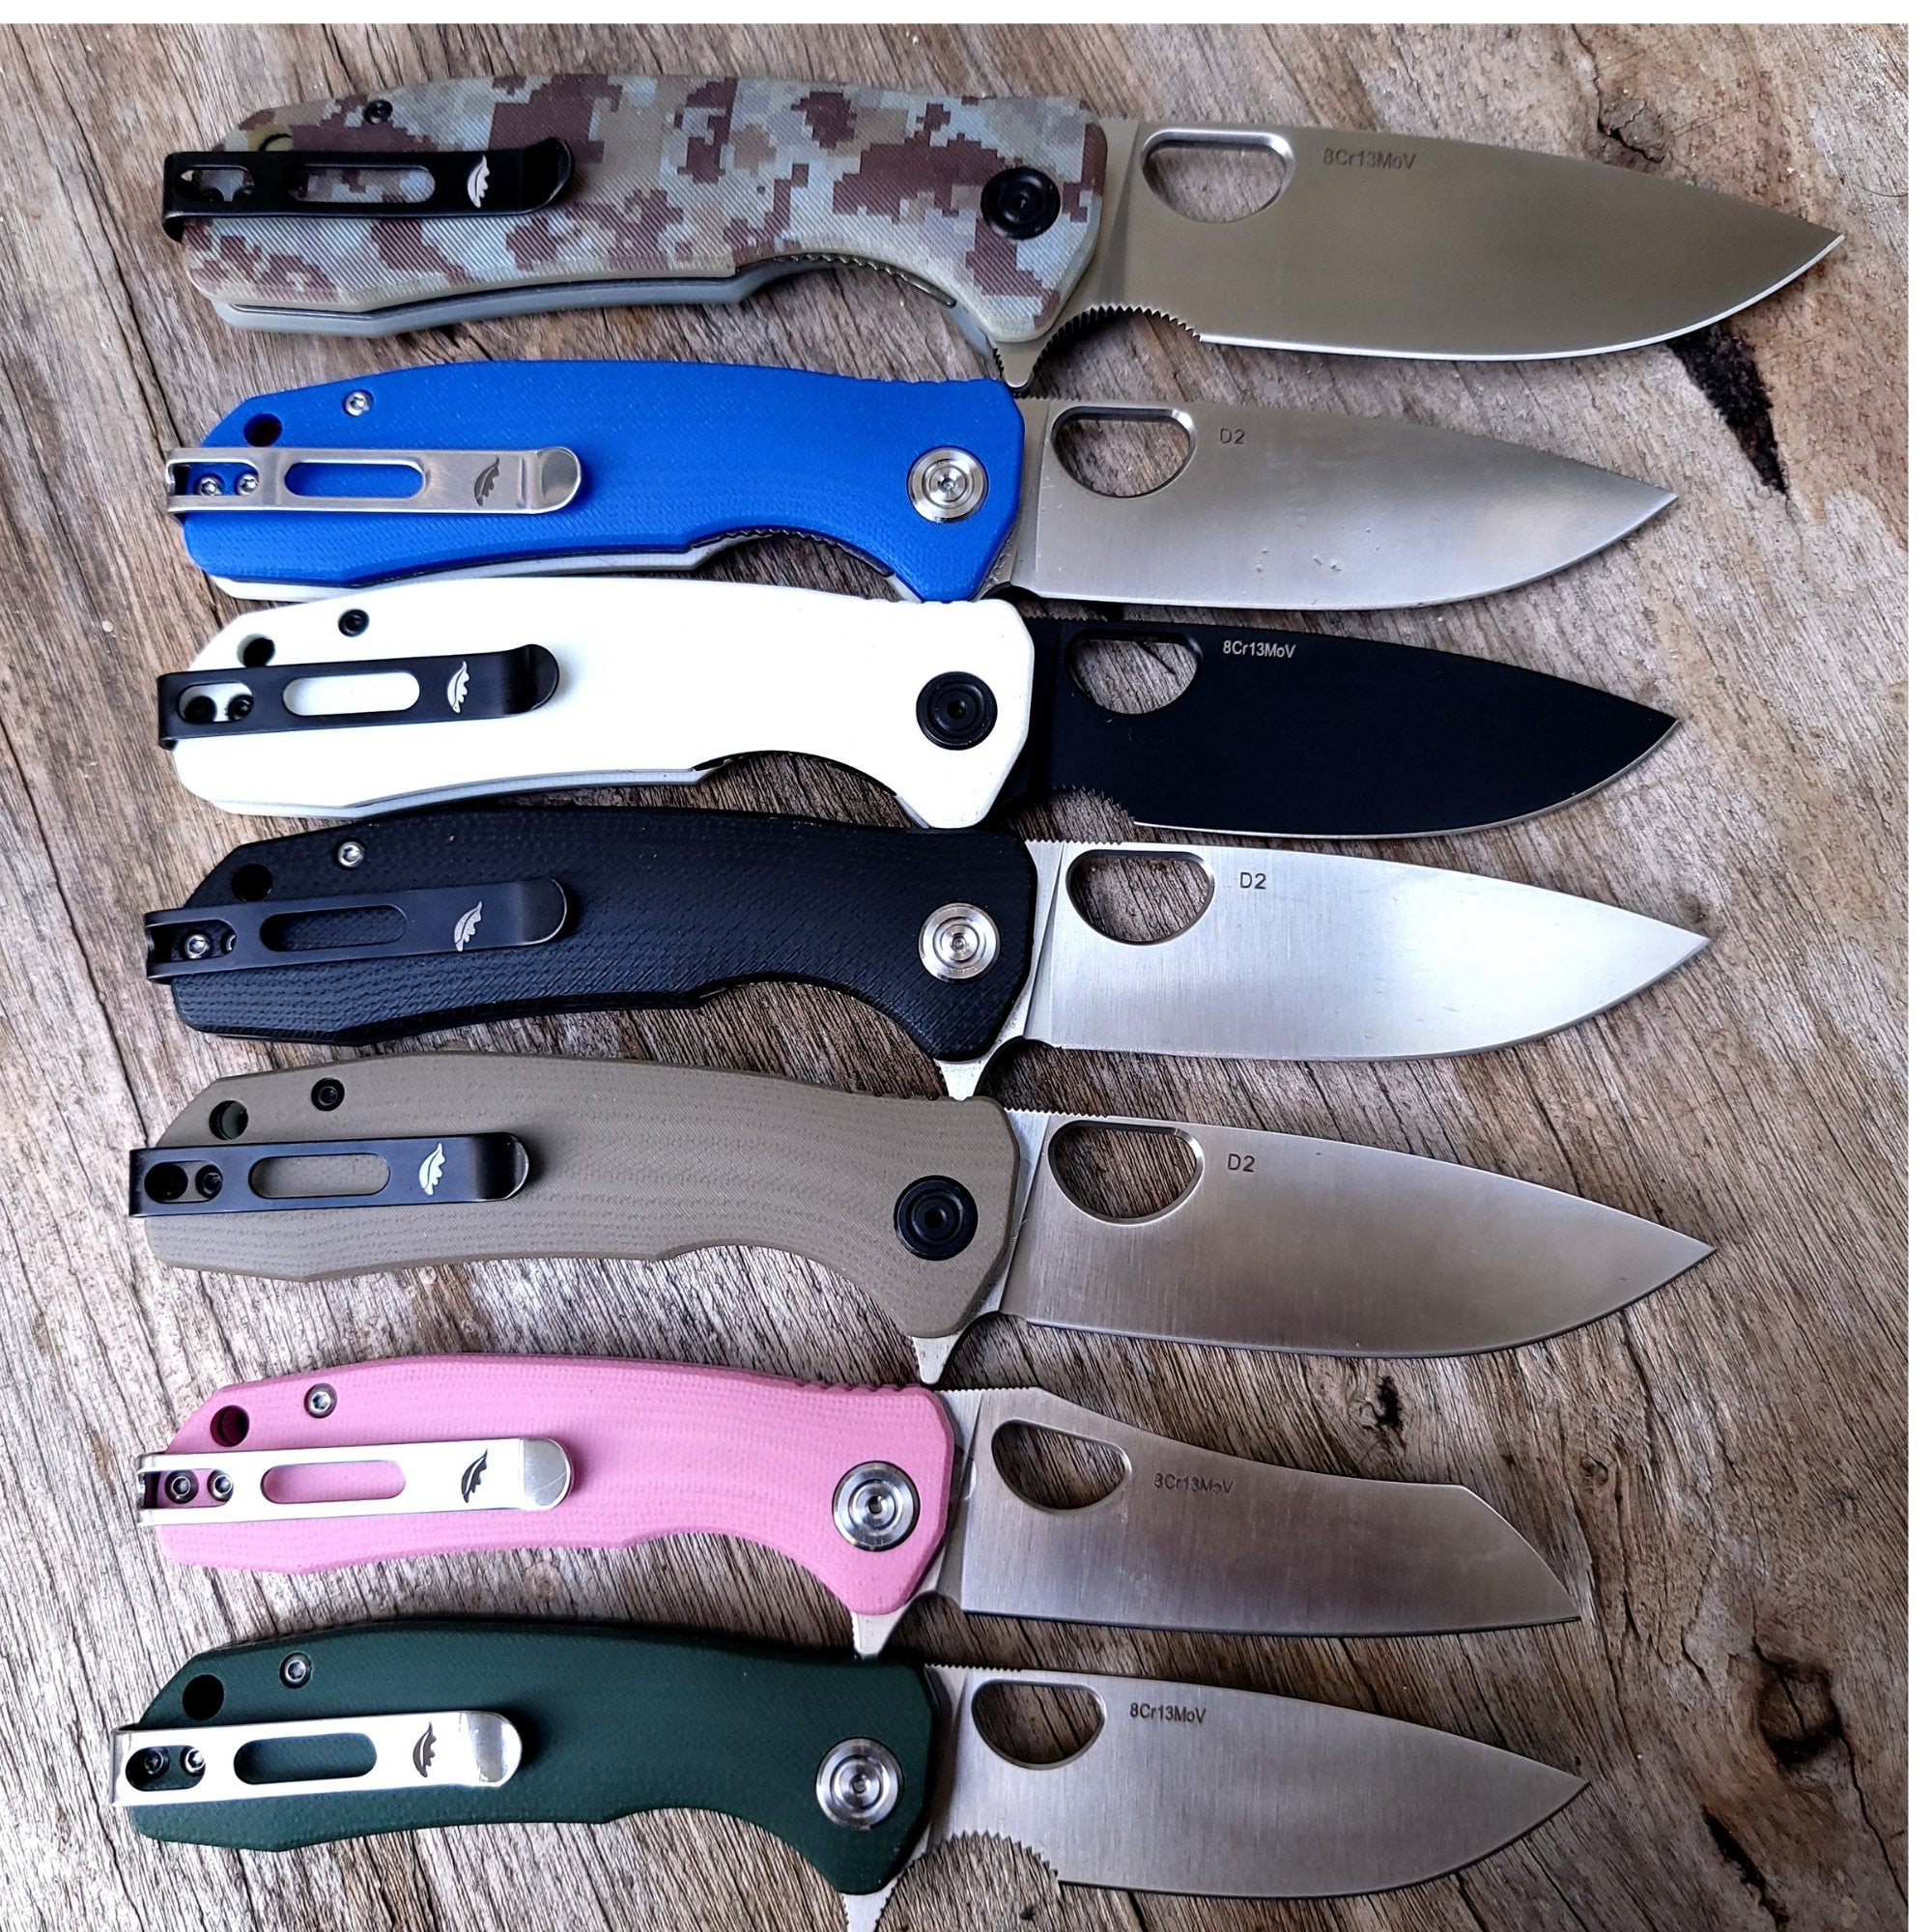
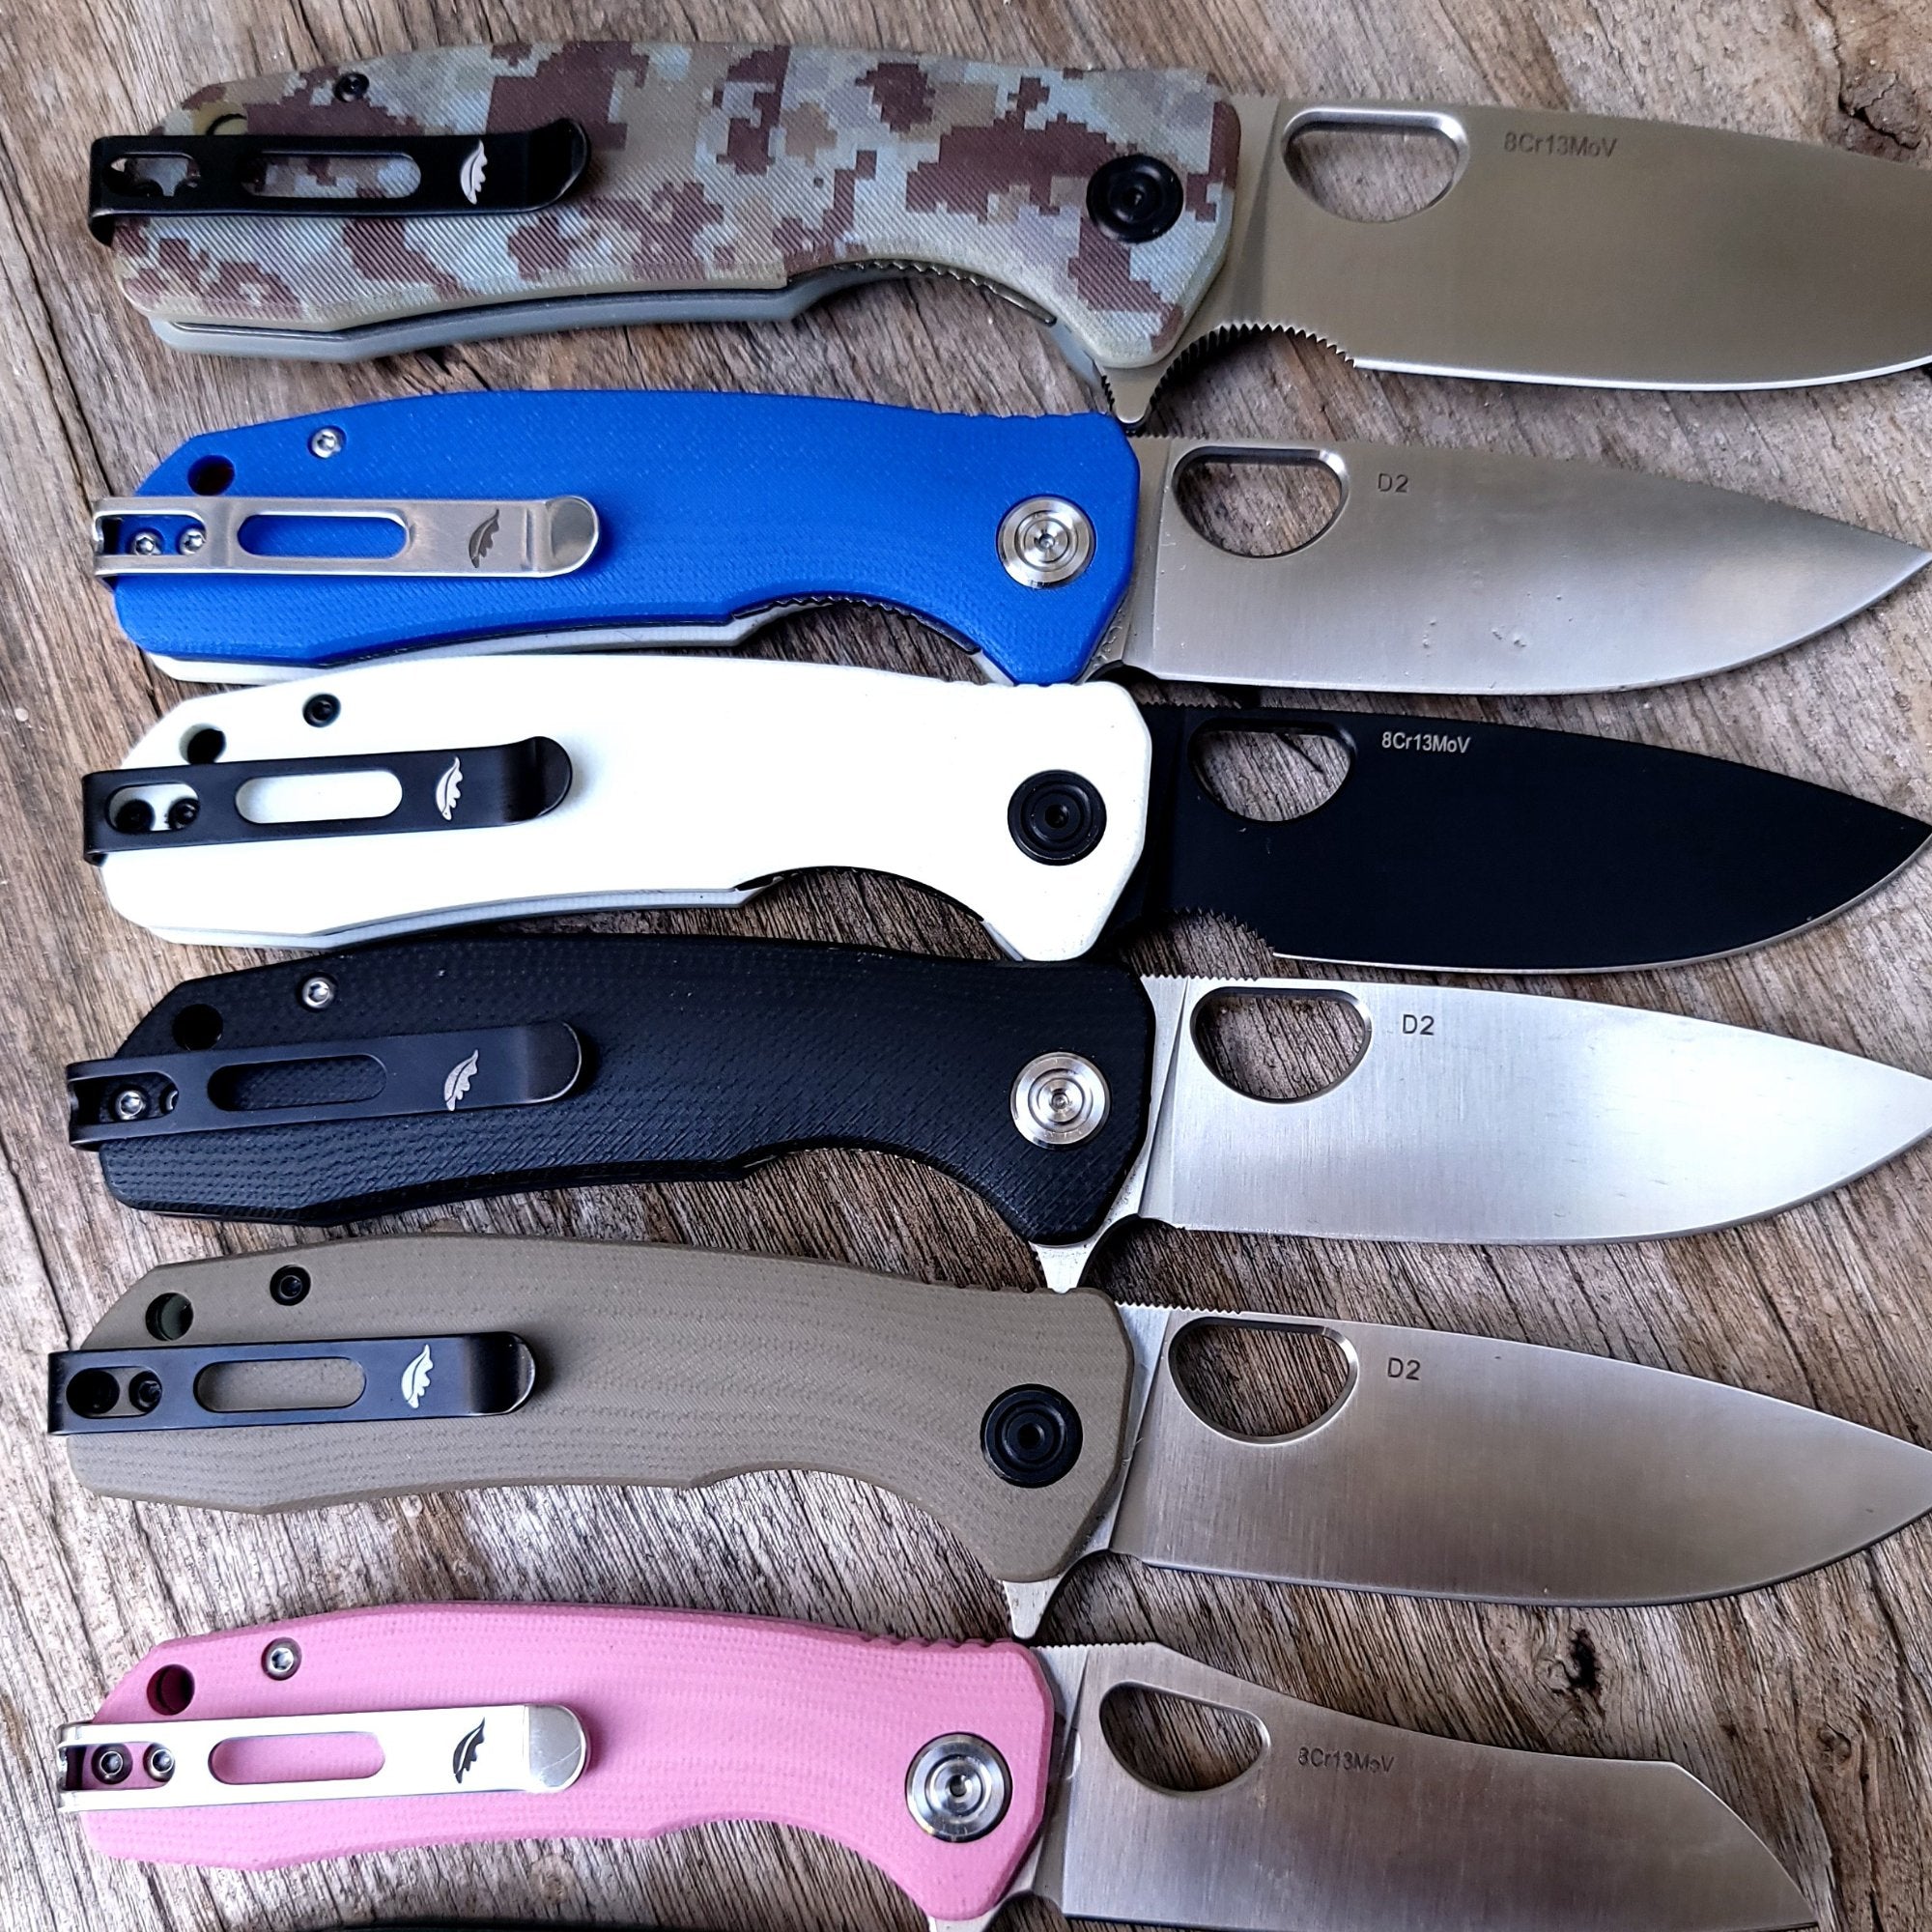
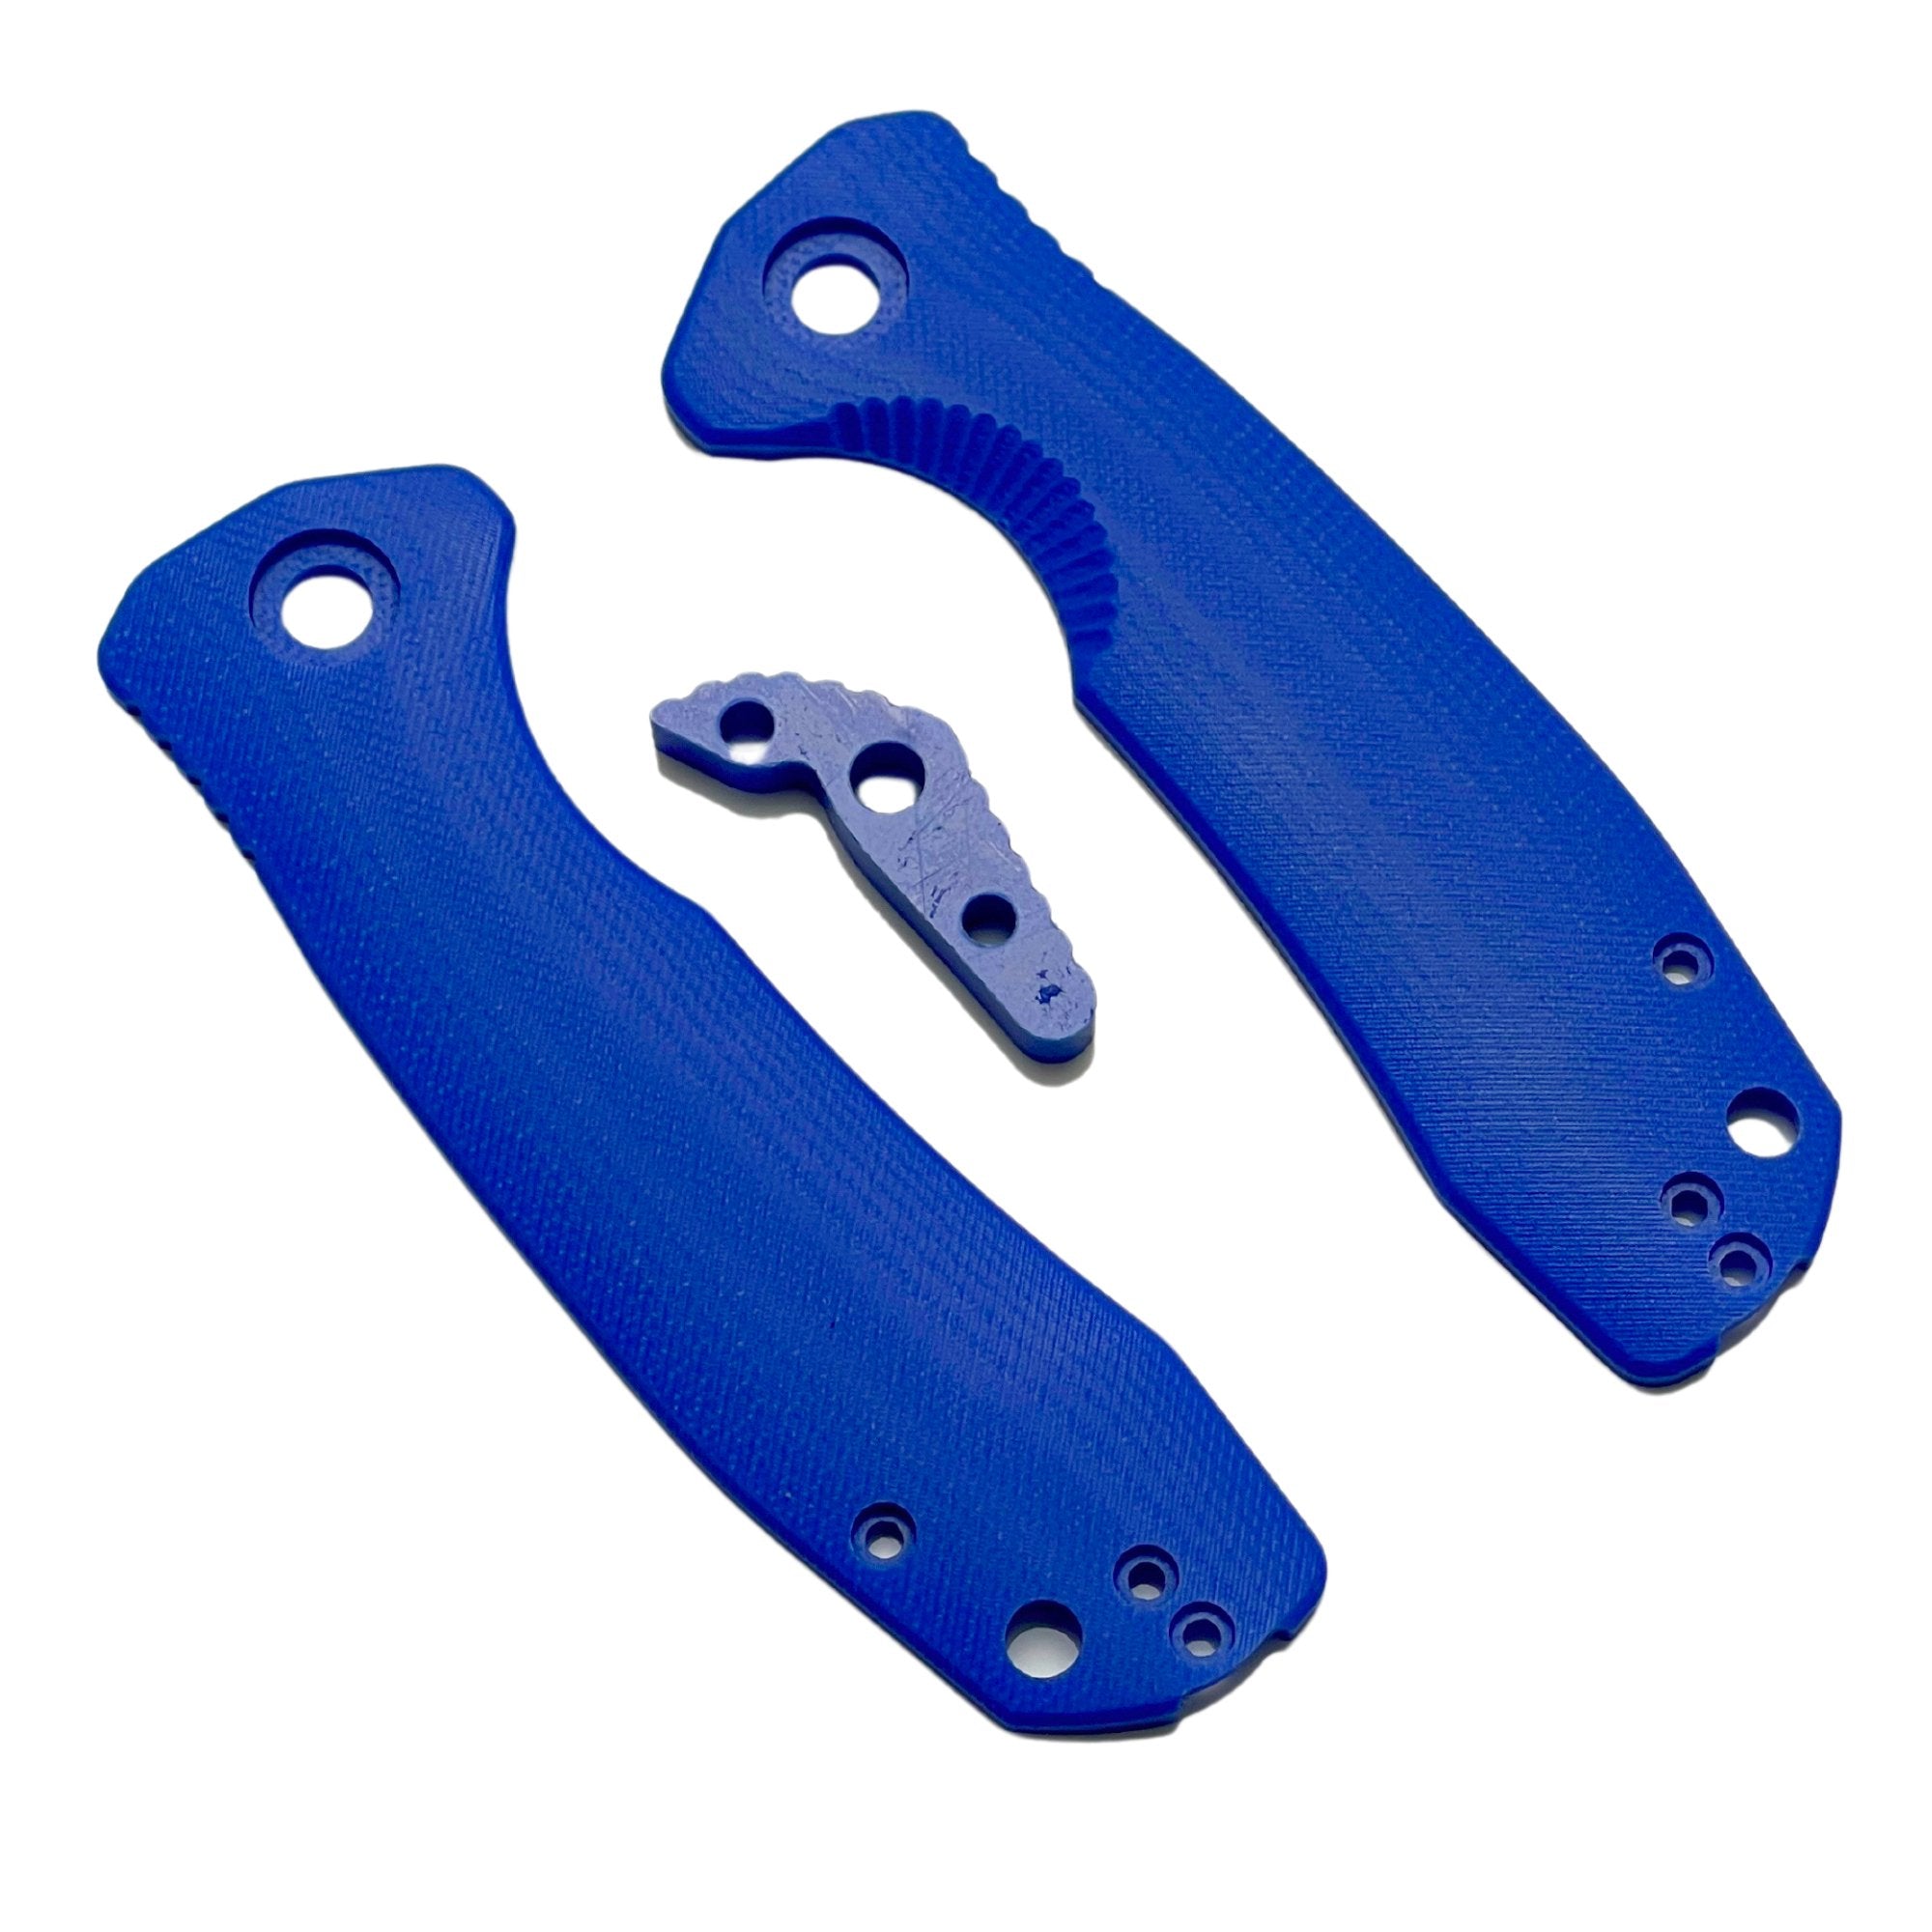
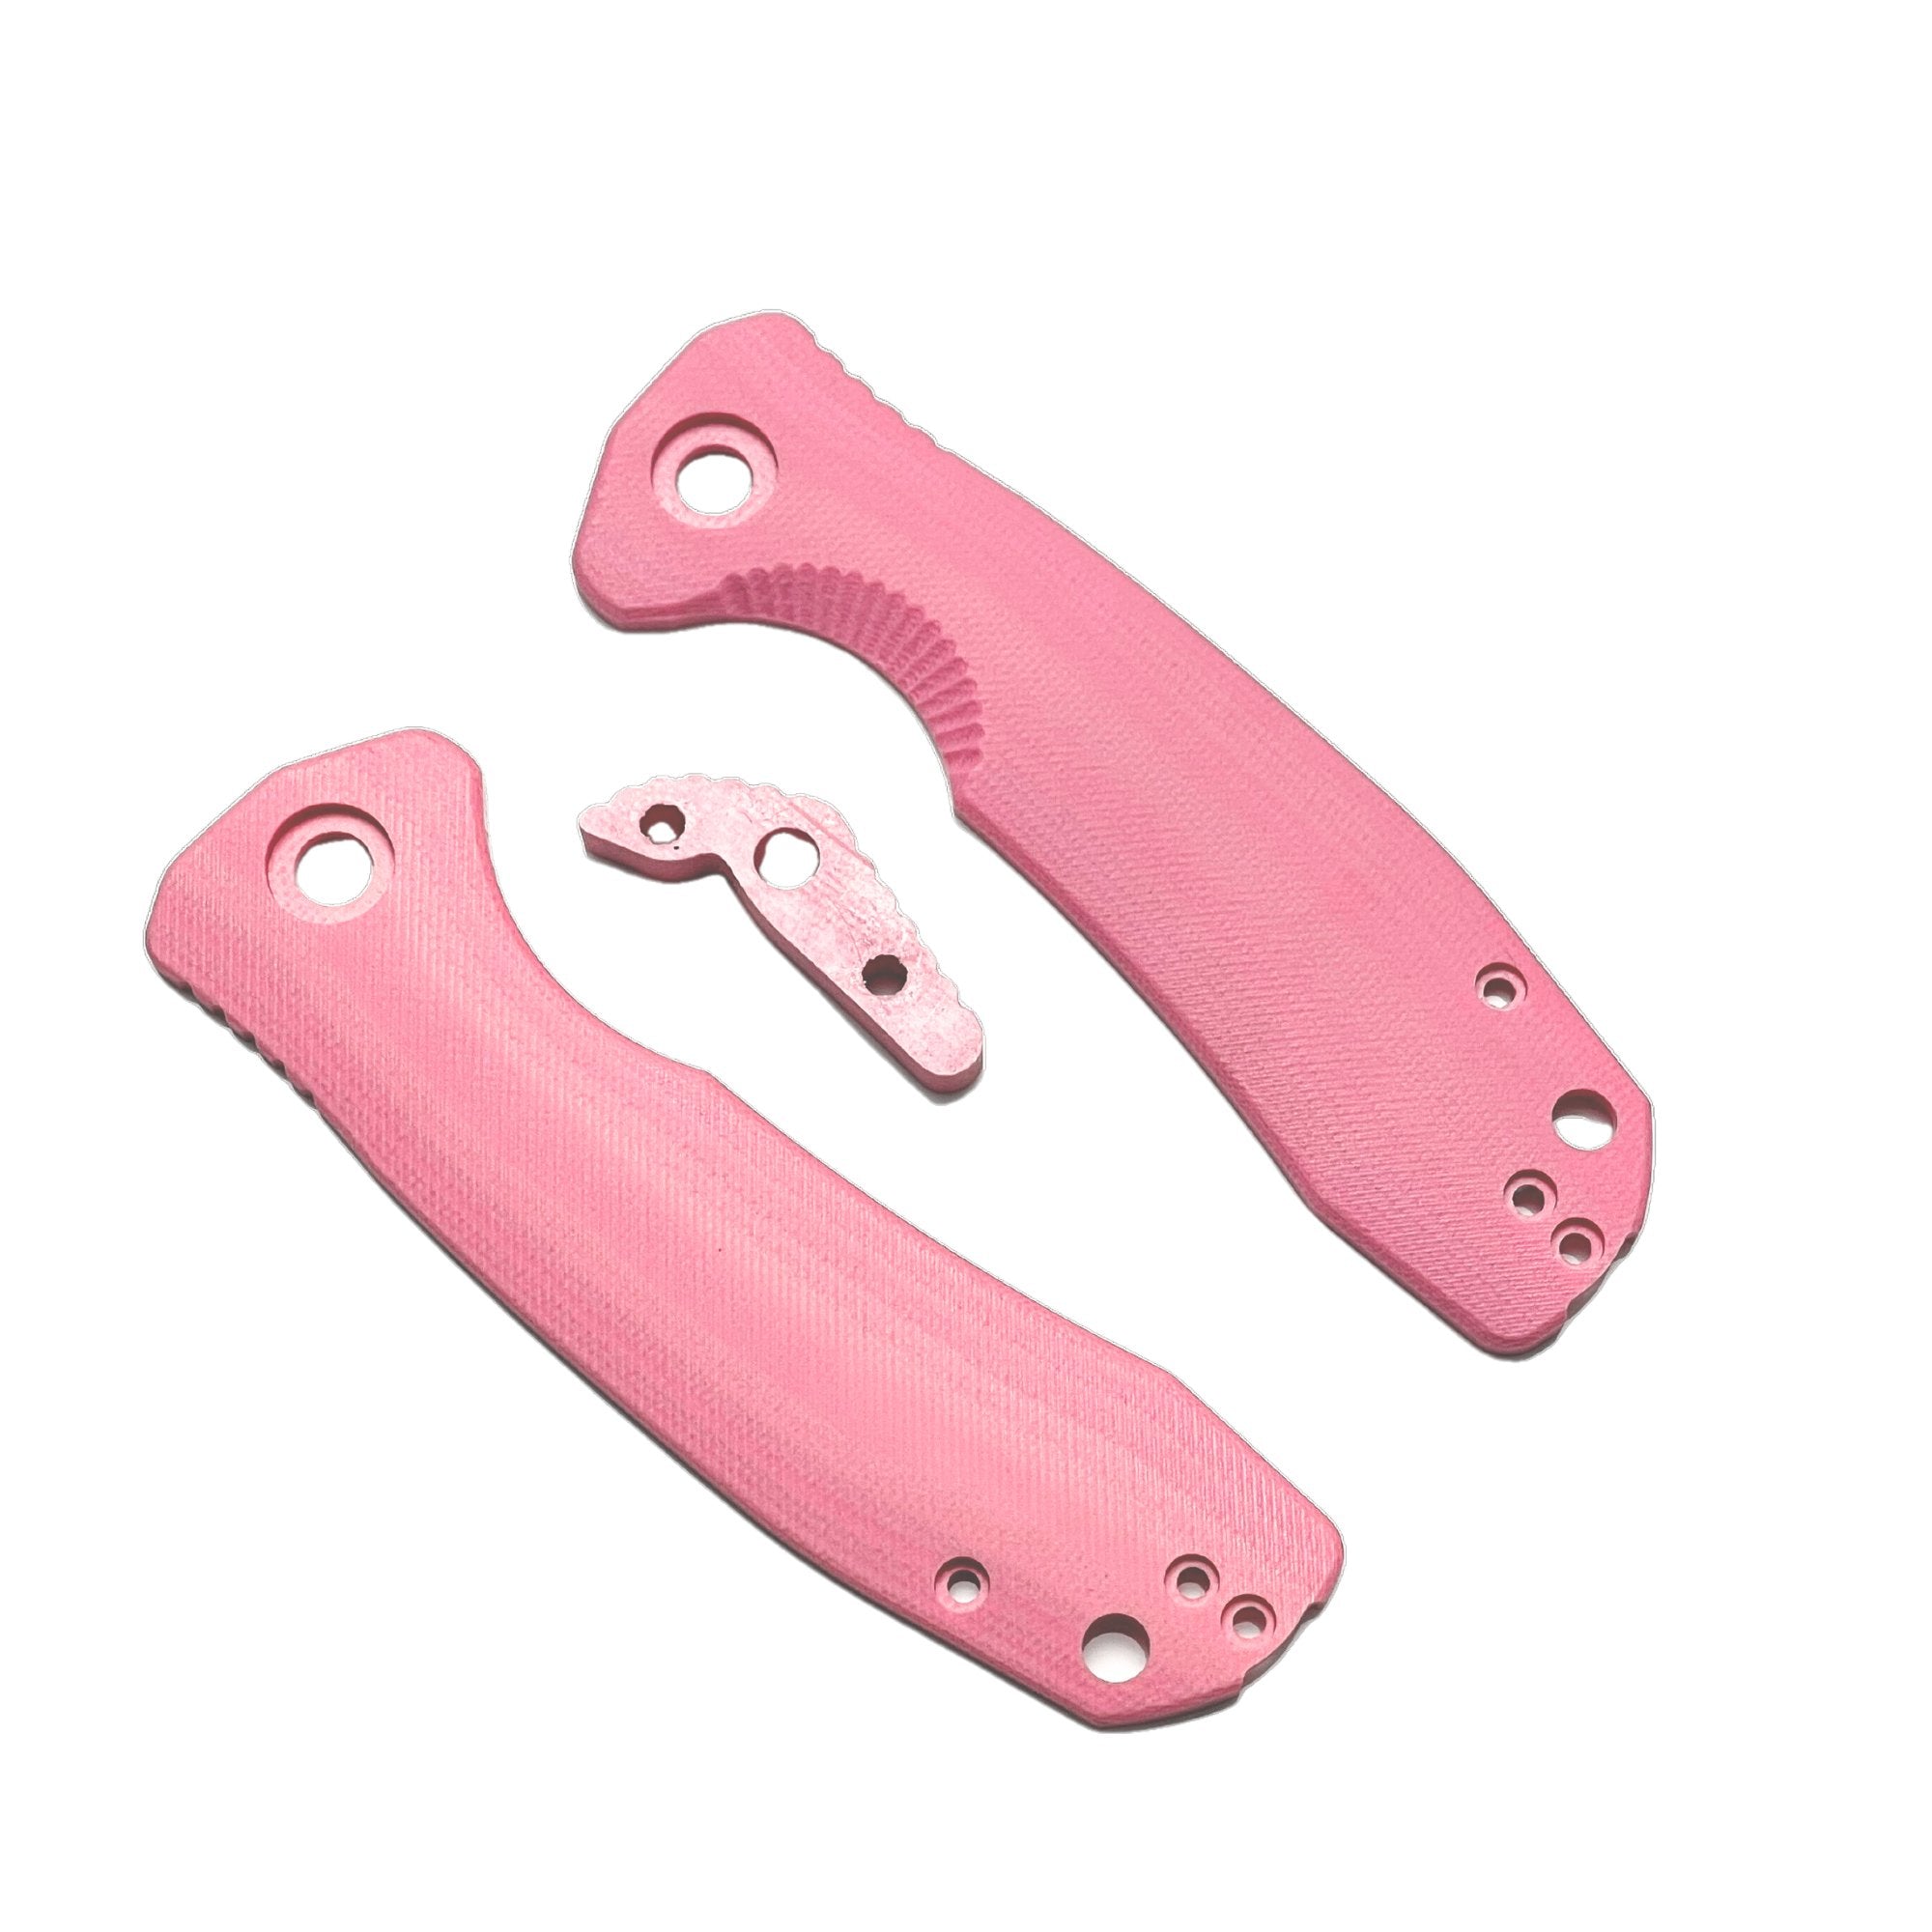
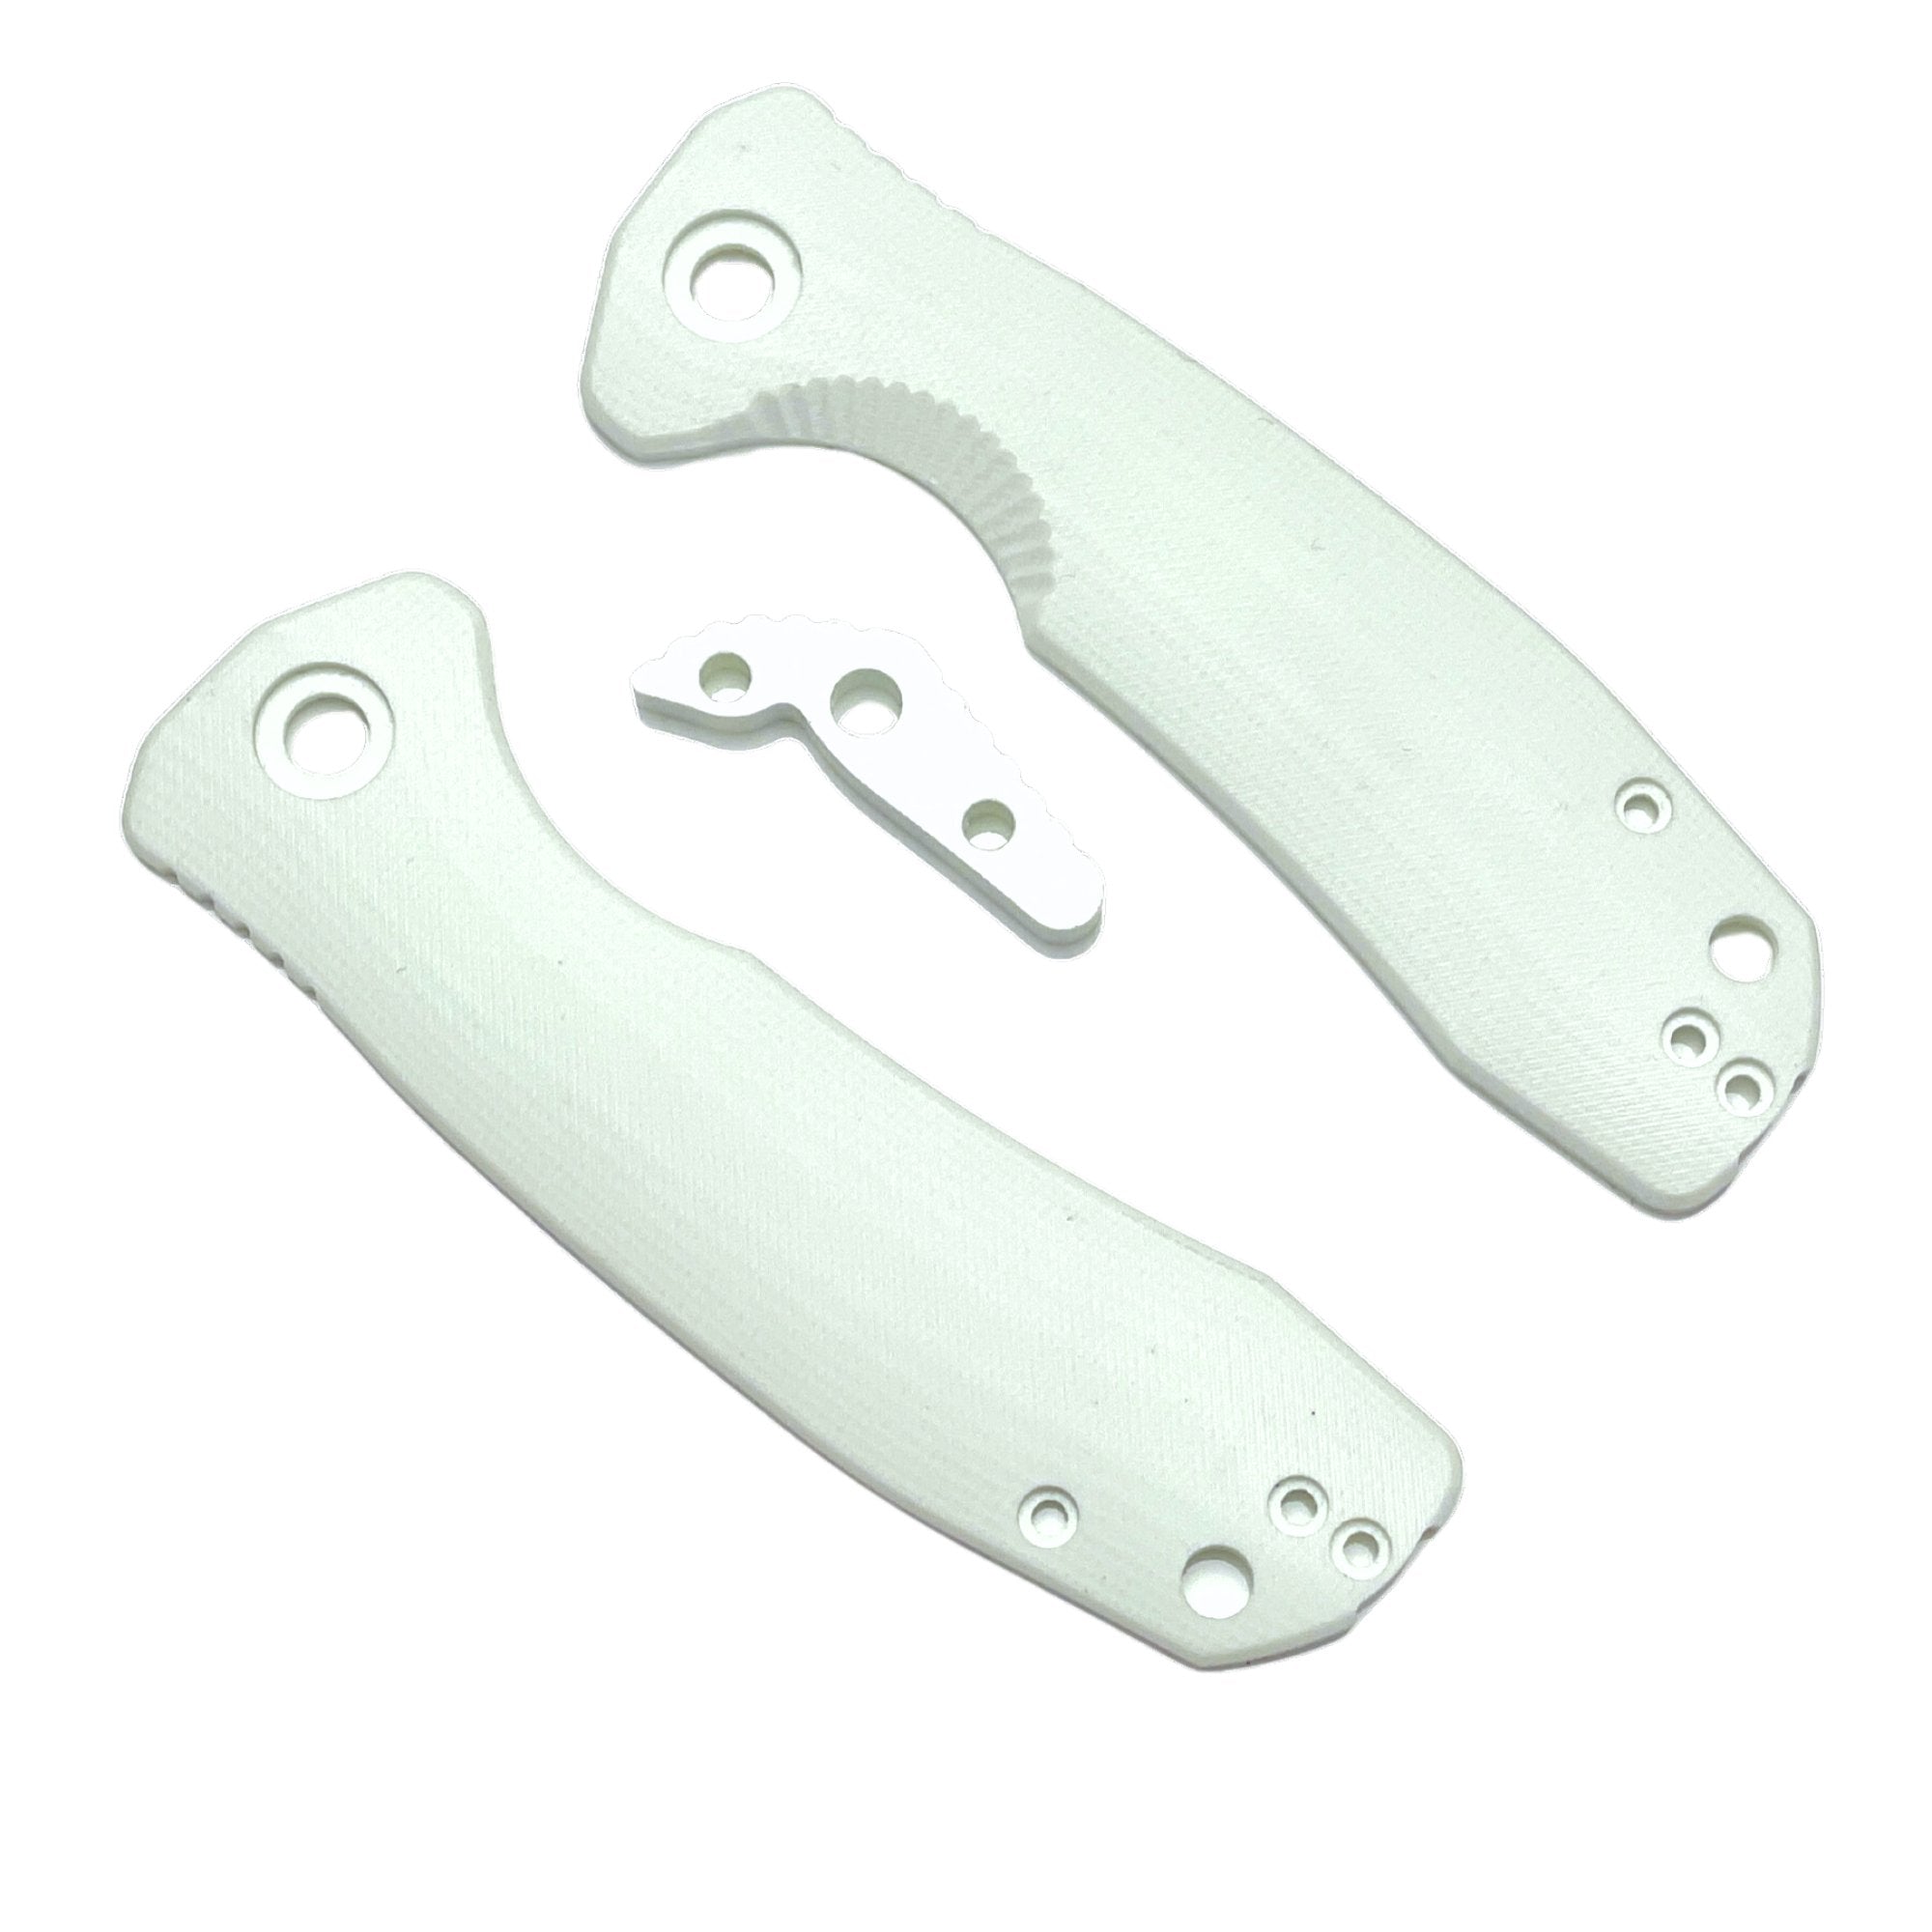
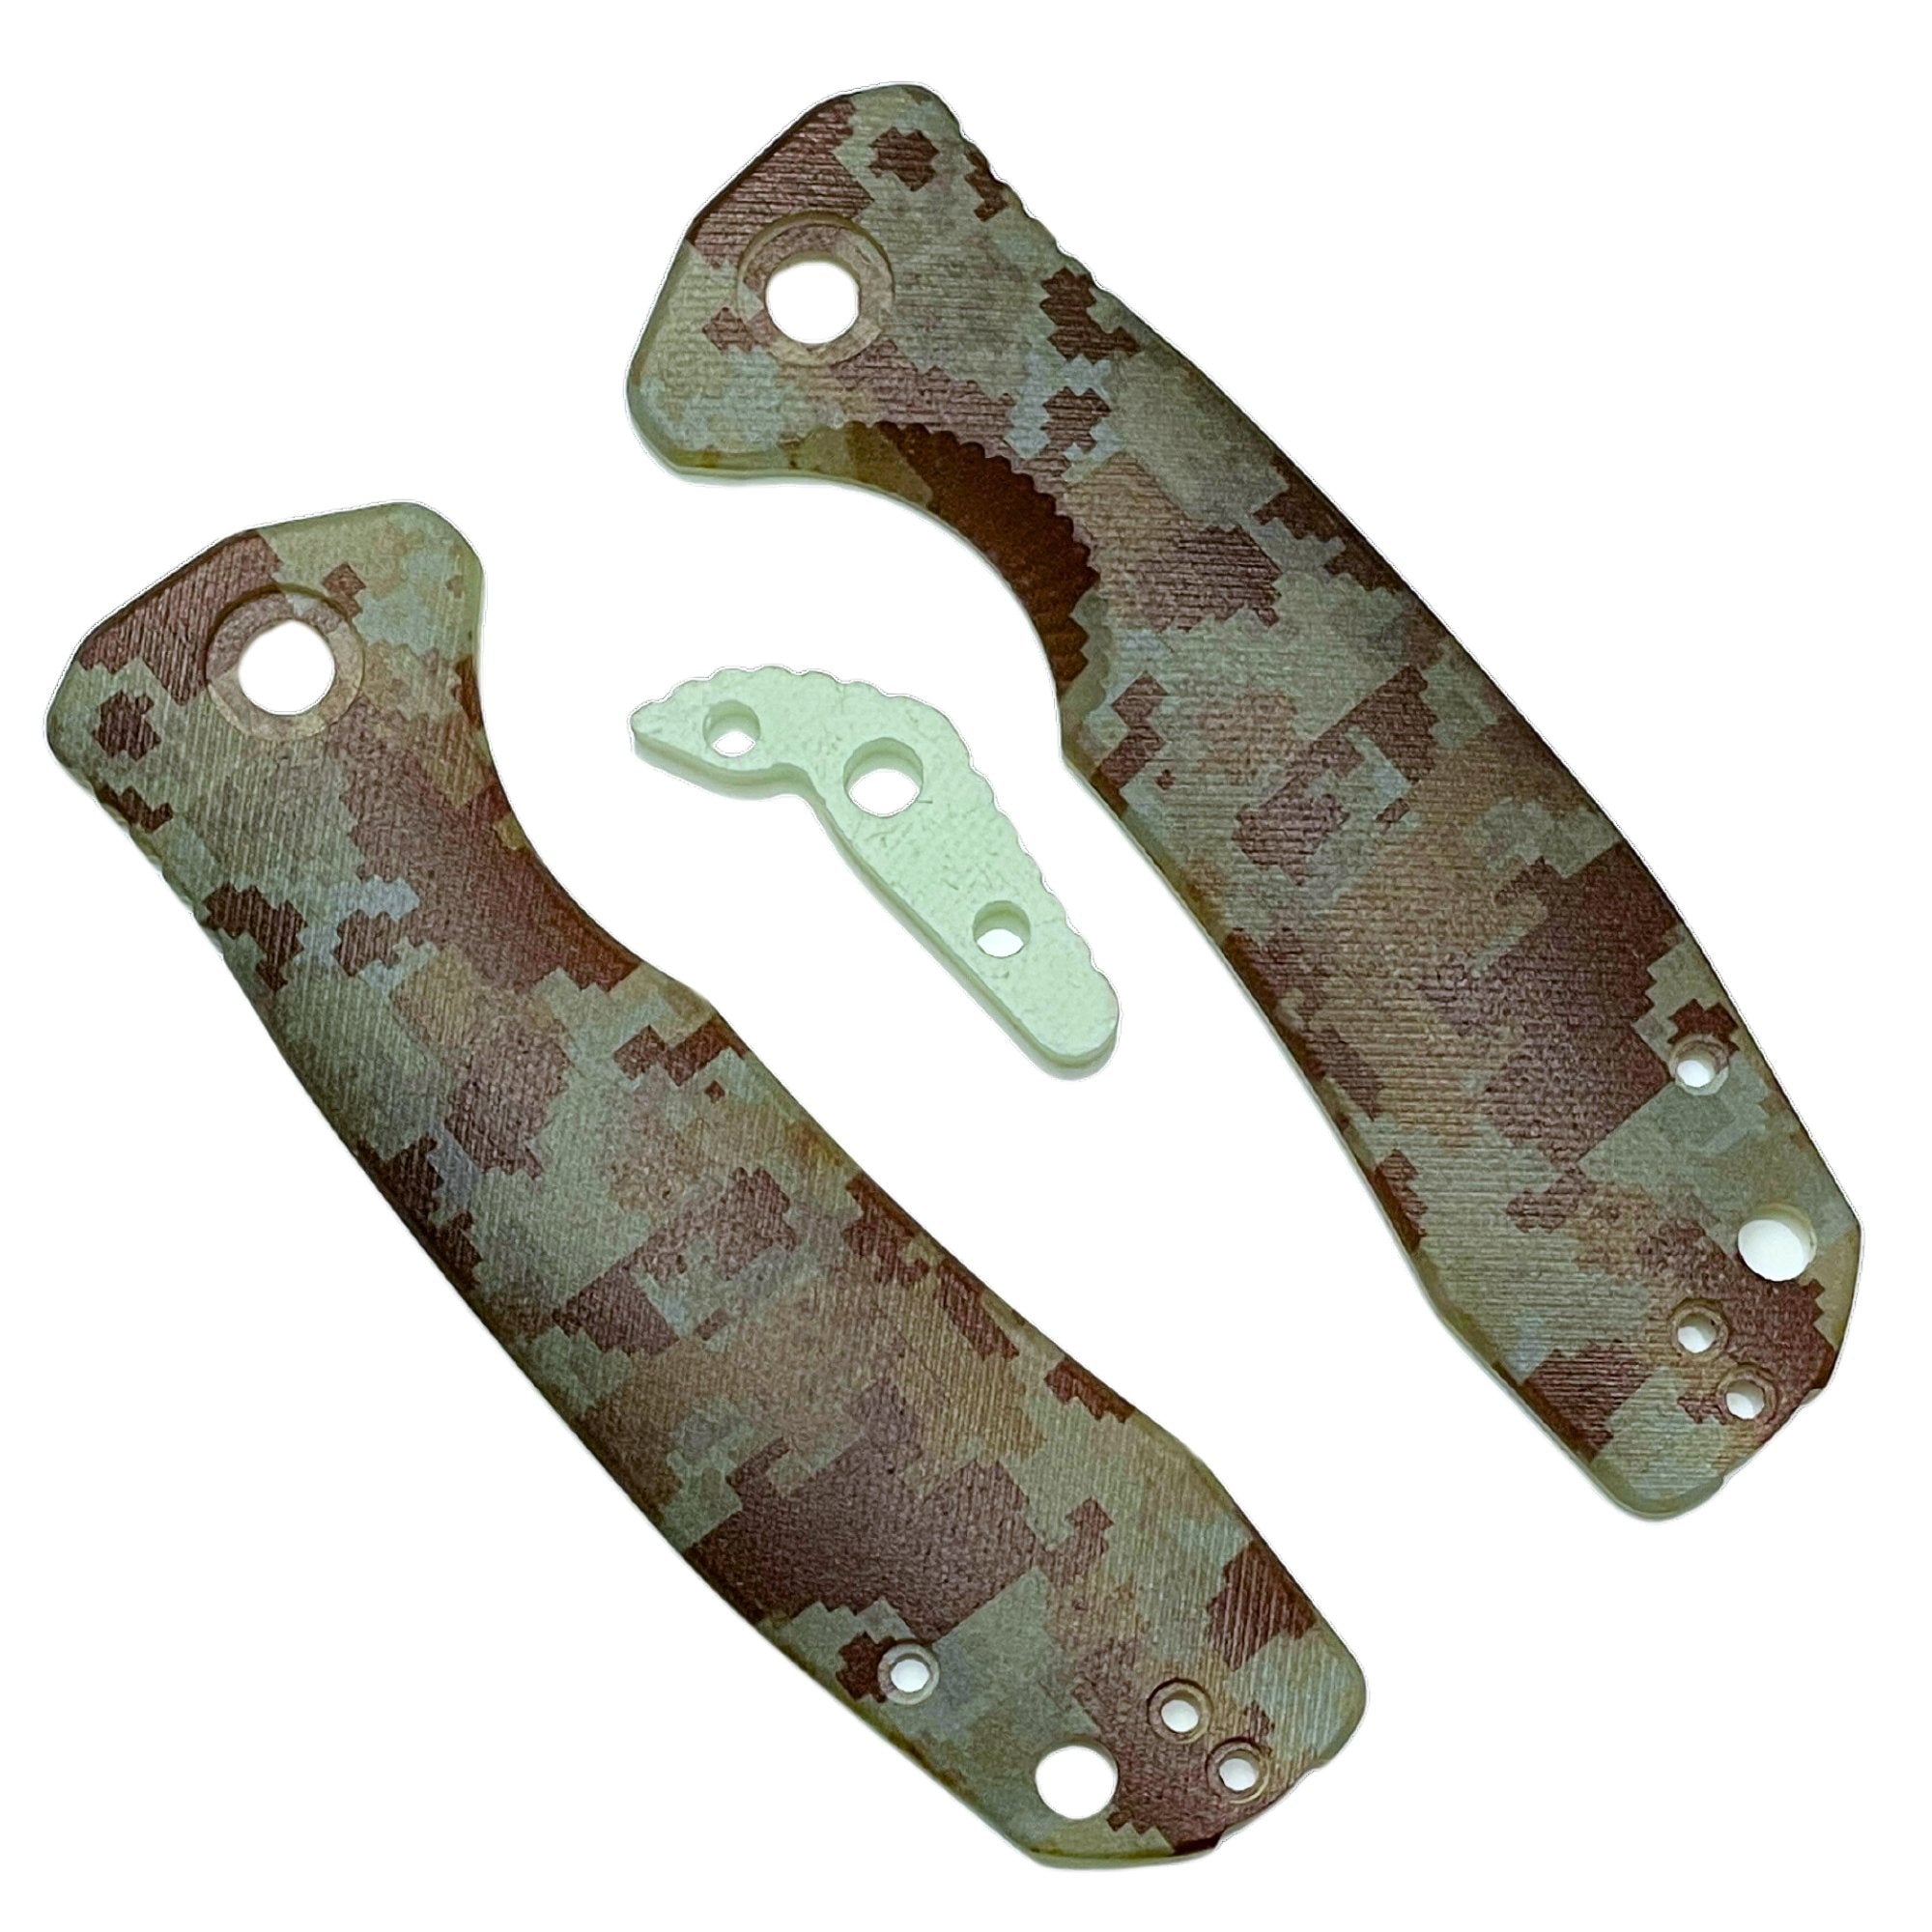
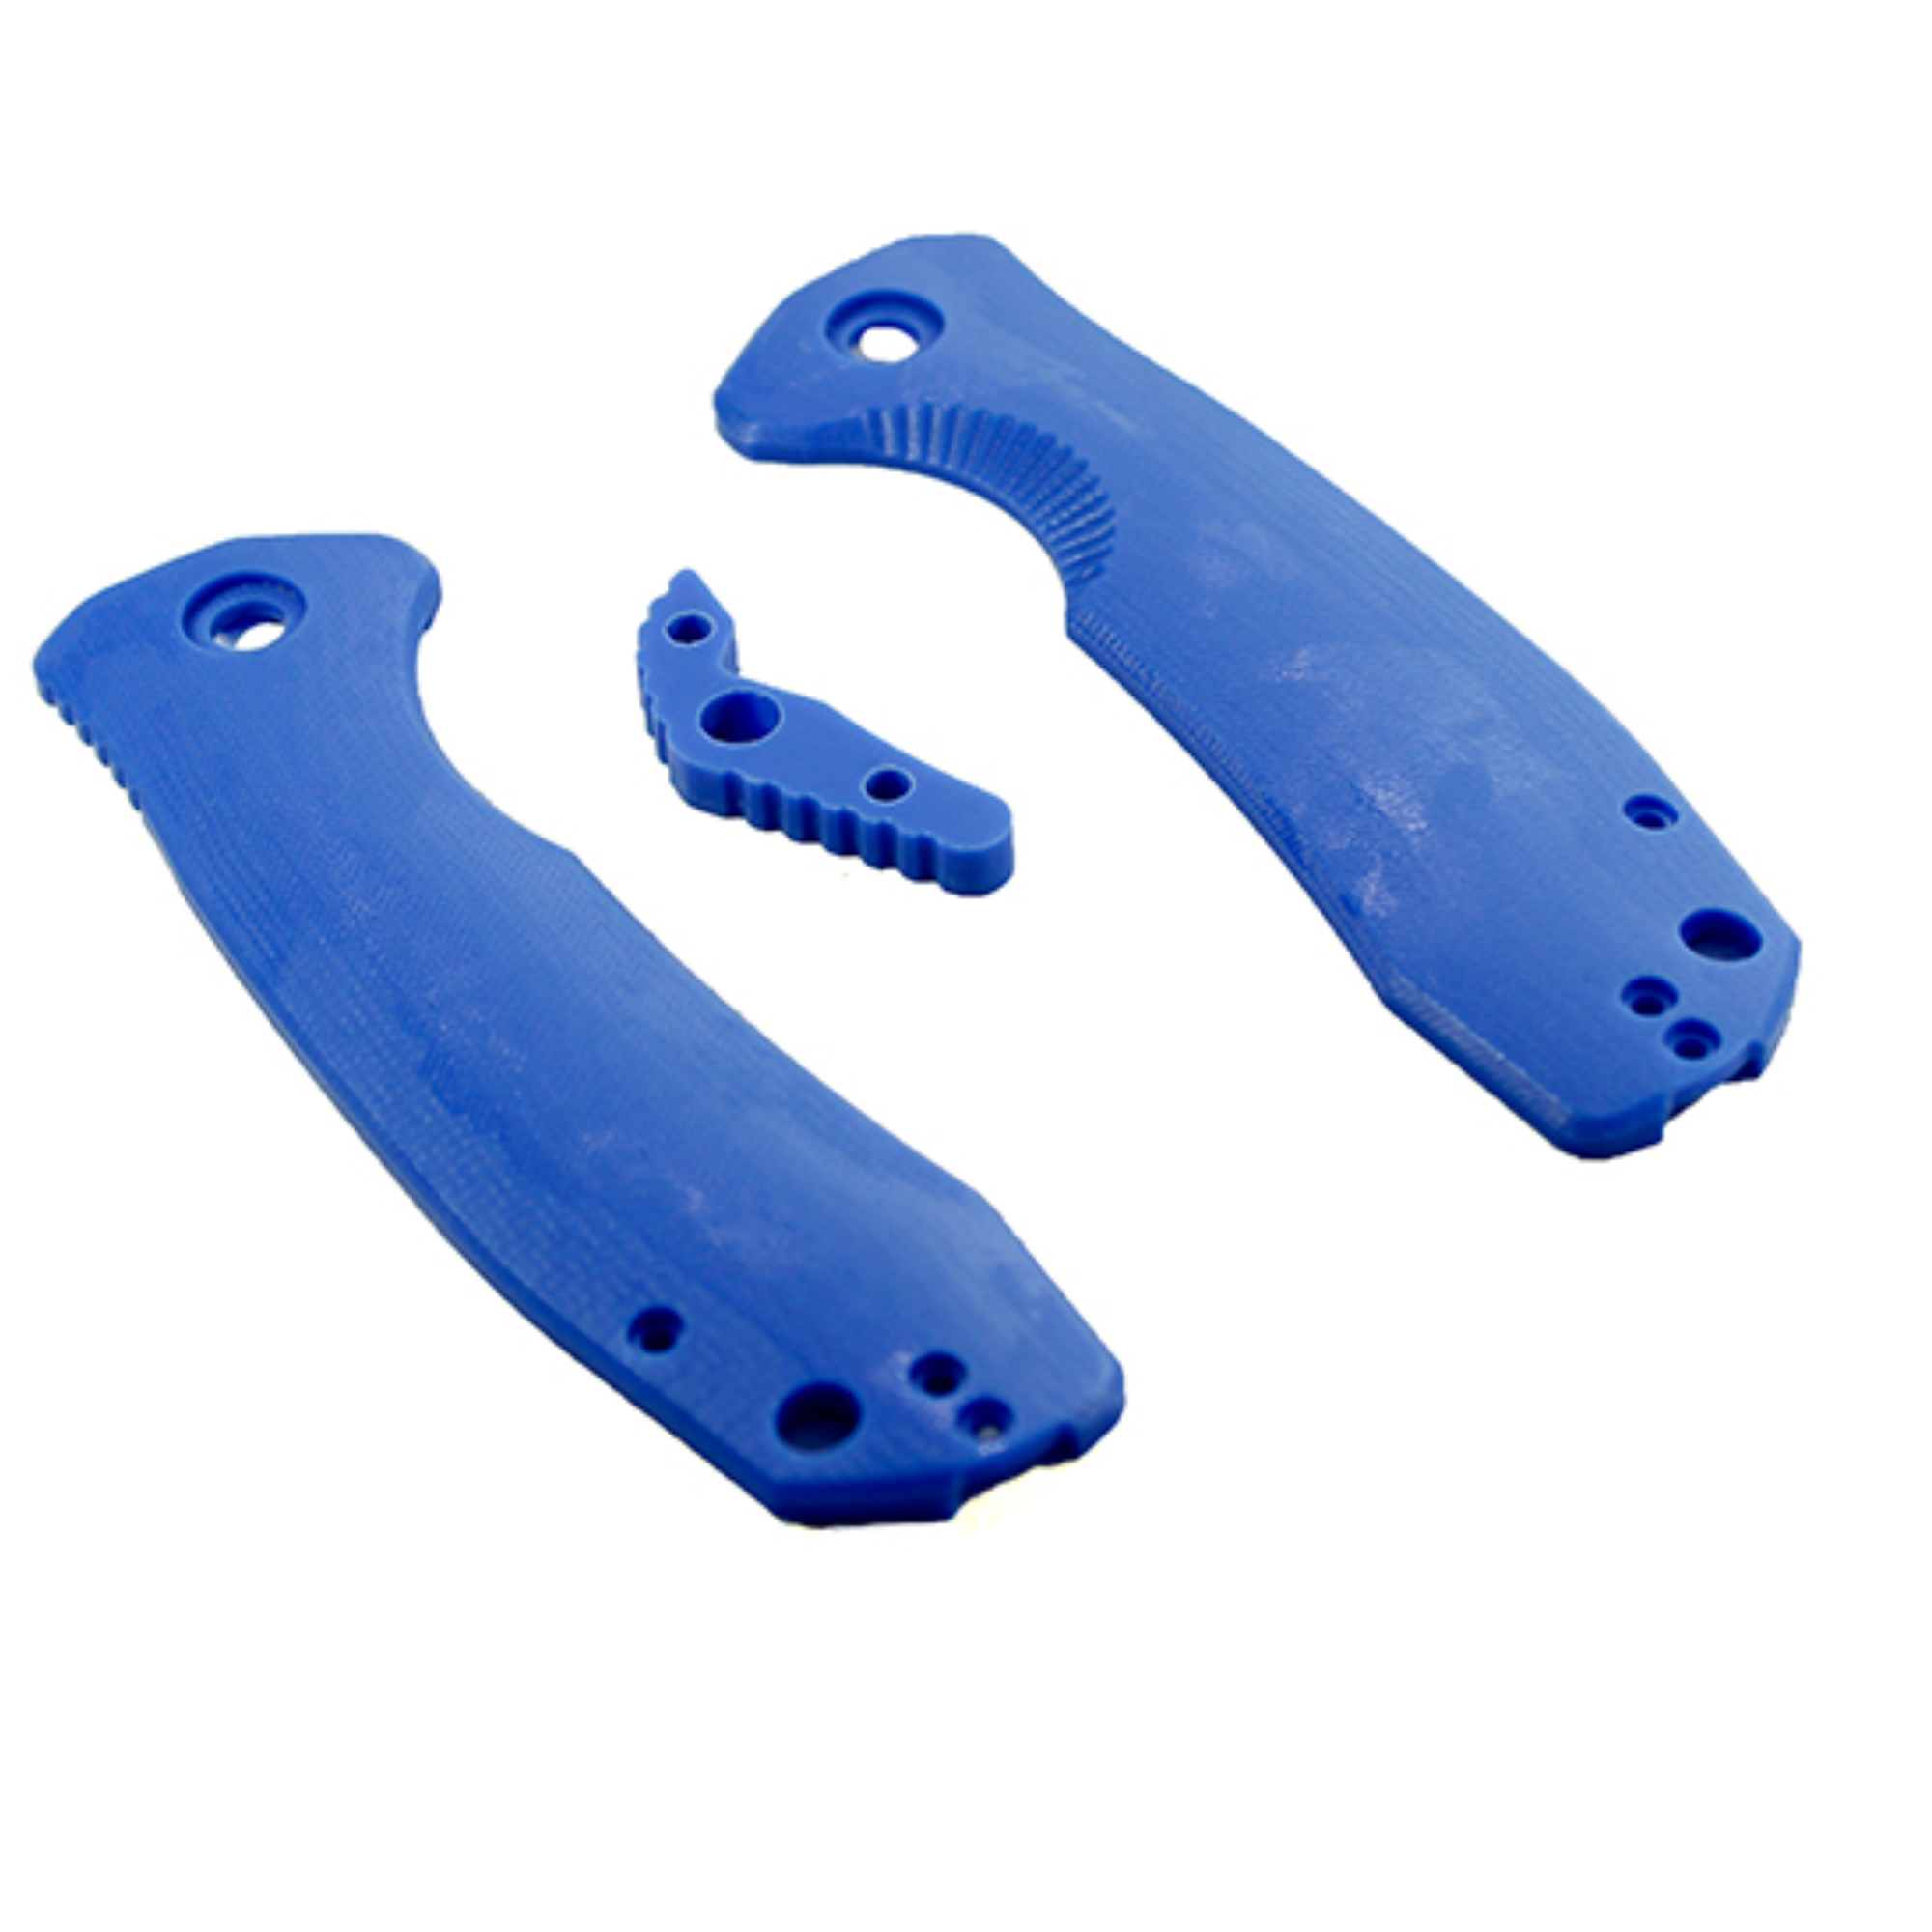
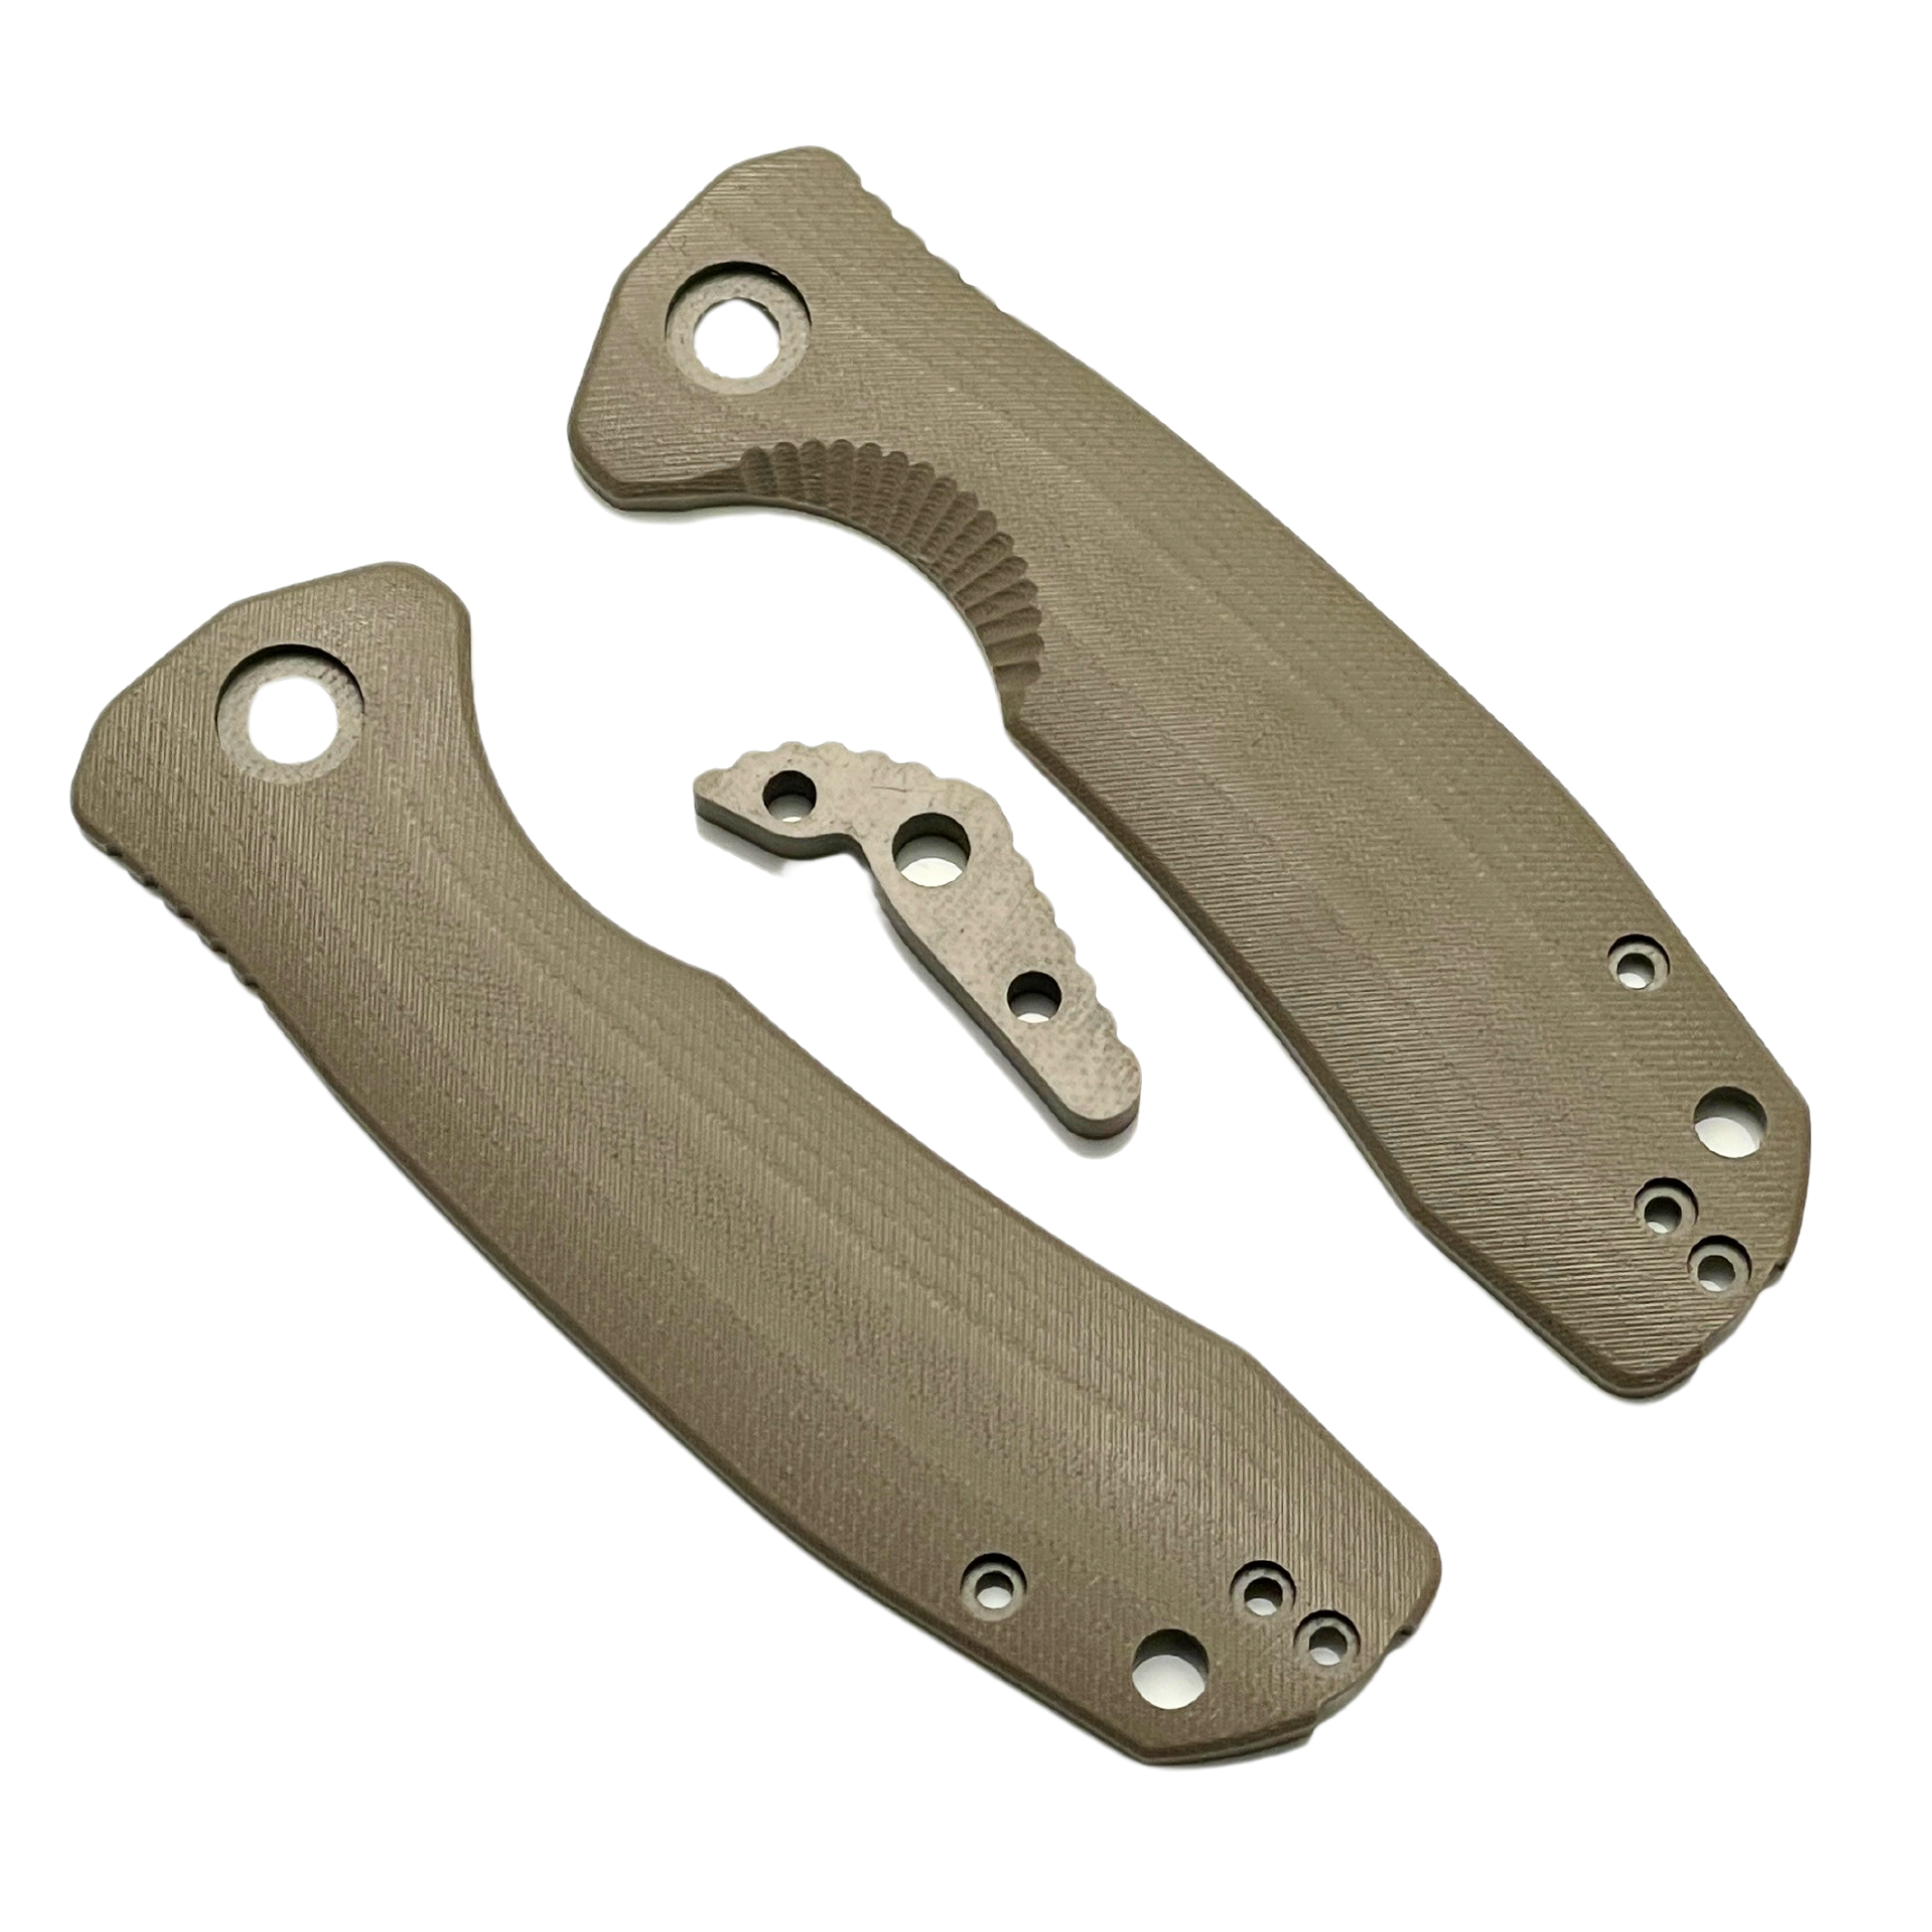
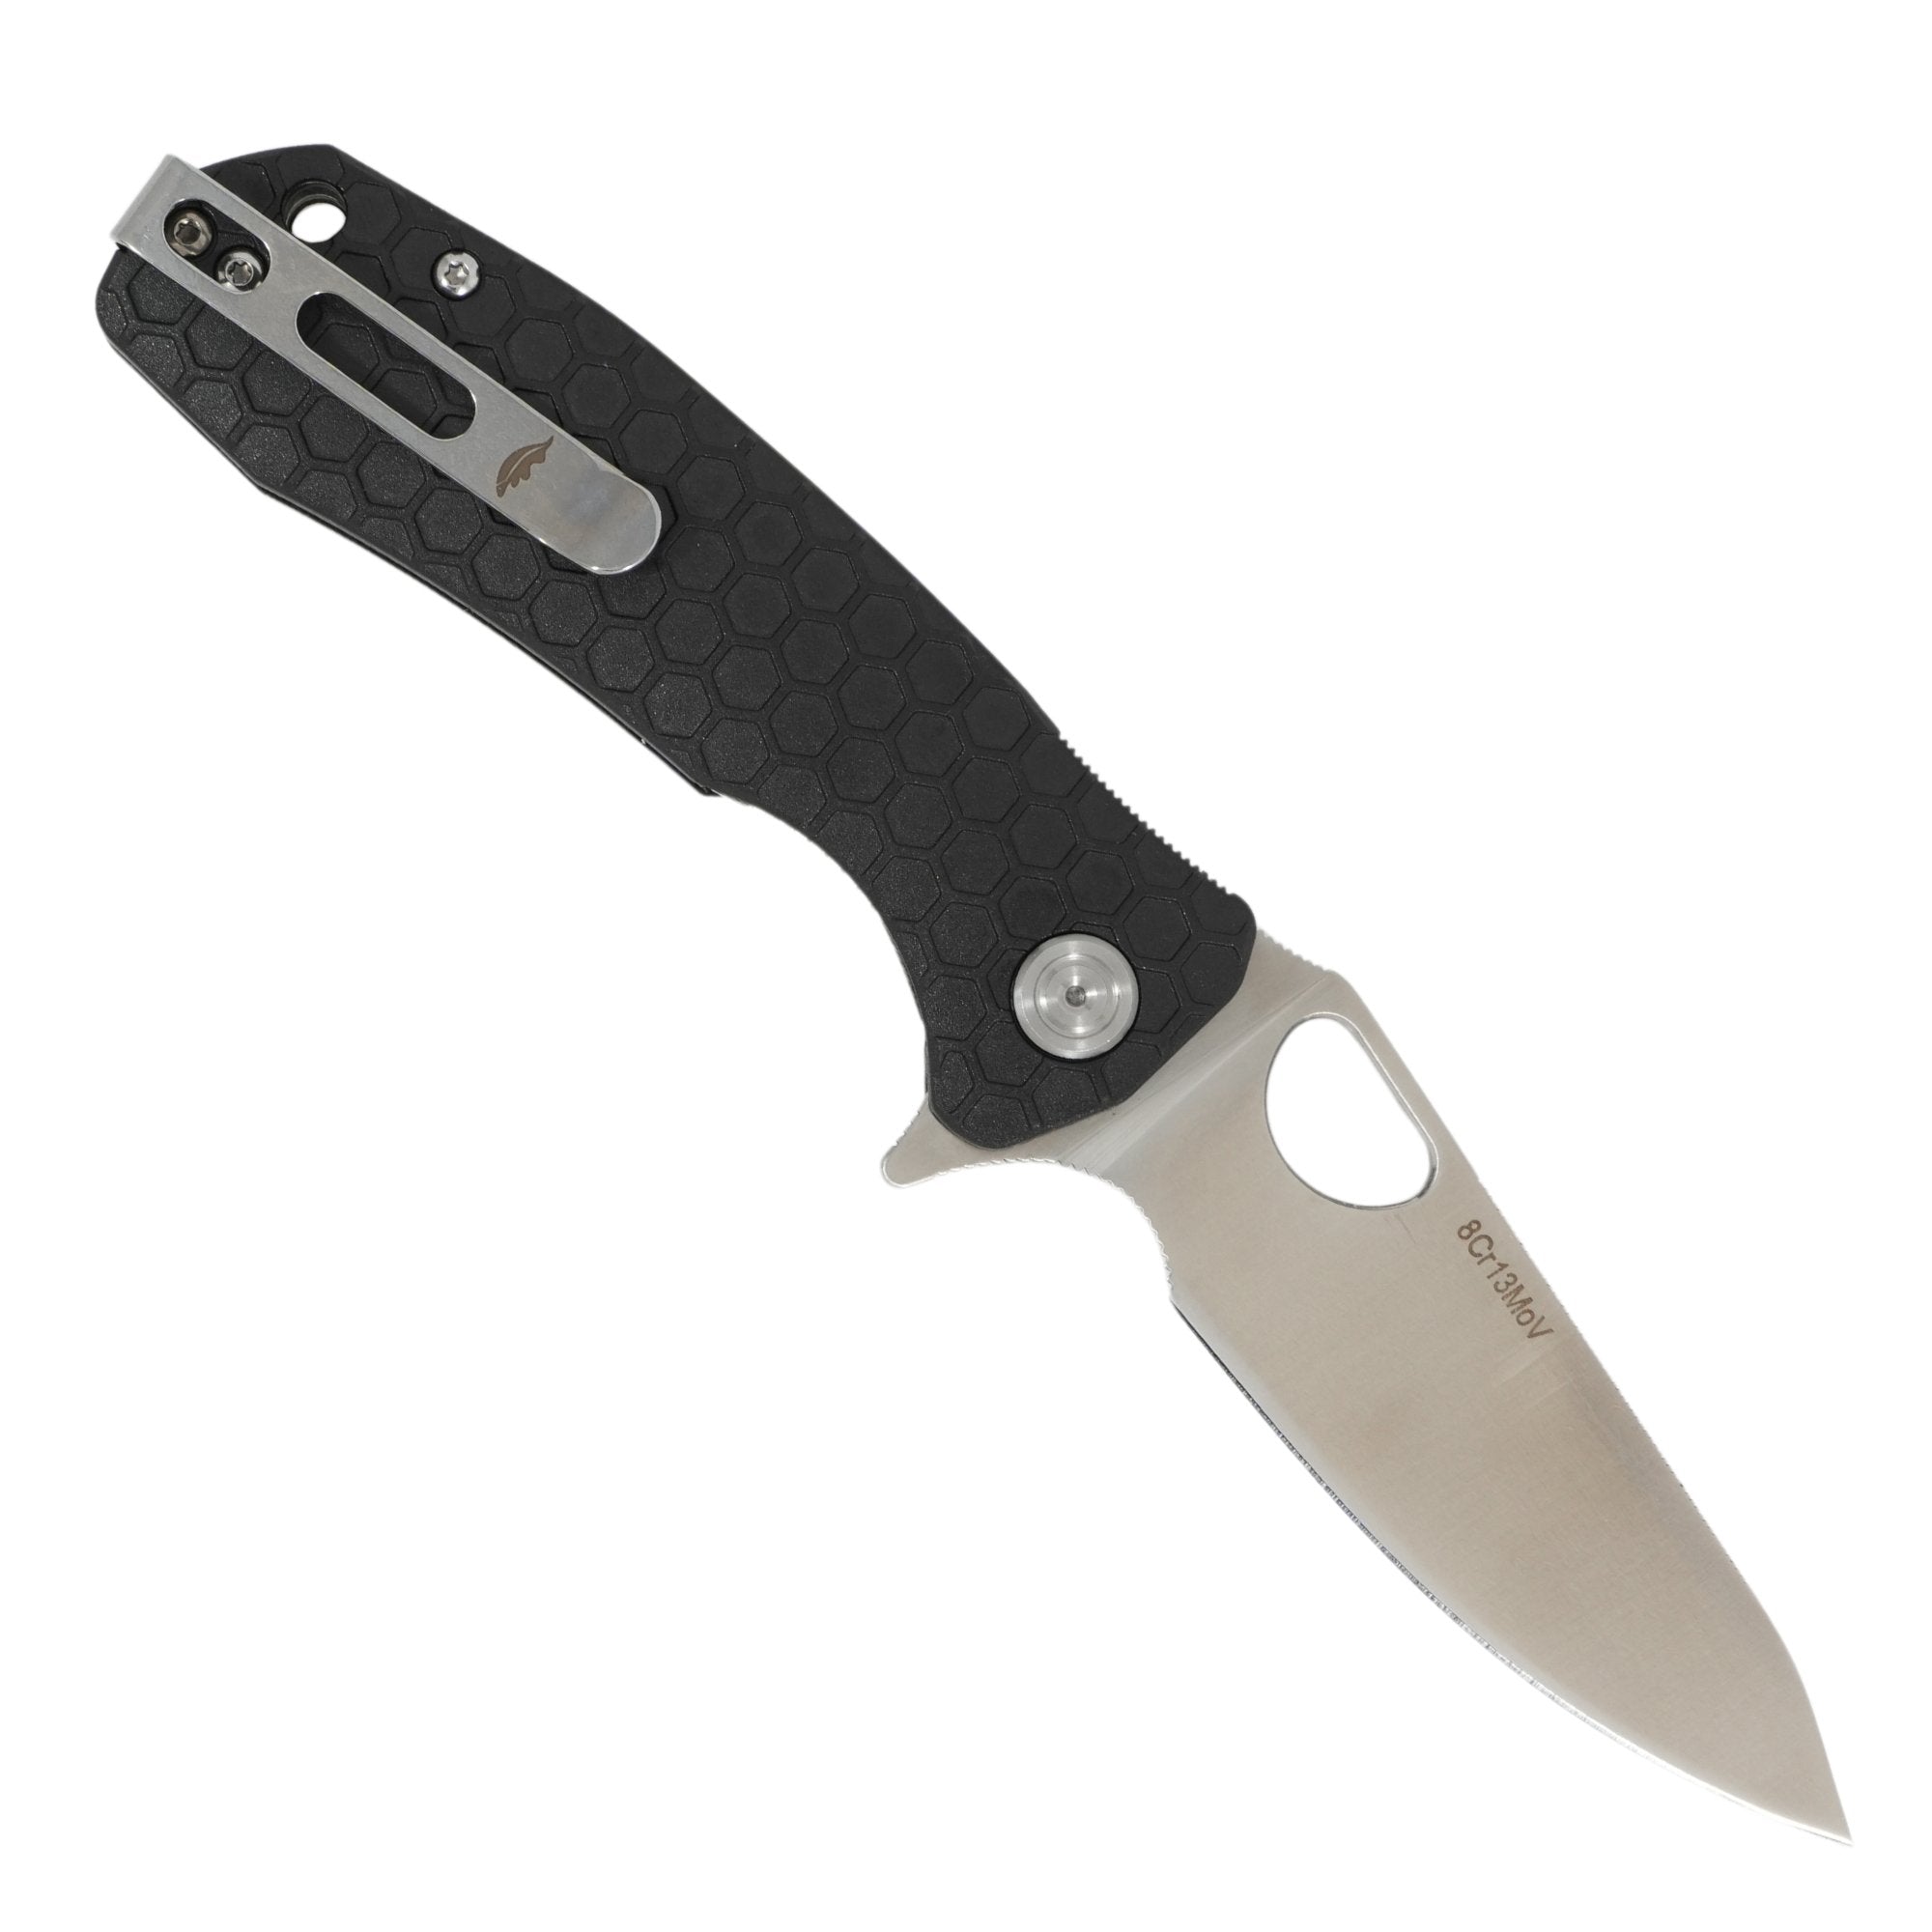
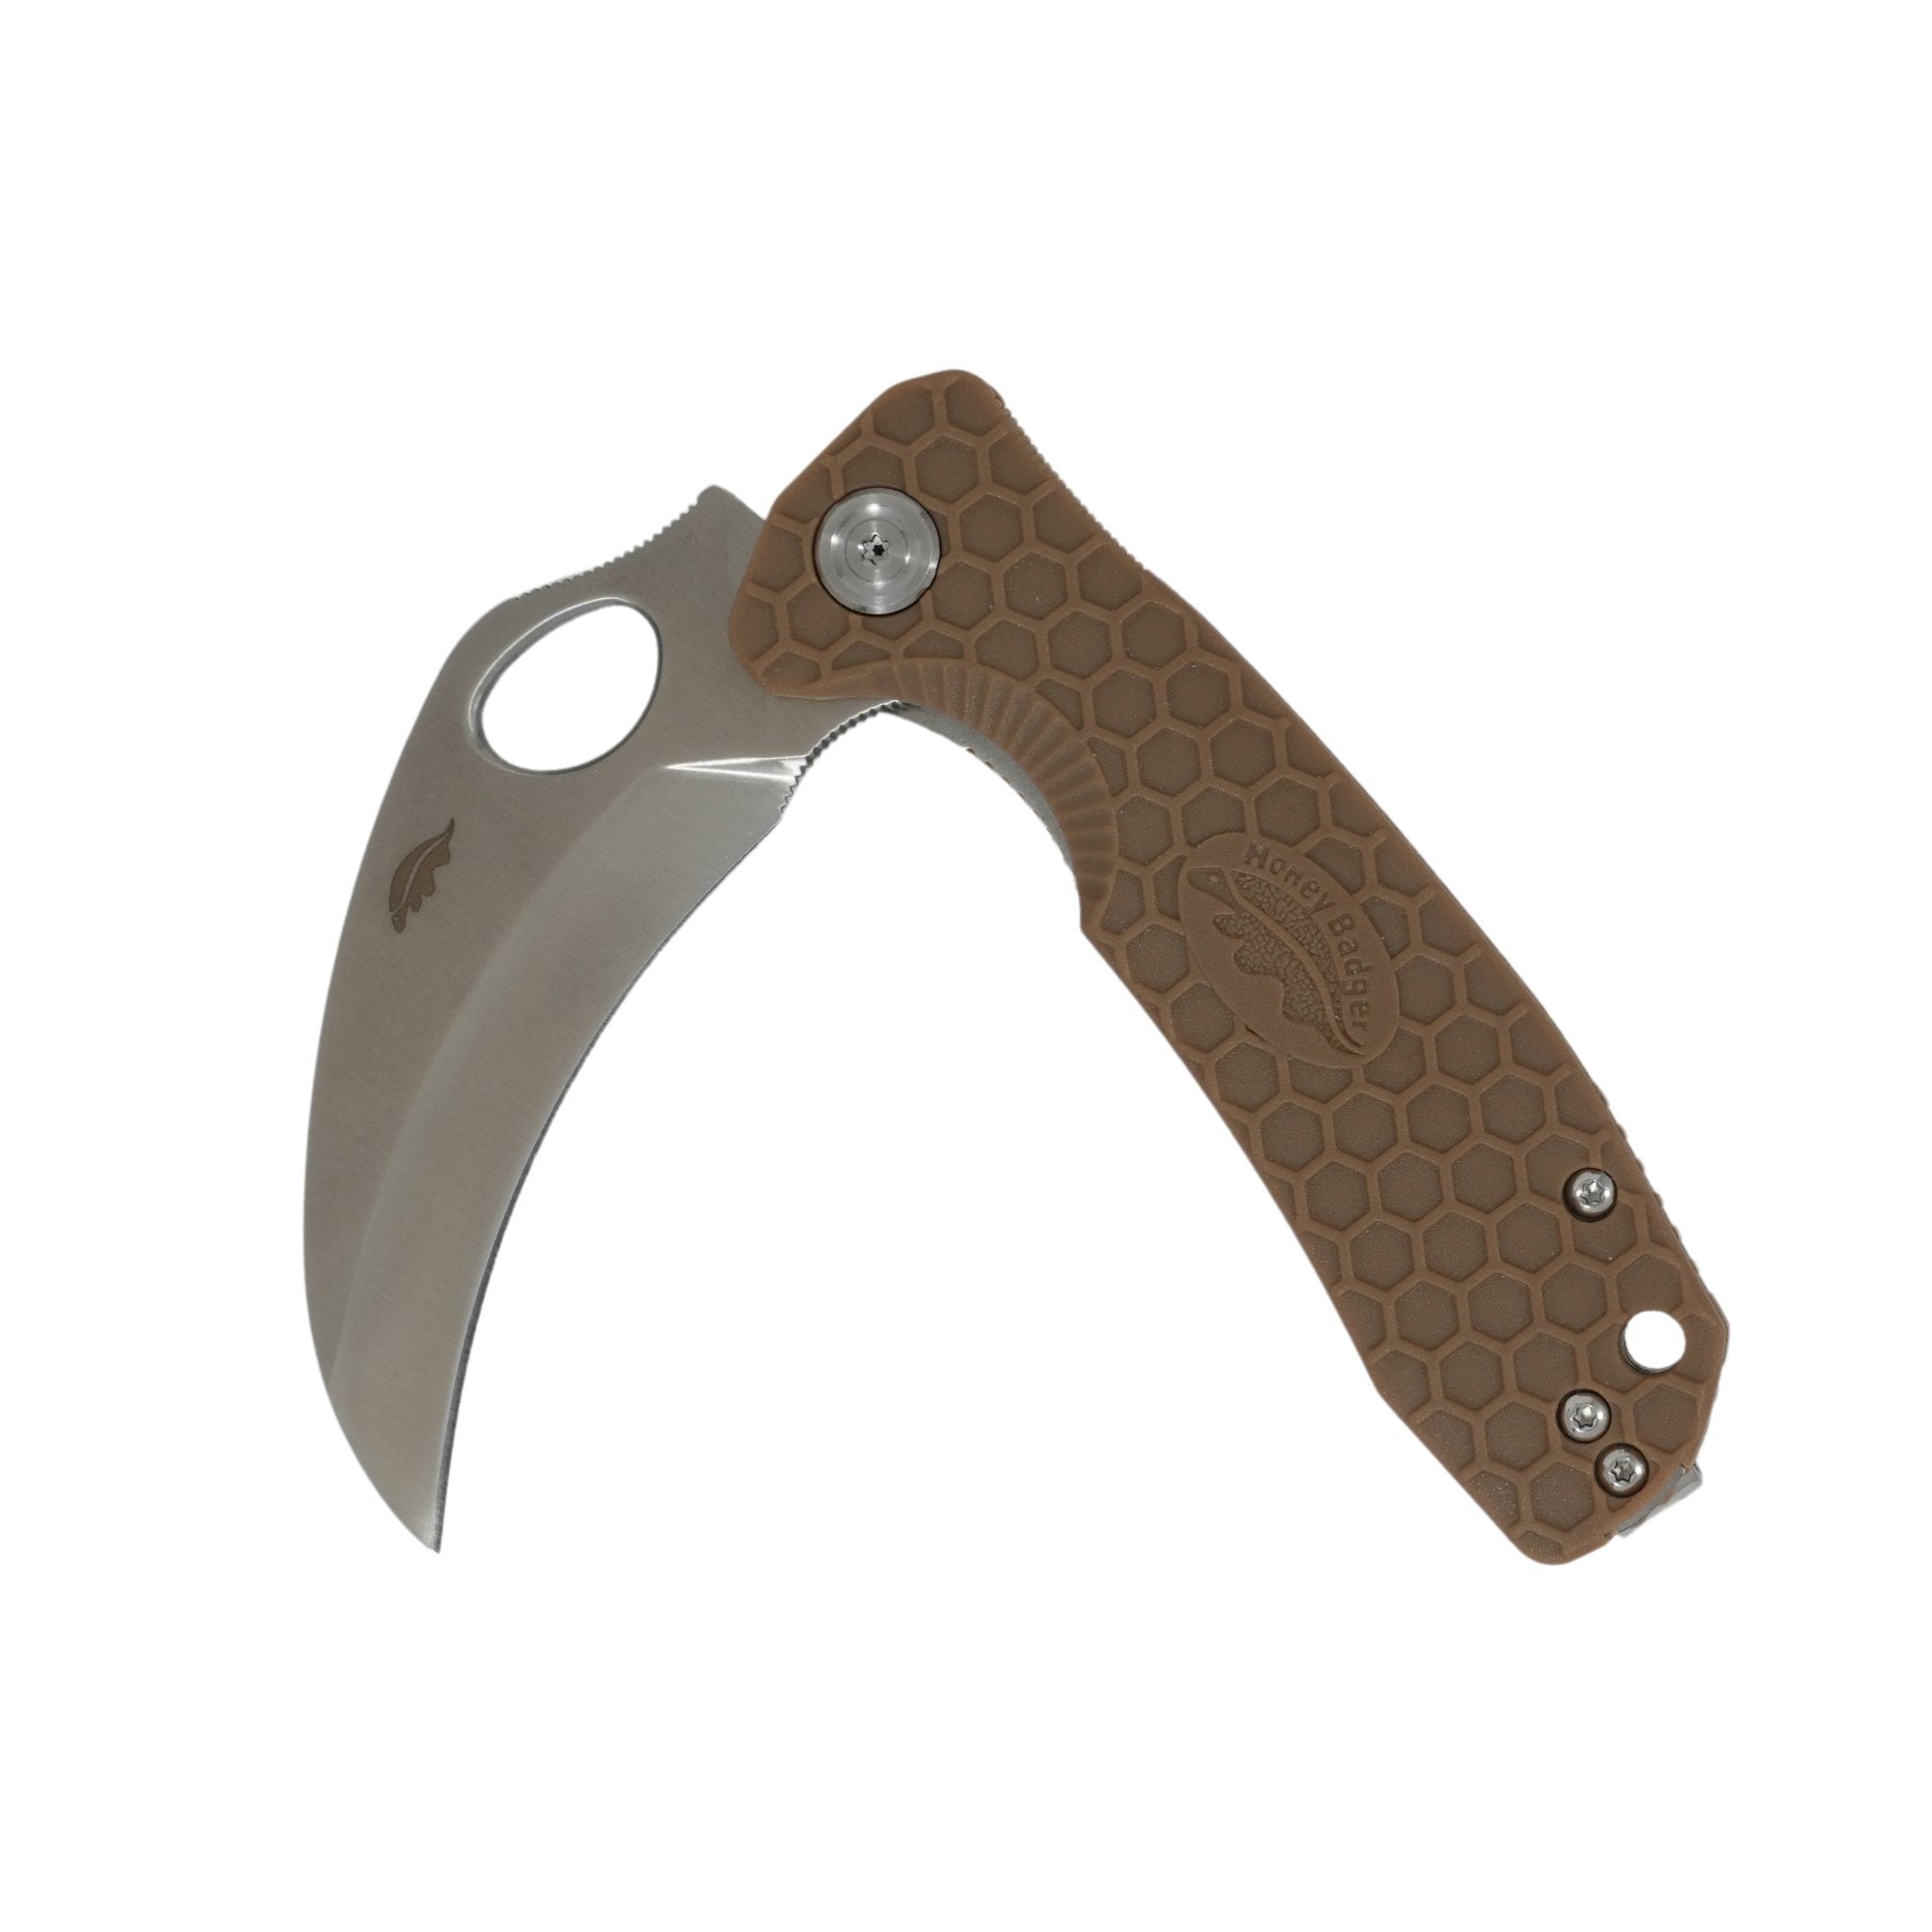
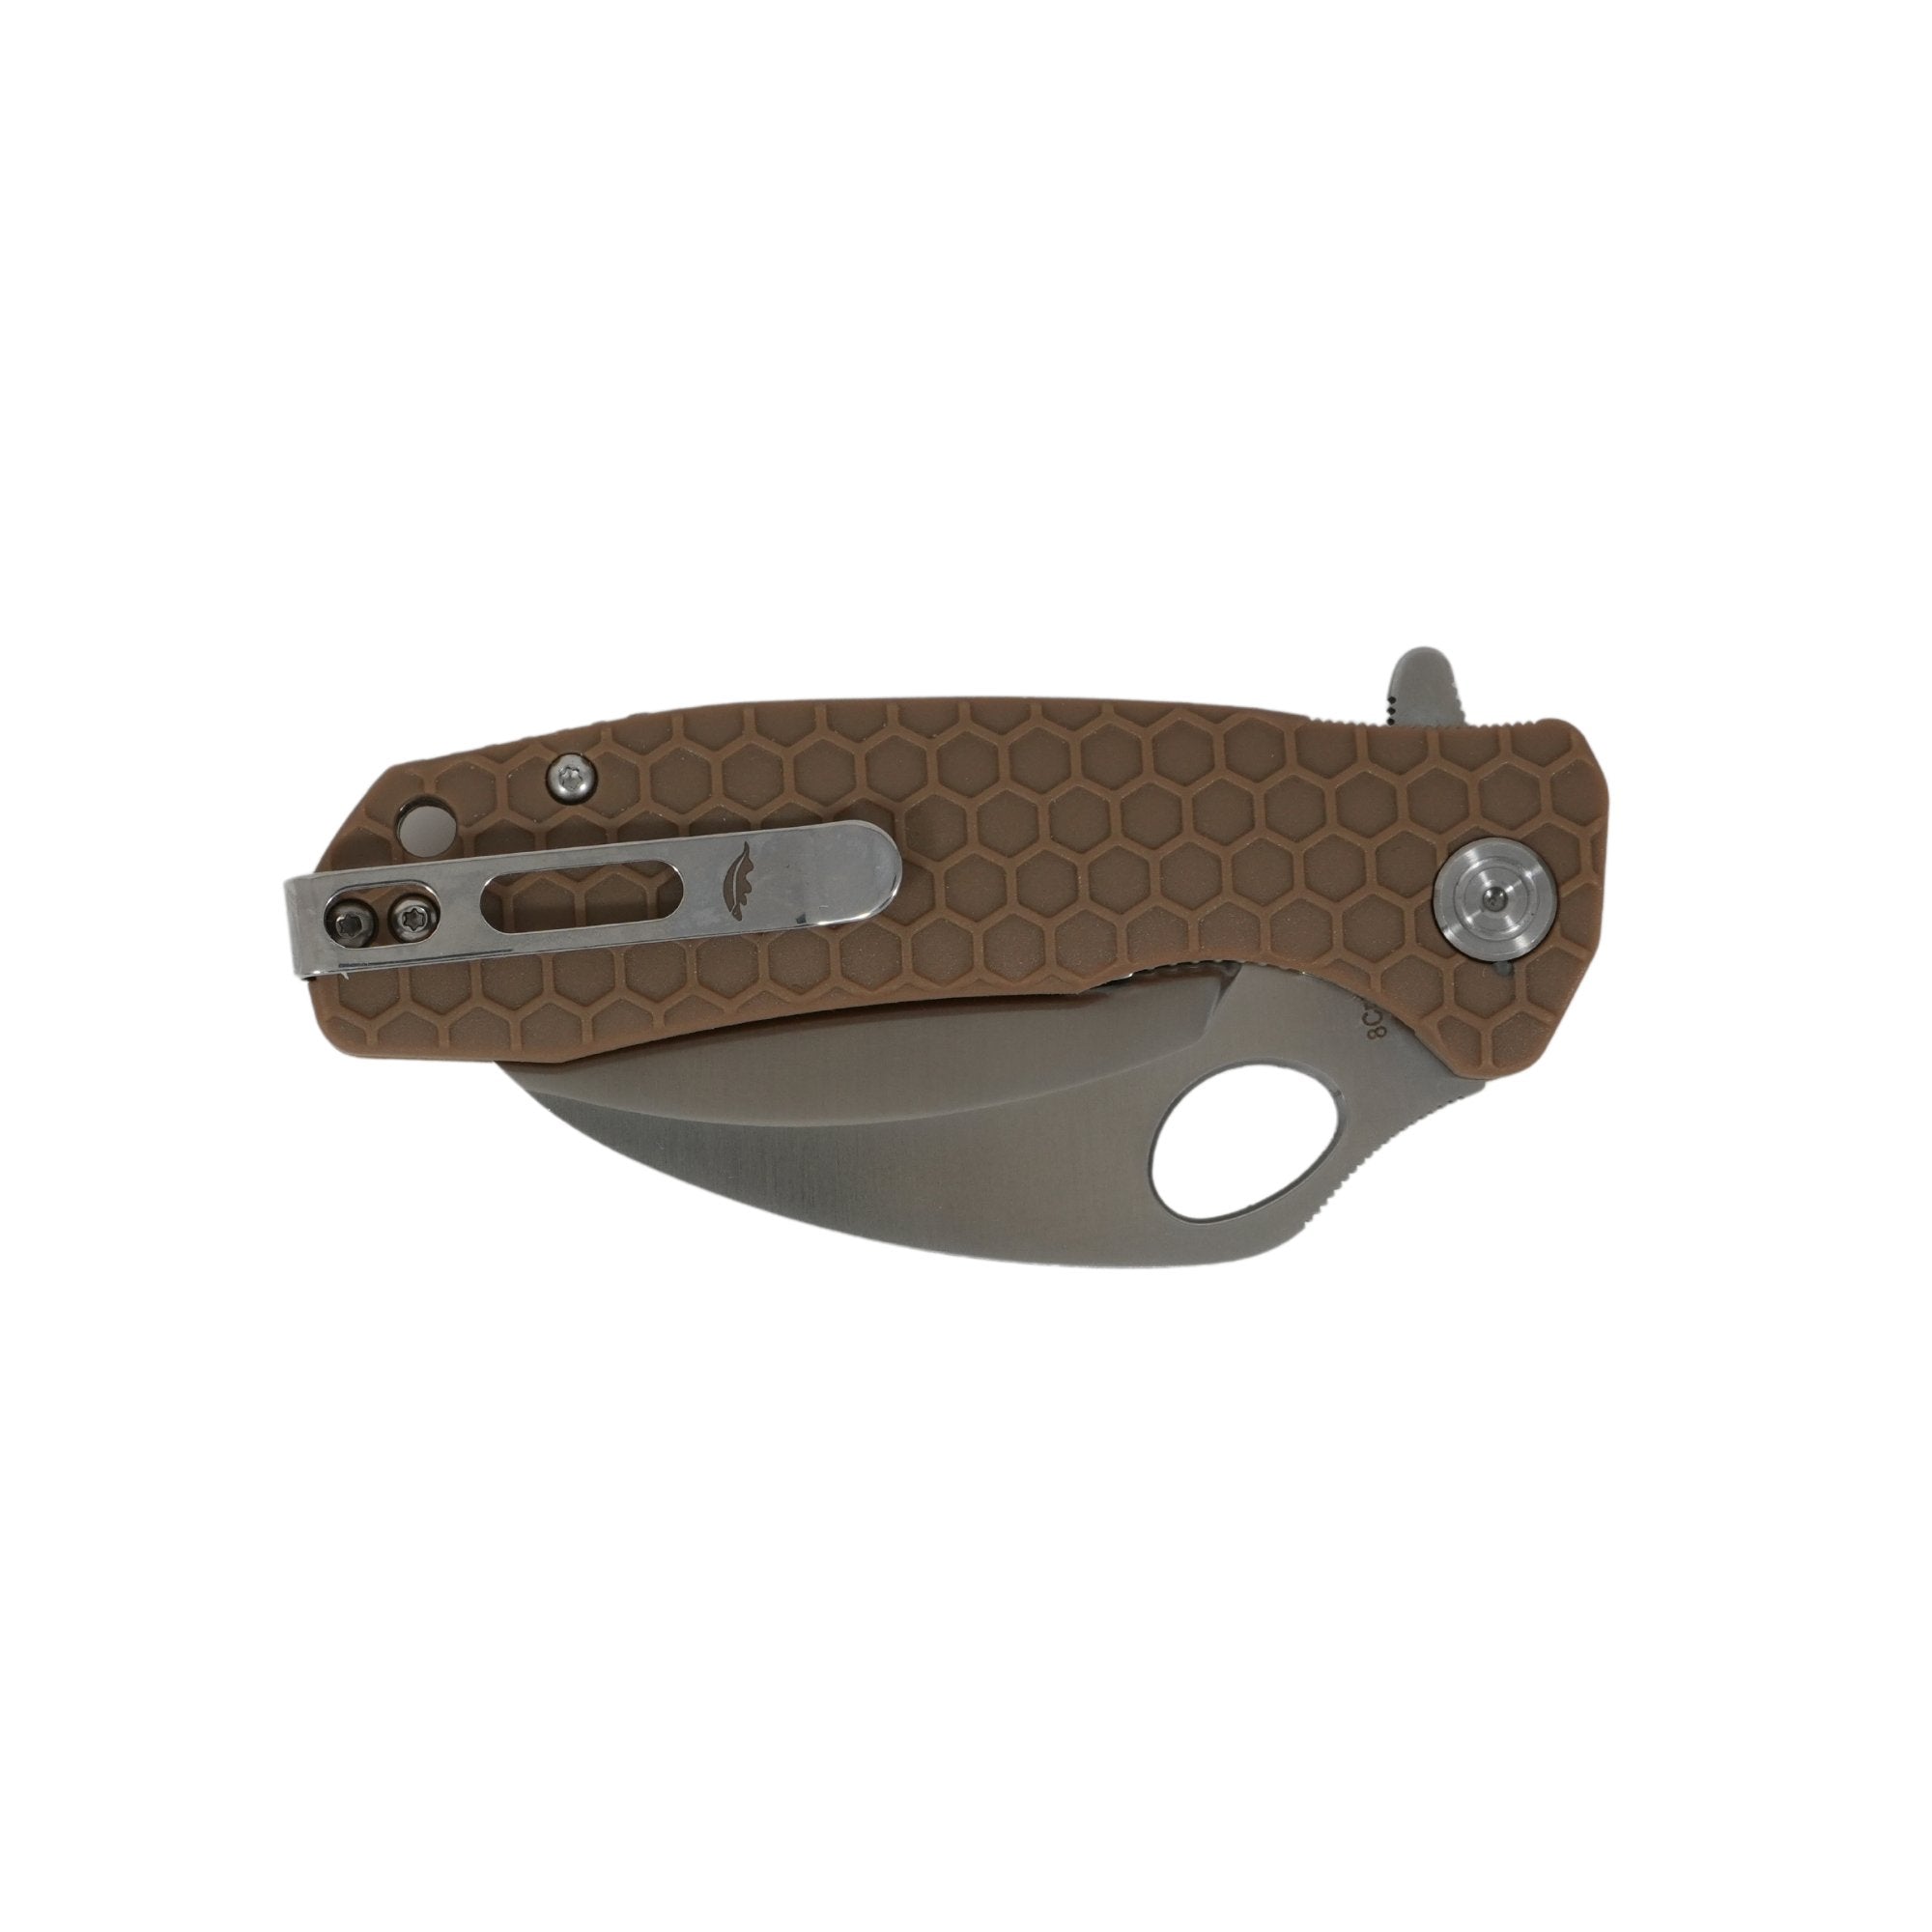
On our accessories page we list a number of handle upgrades. Here is a brief pictorial summary to help you do your handle swap.
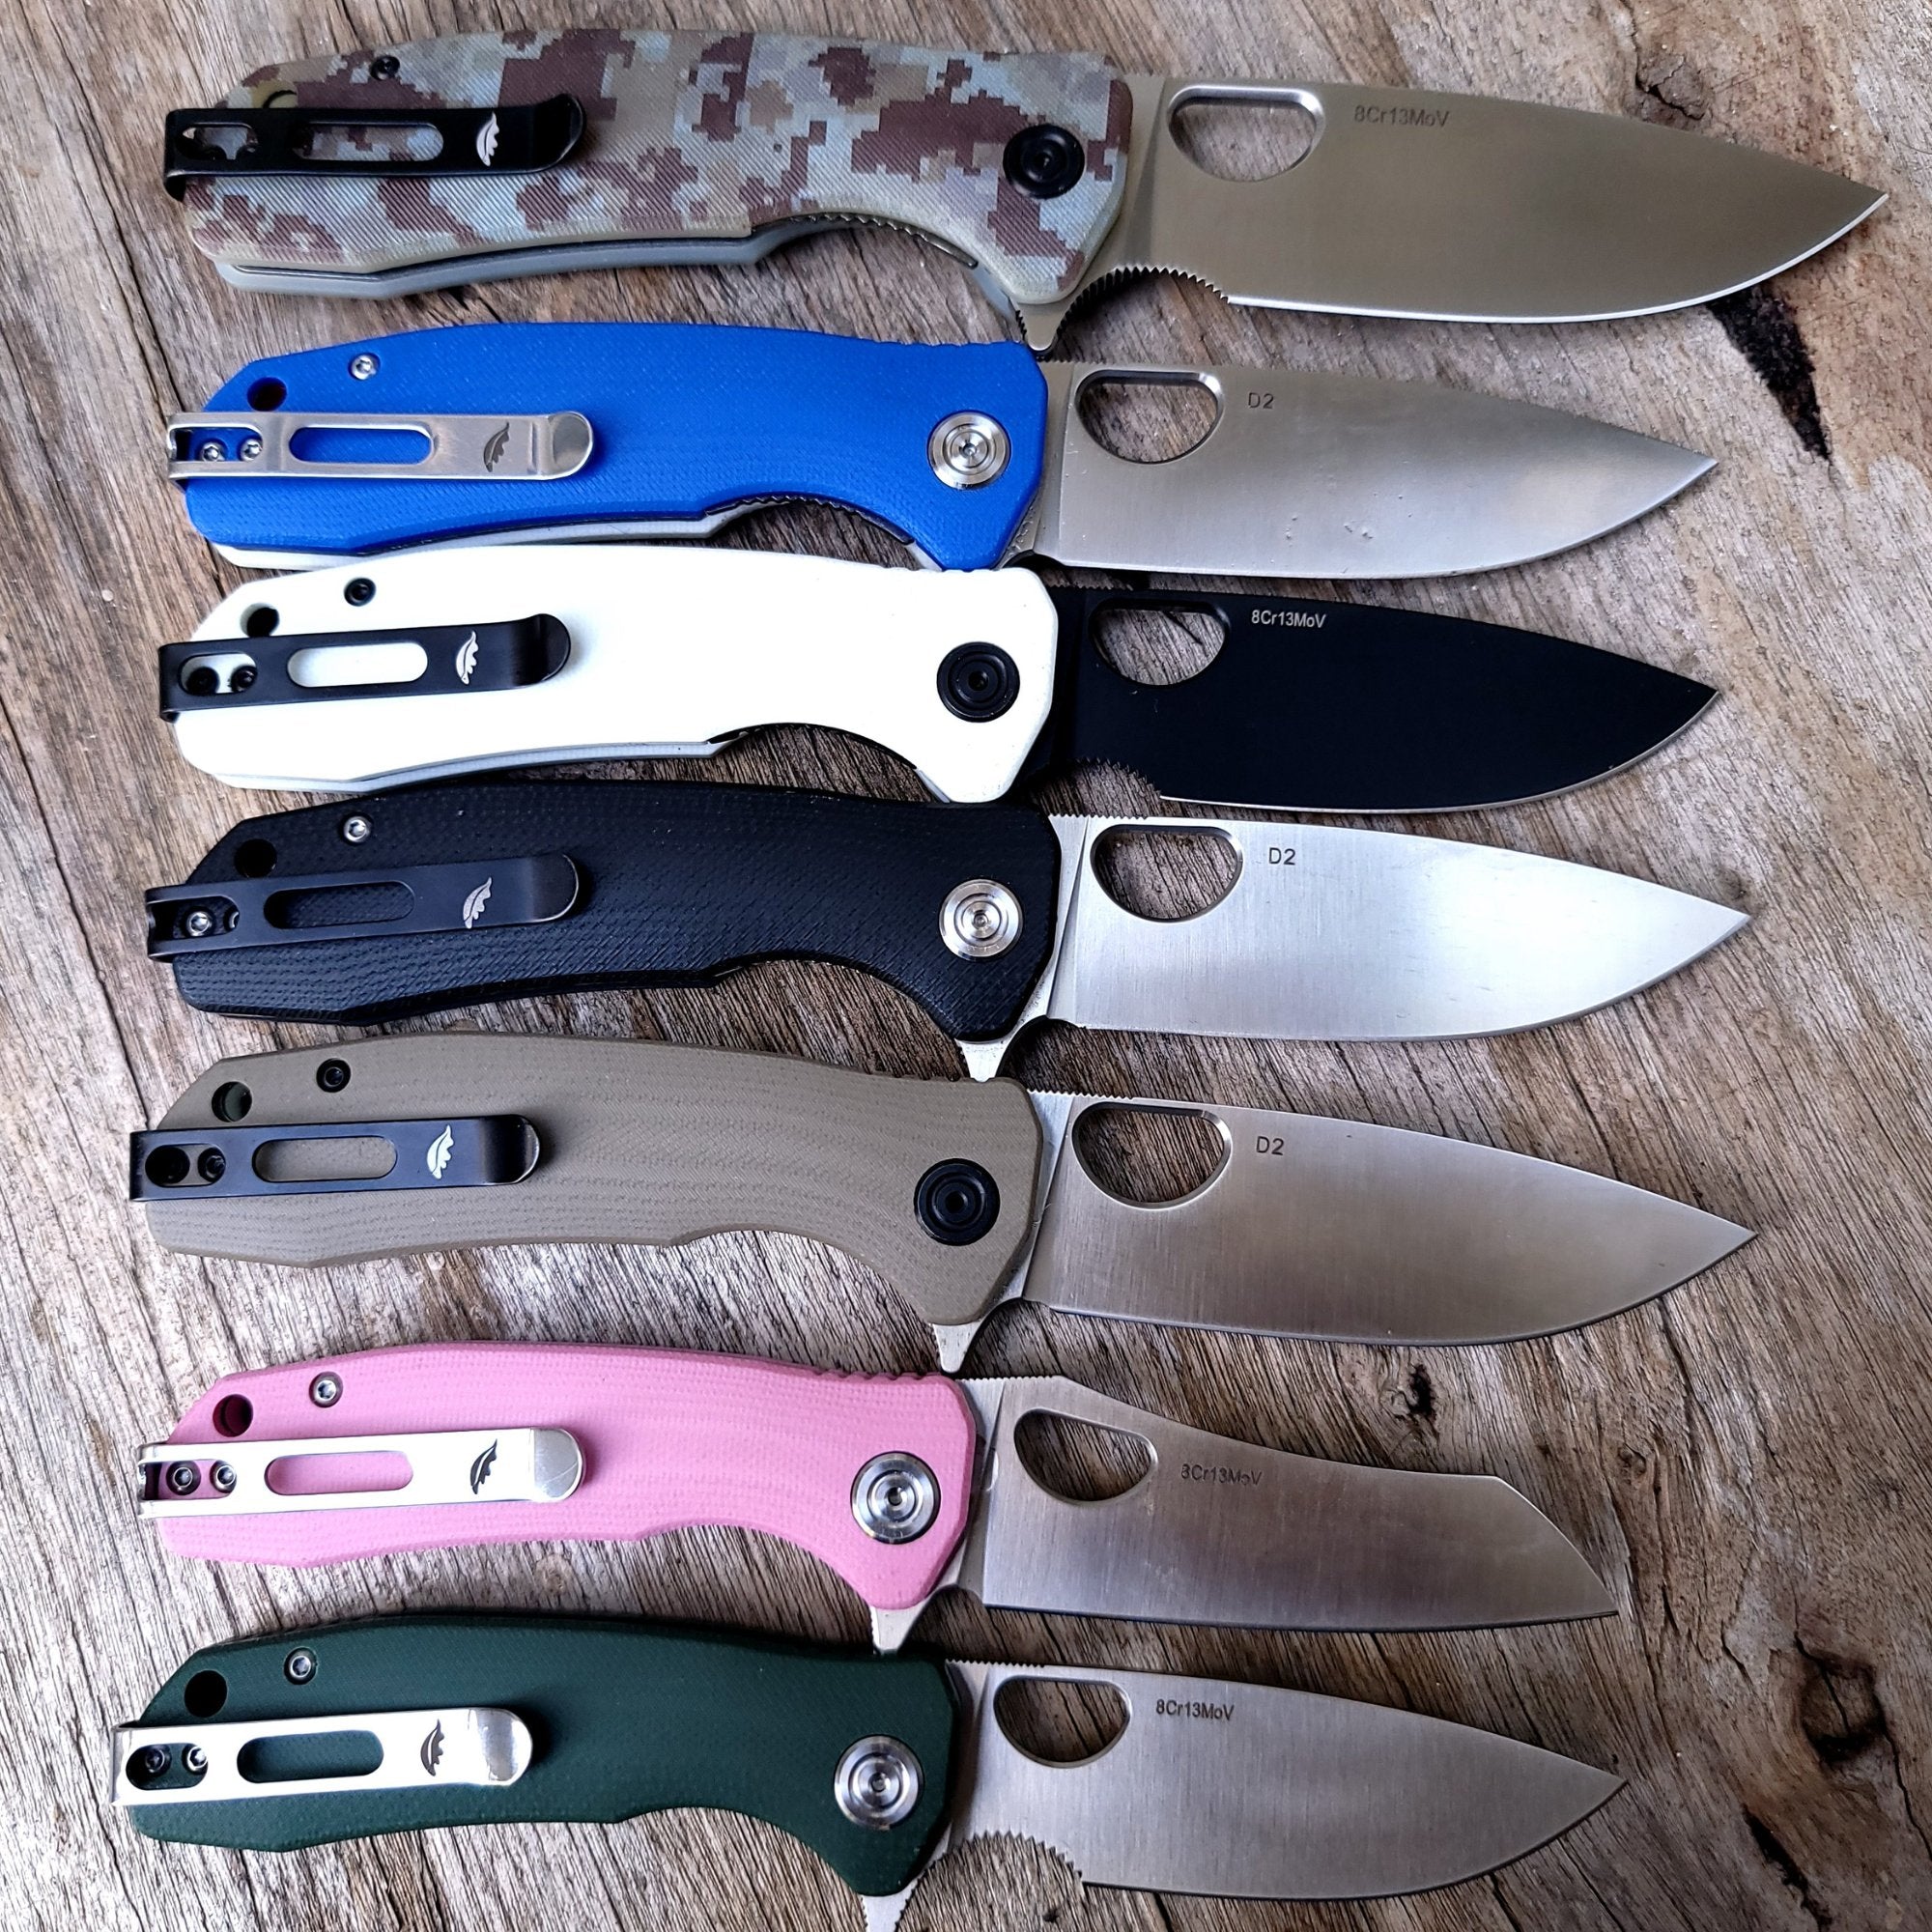
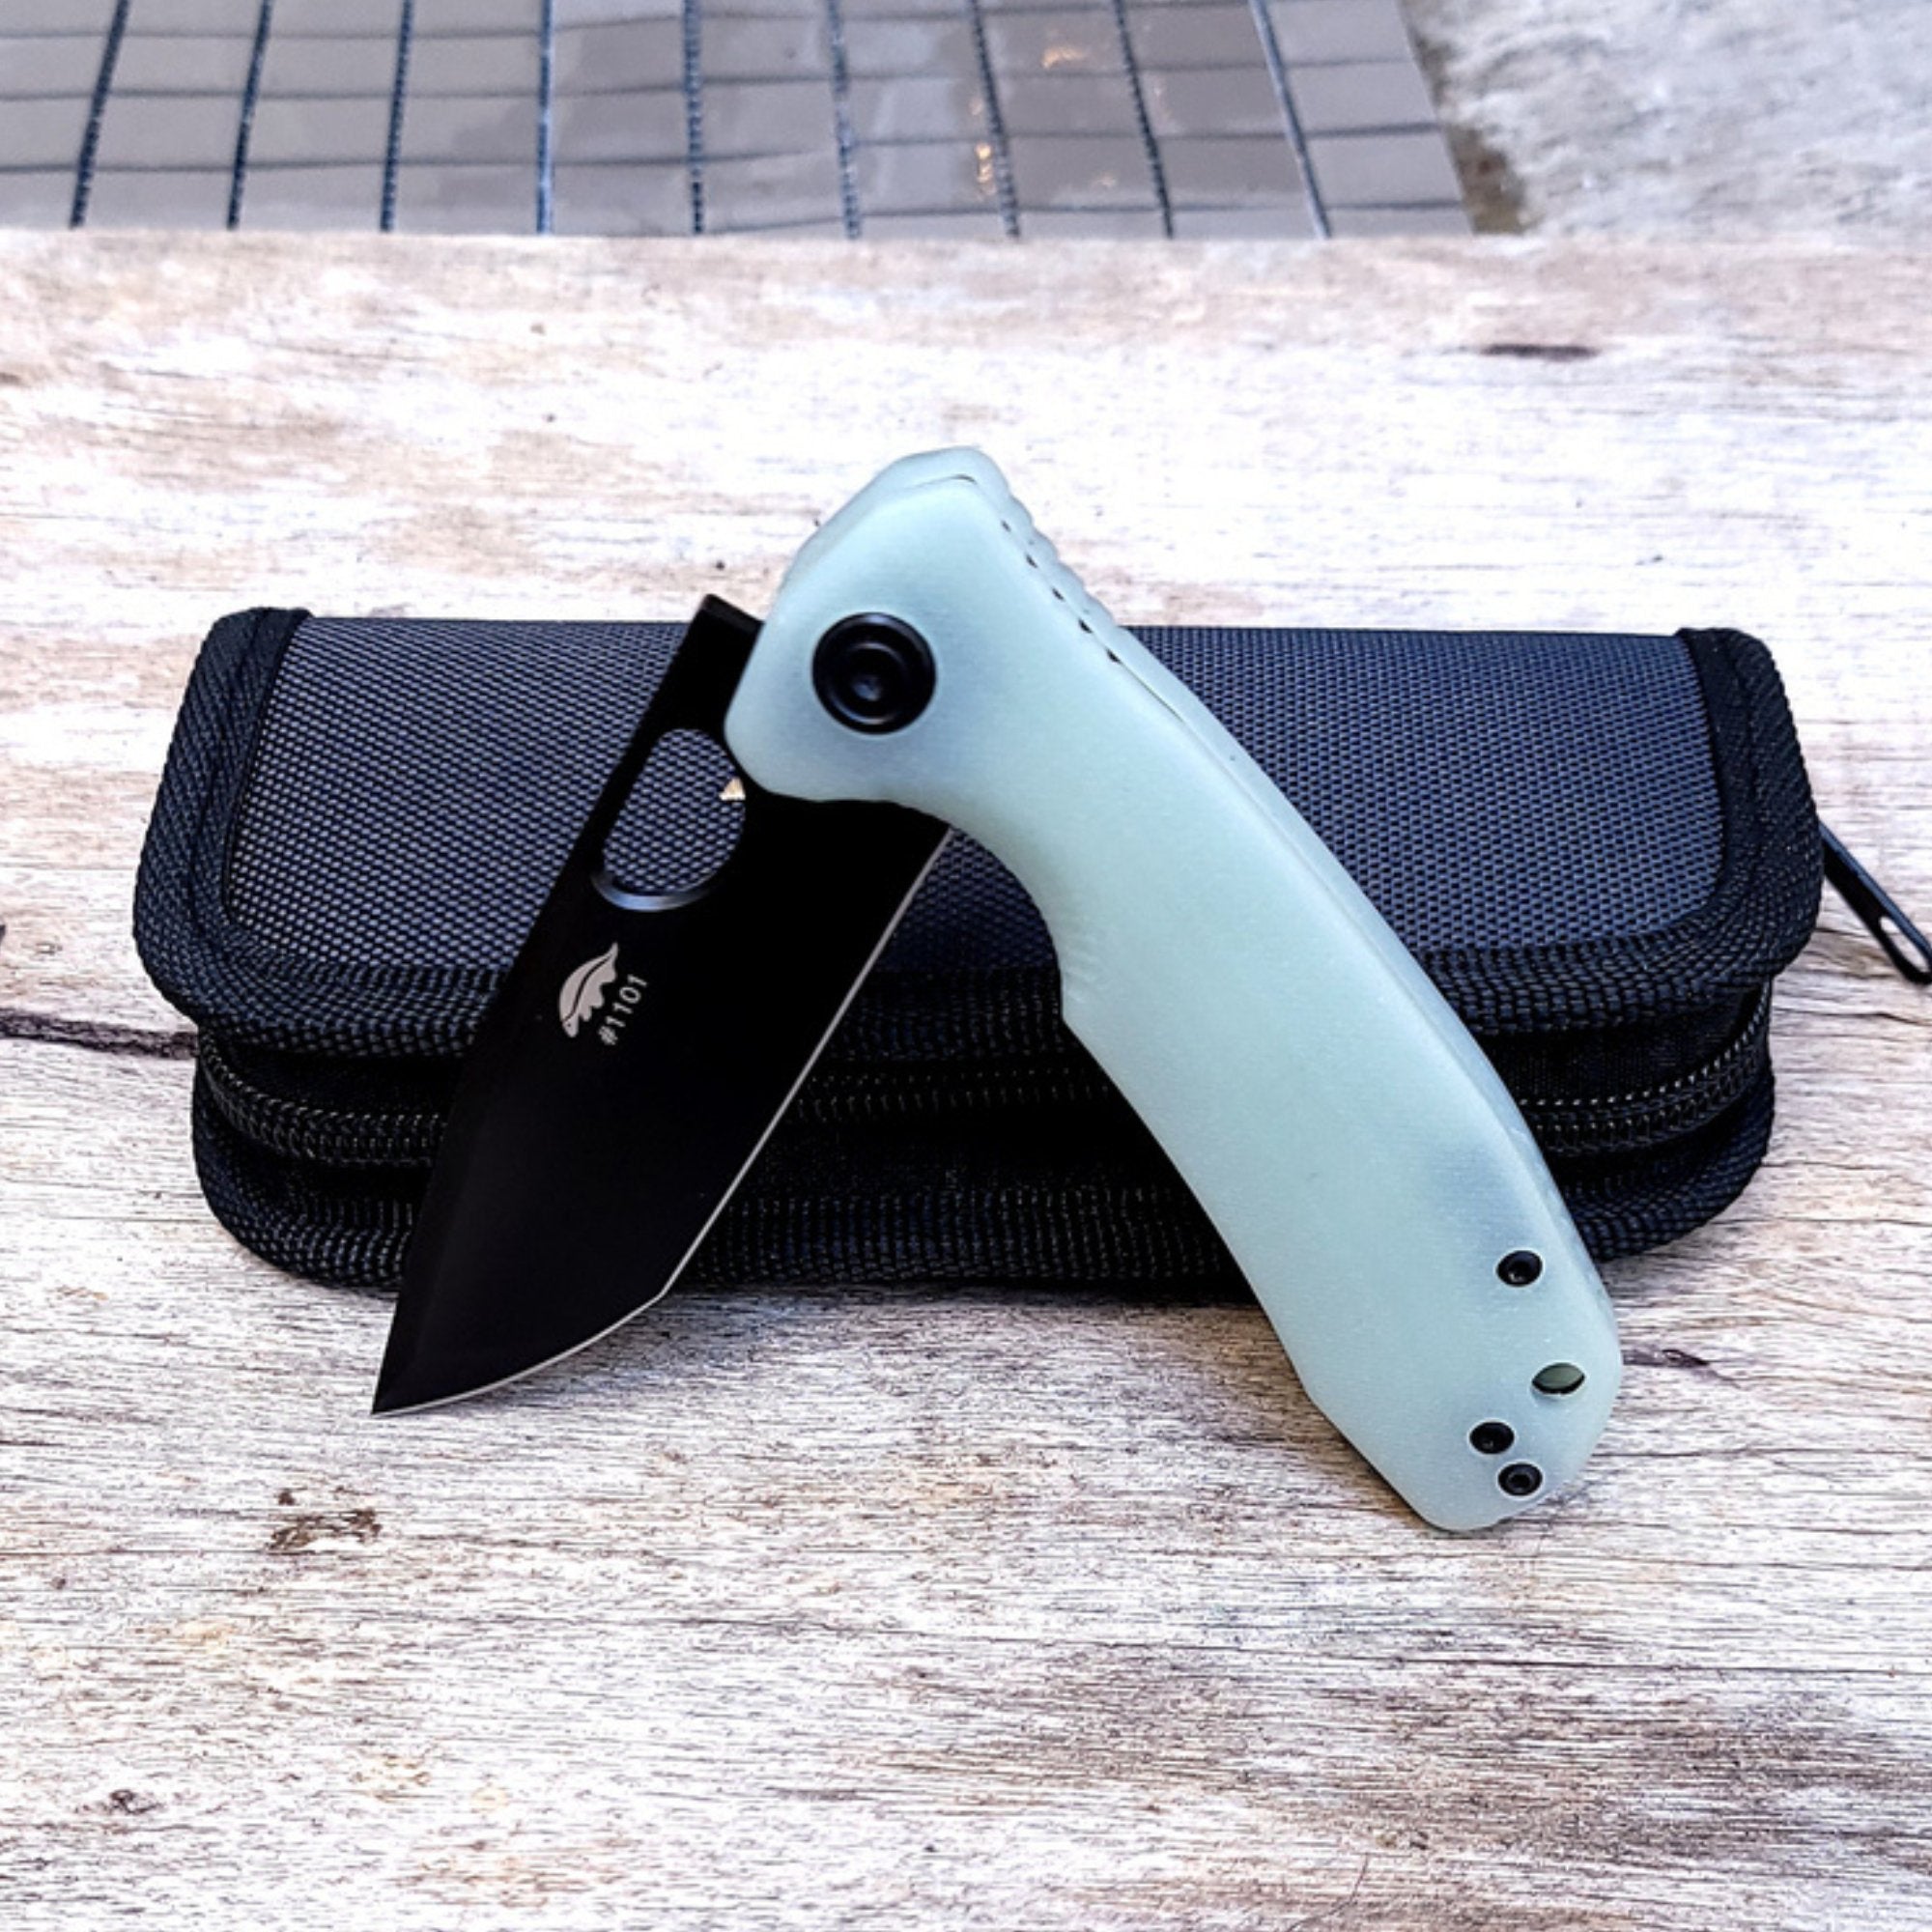
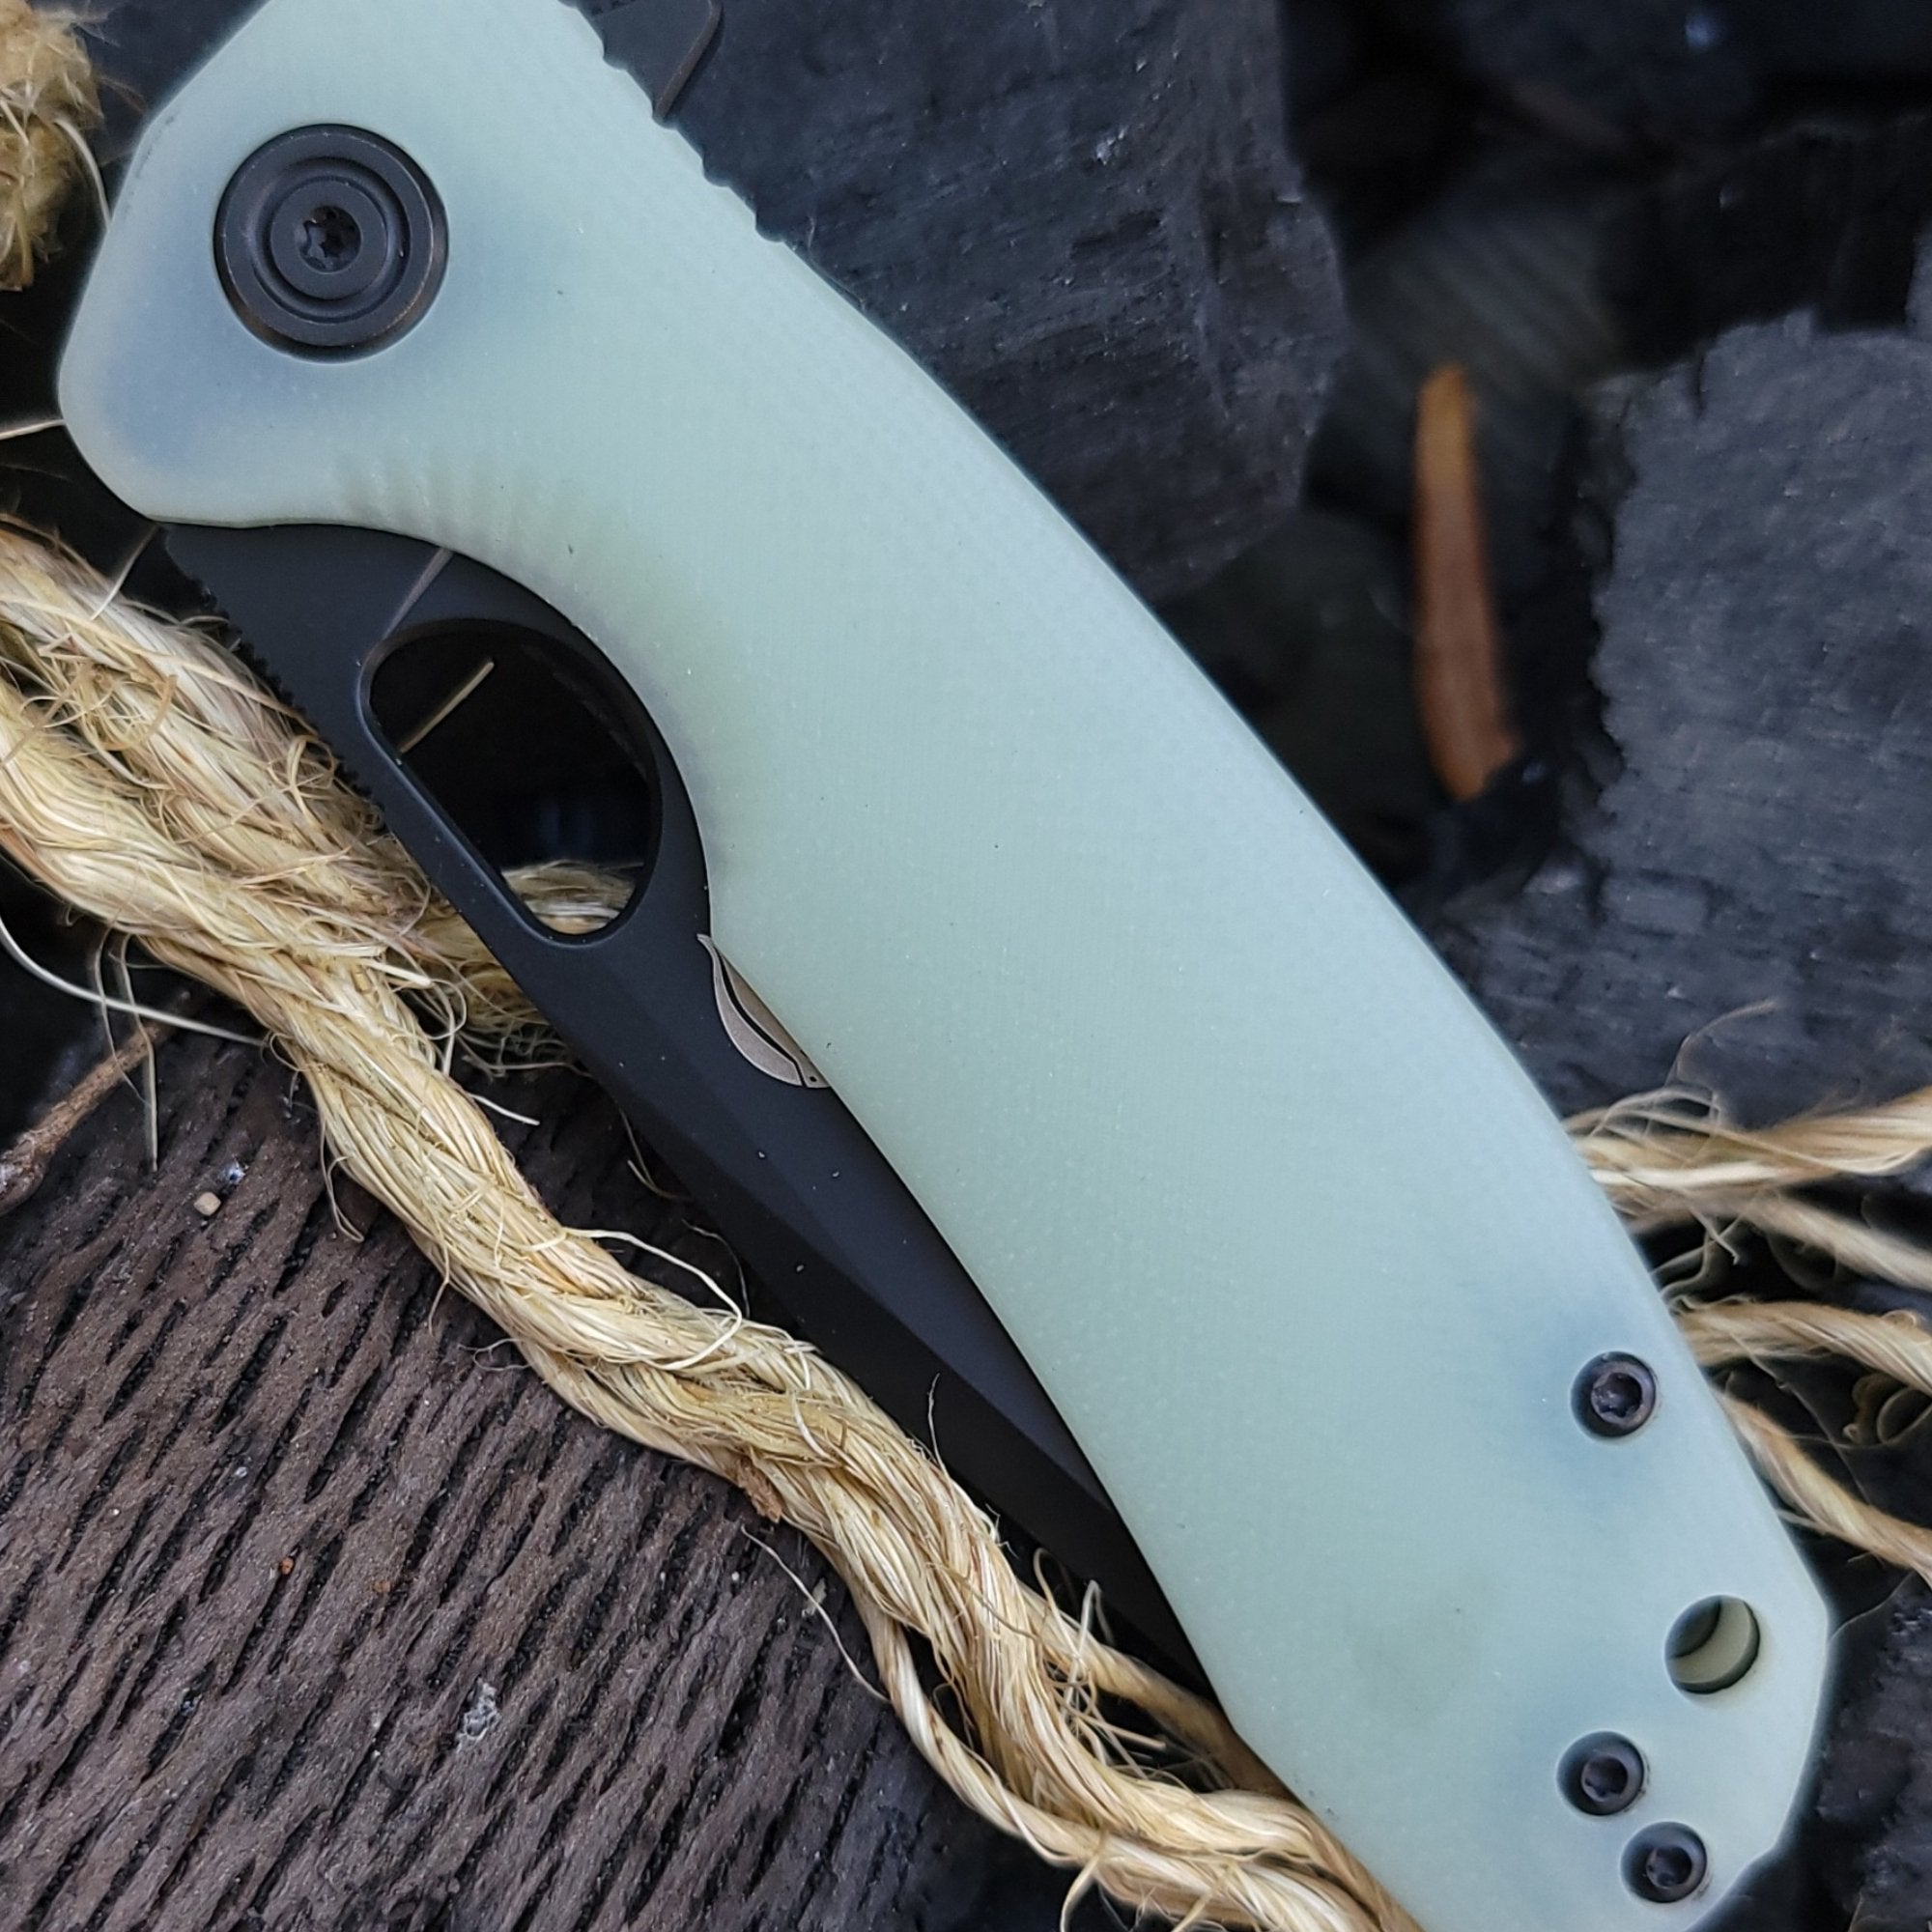
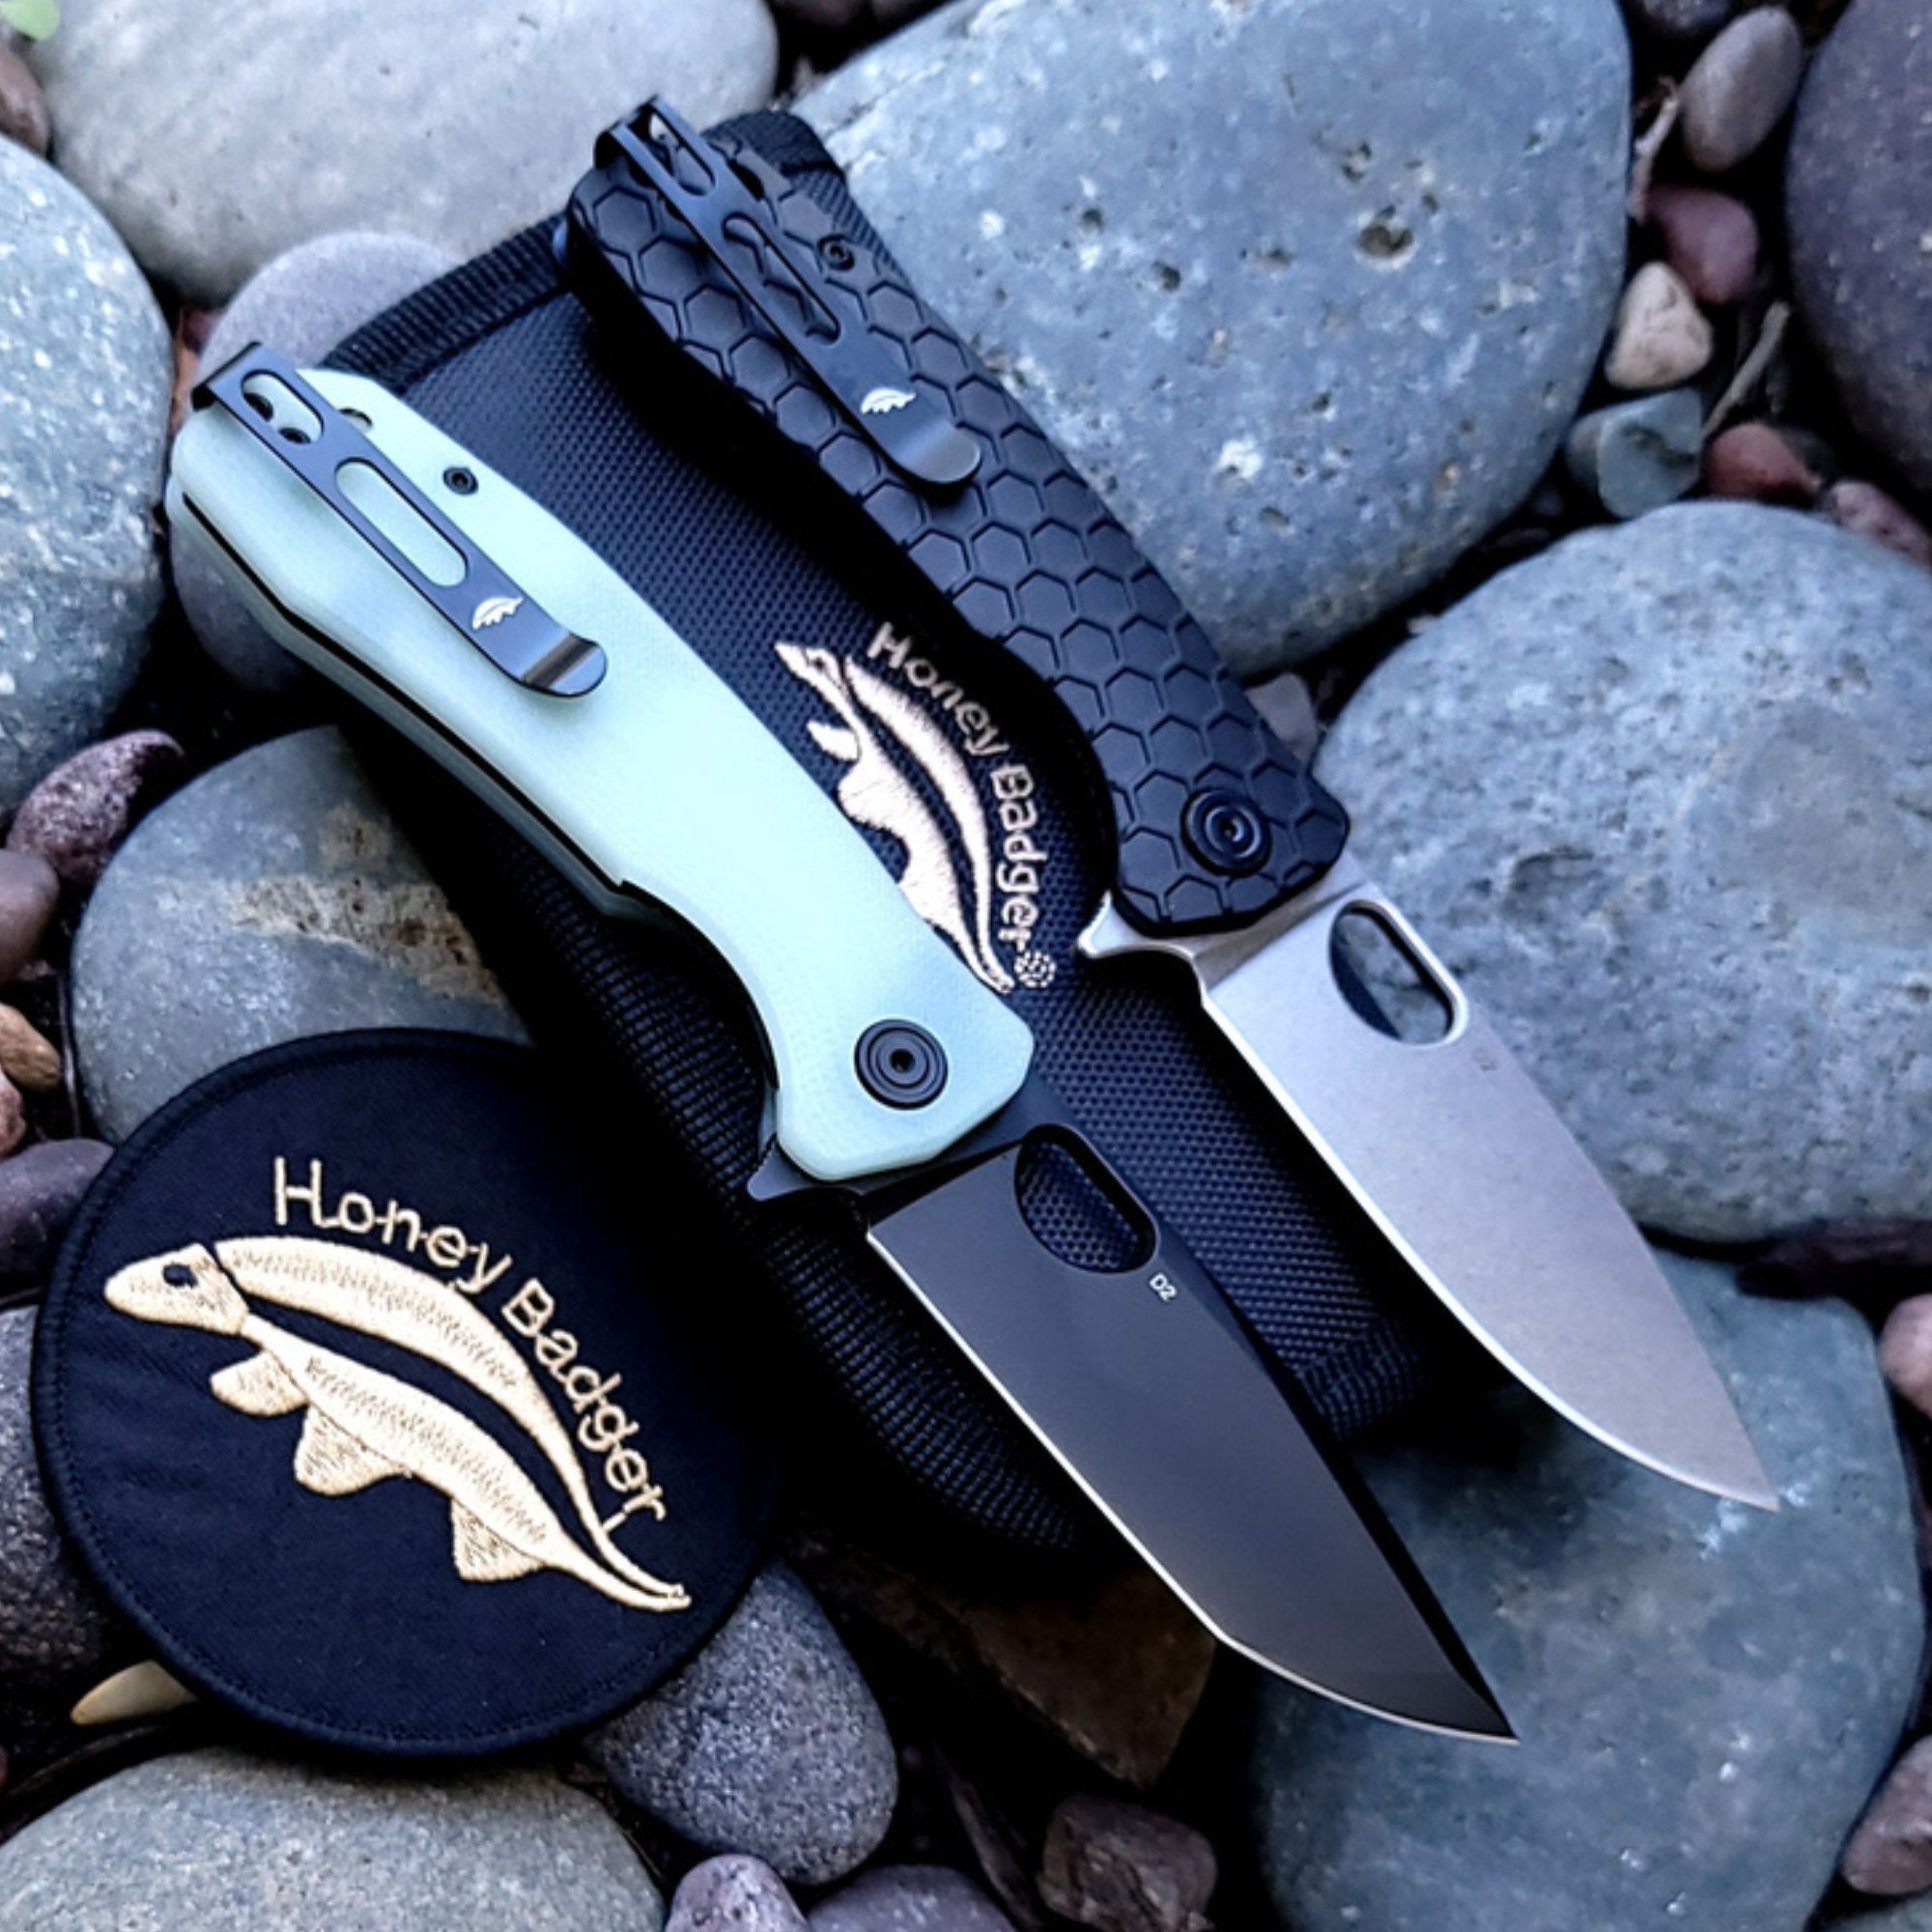
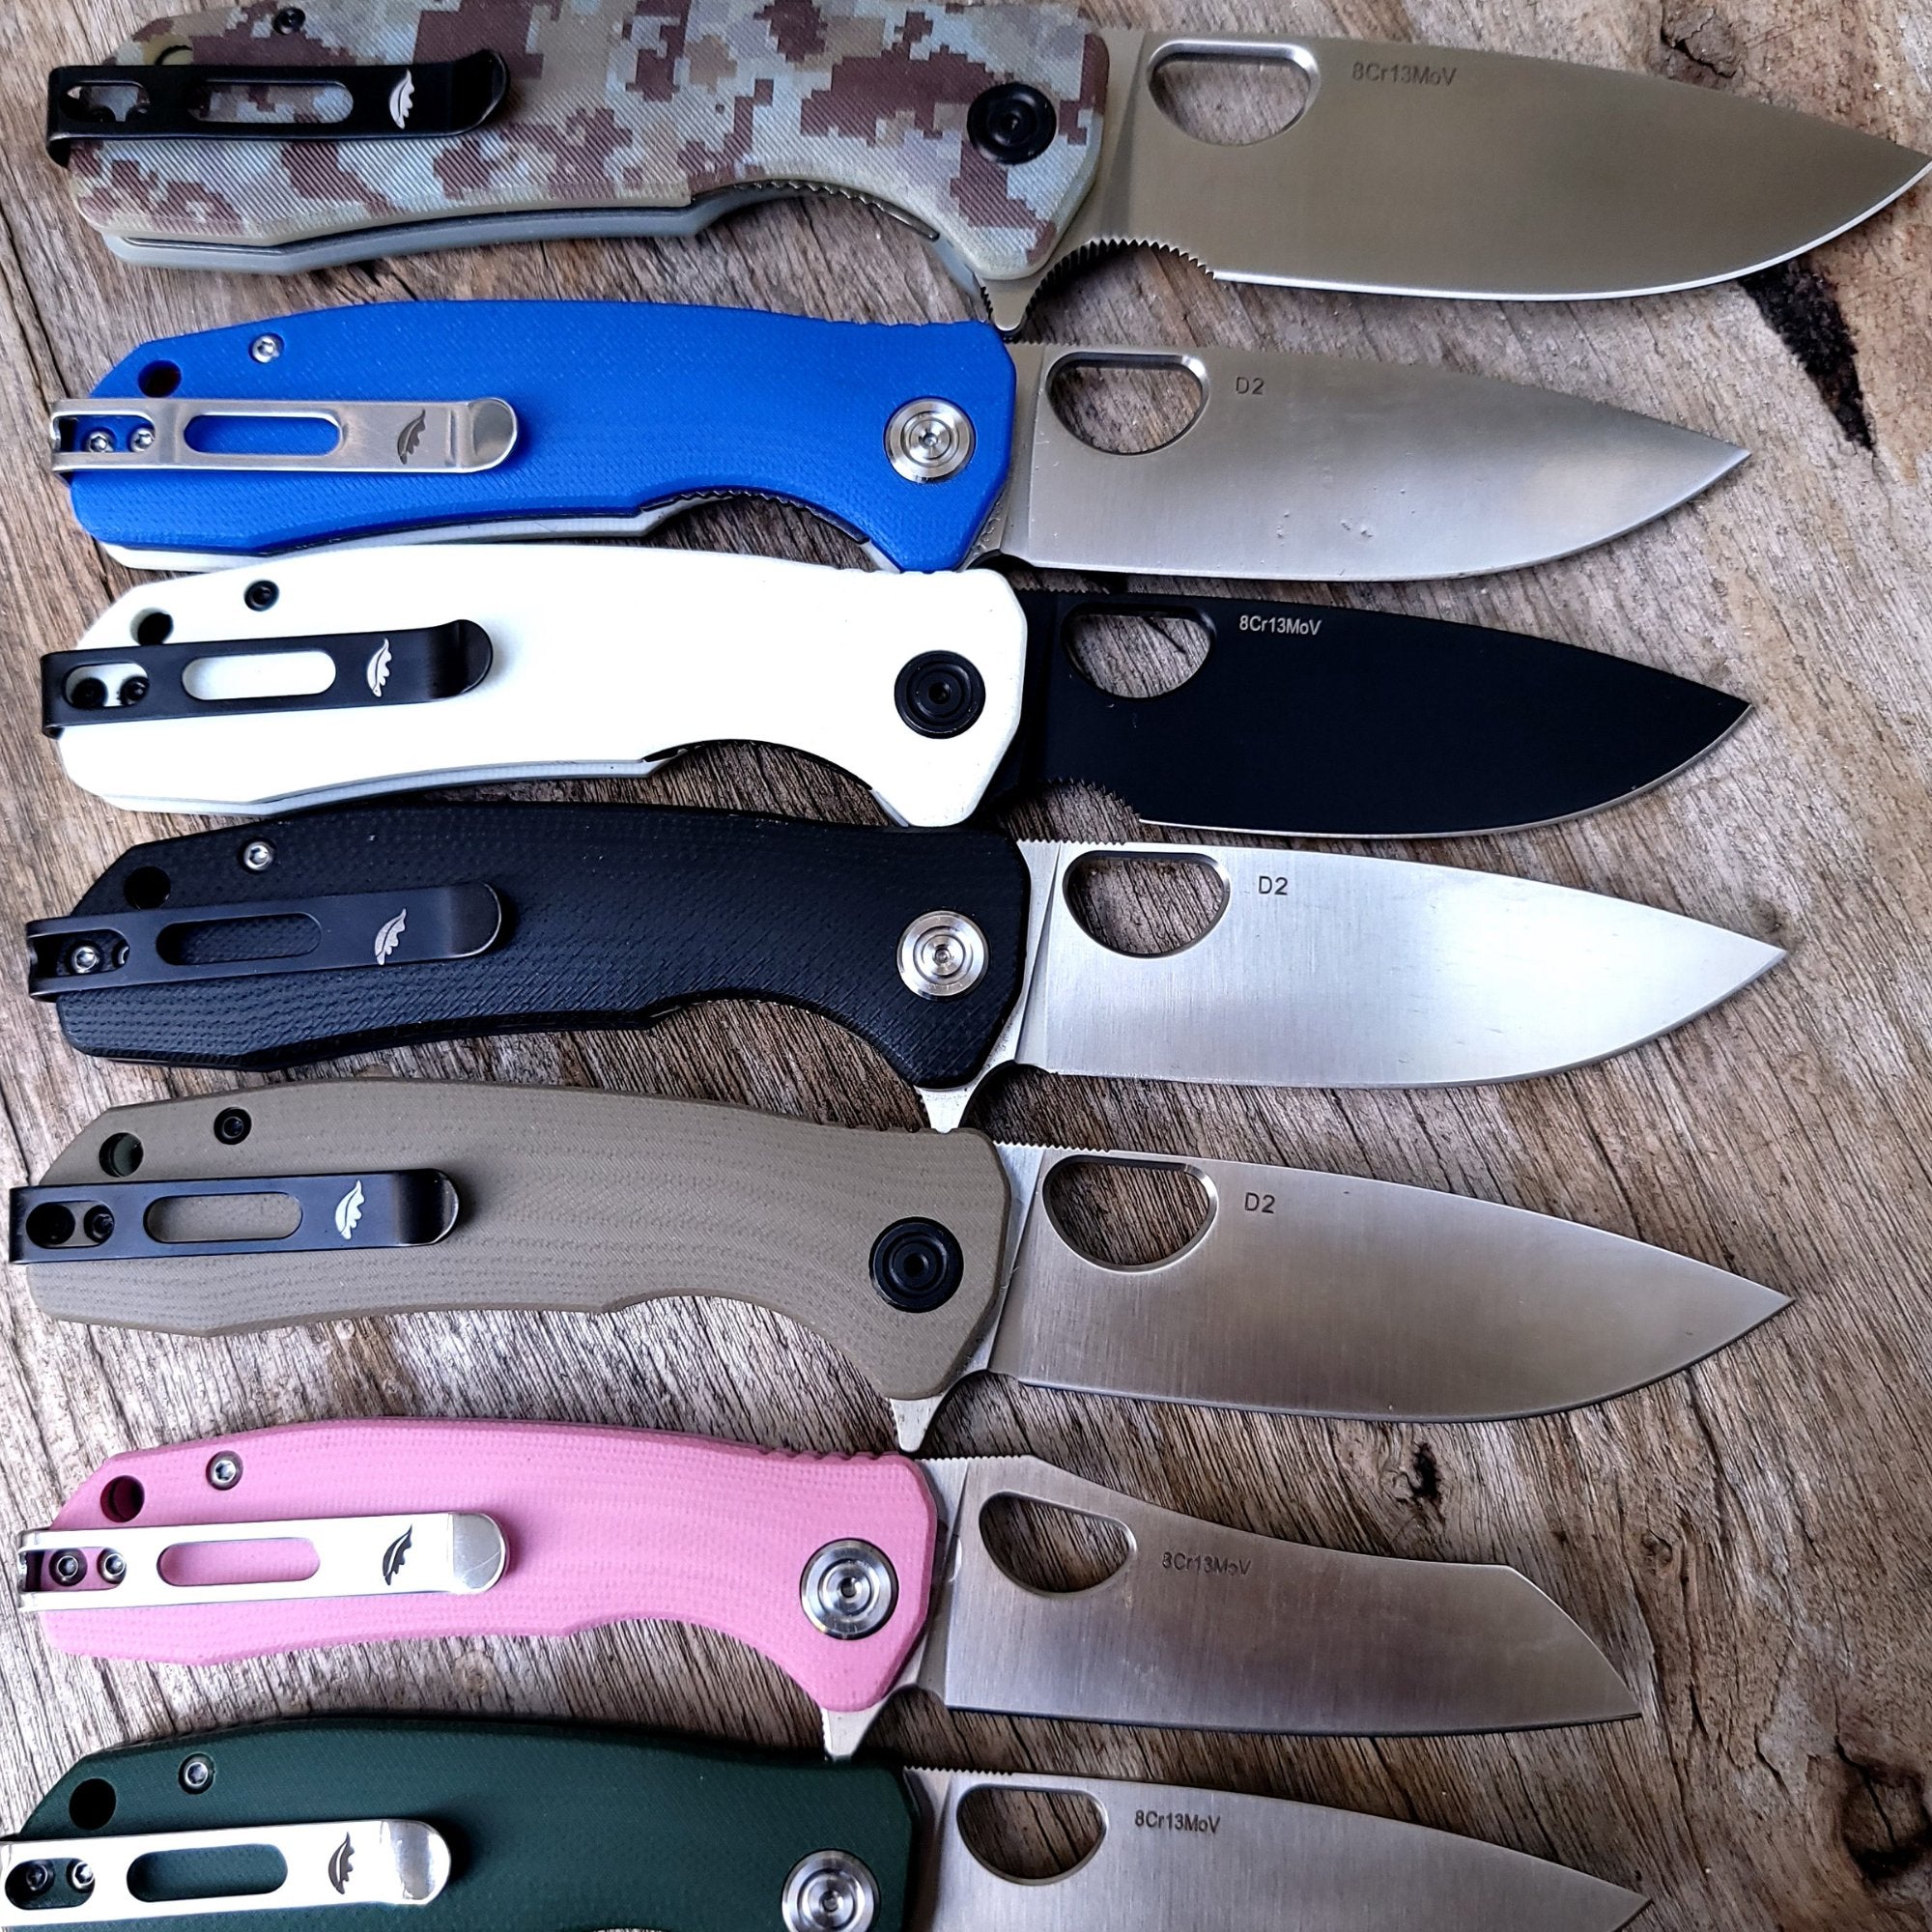
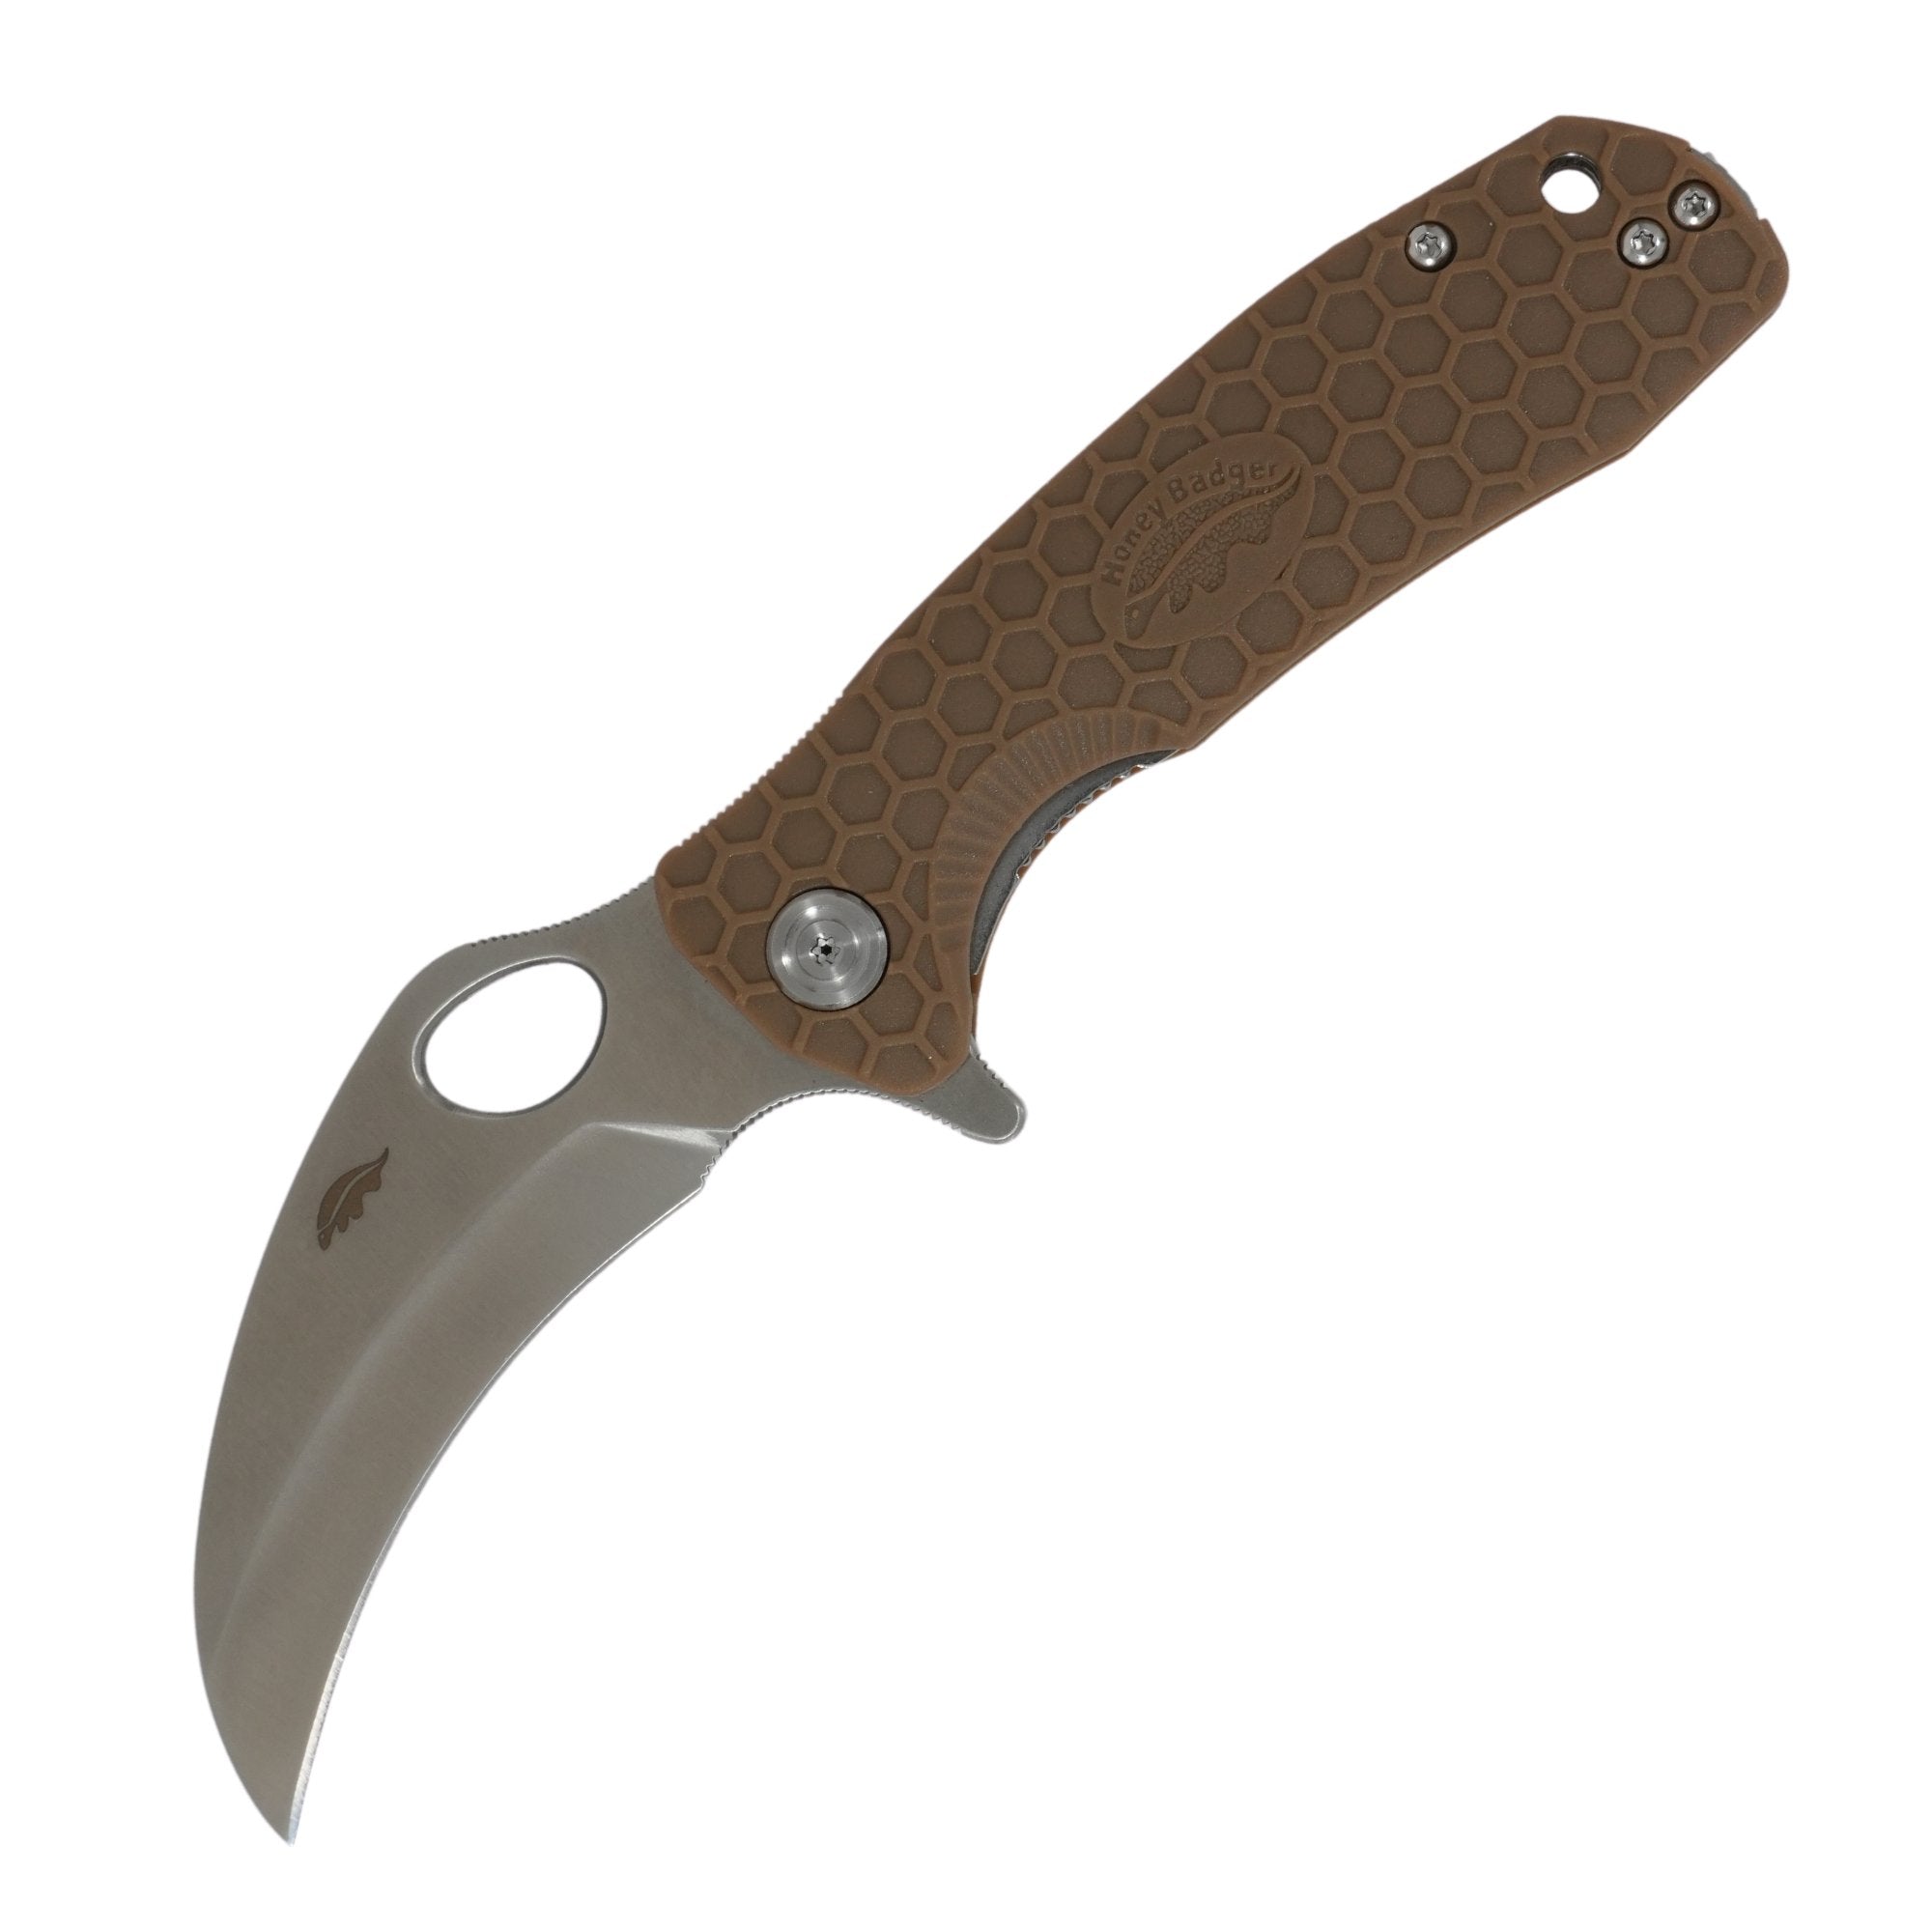
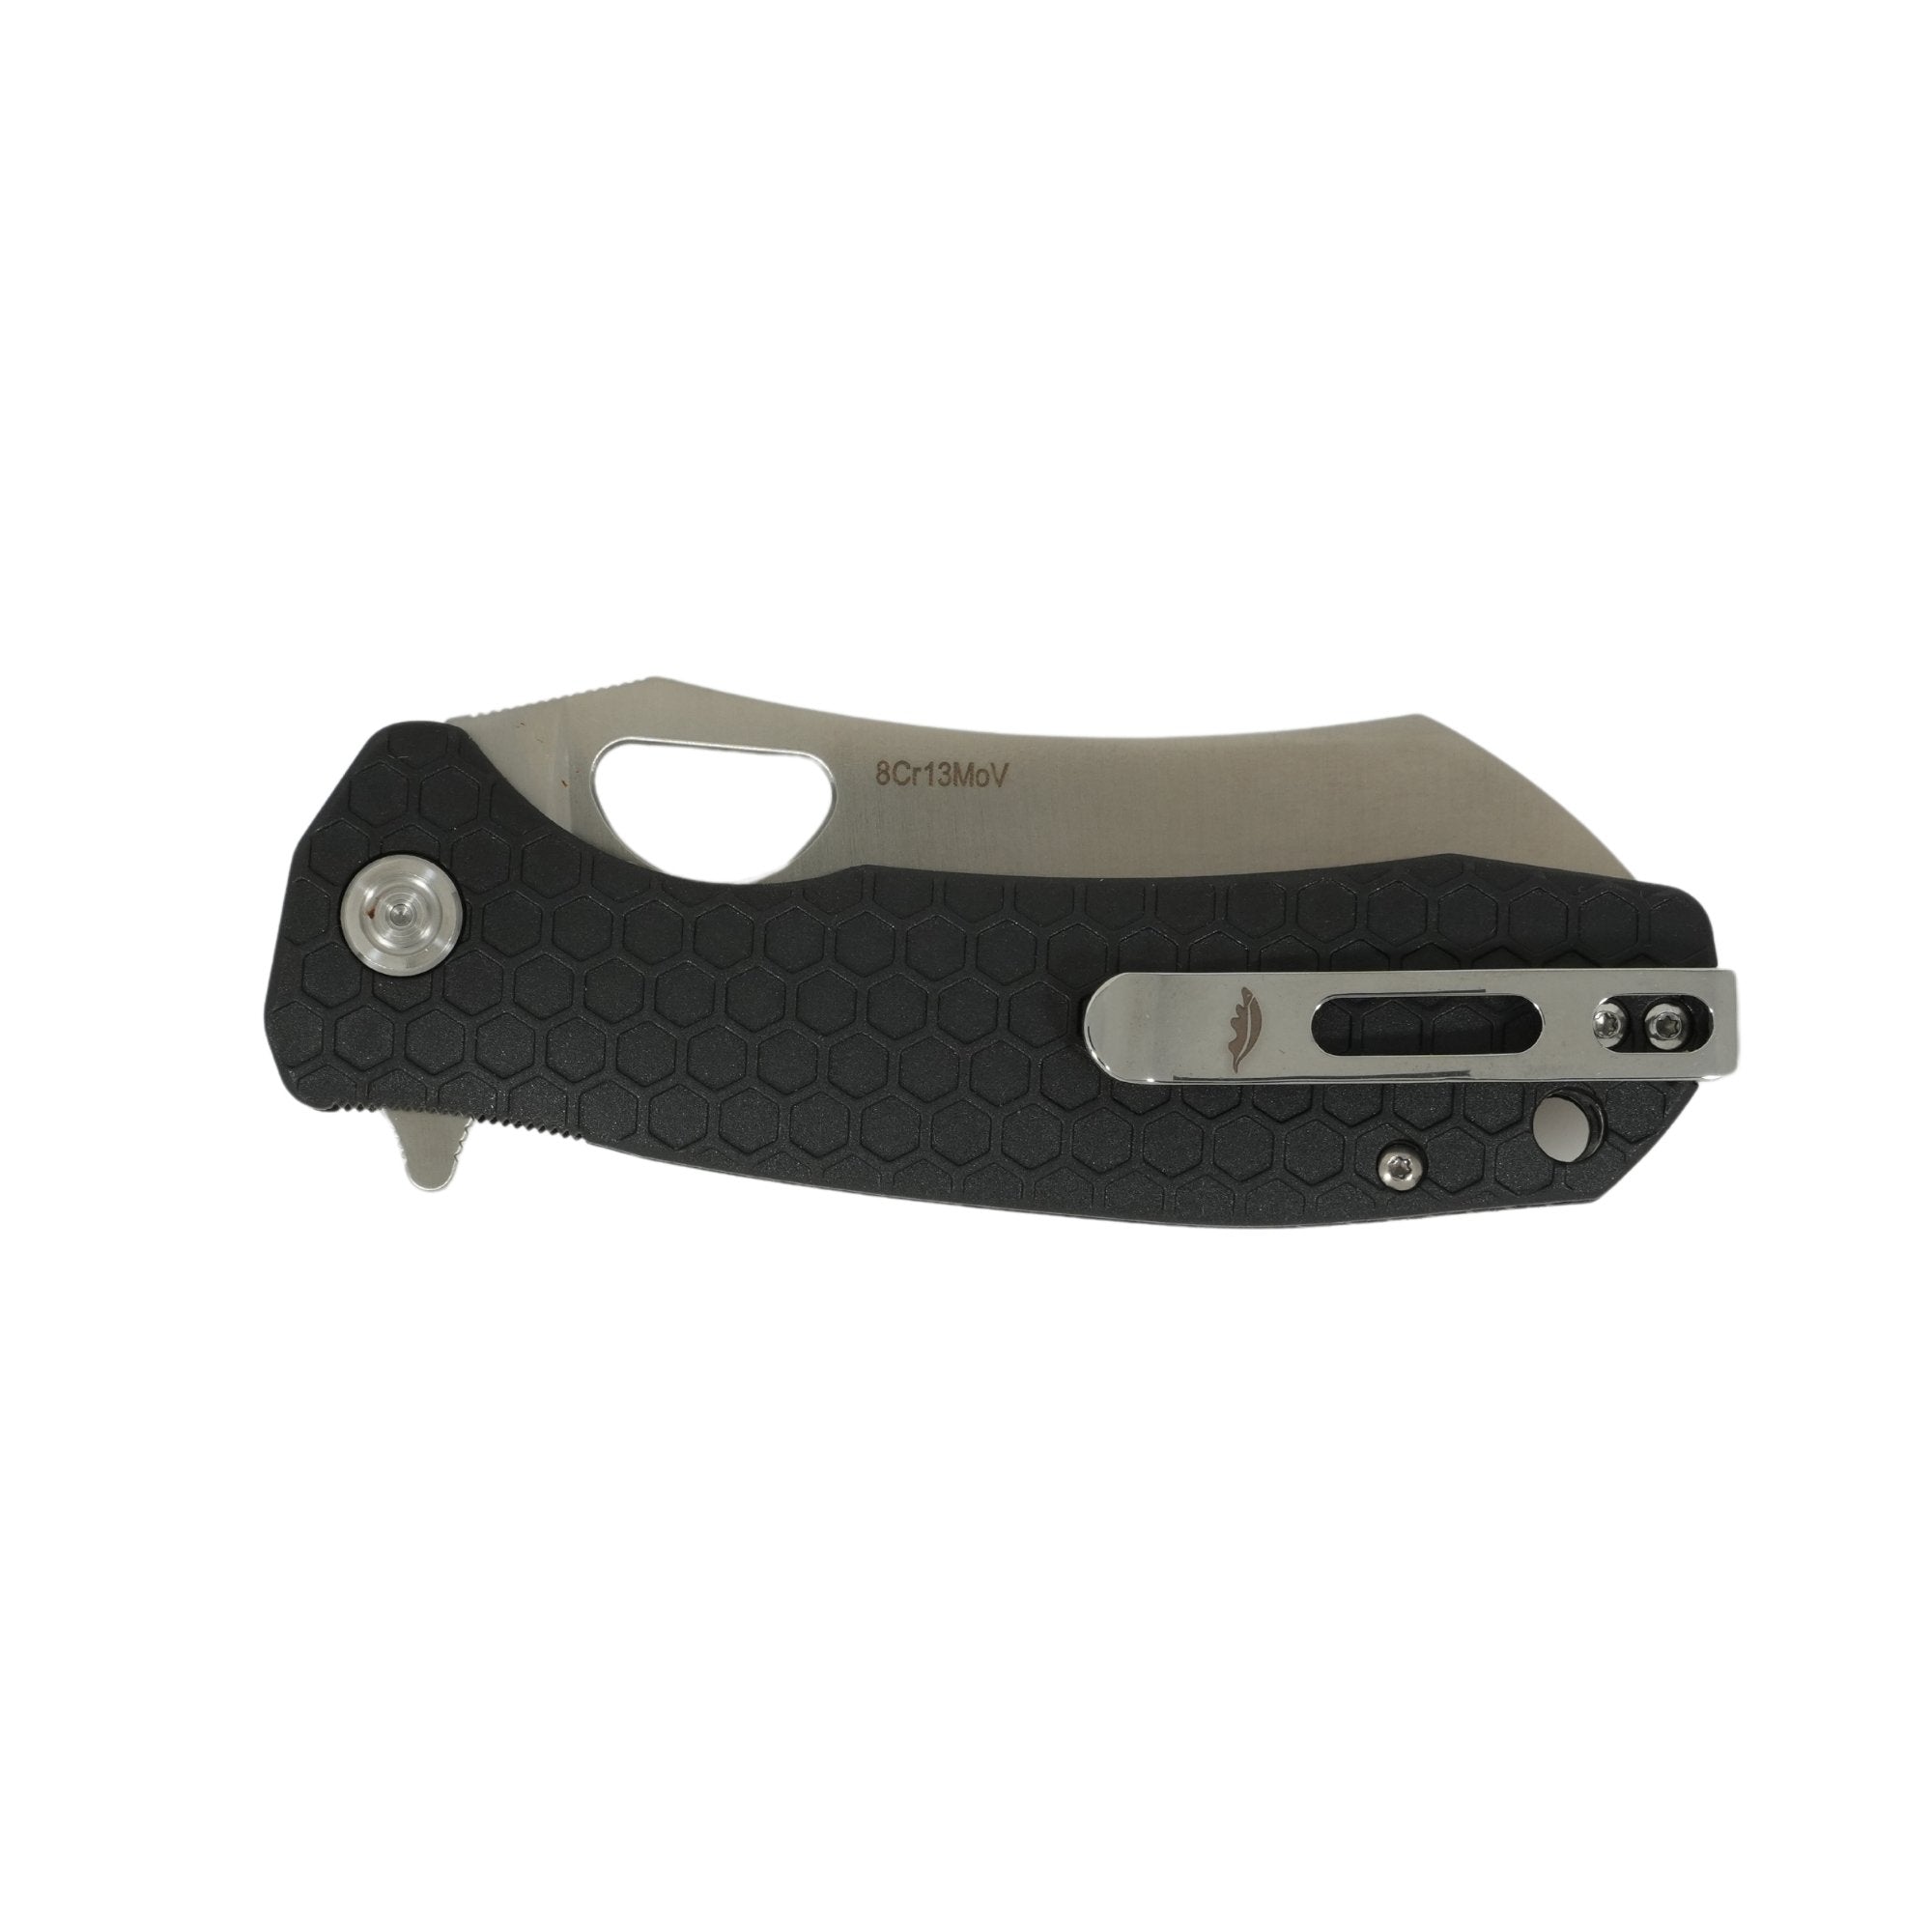
This tutorial covers our range of liner lock flipper knives and applies to knives of all sizes and blade shapes. Crossbolt axis lock knives have a different configuration and therefore are excluded from this tutorial.
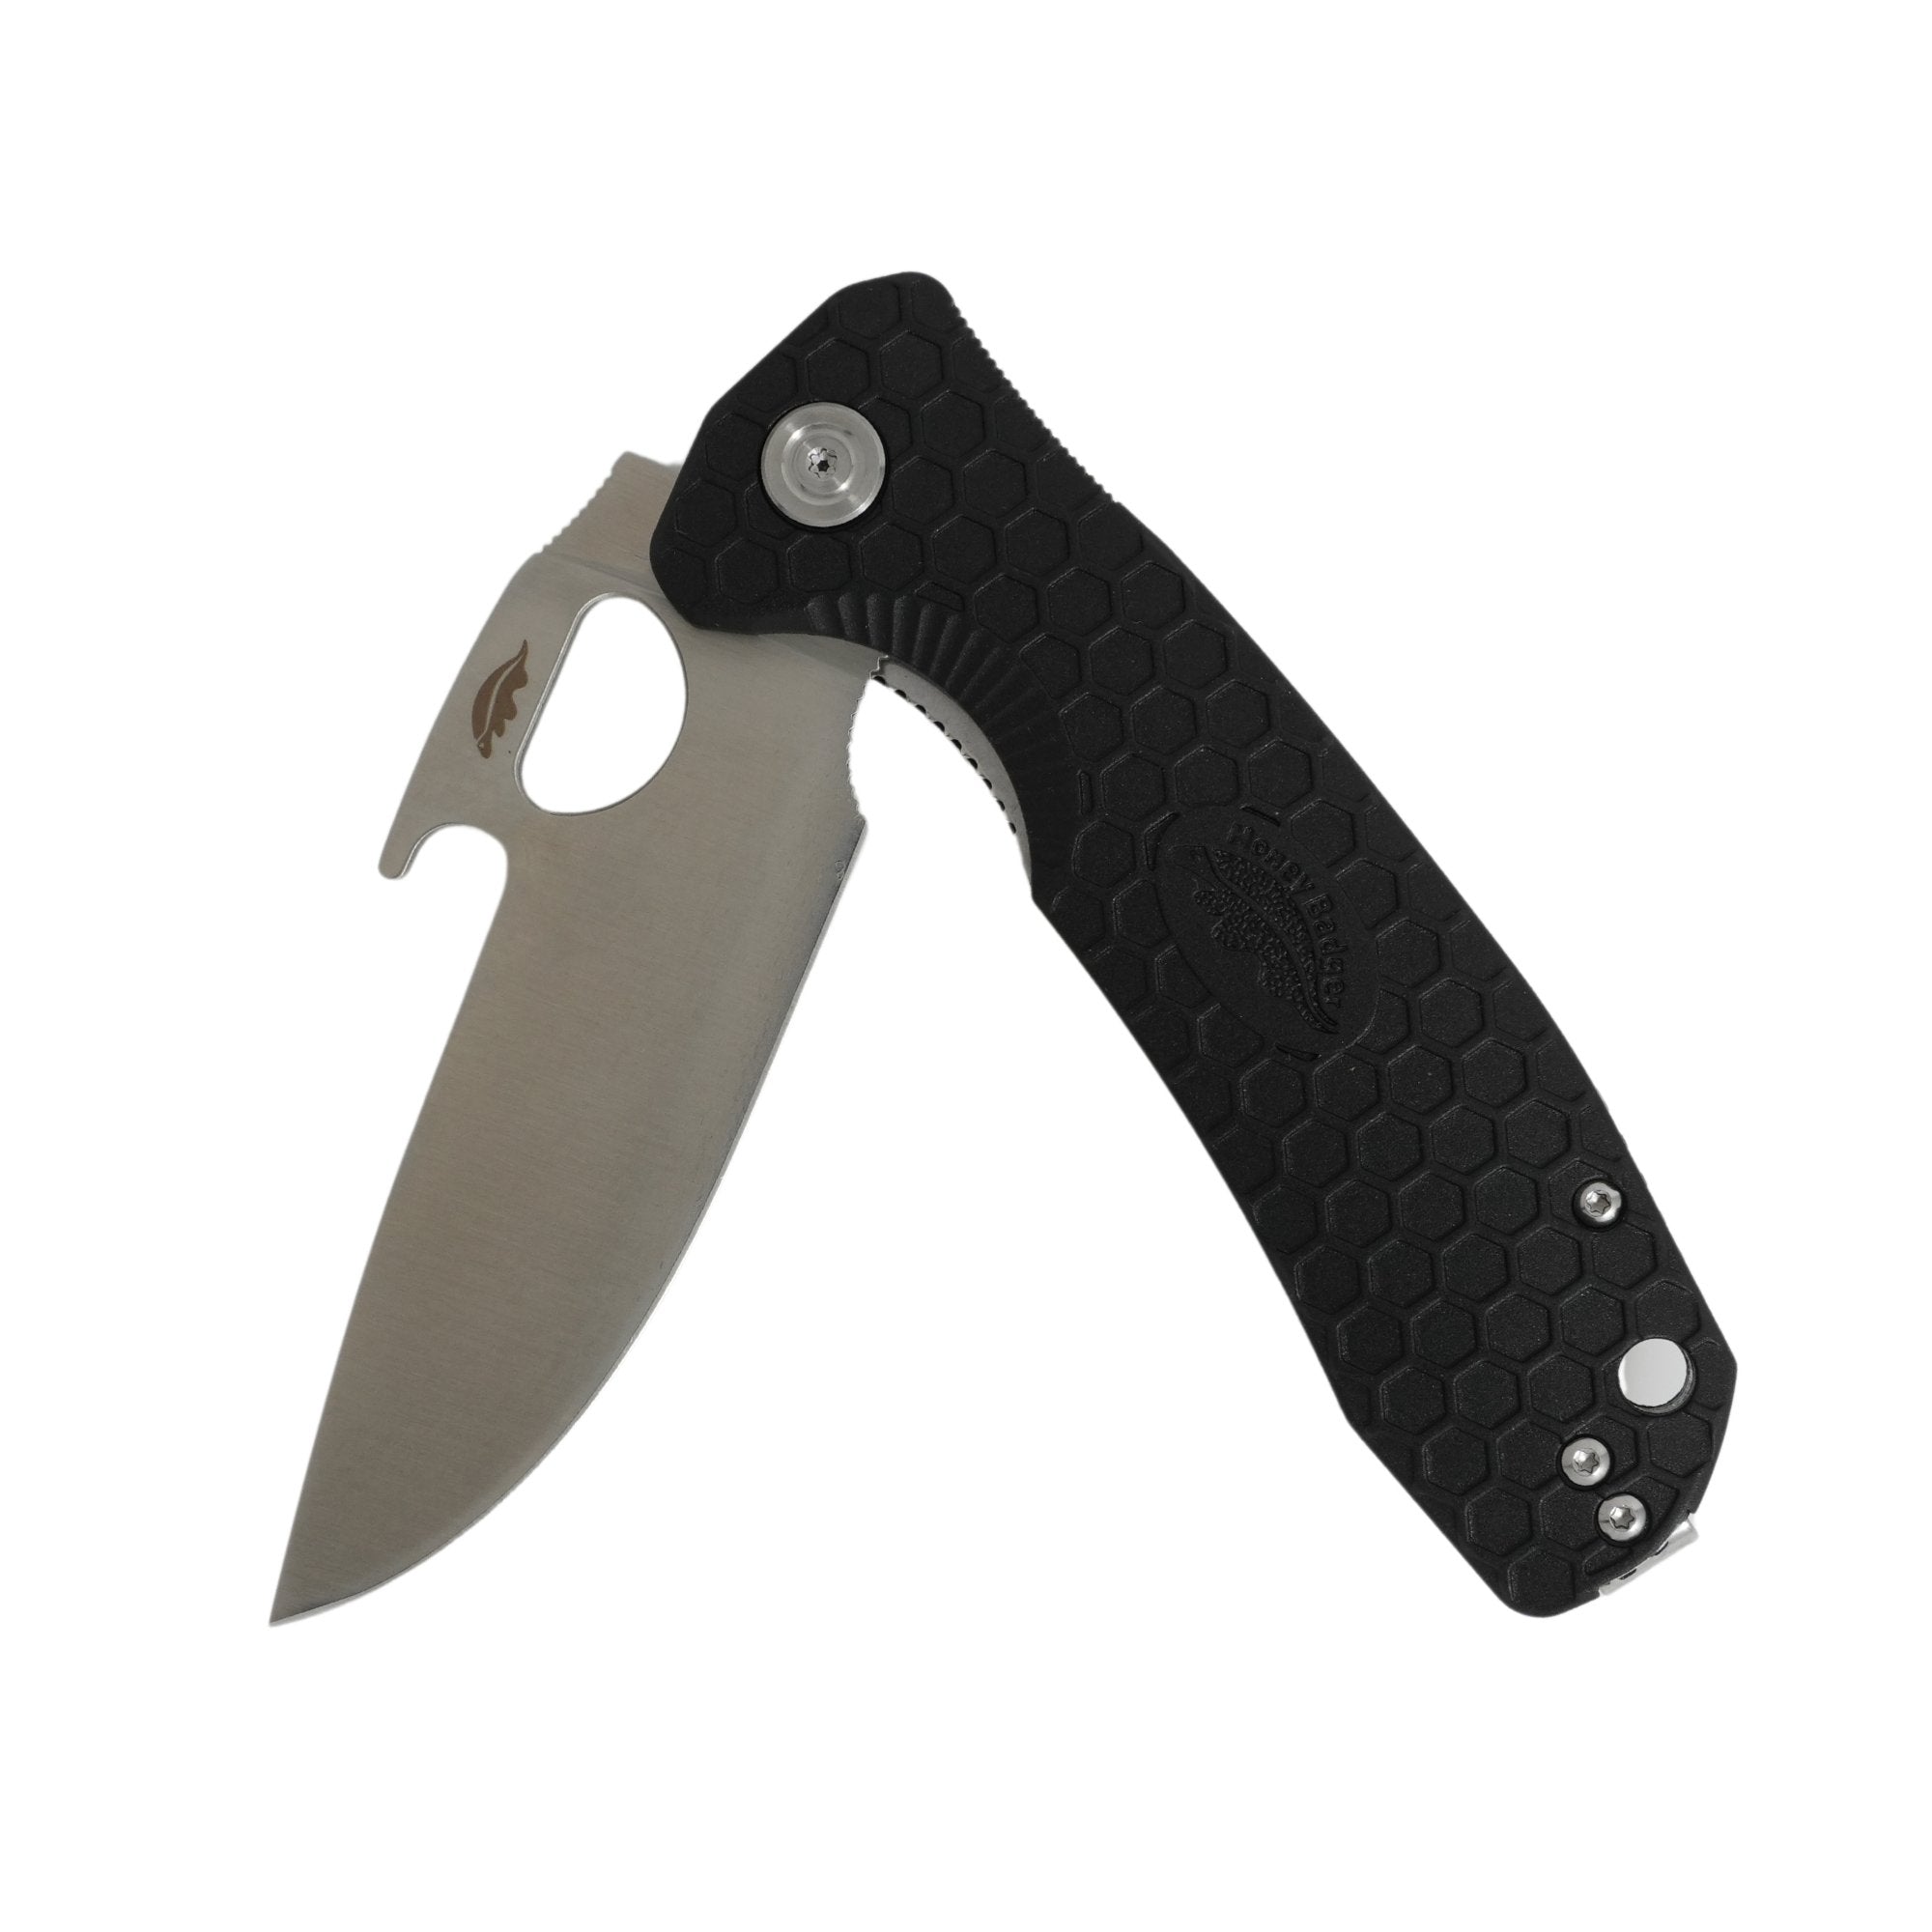
STEP 1 - REMOVE THE PIVOT SCREW
Remove the pivot screw. Only one side of the screw has the torx hole that will be for a T8 torx driver. Out of the box (clip positioned for right hand carry) this will be the non pocket clip side of the knife.

STEP 2 - REMOVE HANDLE AND POCKET CLIP SCREWS
Using a T6 driver remove the remaining handle screws - there are three on each side. Note that there is one shorter screw which is the one holding the pocket clip insert in the lower position.

STEP 3 - REMOVE THE ONE SIDE OF THE HANDLE
Remove that side of the handle exposing the steel handle liner. Note that the pocket clip insert may stay behind or may come away as part of the handle scale as can be seen below. Note also that after removing the pivot screw one of the bearings fell out which is OK as they need to be removed anyway.

STEP 4 - REMOVE THE METAL LINER
Remove the liner and set it aside along with the blade and the other half of the pivot screw.

STEP 5 - REMOVE THE BACKSPACER AND 2nd SIDE OF HANDLE
Remove the backspacer and then flip the other half of the knife over to remove the other scale and pocket clip. Note again that the lower pocket clip screw is shorter than the other two screws.

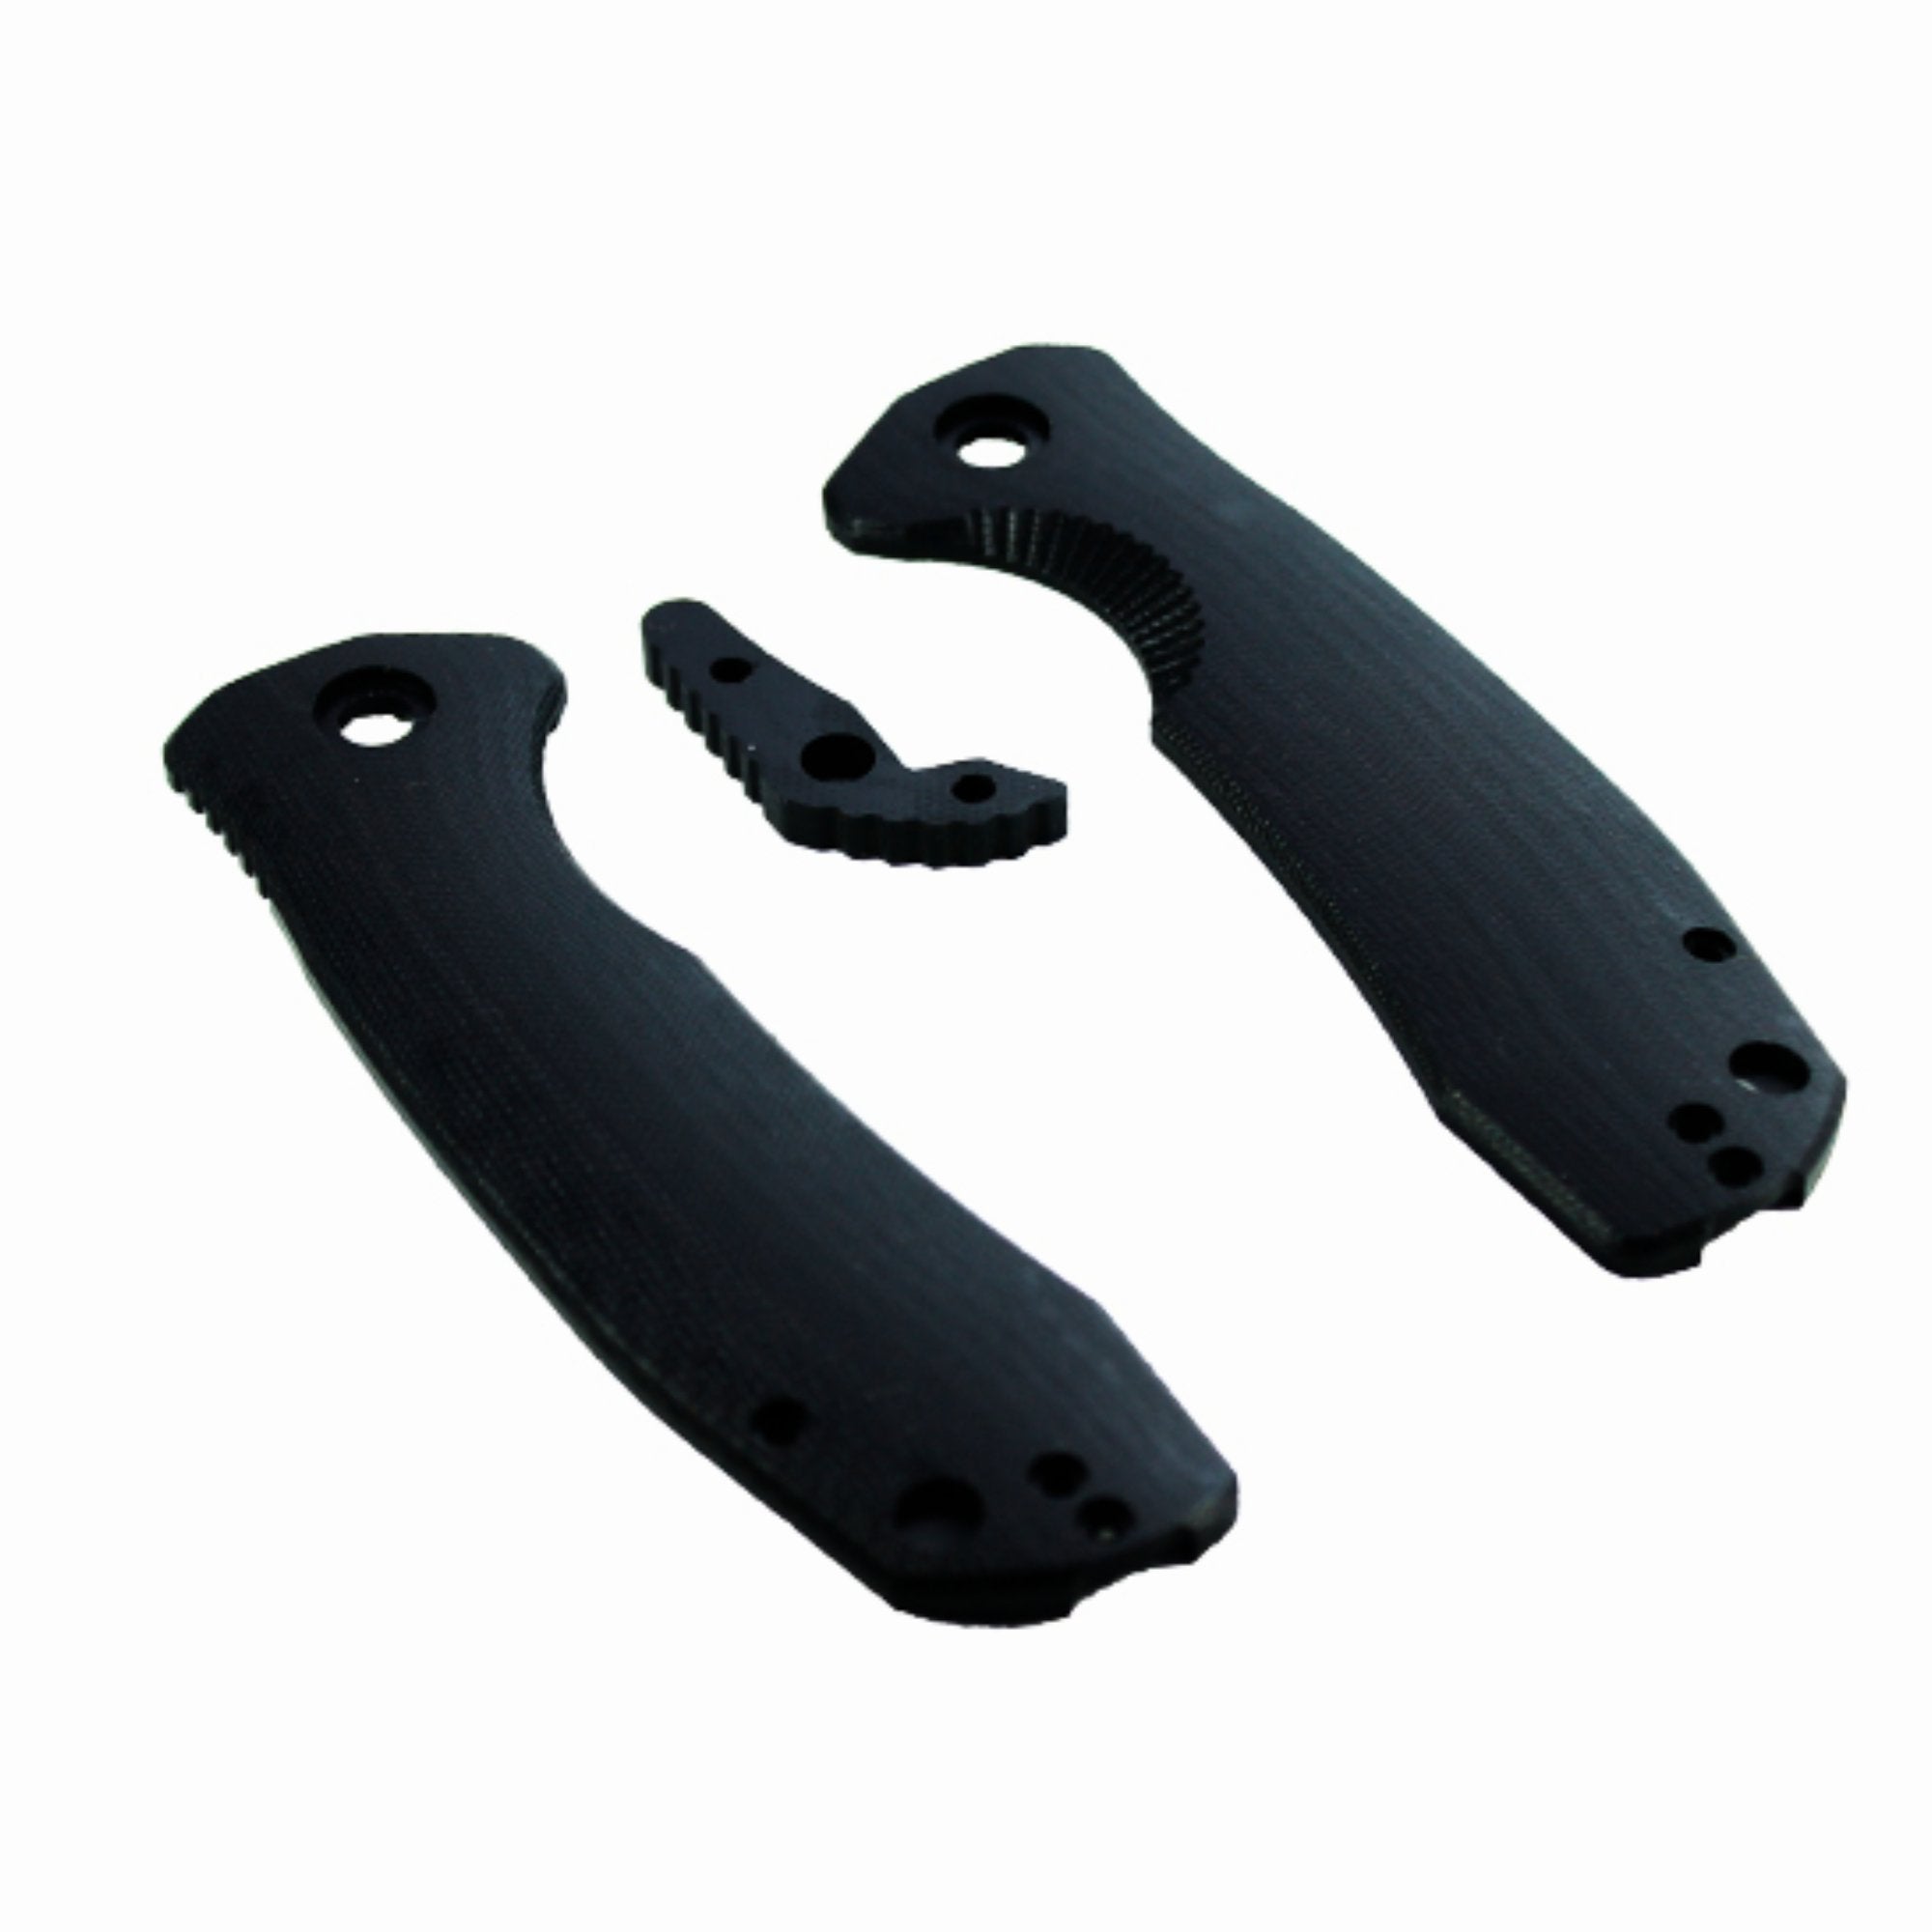
Old handle scales, pocket clip, back spacer and pocket clip insert removed.

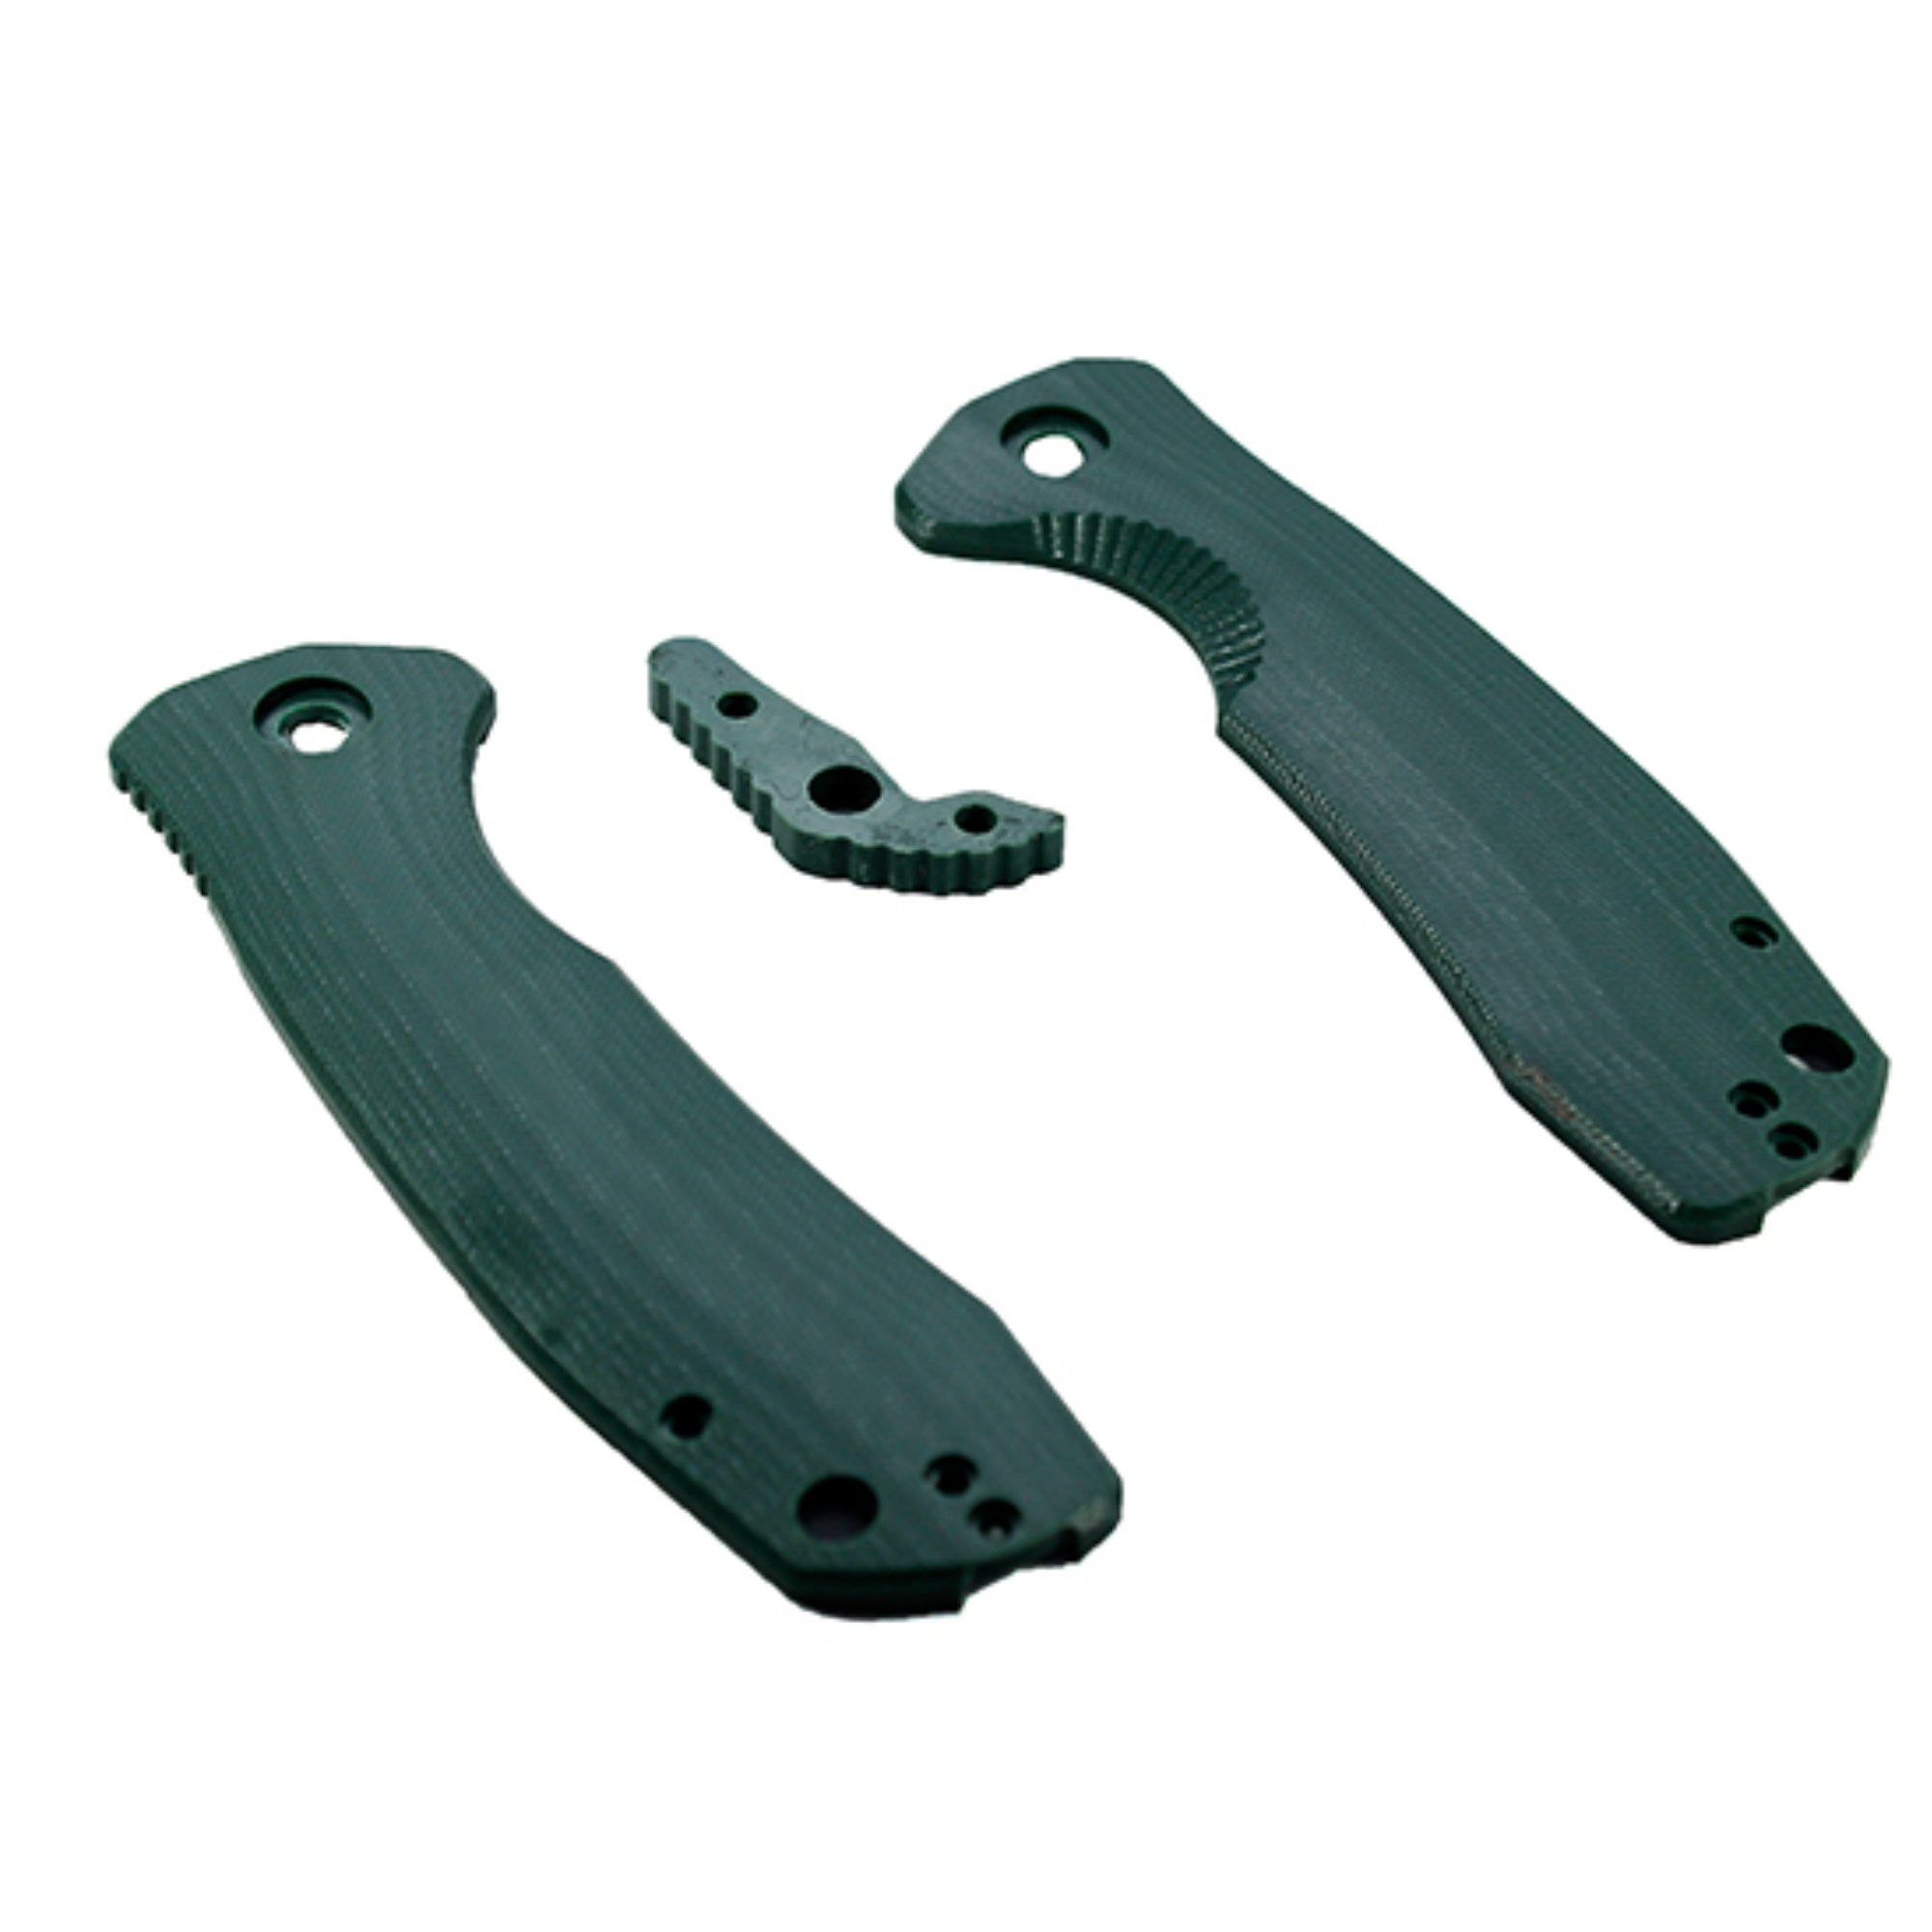
STEP 6 - FIT NEW HANDLES
Now let's start rebuilding the knife using the new handles. Start with the side that you just finished with - the side that the pocket clip goes on. Place the corresponding liner in place on its matching handle scale.
Place the new back spacer over the the brass threaded spacers (note that on your knife these may be stainless steel).

Holding the backspacer in place, flip over the knife and secure the pocket clip with its two screws (shorter one at the bottom) and the one body screw. It is sometimes better to tighten up the top screw first that will snug the scale against the liner making it easier for the shorter screw to locate and tighten.

Insert the keyed (one flat side) pivot screw through the new scale and through the liner rotating it until the flat side lines up with the keyed hole in the liner. Place one of the bearings smooth side up onto the exposed pivot screw shaft. Note the stop pin that can be seen in the photo below. Sometimes it stays in place and sometimes it can drop out.

STEP 7 - INSTALL THE BLADE
Place the blade in place on the pivot screw with the smooth side of the other bearing facing the blade. The sprung liner lock will be pushing up against the blade so you will need to put some downward pressure to keep things in place.

While maintaining pressure carefully place the other liner on top of the blade, pivot screw and brass spacers.

STEP 8 - INSTALL THE 2nd SIDE OF THE NEW HANDLE
Keeping downward pressure slide the other handle scale into place using it to continue with the downwards pressure.

Screw in the other half of the pivot screw which will hold everything in place. No need to tighten it up at this time.

STEP 9 - RE-INSTALL POCKET CLIP
Insert the pocket clip spacer noting that it can only go in one direction. Secure it in place, shorter screw in the bottom hole and then screw in the 2 remaining screws.

STEP 10 - CHECK THE STOP PIN
Almost done. Before tightening the pivot screw make sure that the stop pin is correctly located in each hole. Sometimes you just need to wriggle it with a pair of pliers while squeezing the scales together listening for a click.

An optional but recommended step is to use some thread lock compound on the pivot screw before tightening it up. Squeeze the two side of the knife together while placing your finger on the other side of the pivot screw - remove the pivot screw, apply the compound and screw it back in place.

STEP 11 - TIGHTEN THE PIVOT SCREW AND TEST
Tighten up the pivot screw until there is no sideways blade play with the liner lock pressed back.

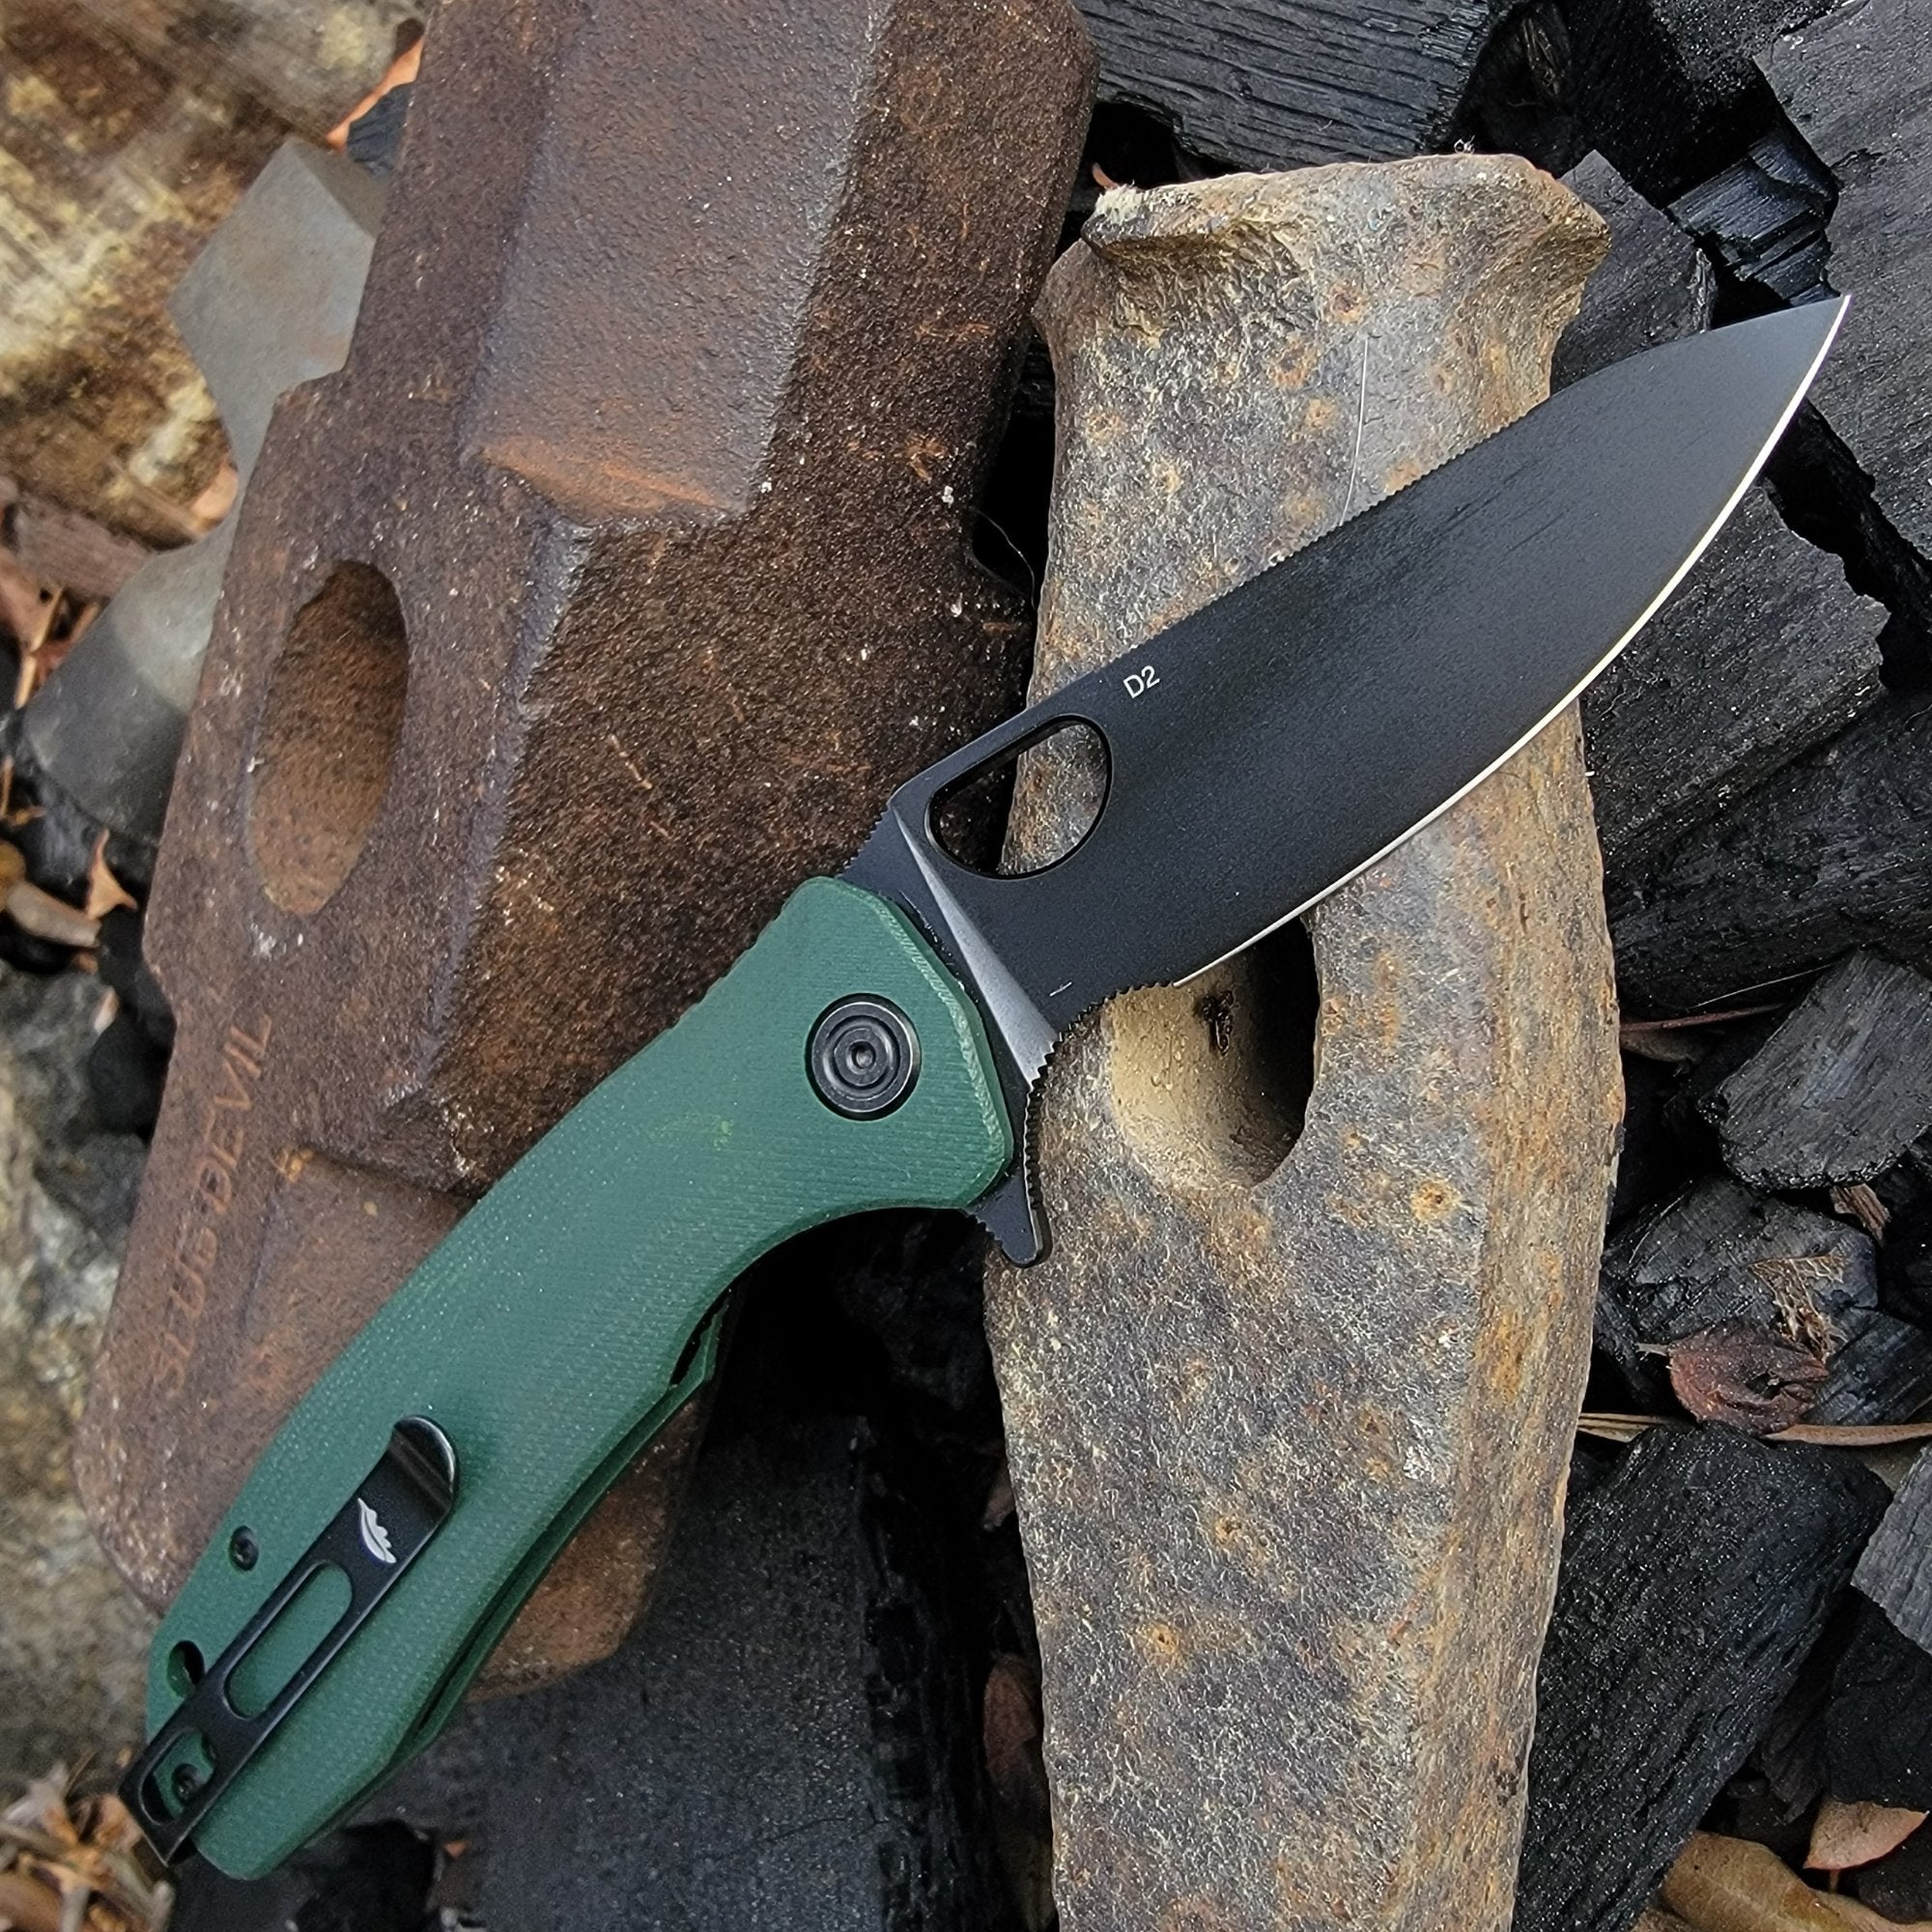
That's it - you are done!

ADDITIONAL NOTES
As you can see from the above, both the body screw and the upper pocket clip screw screw into the threaded spacer that has an equivalent screw on the opposite side. Sometimes, when trying to remove one of these screws the screw and threaded spacer all turn at the same time. This gives the illusion that something is stripped. To solve this, use a second T6 driver in the opposite screw to stop it from turning while unscrewing the other screw.
Sometimes there is a little too much thread lock applied to the pivot screw from the factory. Removing it using the included T8/T6 wrench may be quite difficult. A more robust T8 wrench or even using a T8 bit in T bar driver may be necessary to get the screw moving.
For extra safety it would be a good idea to place some tape along the edge of the knife while swapping the scales to help prevent your fingers coming in contact with the sharp edge.
The above is for the liner lock models only and not for the Crossbolt cross bar models which as of writing this there are no scale upgrades for these models.