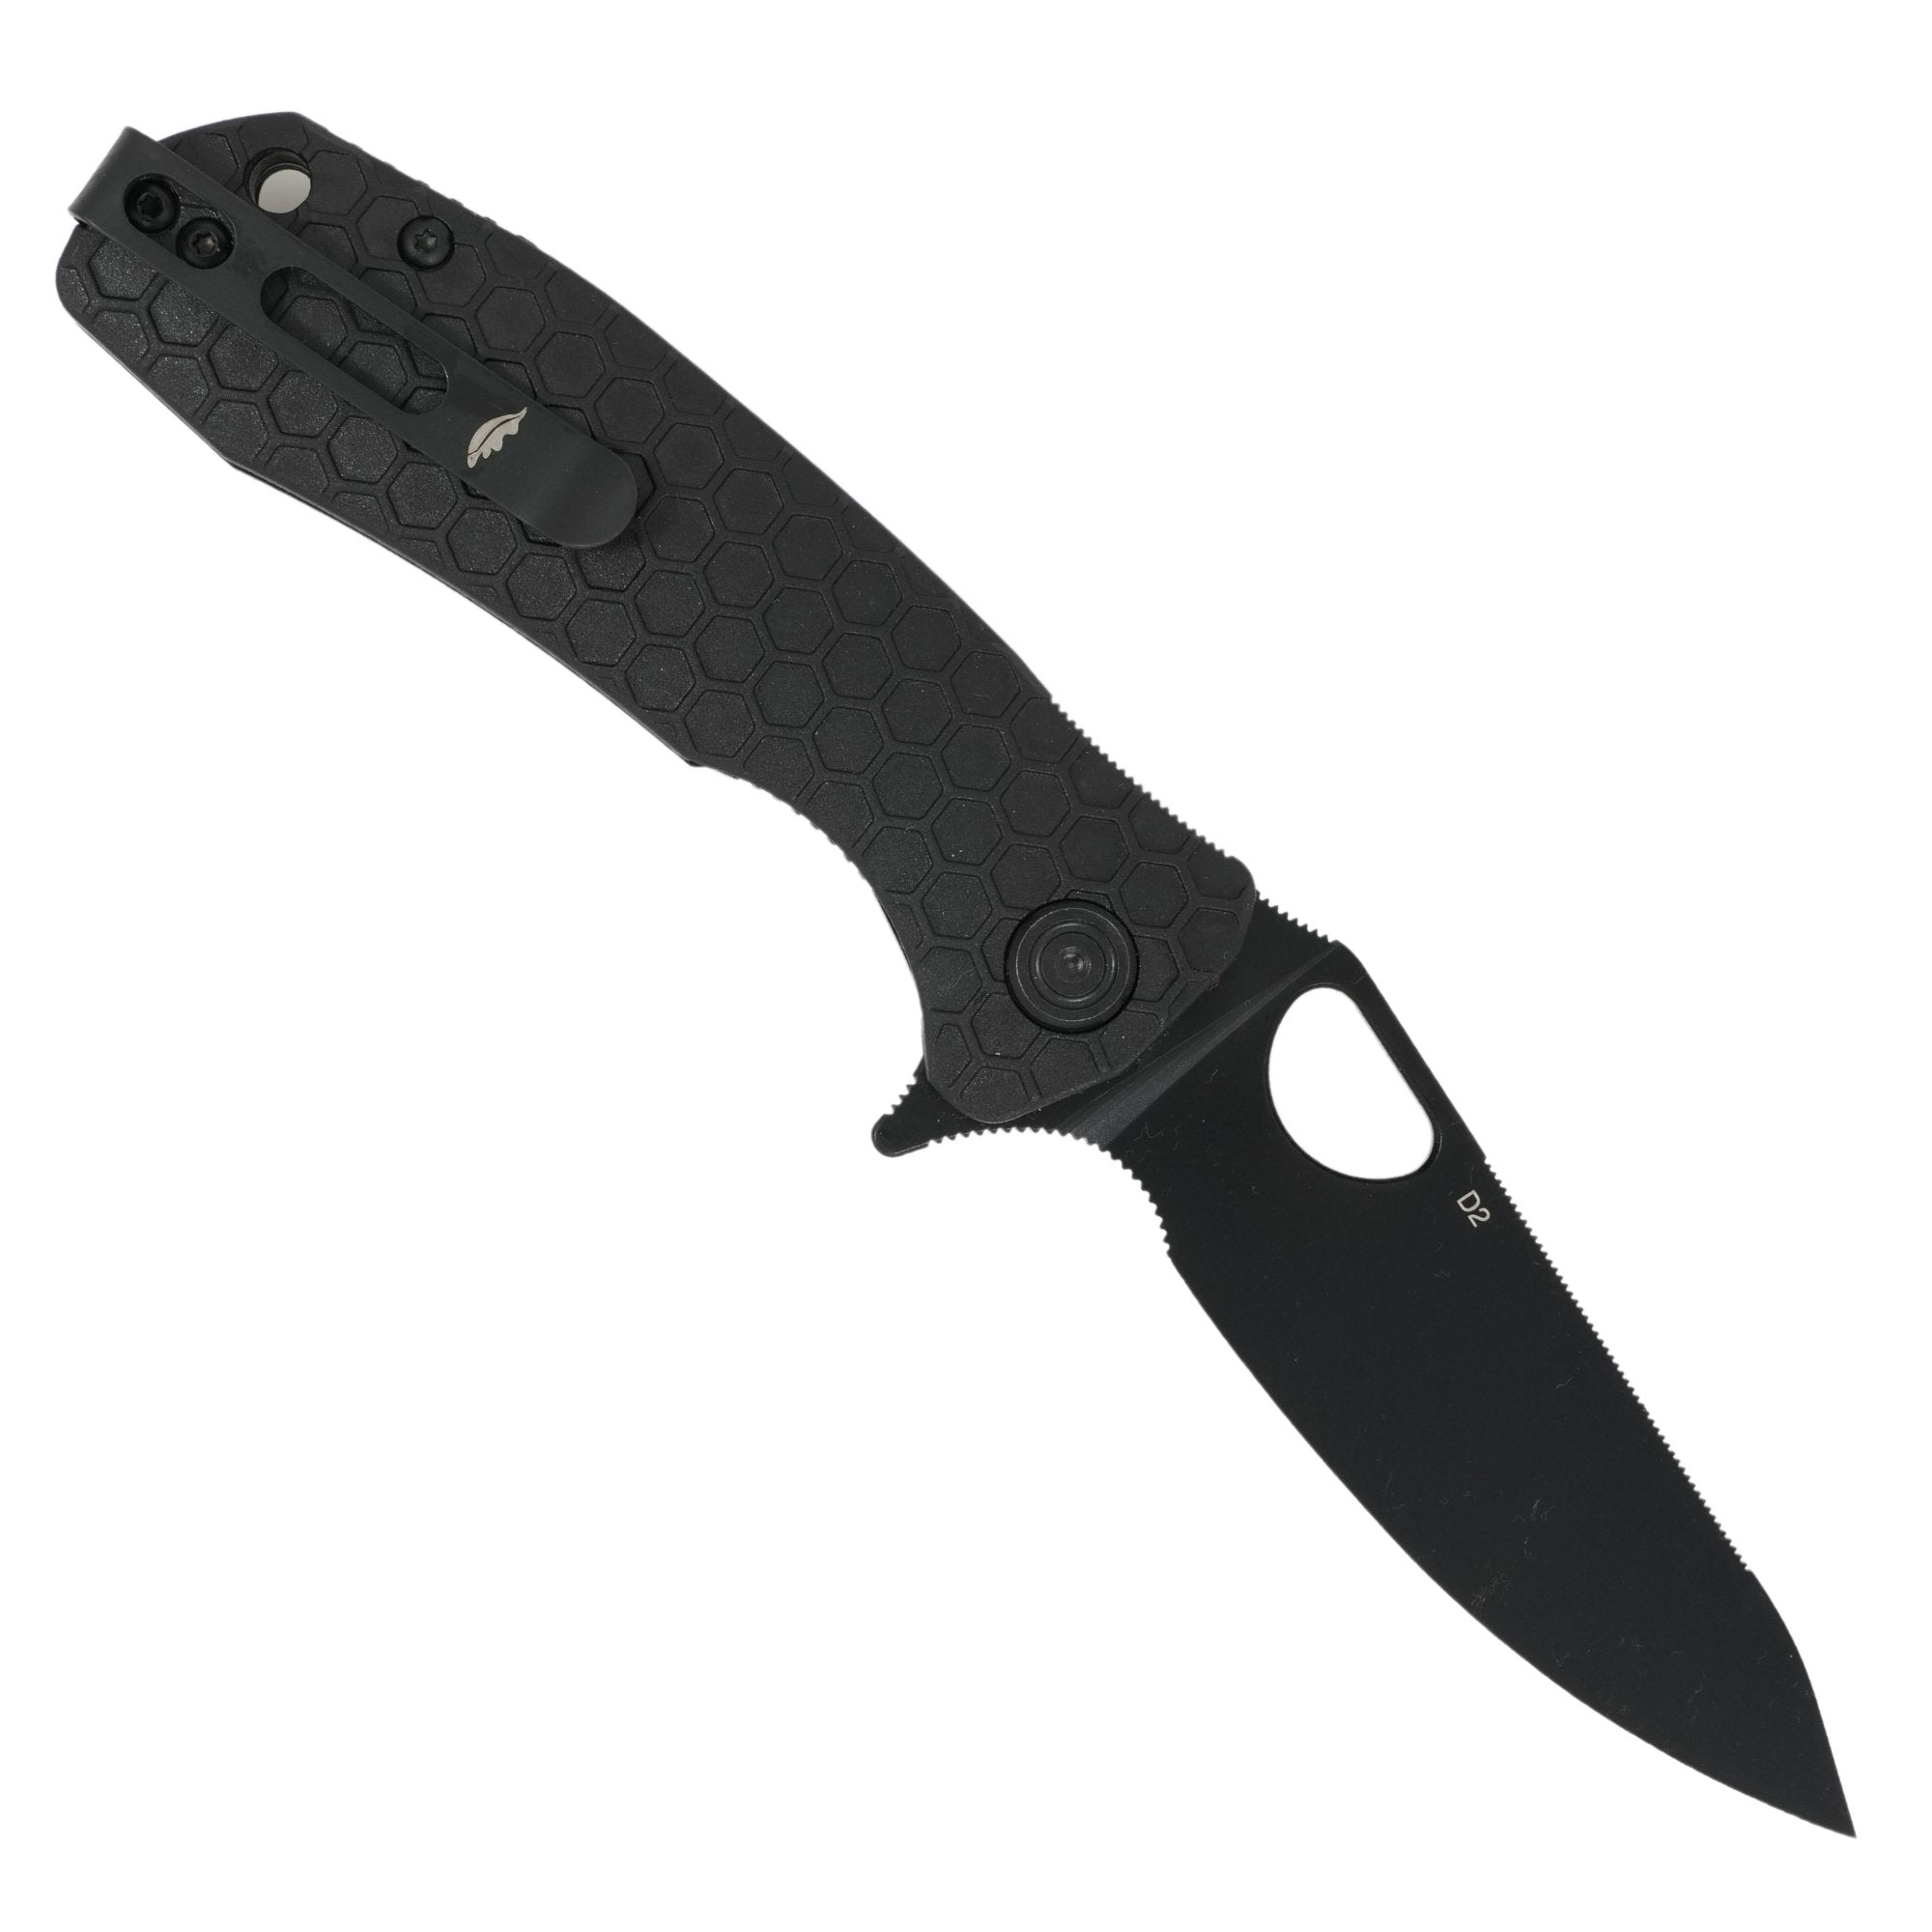
Honey Badger Knives are pretty slick straight out of the box with a smooth opening and closing action and you should not need to tune your Honey Badger Knife. For those of you who would like to go a step further here are 5 ways to tune your Honey Badger Knife. This is a quick tune requiring removal of only the pivot screw. For safety sake we suggest taping the edge of the blade with masking tape to avoid any accidental contact with the sharp edge.
Tune your Honey Badger Knife – Disassembly
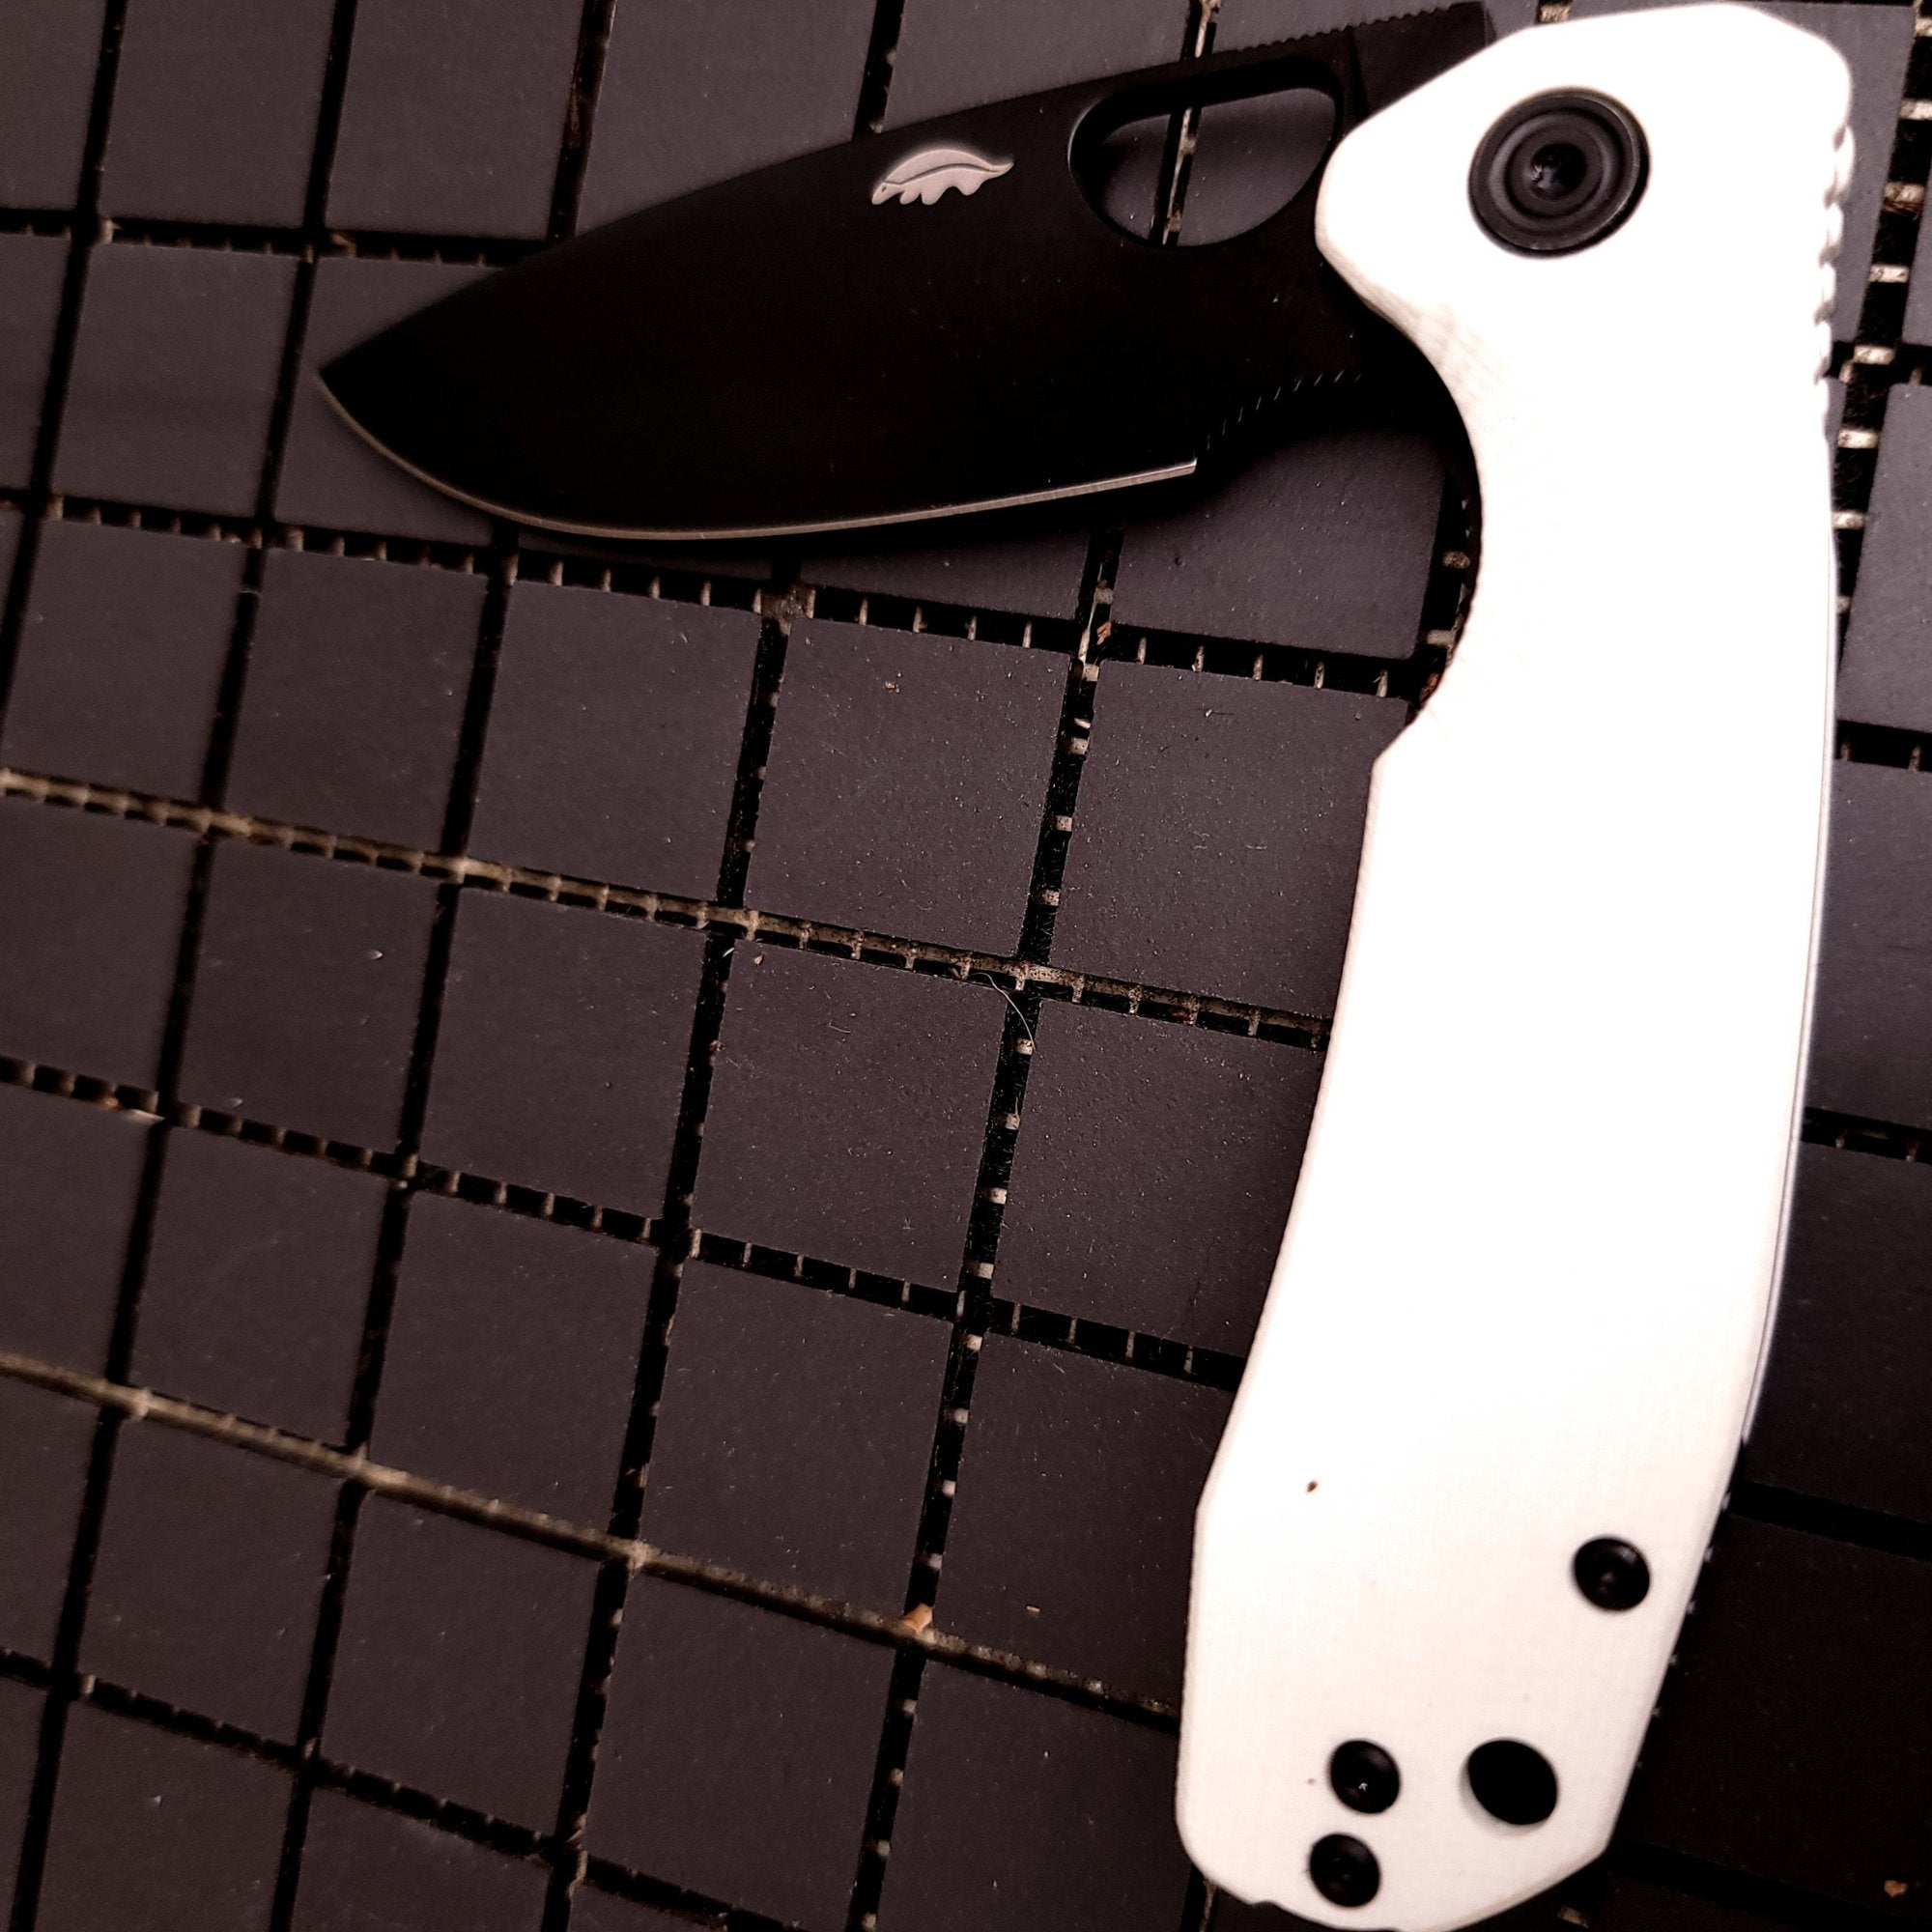
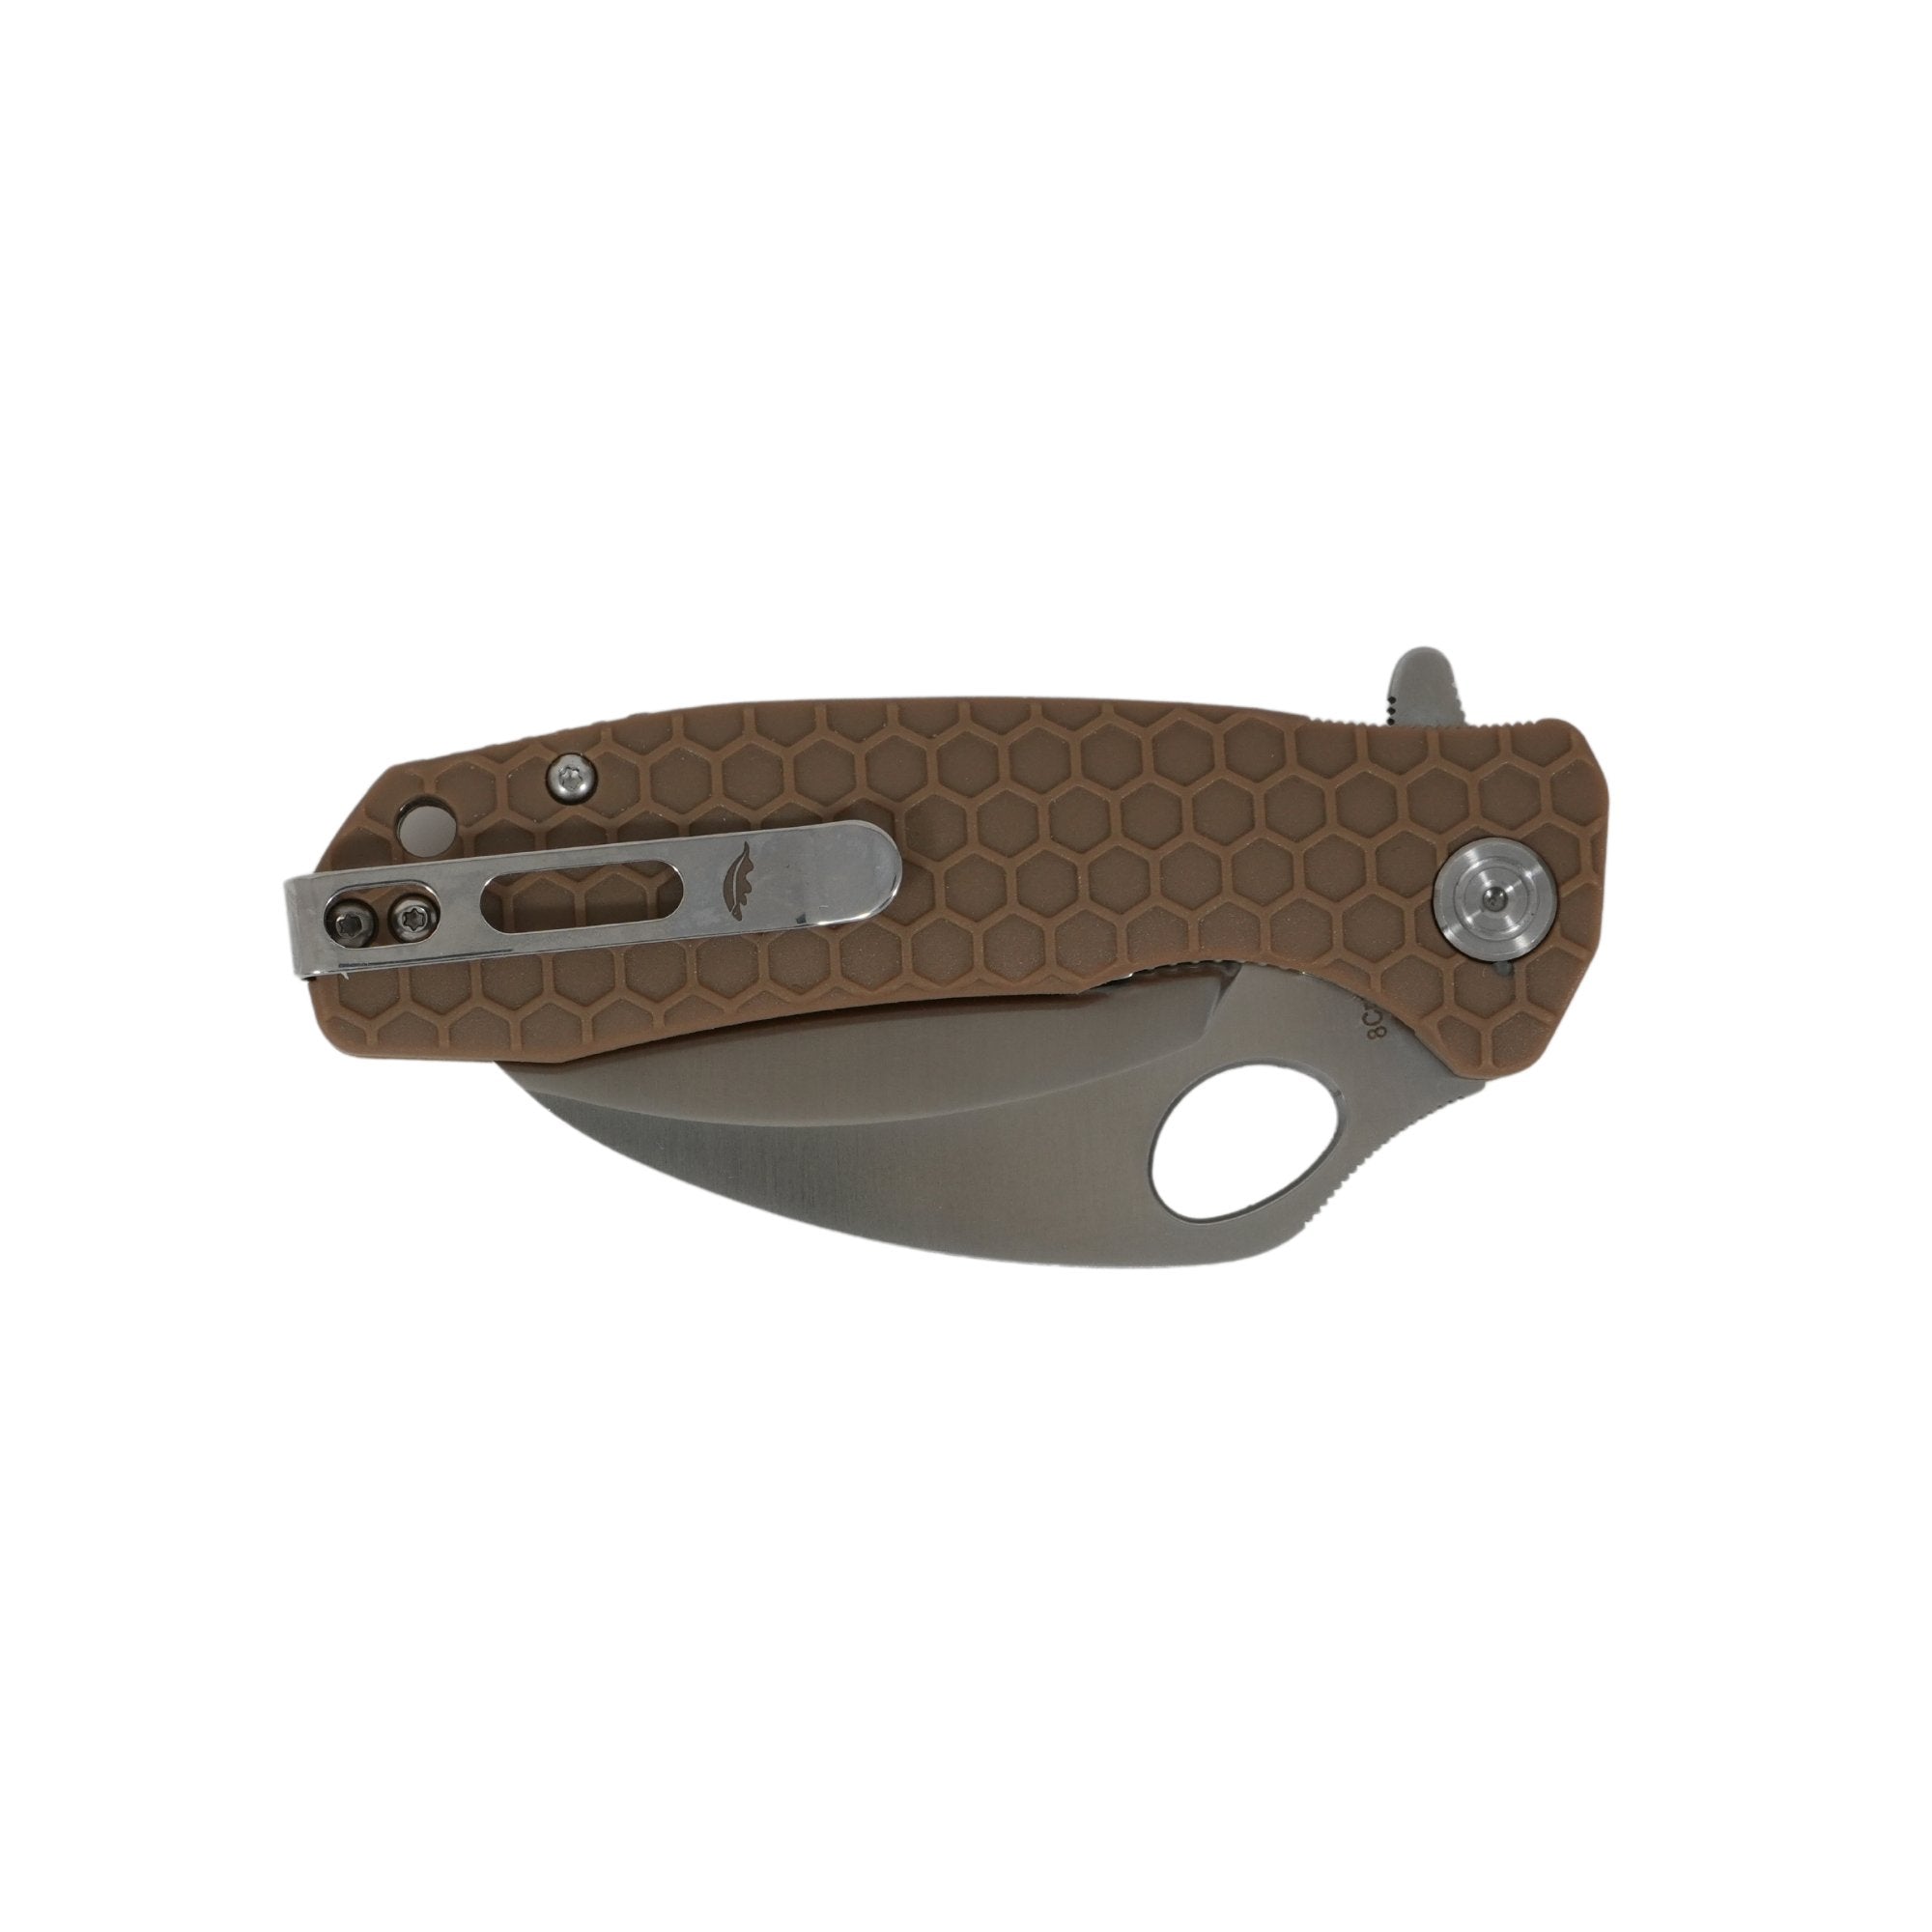
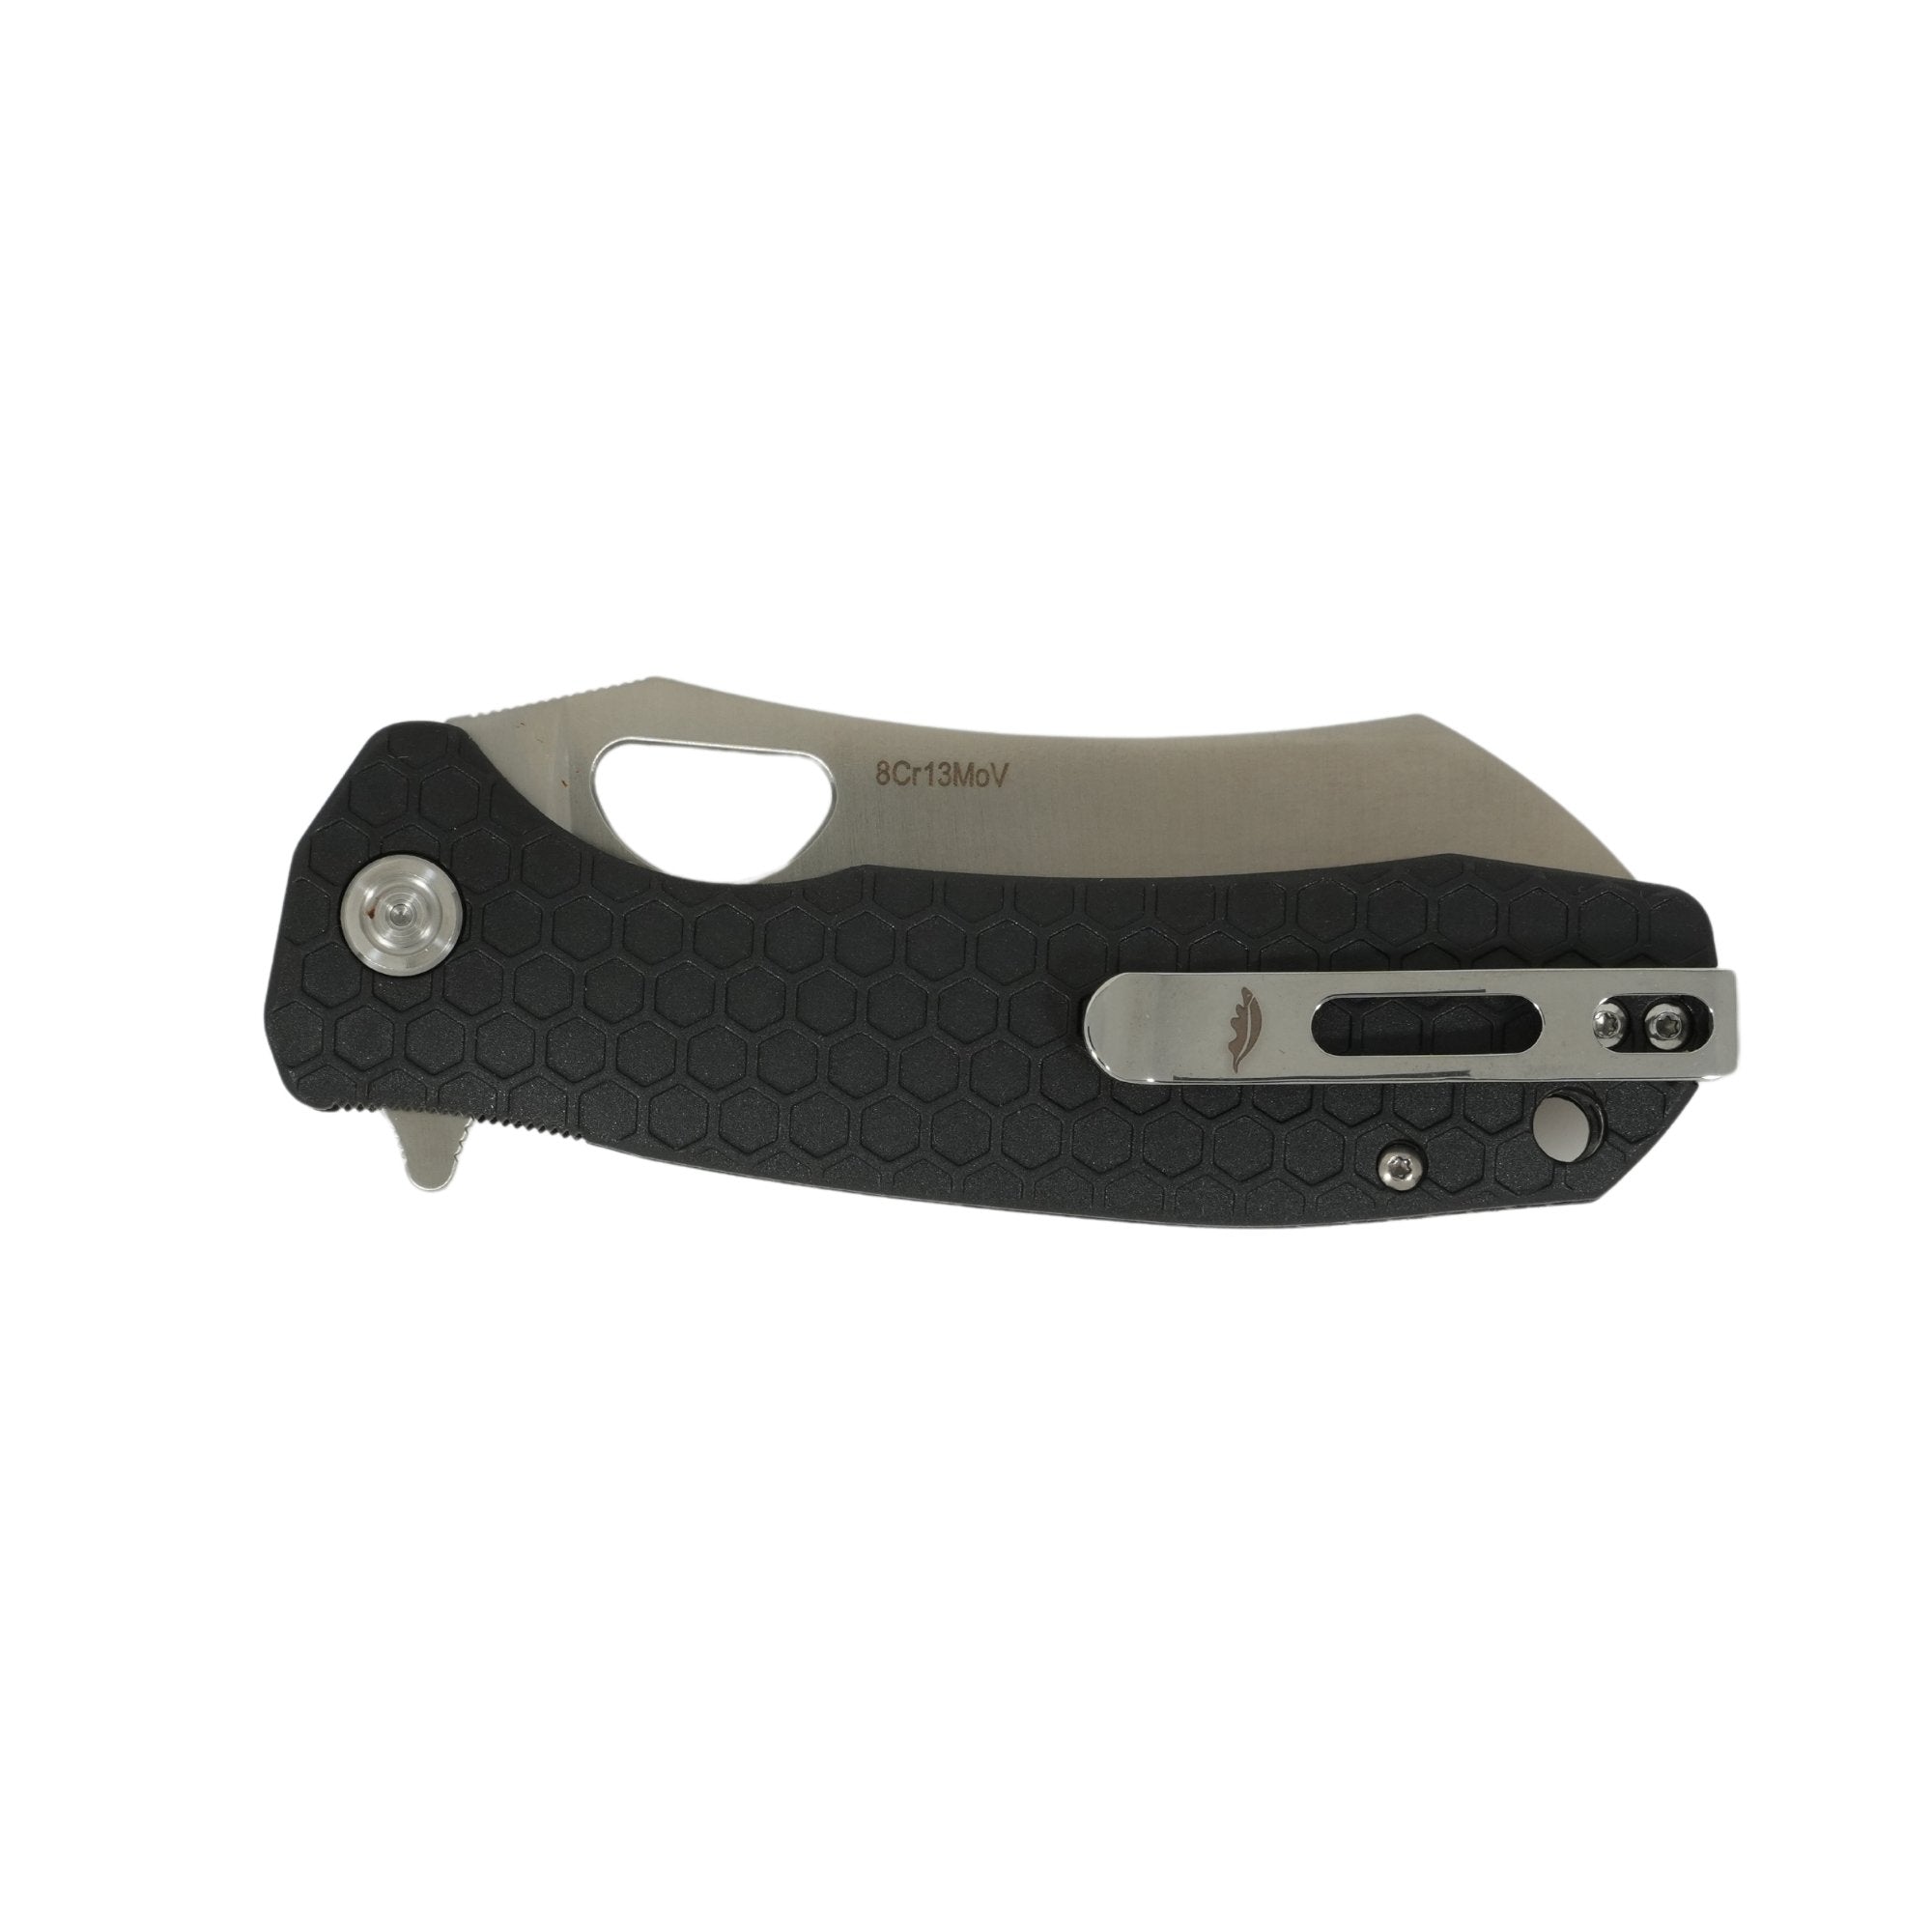
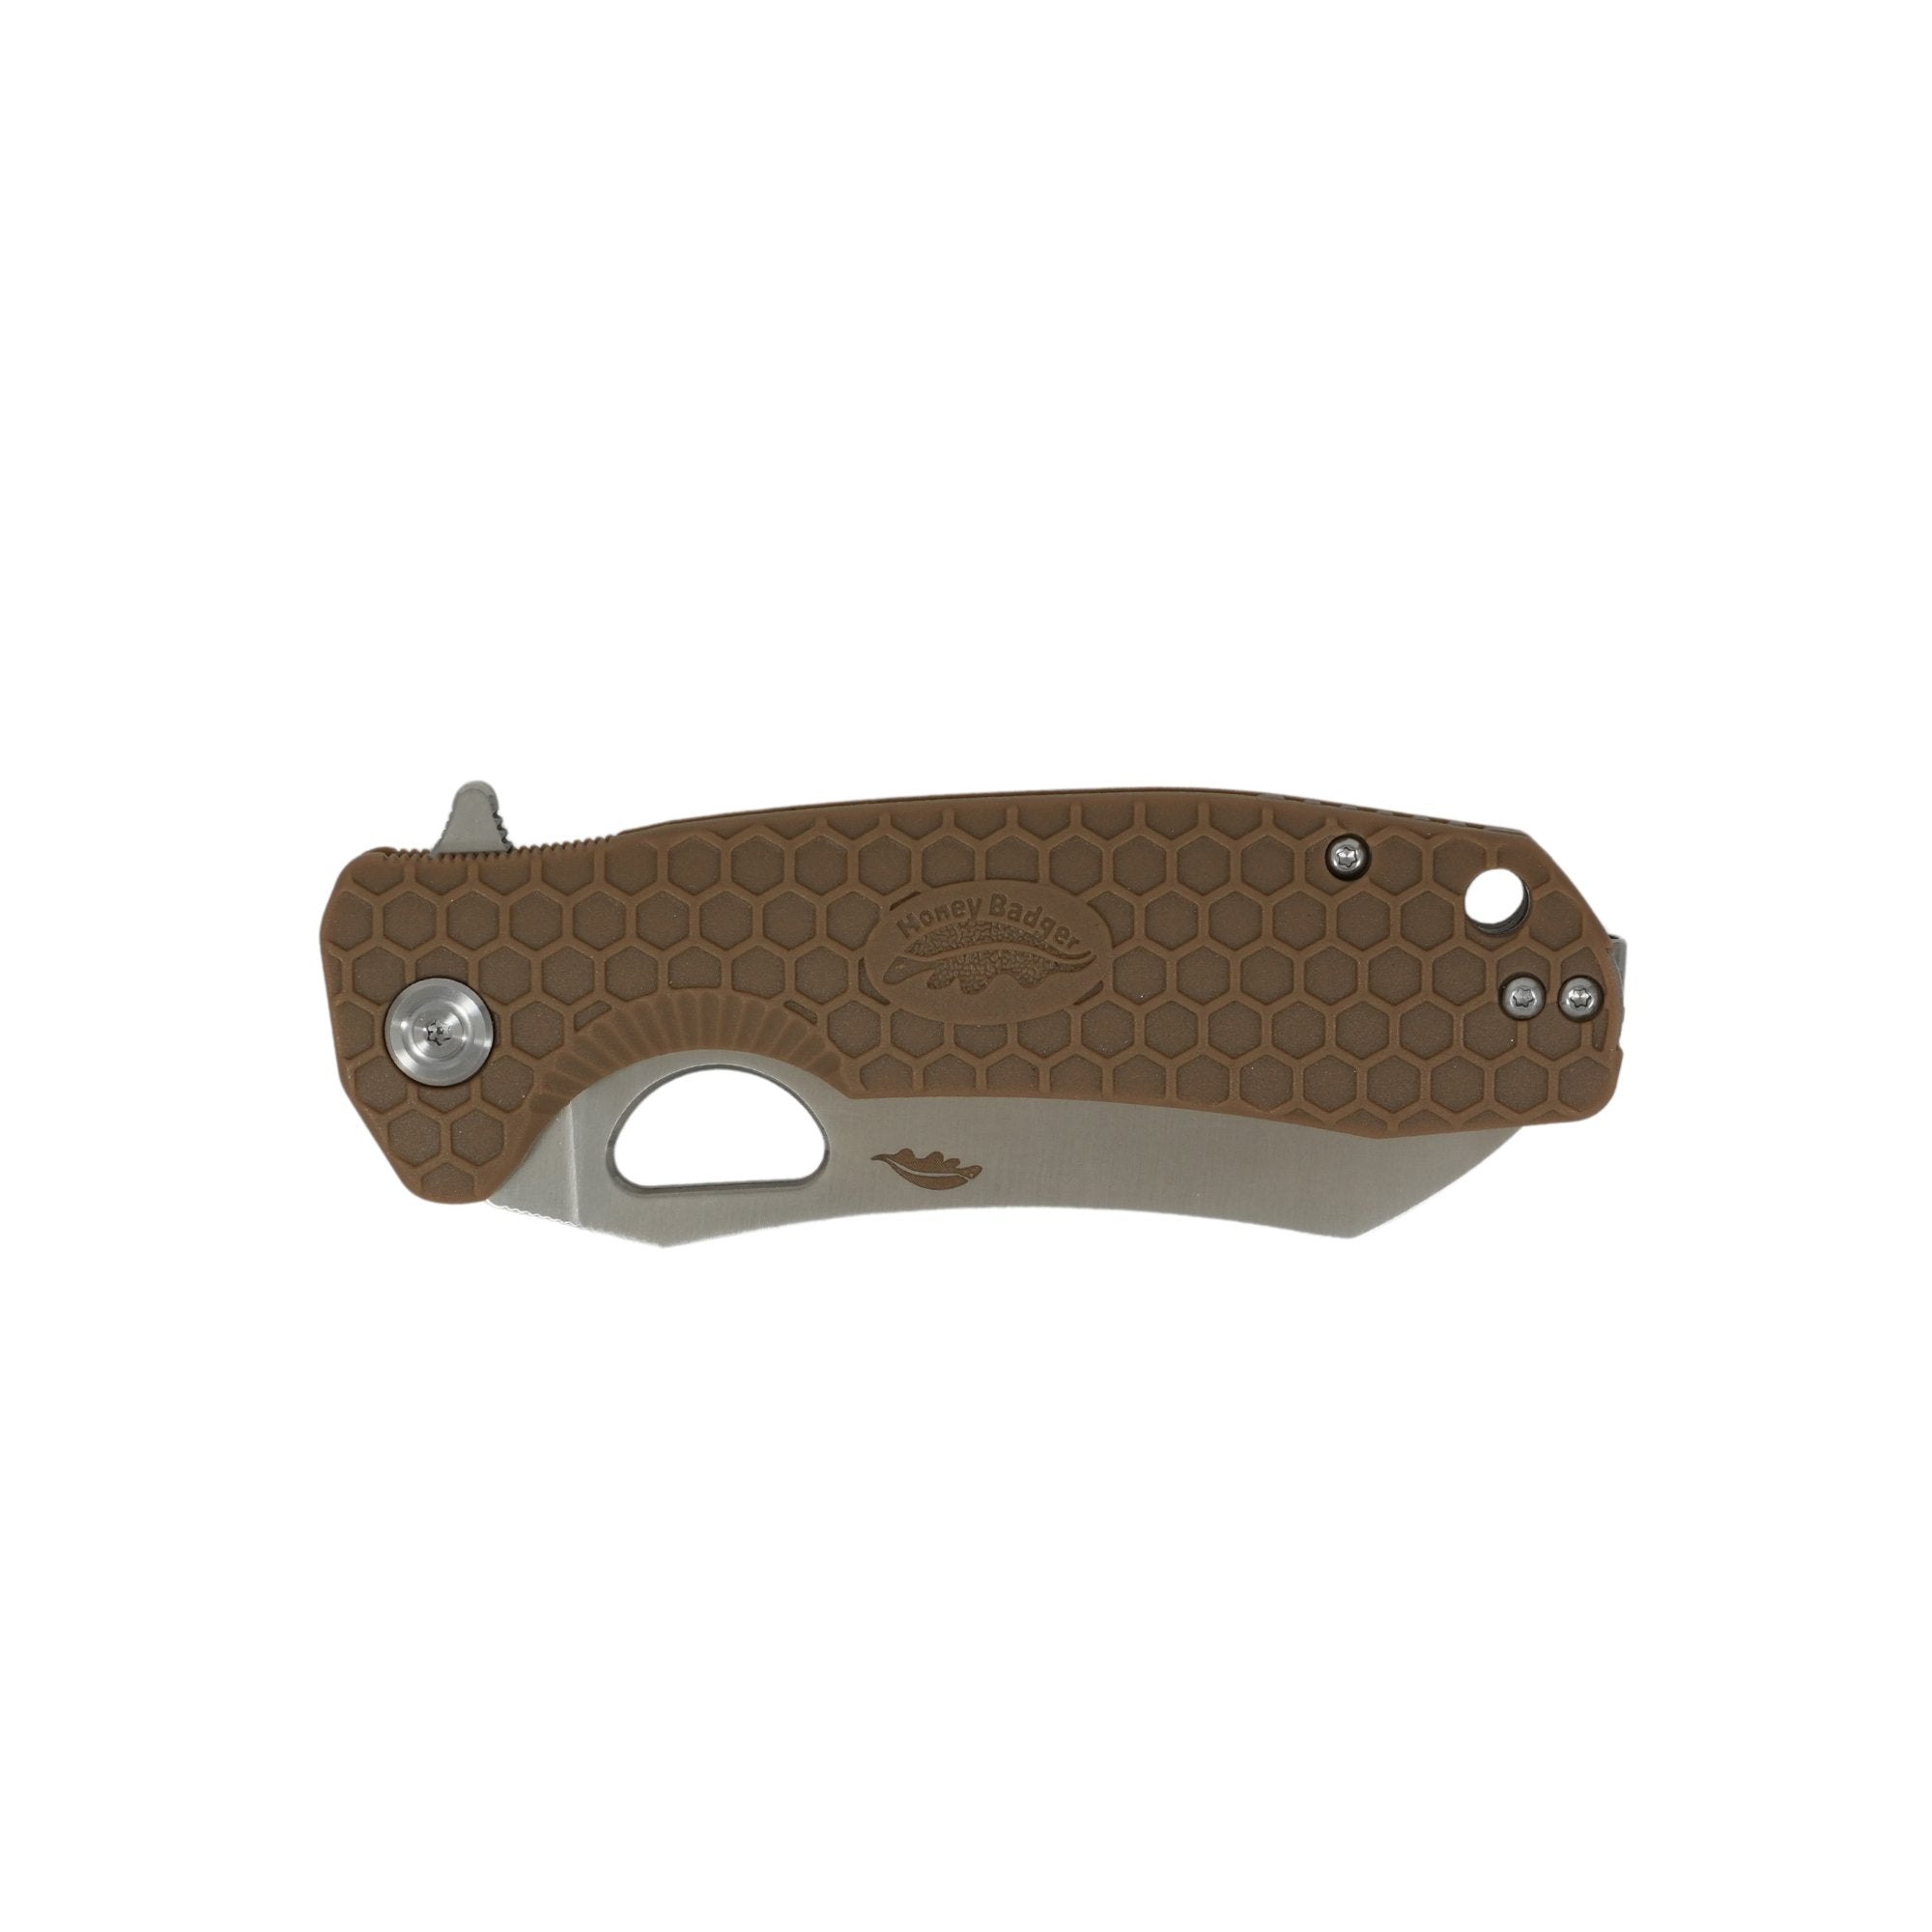
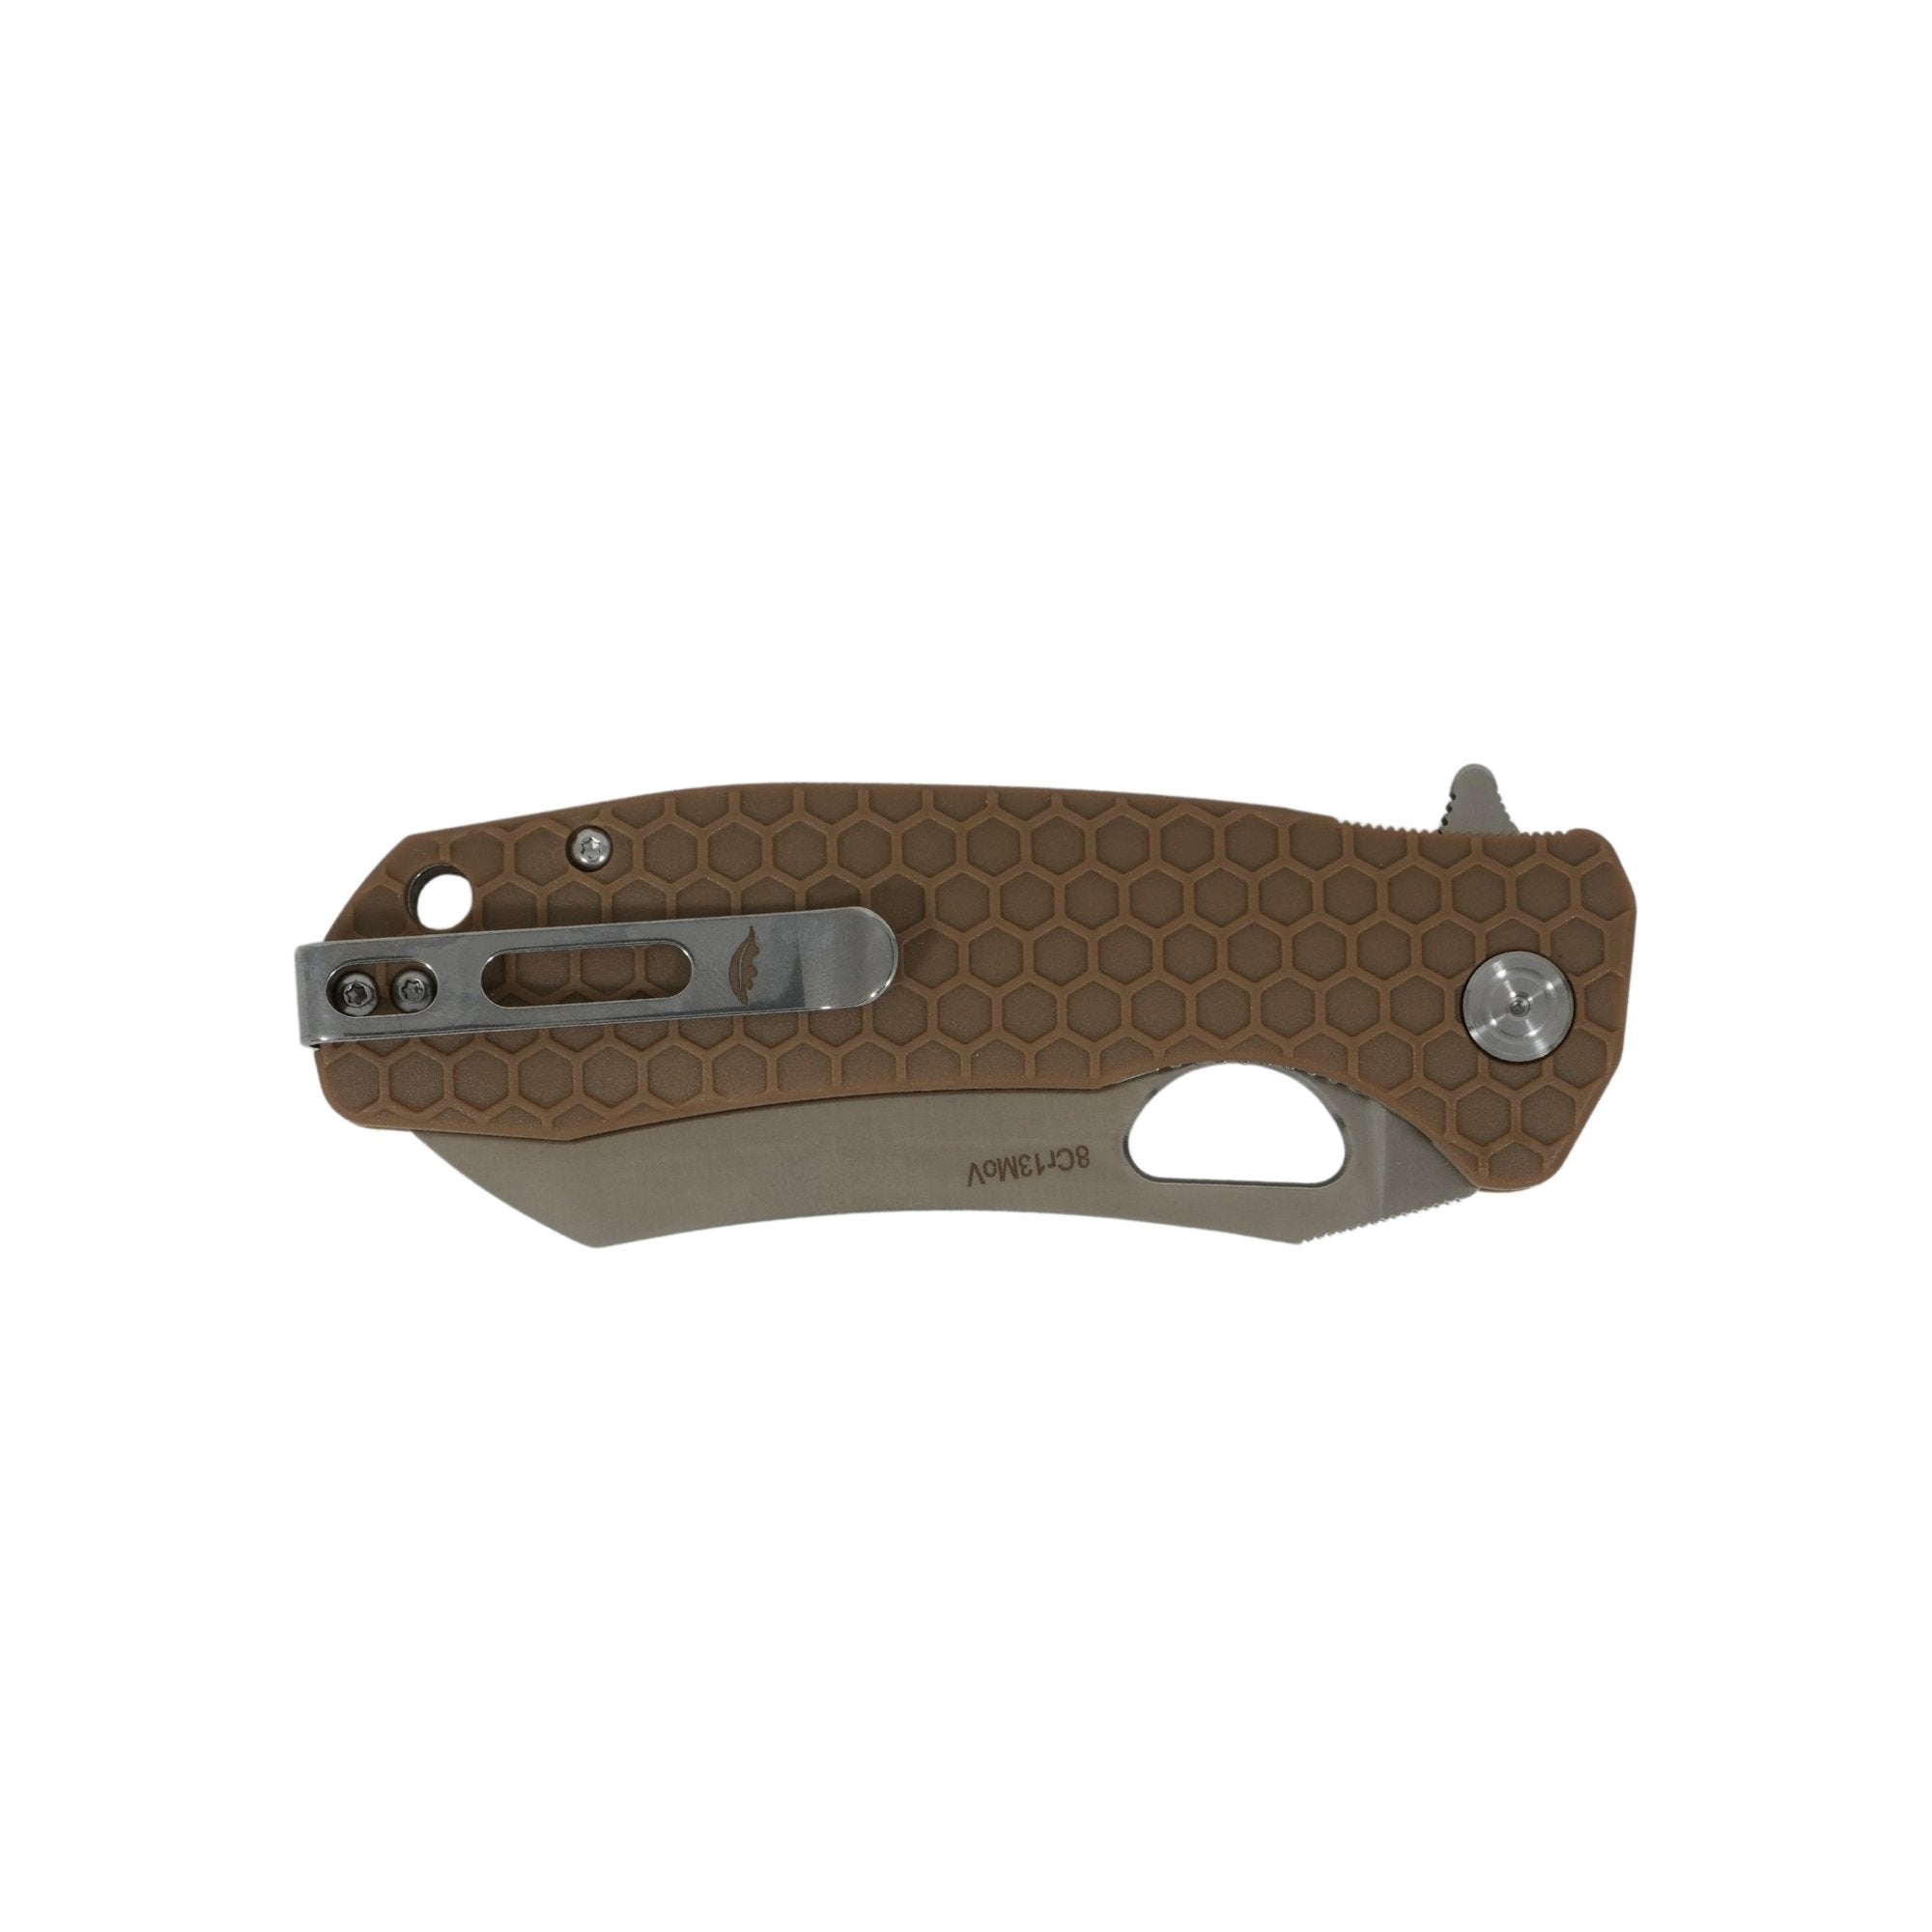
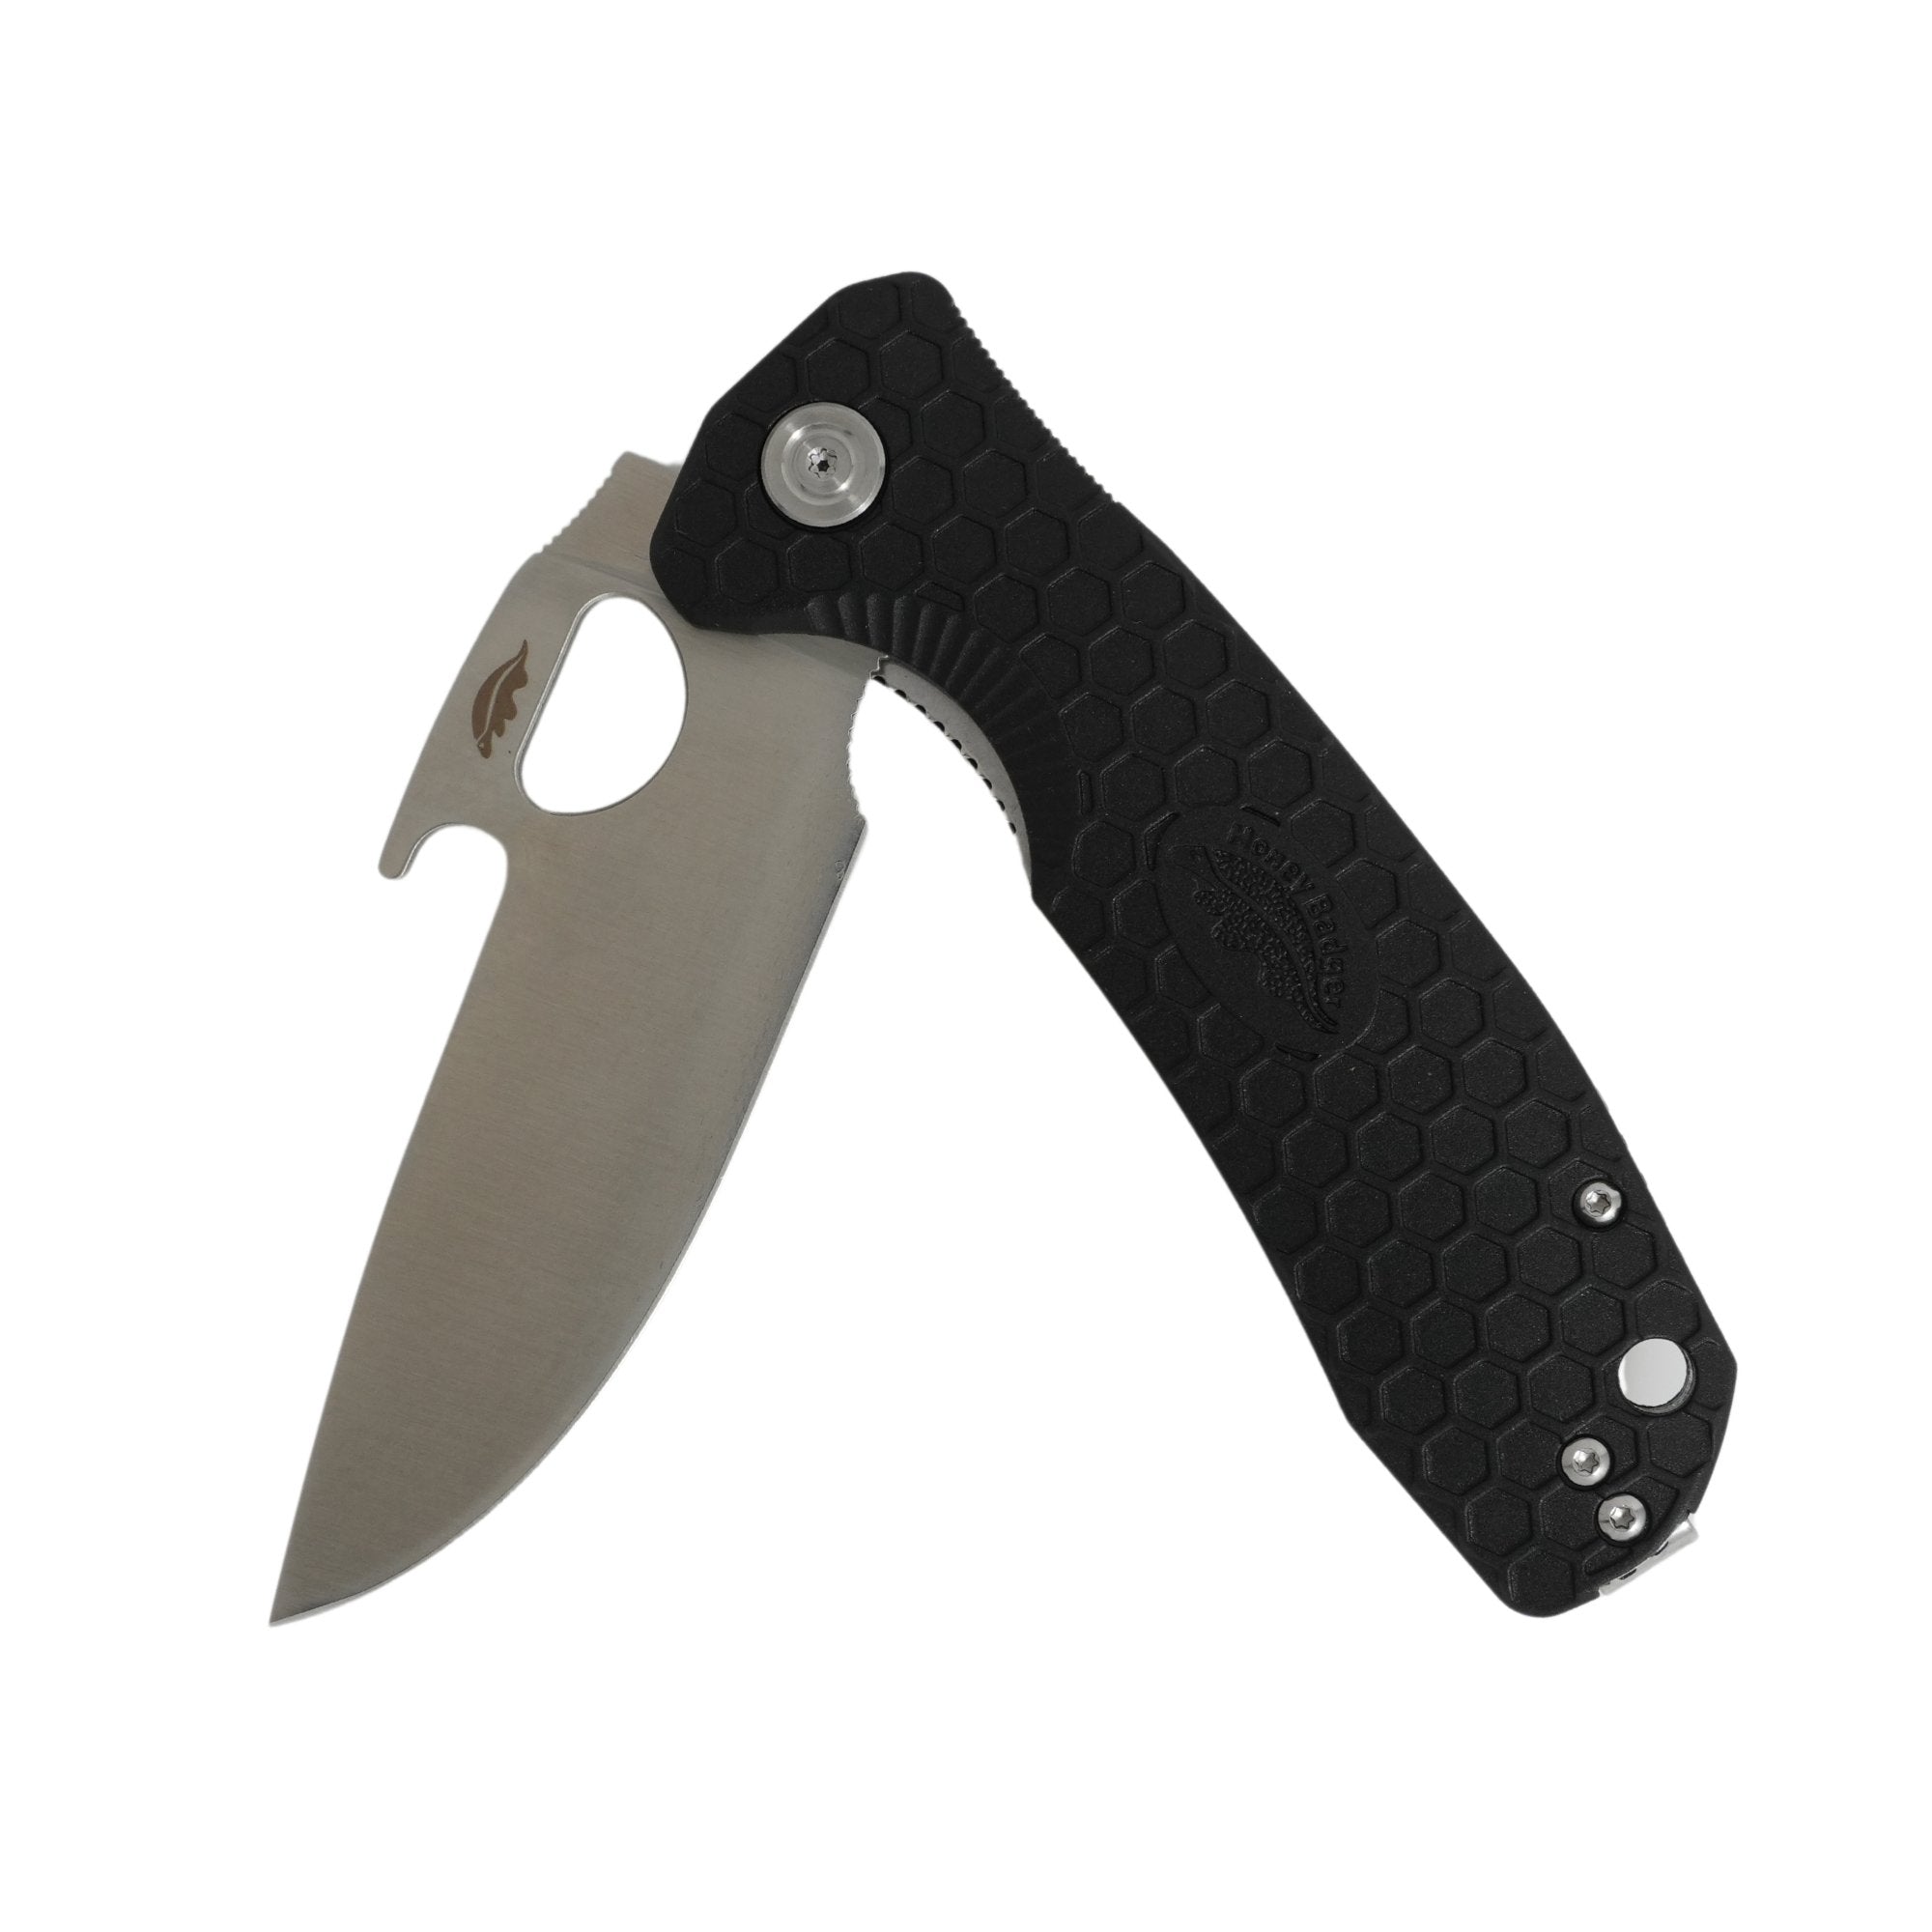
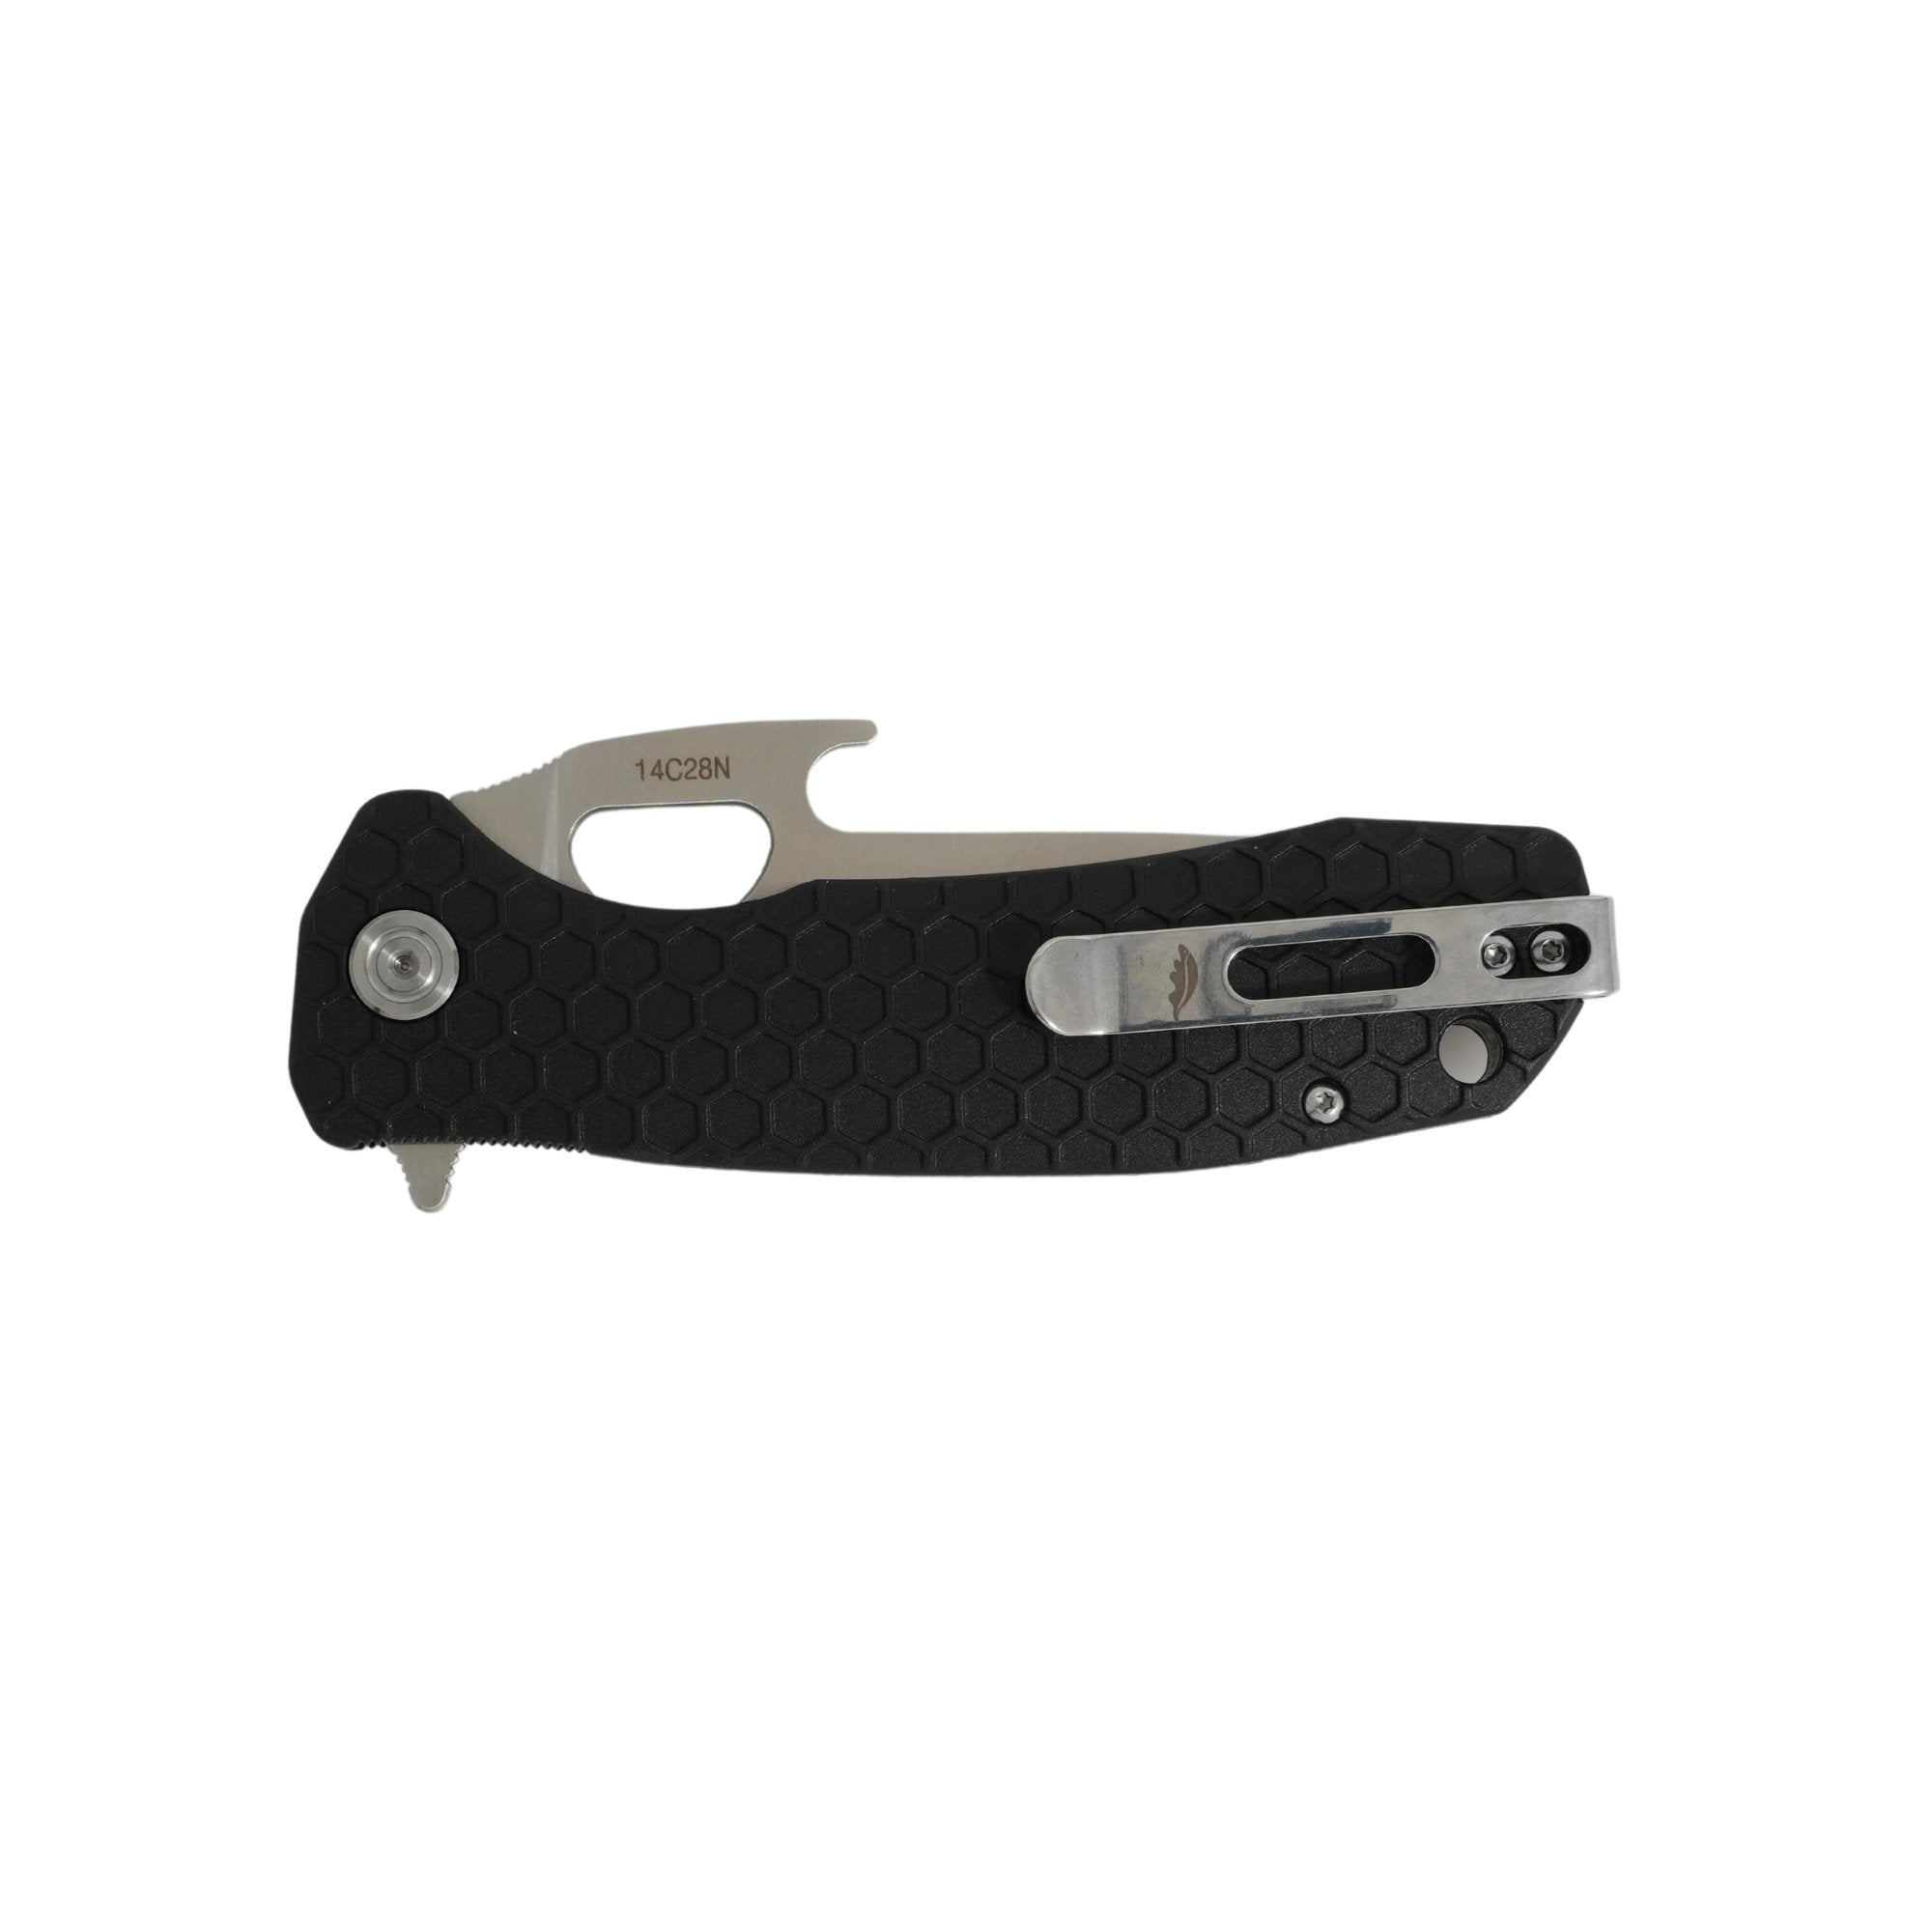
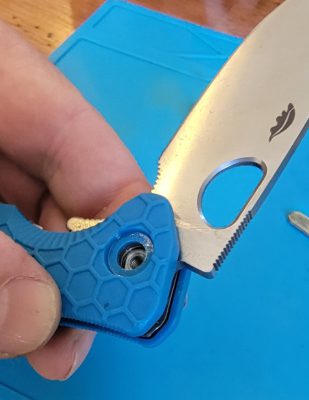
Step 1 – Remove the pivot screw
Note that on the later model with the left/right reversible pocket clip, the pivot screw only has one side that will take a the T8 torx driver. Note which side that it for when it comes time to reassemble. Use the torx driver to push out the other half of the pivot screw.


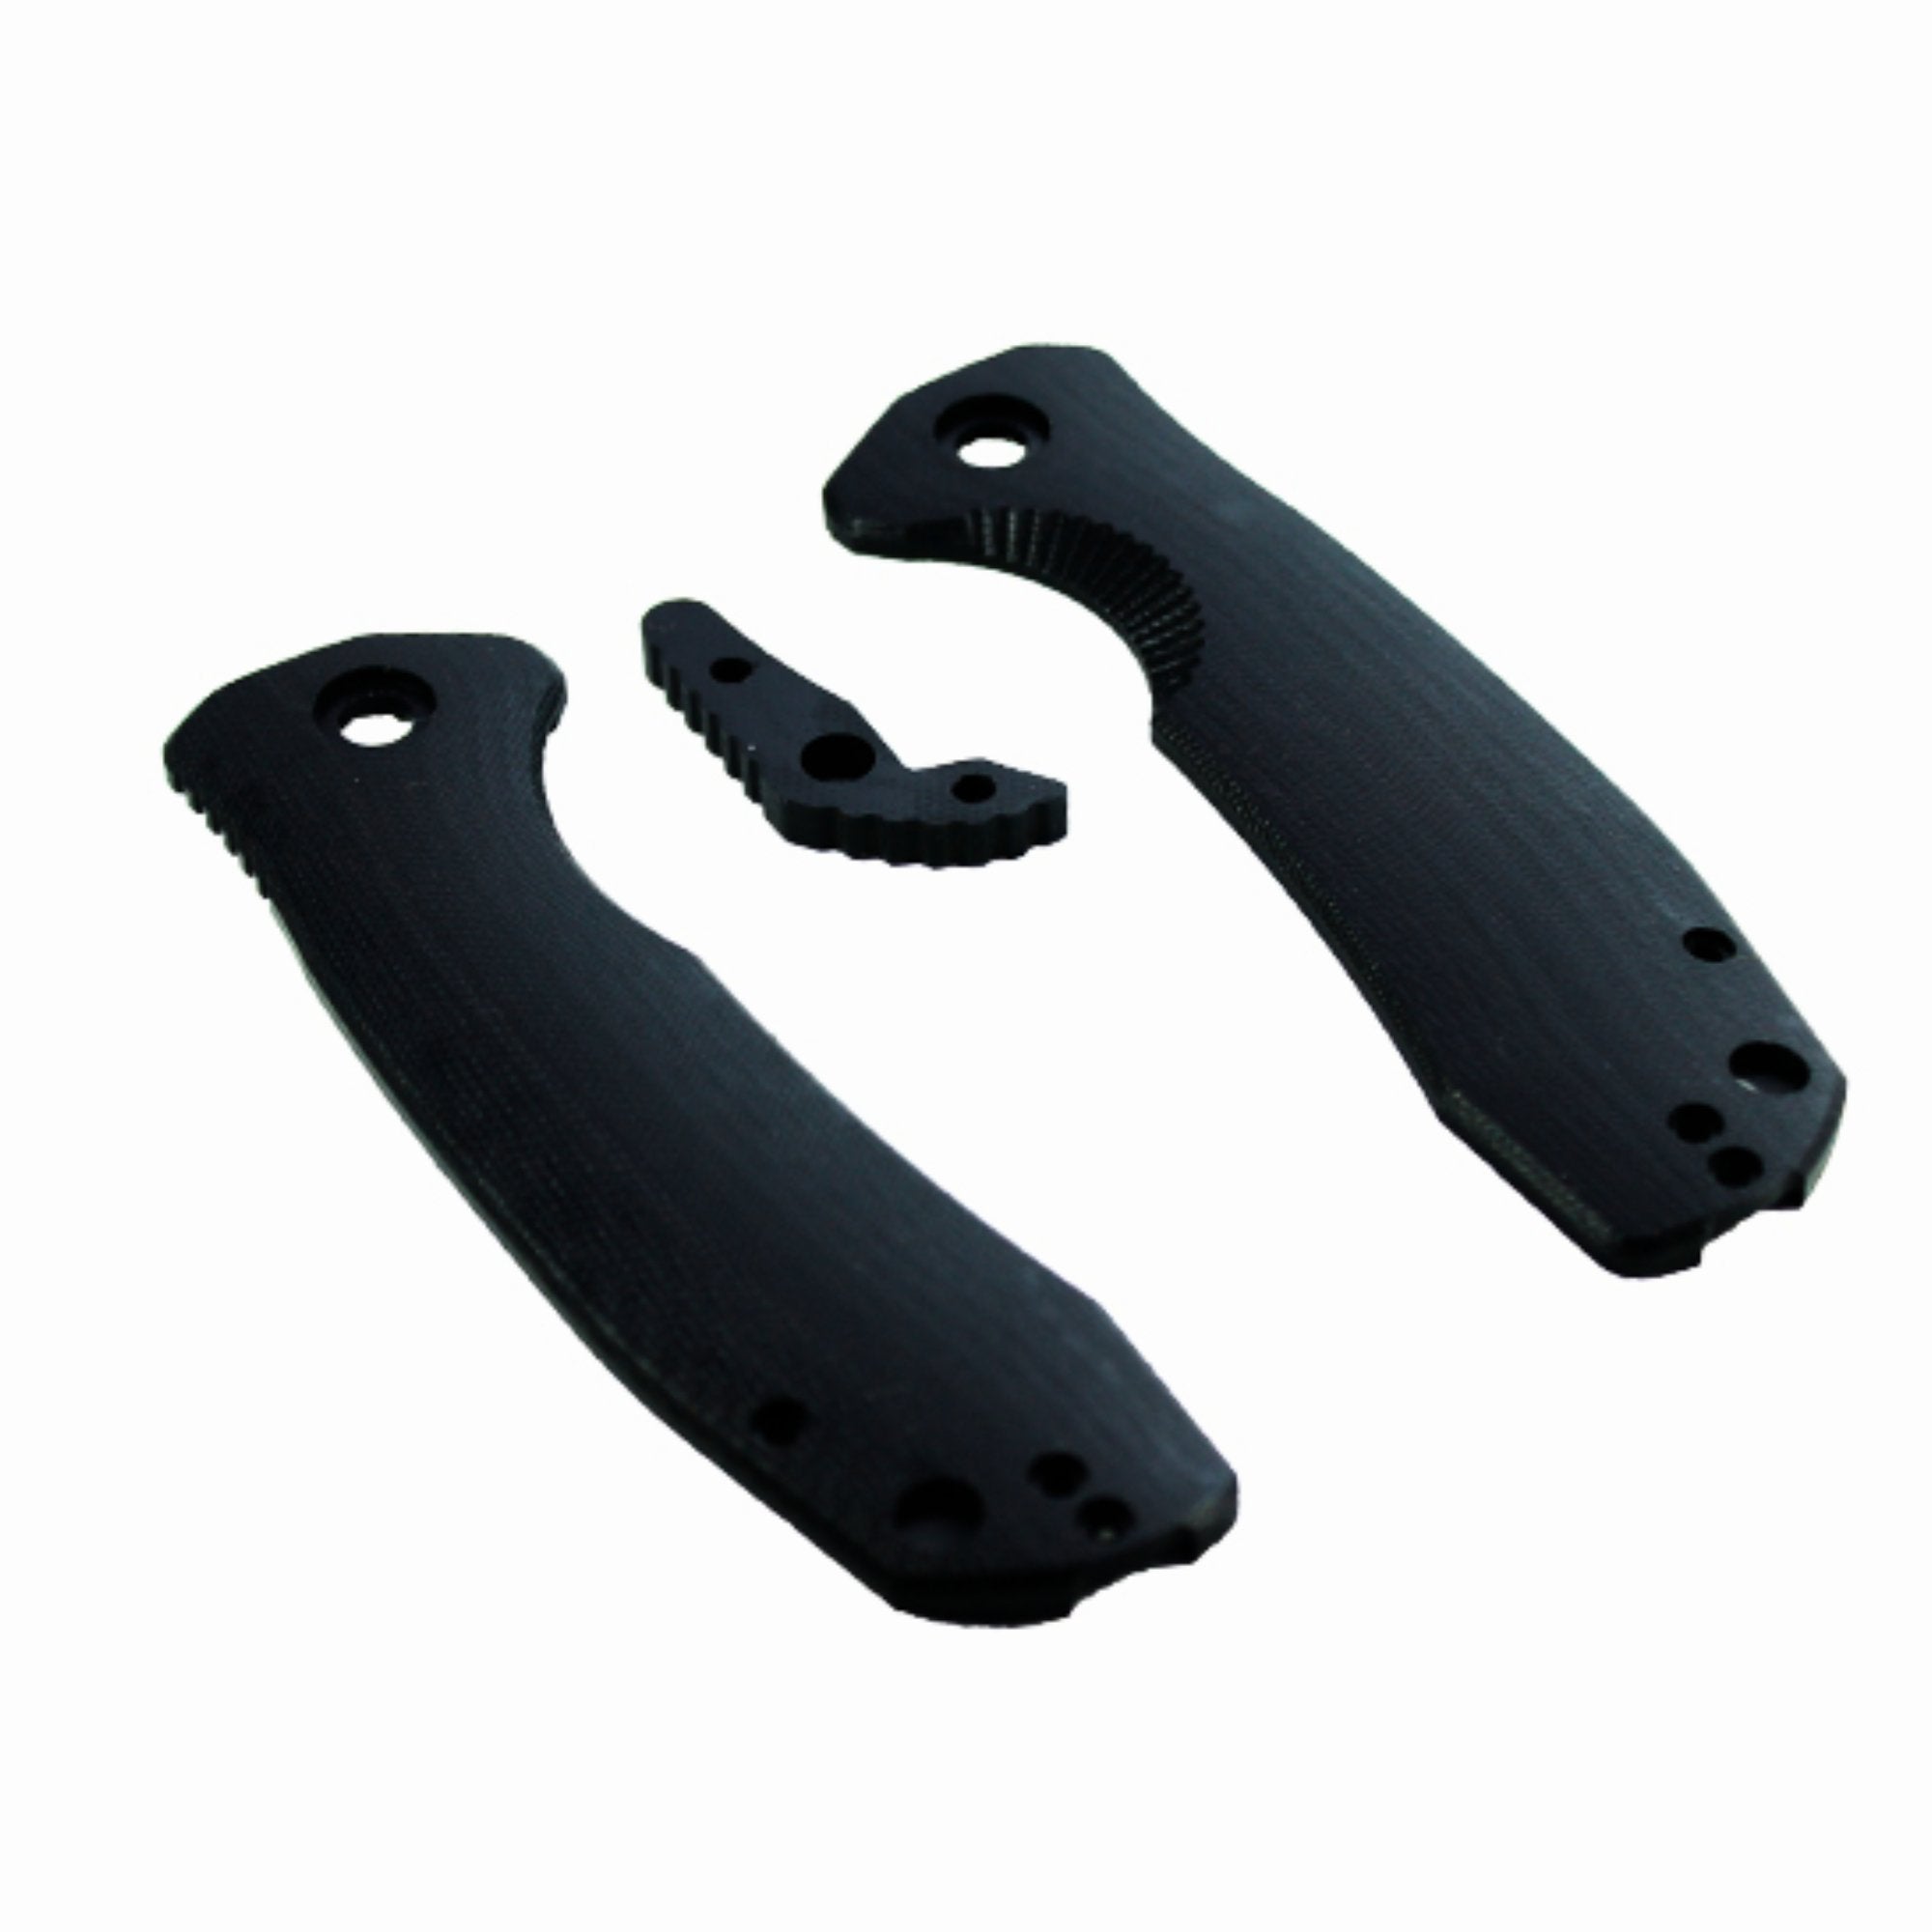
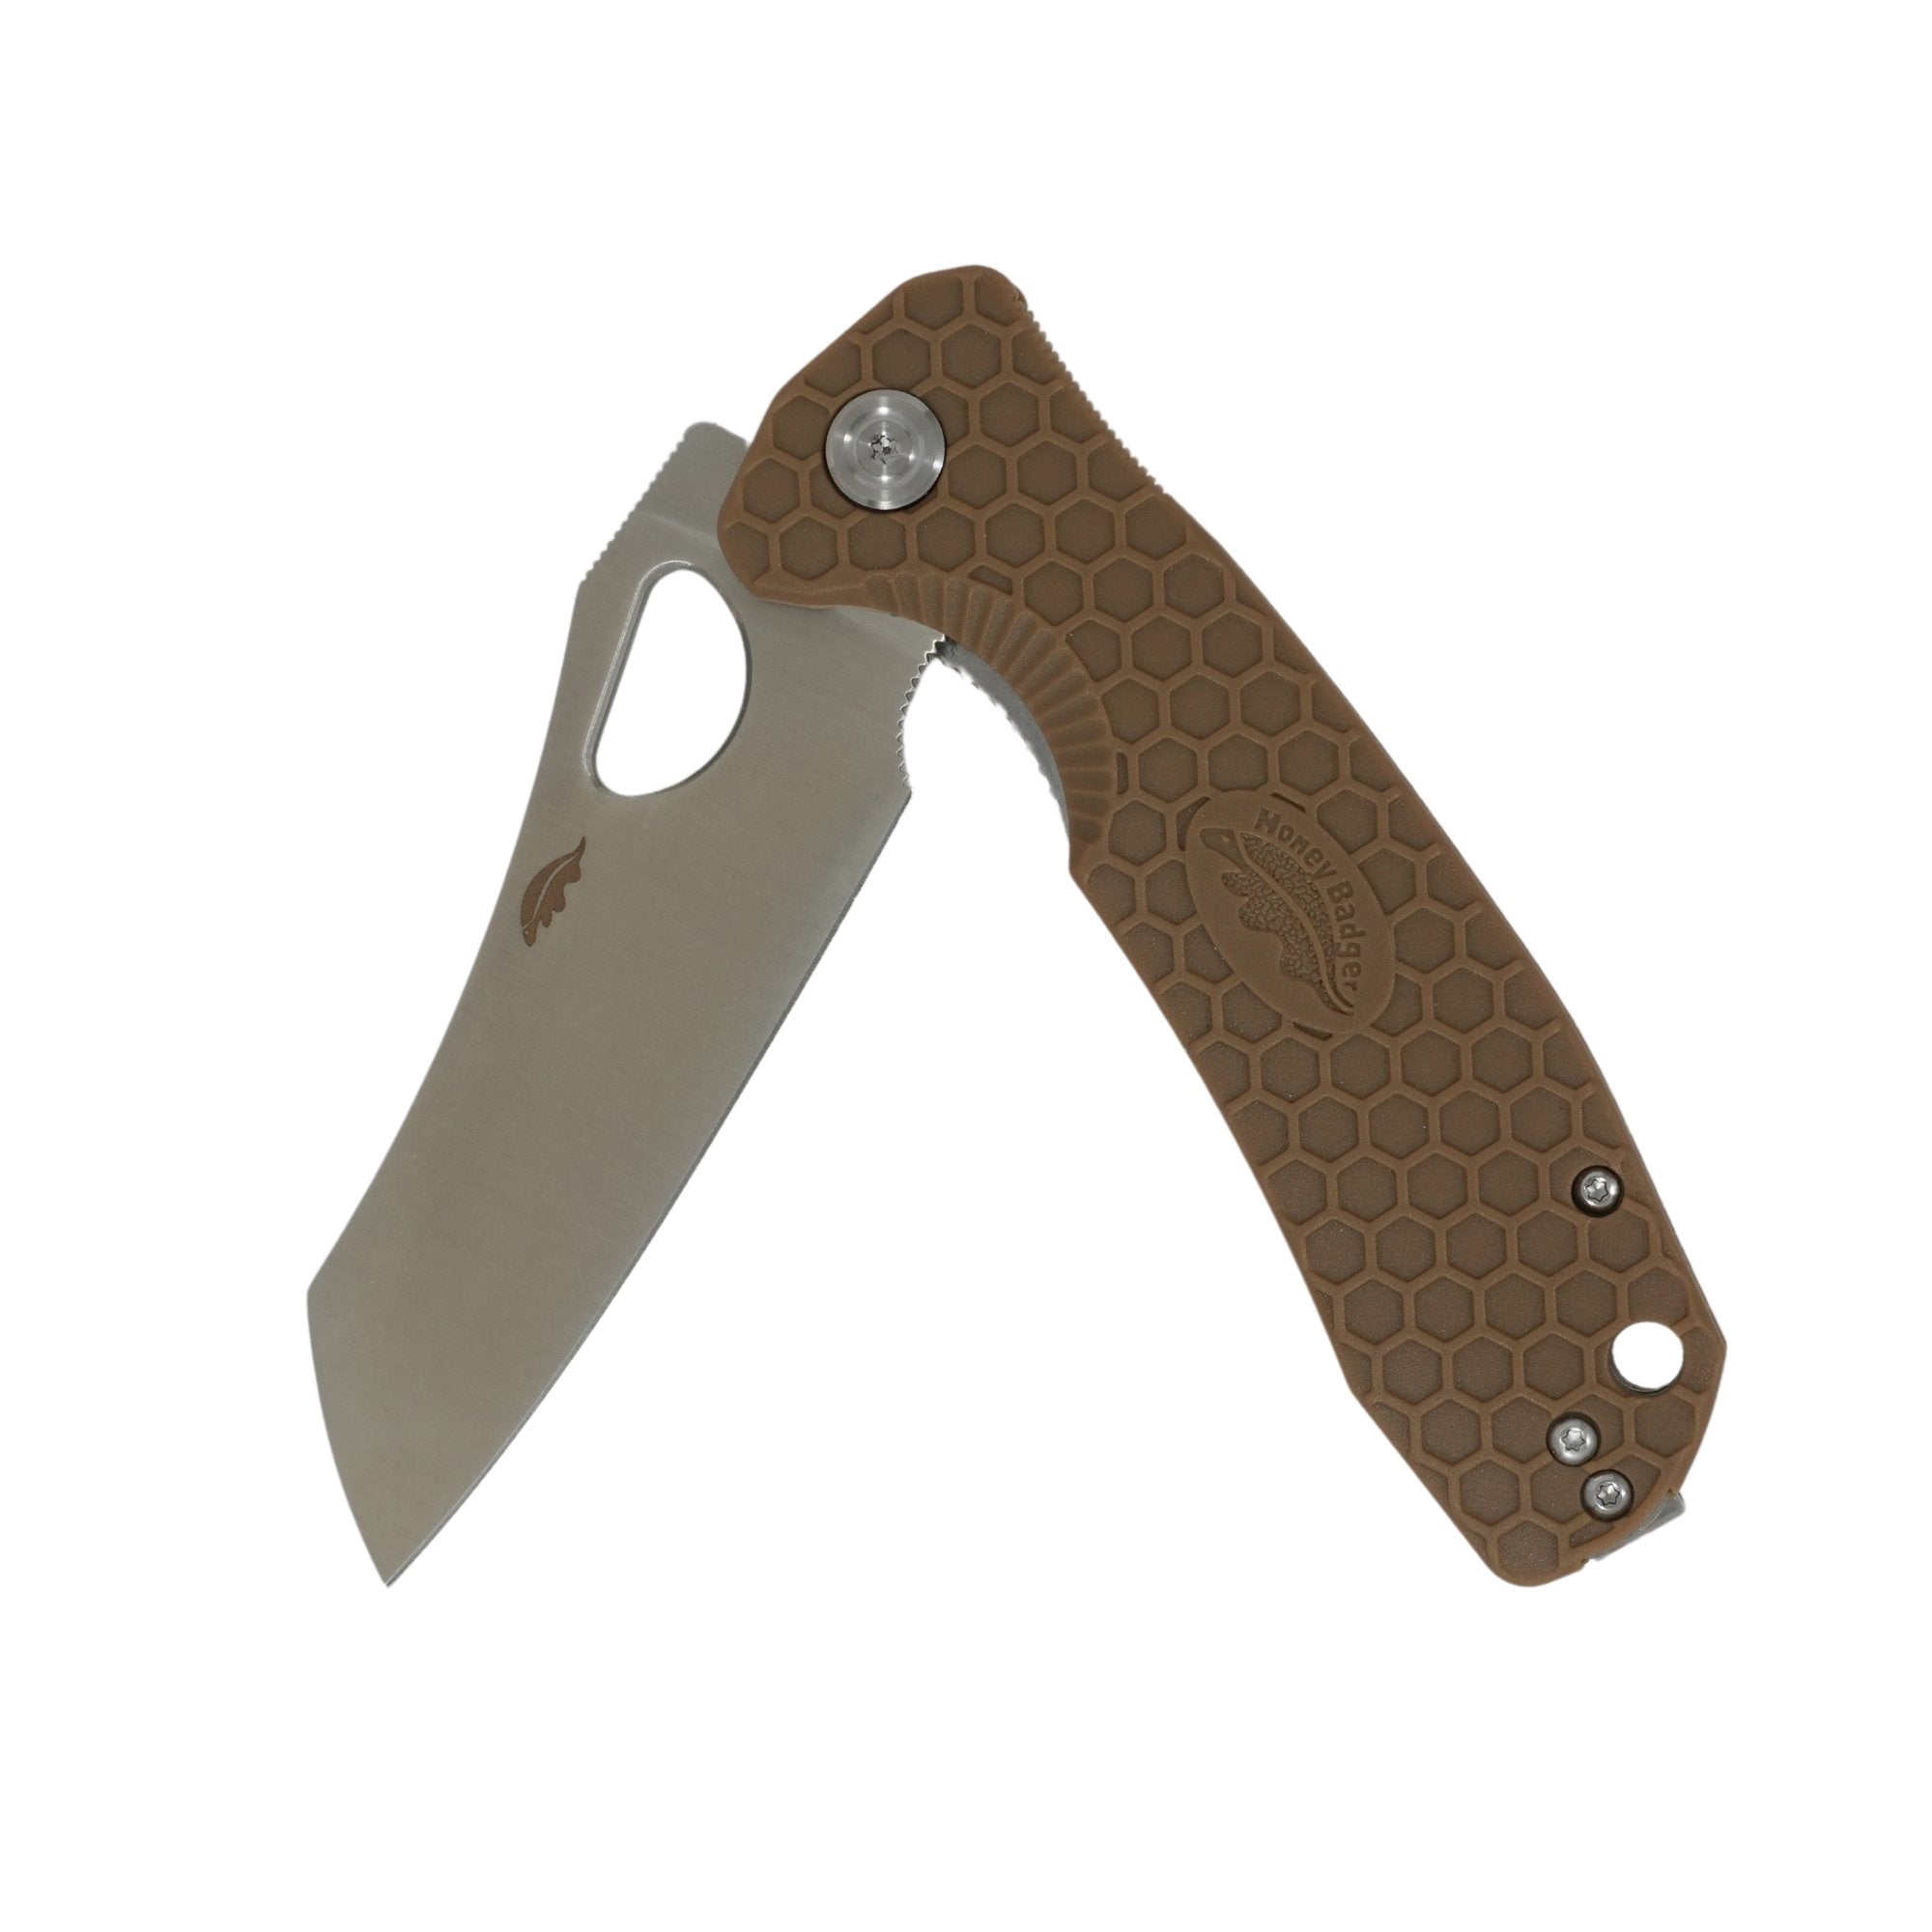
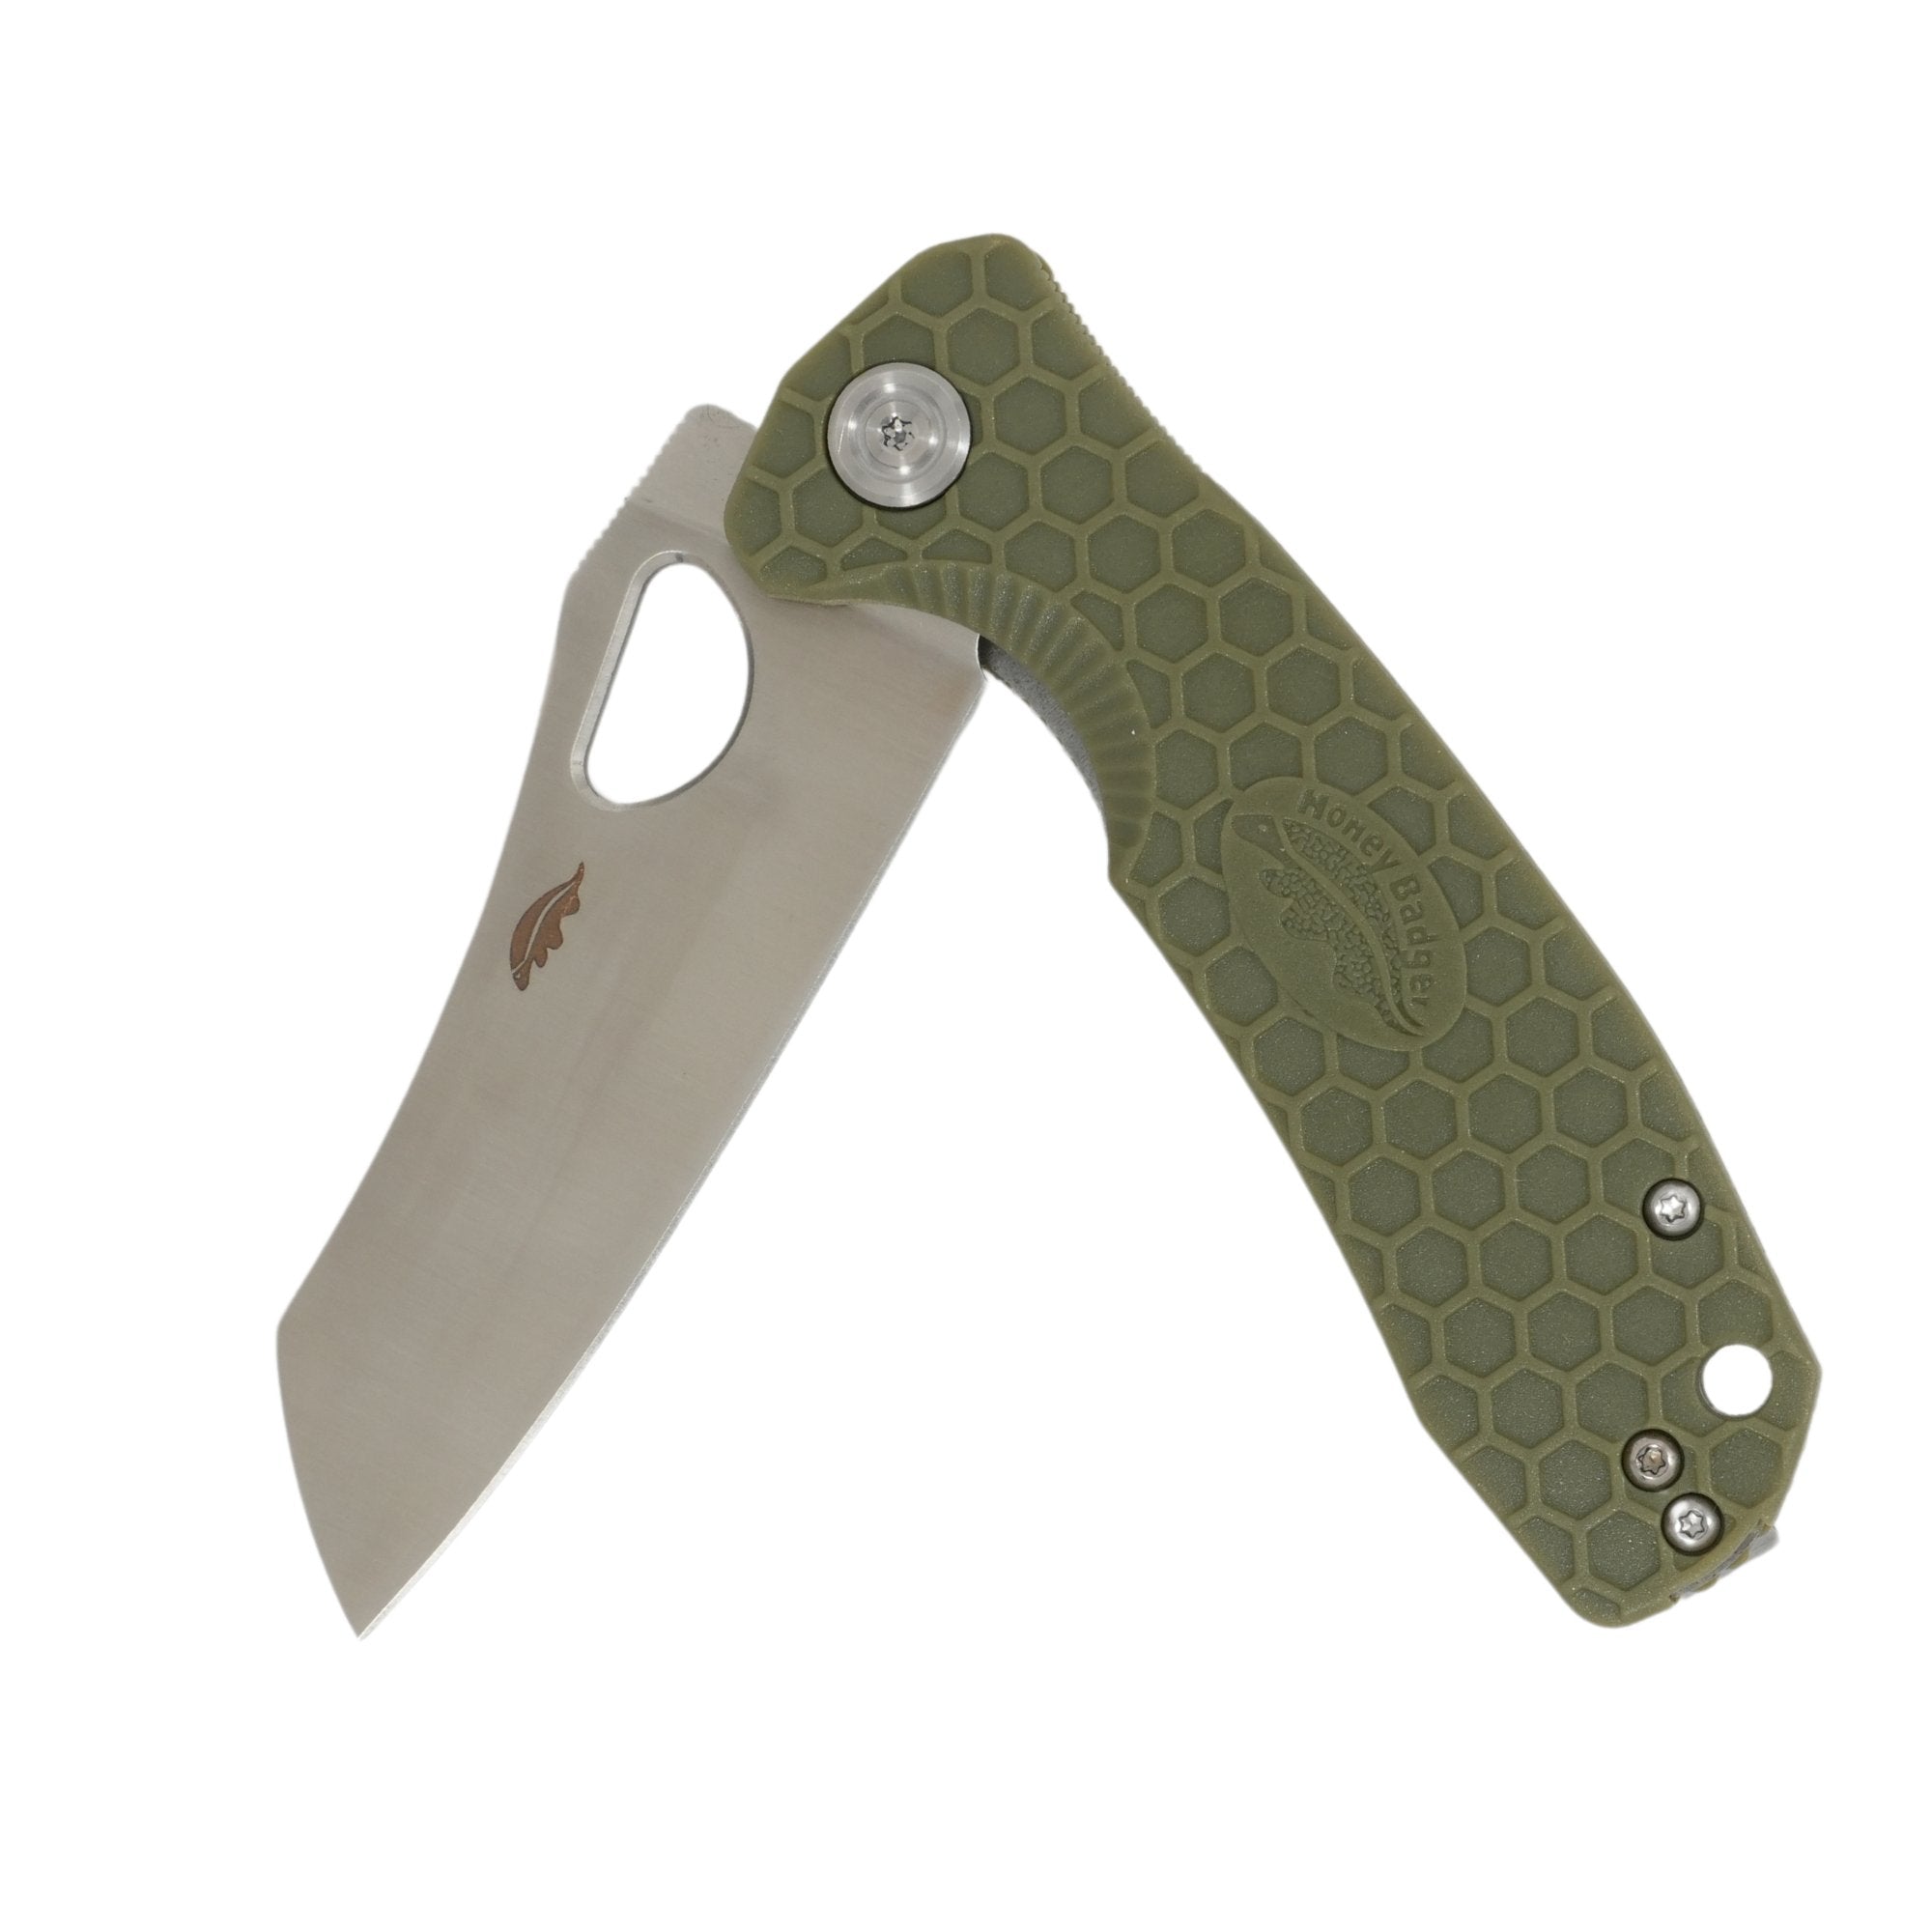
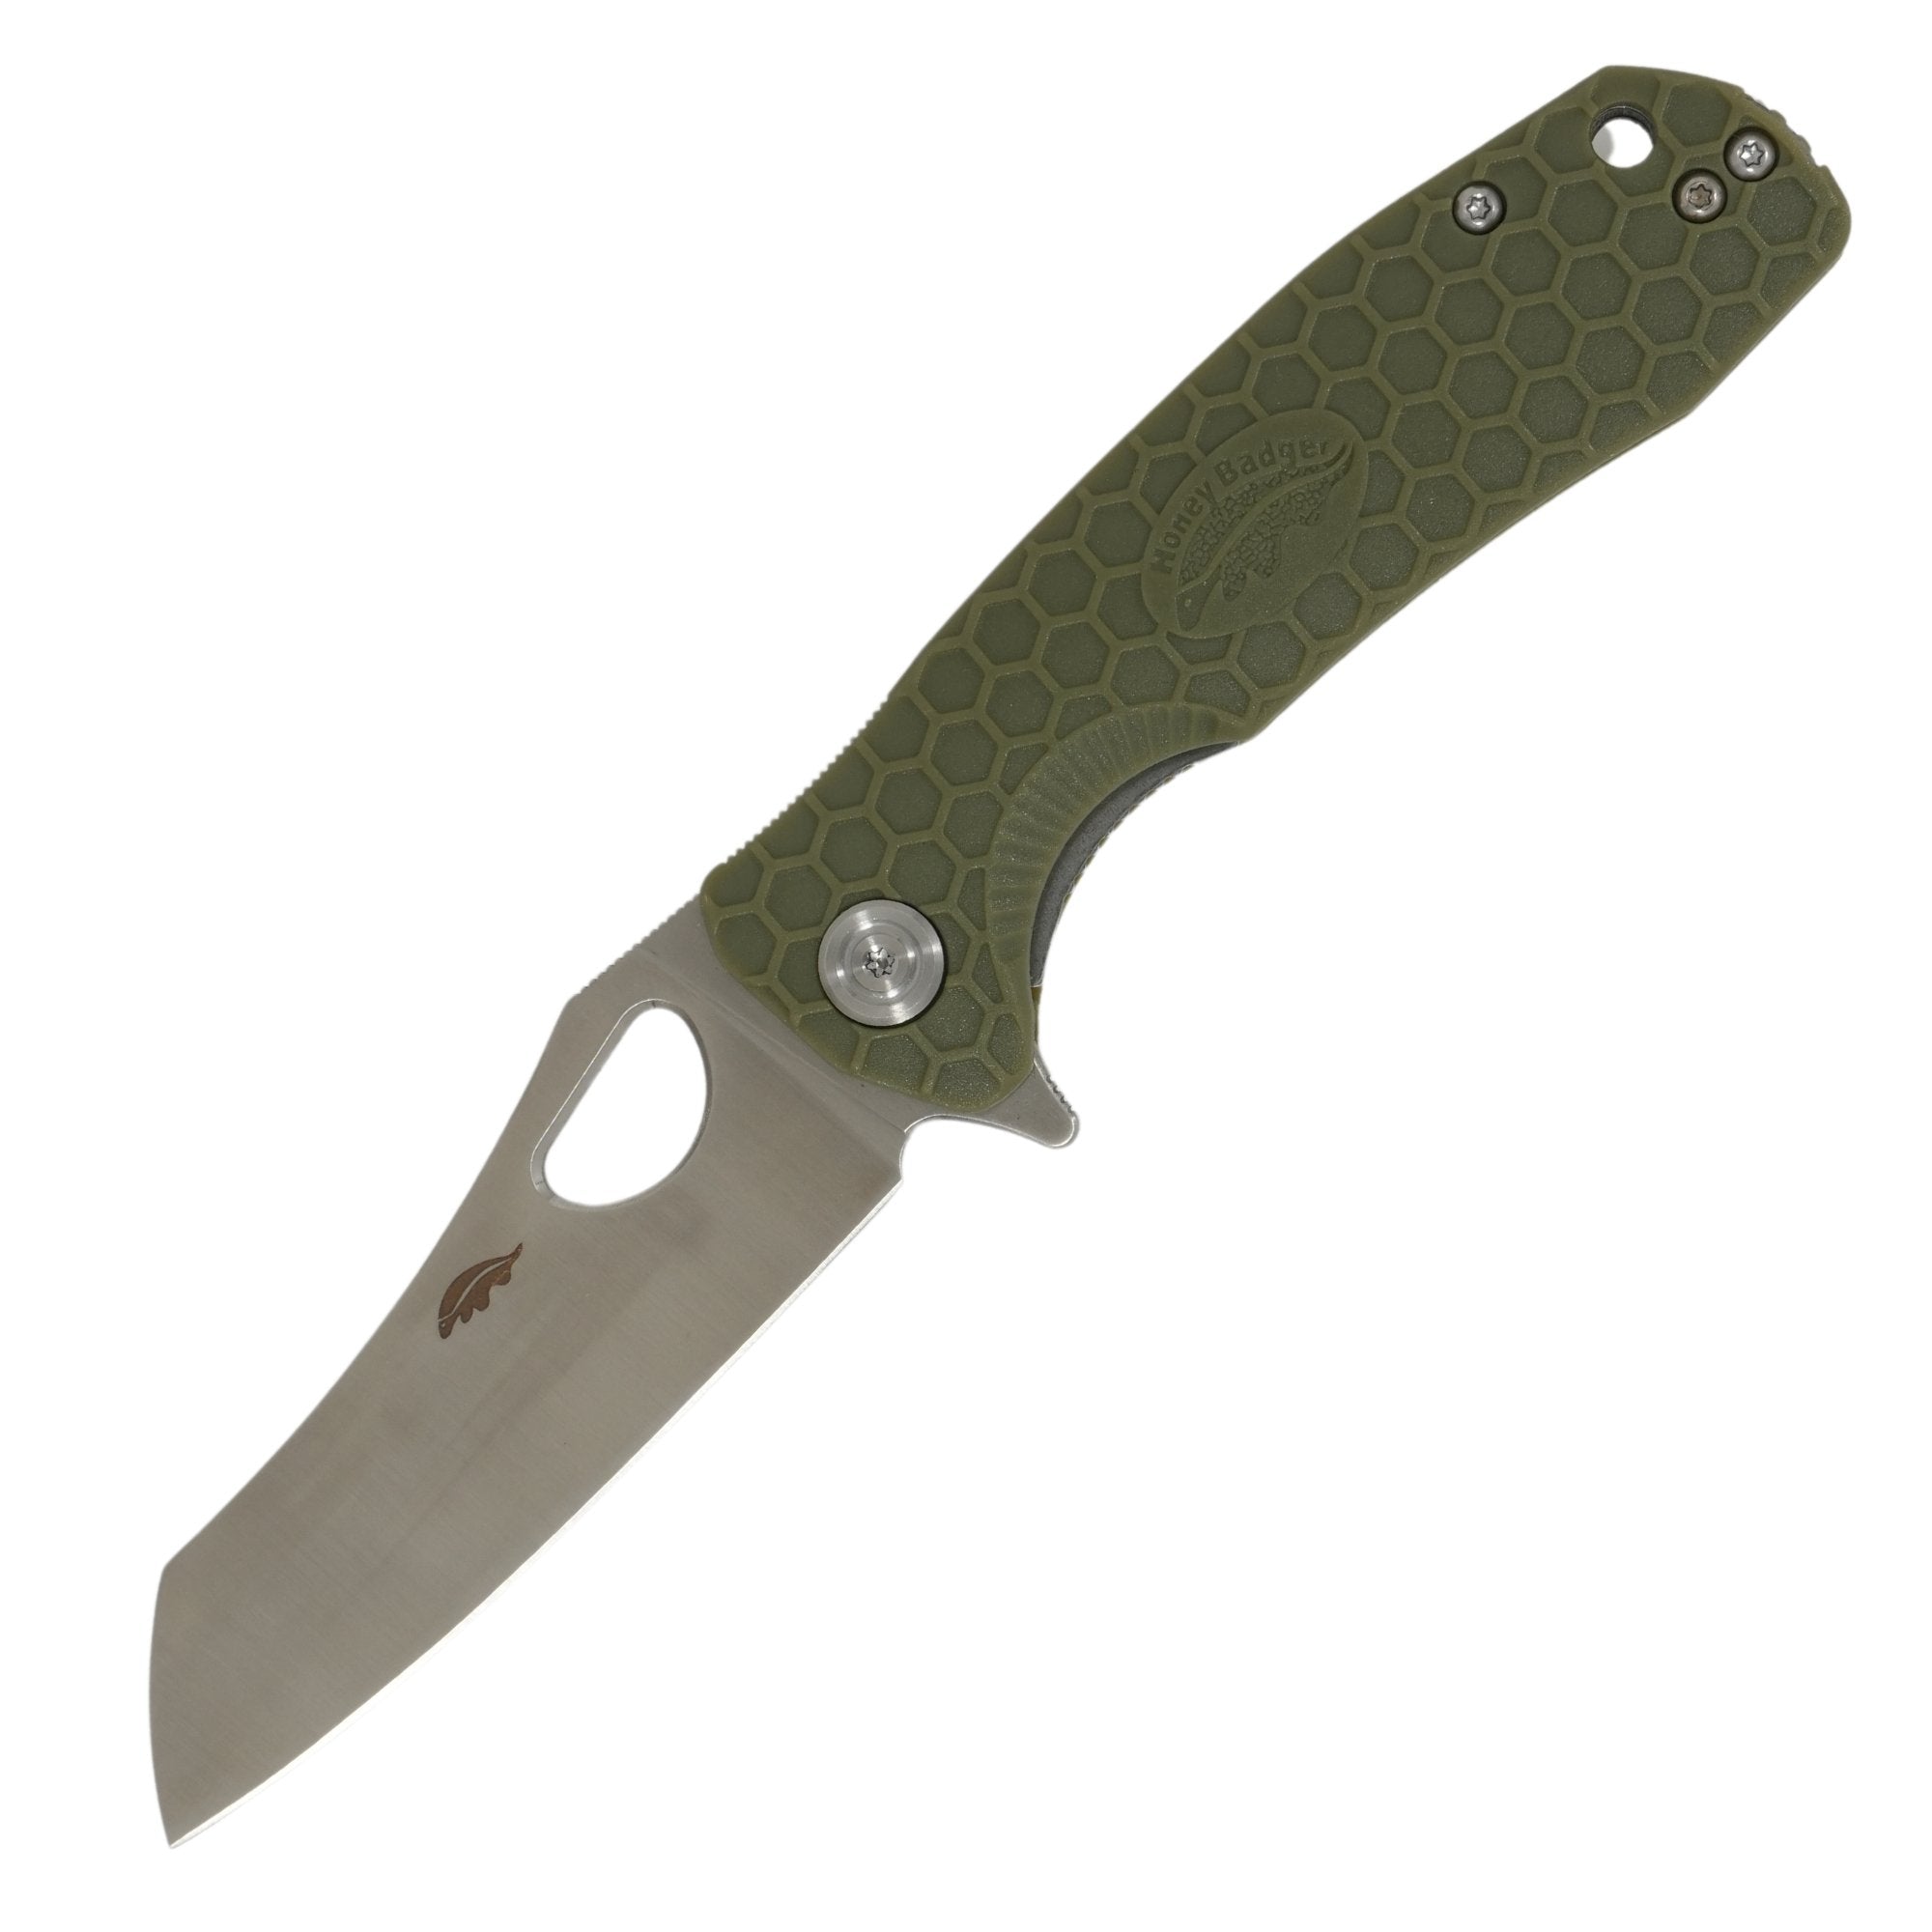
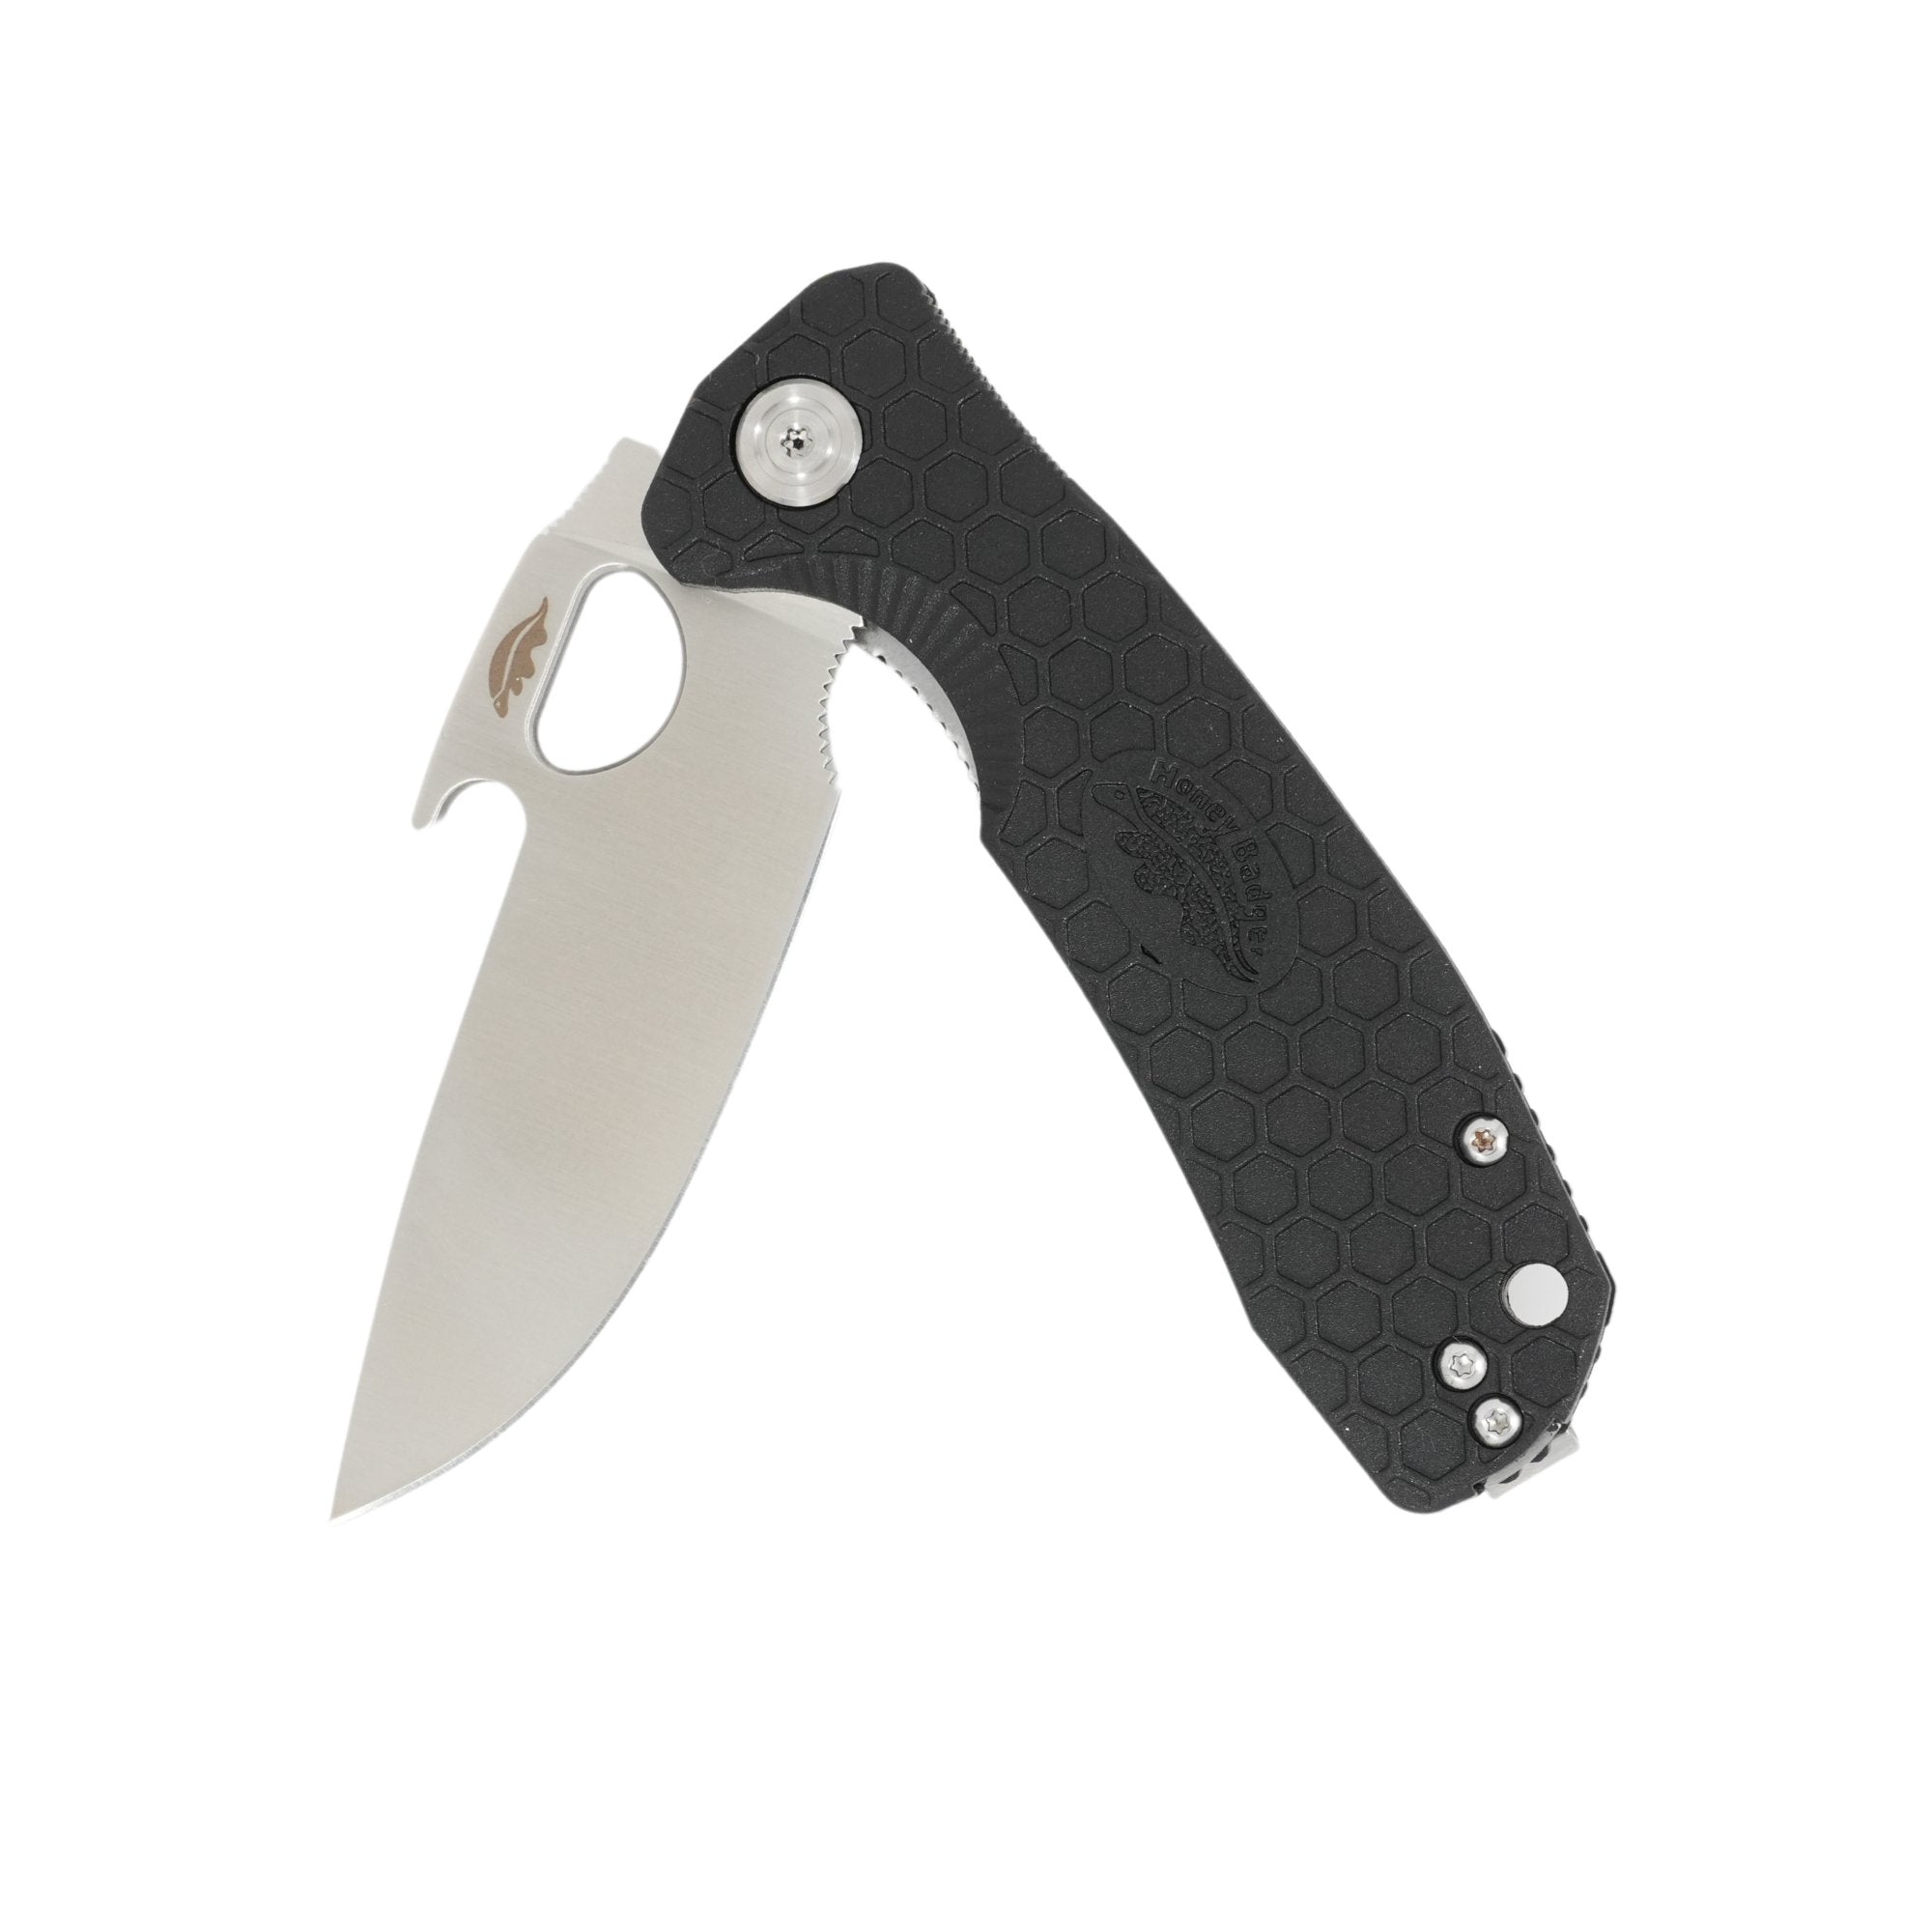
Step 2 – Remove the blade with bearings
Carefully remove the blade and be careful not to lose either of the two bearing assemblies.

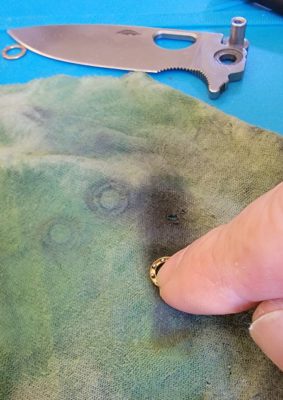
Step 3 – Polish the bearings
There are any number of polishing cloths that you could use. What we did was cut some shavings off a green compound polishing bar and then heat them in some mineral oil creating a thick green liquid.
We then soaked a cloth in this liquid to create our own polishing cloth.
Take one of the bearing assemblies and with the polishing cloth on a firm surface rub the bearing up and down a number of times, you will notice the black residue as the polishing cloth goes to work. Flip the bearing assembly over and polish the other side. Repeat for the second bearing assembly. Then rub both sides of both bearings on a clean cloth to remove any of the green residue. There are different schools of thought with respect to lubricating the bearings. You could leave them dry, just as they are for insertion back into the knife and the knife will work perfectly and you may feel the balls moving in their cages. If you choose to lubricate them then use the smallest drop of oil on the bearings wiping away any excess. This will really smooth out the action with the movements of the balls hardly discernable. The wetter the bearings the greater the tendency will be to attract pocket lint, dust and grime.
Step 4 – Clean the pivot hole
Carefully holding the back of the blade give the pivot hole a good cleaning.

Step 5 – Clean the pivot screw
Using the polishing cloth followed by a clean cloth clean the female (larger) half of the pivot screw.

Step 6 – Polish bearing recesses in the blade.
Place the polishing cloth over your finger and rotate it a few times in the bearing recess on both sides of the blade. You could also pinch the the two recesses between your polishing cloth covered fingers. Then with your other hand rotate the blade back and forth polishing both recesses at the same time. If you choose to do it this way we suggest taping the sharp edge of the blade with masking tape to help avoid getting cut. Use a clean cloth wrapped around the tip of the torx driver to remove all traces of polishing compound from the recesses.


Step 7 – Polish the liners
When the knife is assembled, one side of the bearing assembly is against the knife and the other side is against the liner. Here we polish that area as well. We wrapped the polishing cloth around a wooden coffee stirrer to help with this. As before, once finished polishing use a clean cloth to remove any excess polish.
 Step 8 – Polish the surface of the locking tab
This step is totally optional. If your knife unlocks nice and smoothly then you do not need to perform this step. Also, only do a light polish and clean so as not to remove too much metal. We used some 500 grit wet/dry paper wrapped around the coffee stirrer followed by the polishing and cleaning cloths. Make sure to follow the profile of the surface of the lock tab. Notice how we slightly pried apart the two handle halves to get easier access. Make sure not to loose the stop pin should it fall out.


Tune your Honey Badger Knife – Reassembly
Step 9 – Replace pivot screw
Partially insert the larger female half of the pivot screw into the pivot hole taking note the the pivot screw has a flat surface that needs to line up with the flat part of the liner.
Once partially inserted carefully slip on of the bearing assemblies over the end of the pivot screw and hold the pivot screw in place. Place solid side of the bearing facing up as in the photo below.
Step 10 – Prepare the blade
Place the second bearing assembly solid side facing the blade.
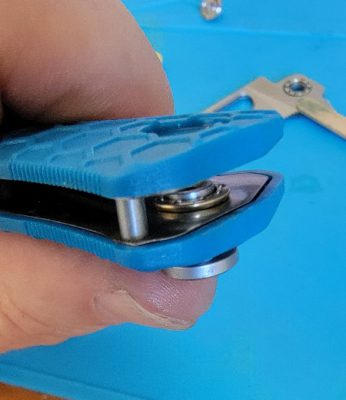
Step 11 – Insert blade
This can be a bit tricky and requires some dexterity. Pry open slightly the two handles to give you a bit of room. Hold back the liner lock. Carefully slip the pivot hole of the blade over the pivot screw being careful not to dislodge either of the bearing assemblies. Once everything is in the correct place insert the male part of the pivot screw and tighten it up.
Step 12 – Adjustment
Open the blade to about 45 degrees. Take the pressure off the blade by holding back the liner lock. Same as if you’re unlocking the blade with your thumb and see if the knife drops open under its own weight.
If it drops open easily then tighten the pivot screw slightly. If the knife does not drop open under its own weight the loosen the pivot screw slightly. Do this a few times until it’s not too tight and not too loose.

Finally test to see that all is working ok.

That’s how to tune your Honey Badger Knife. Well done you’ve done it and the knife should be smoother than before.