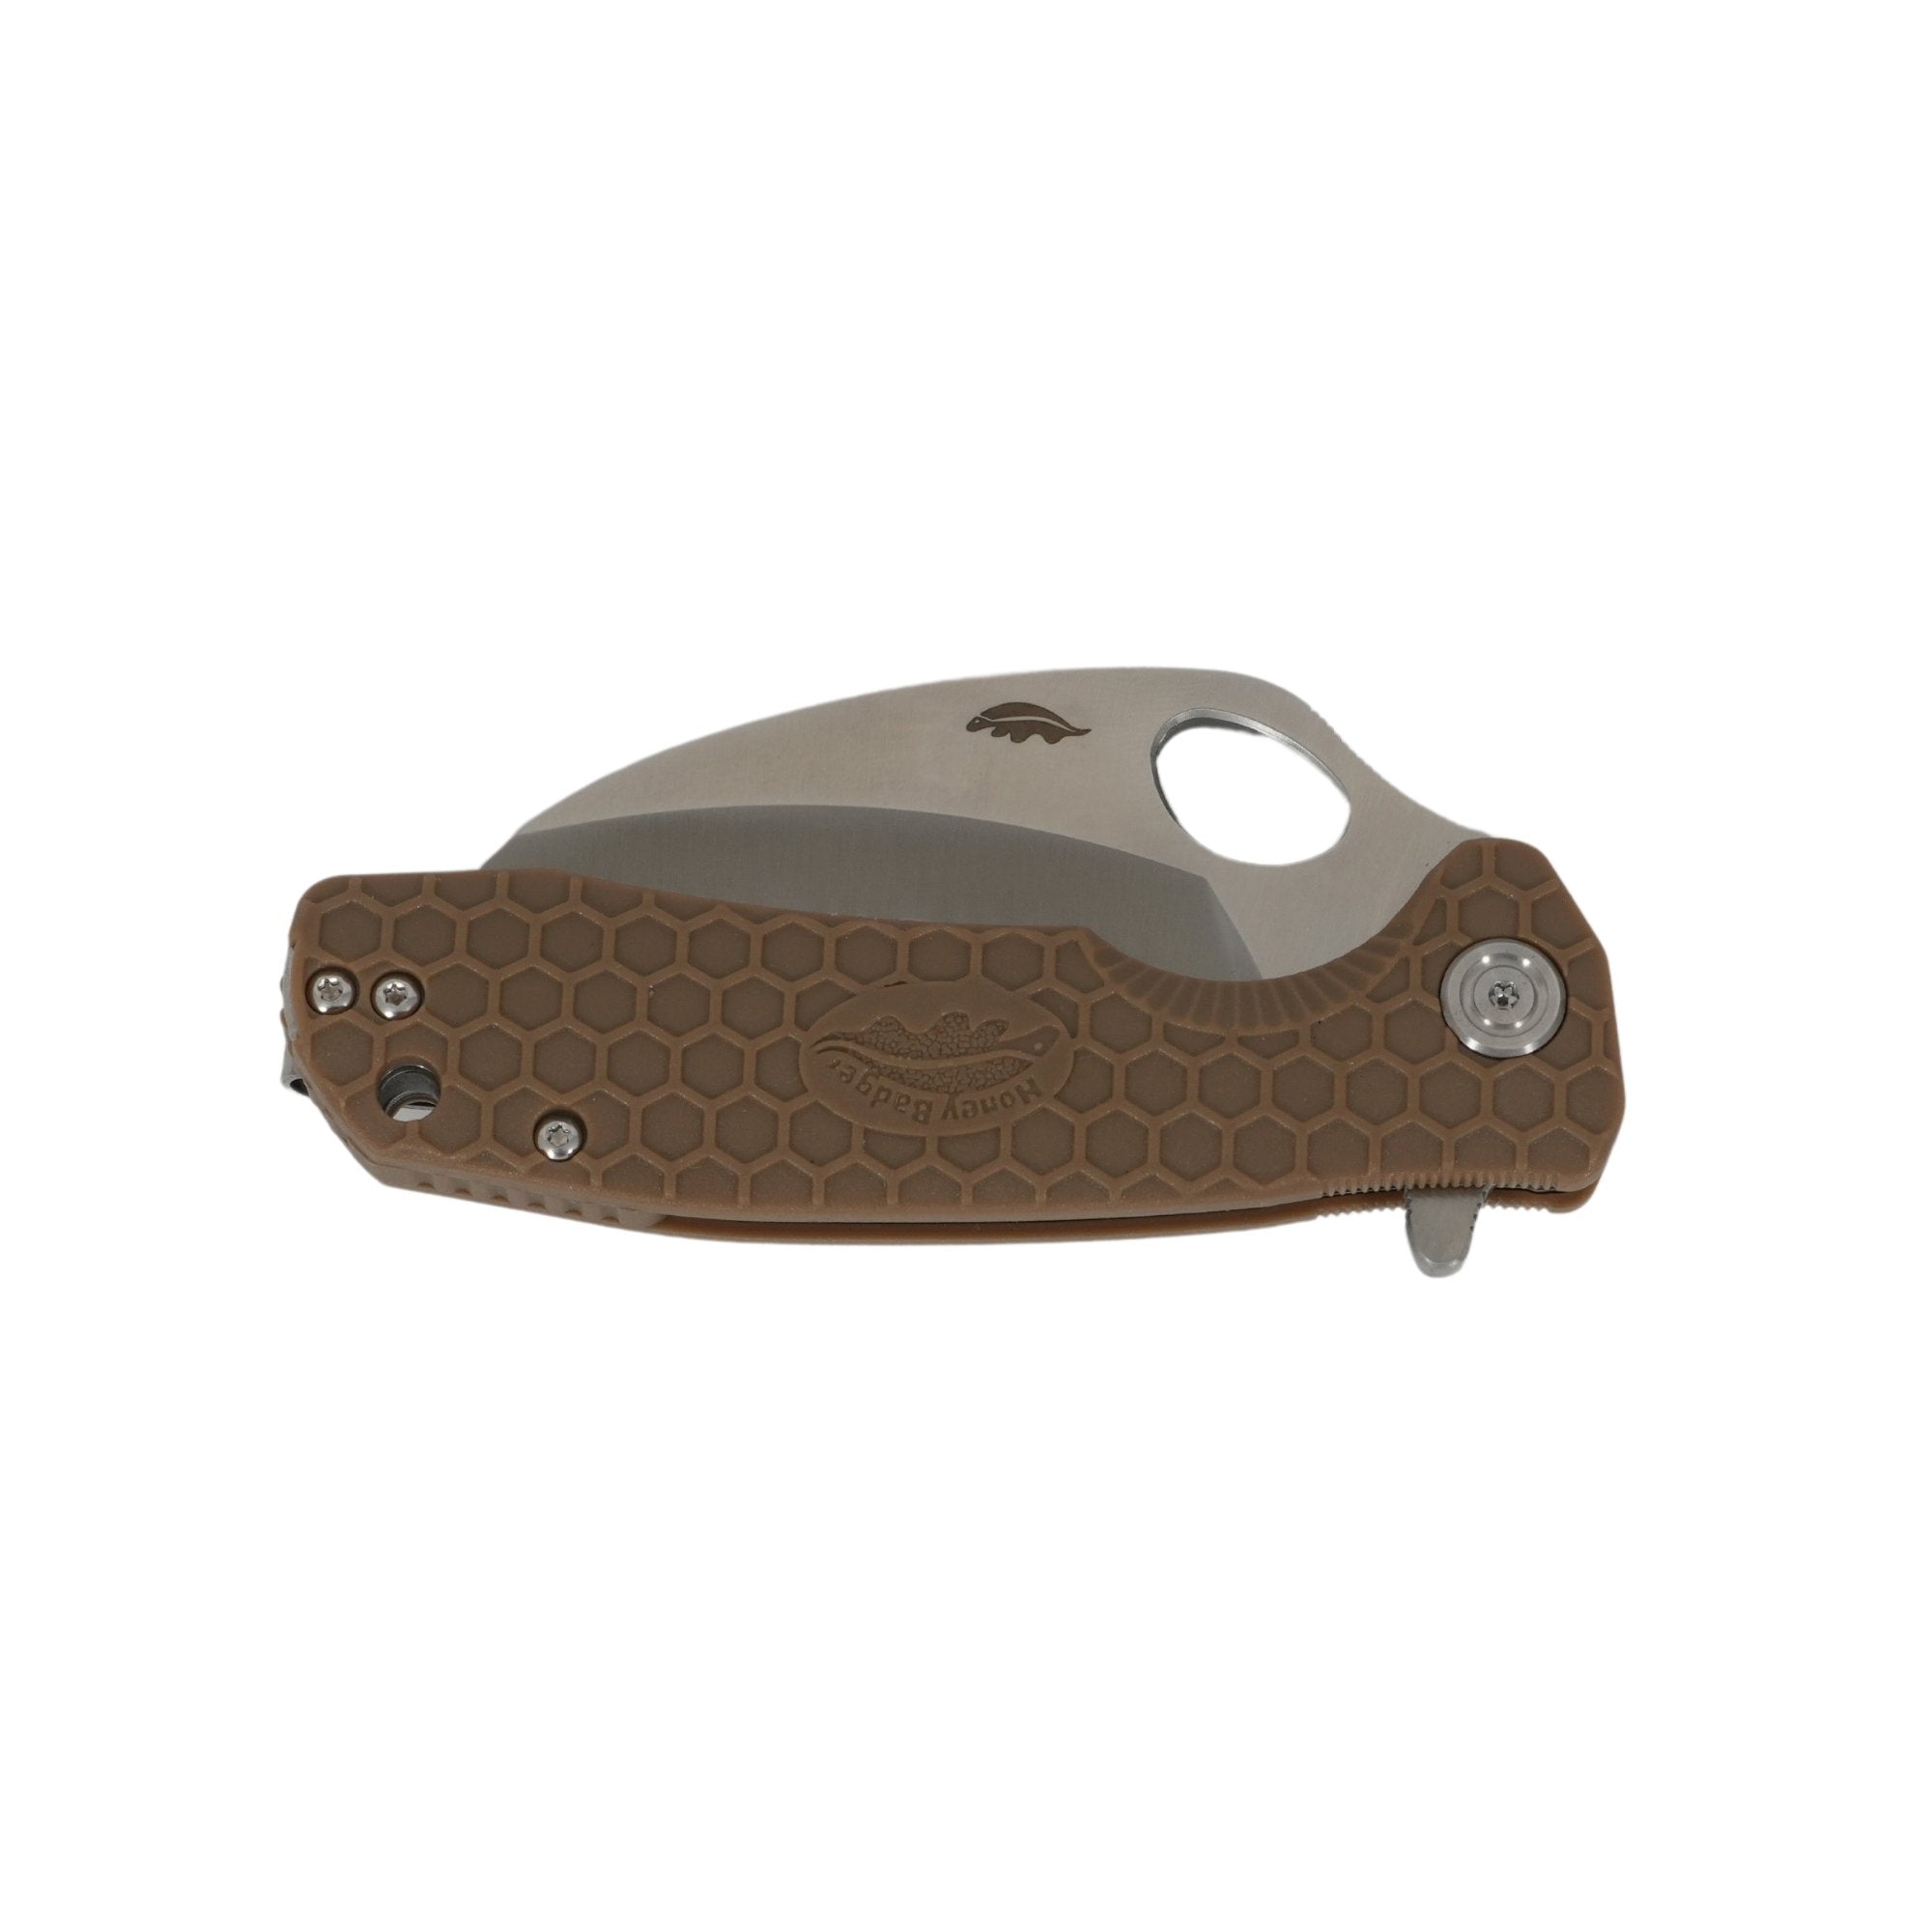
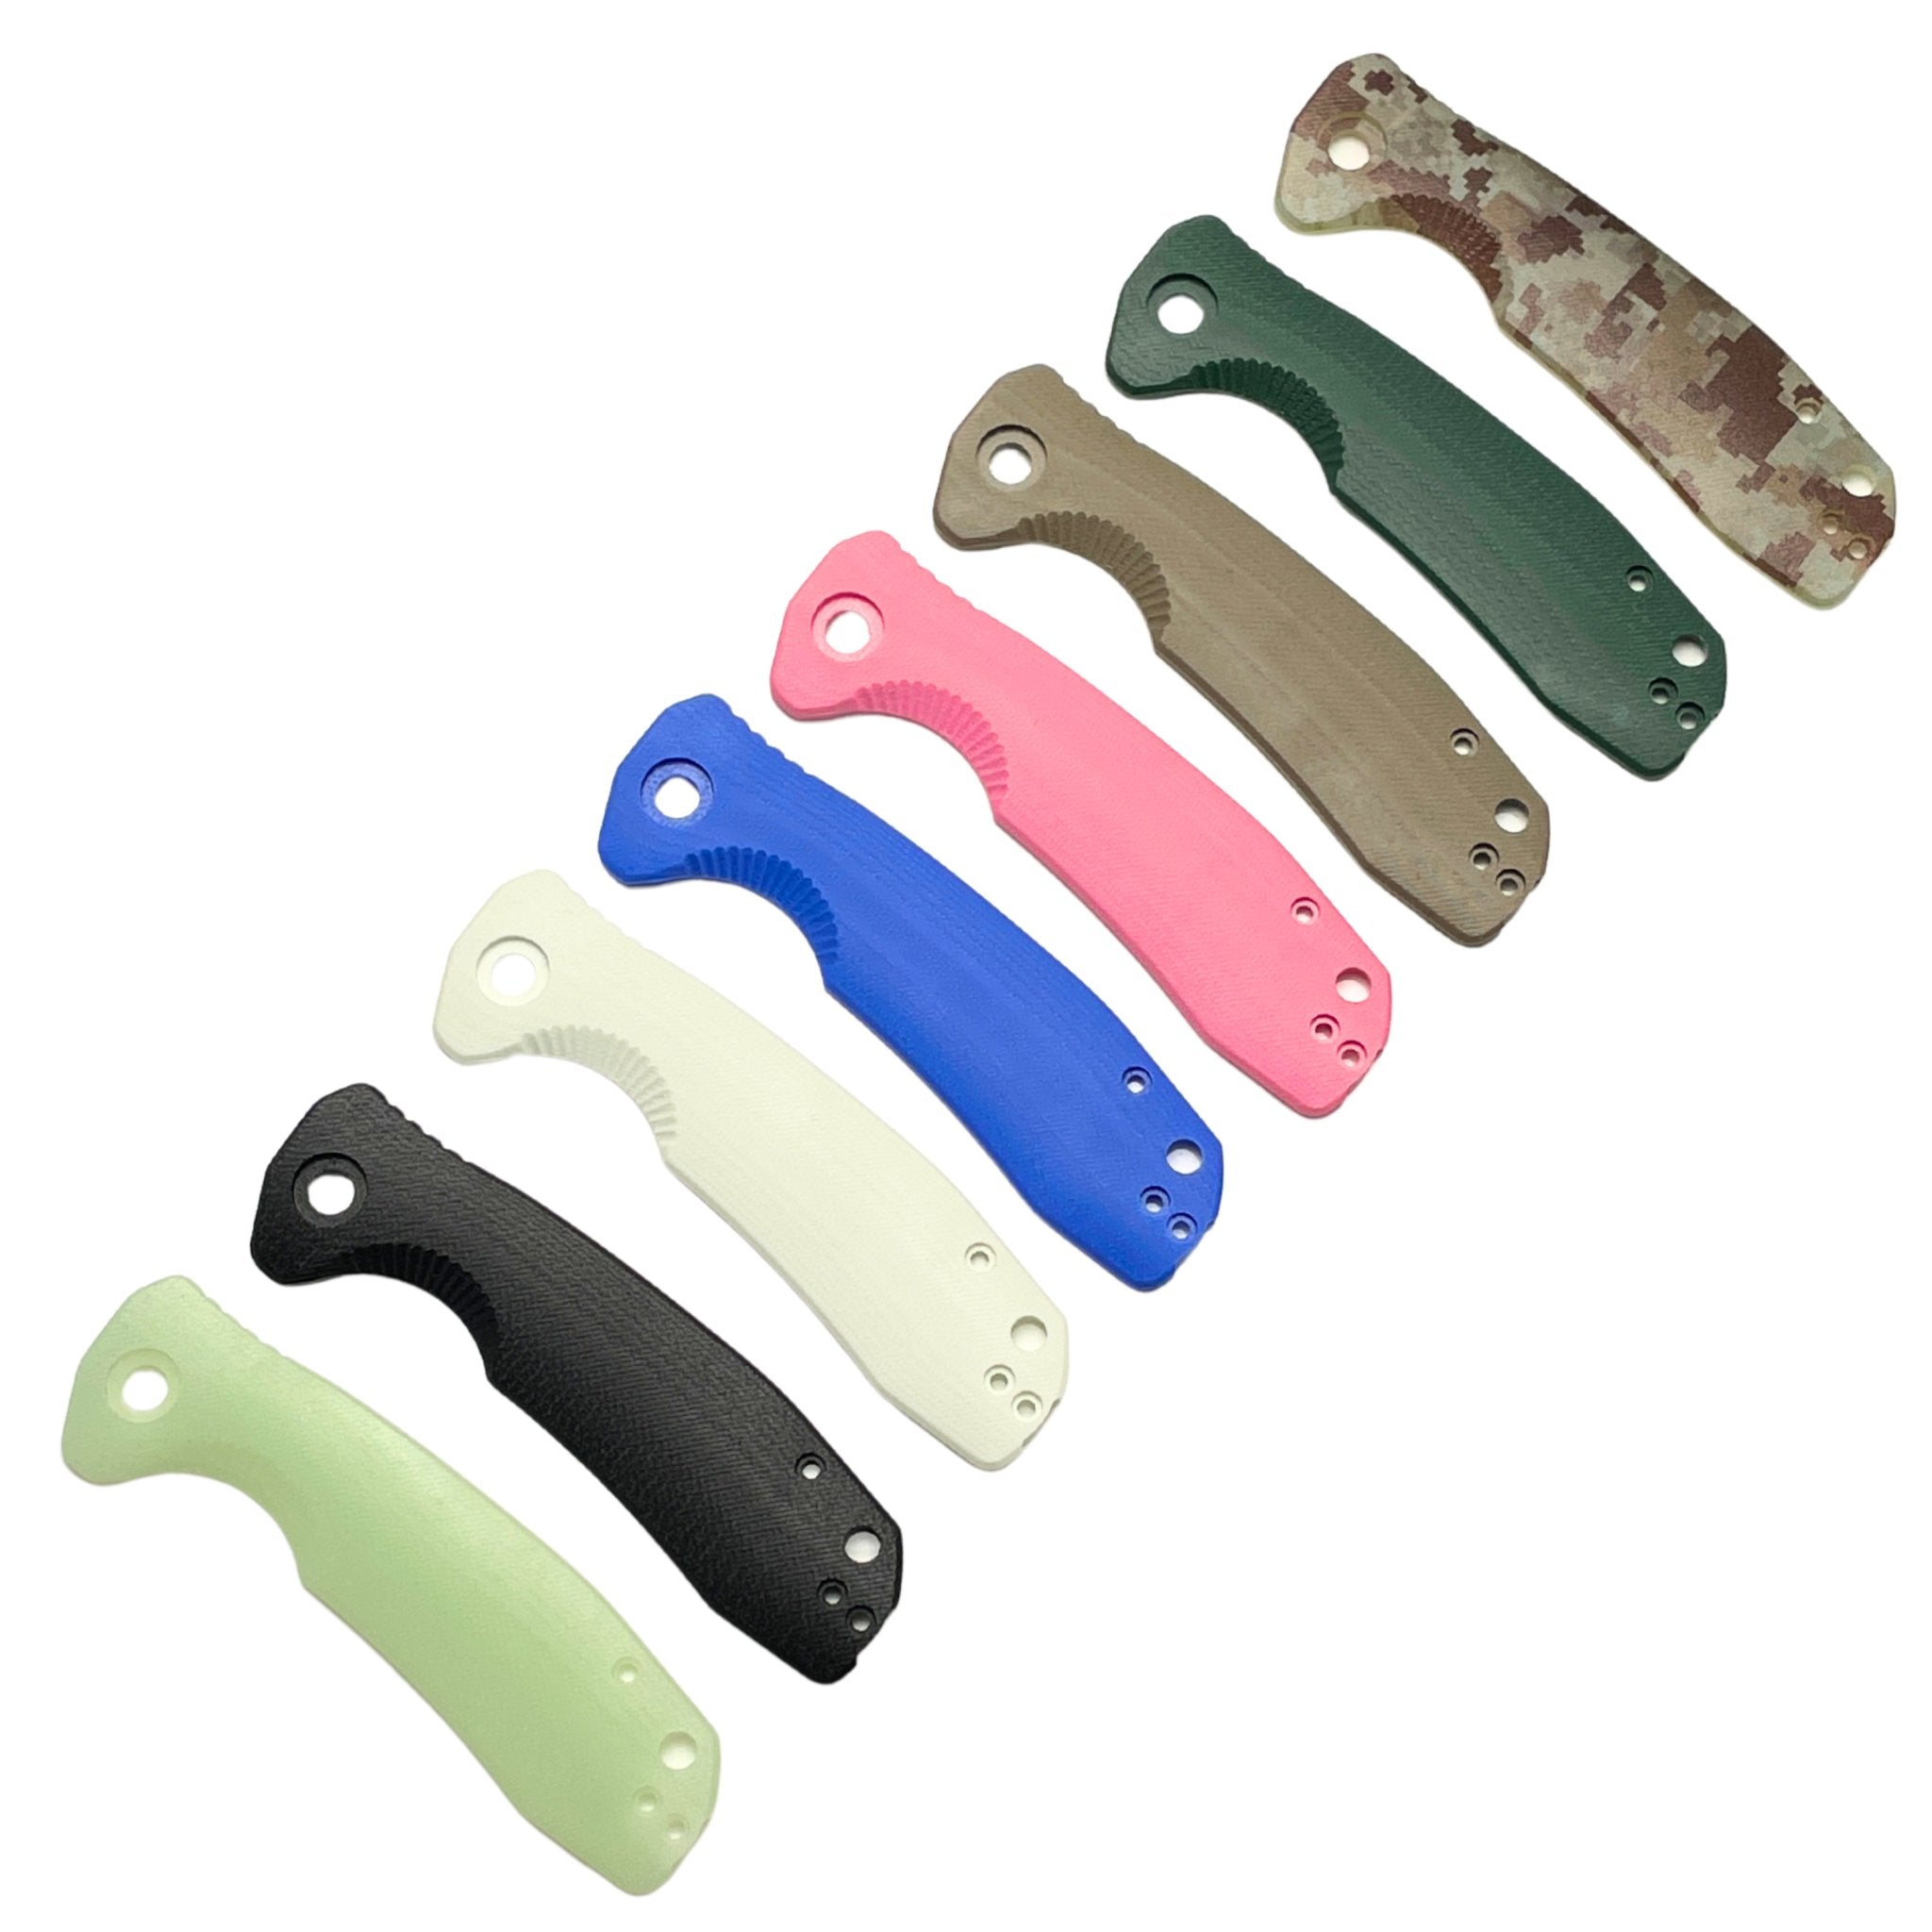
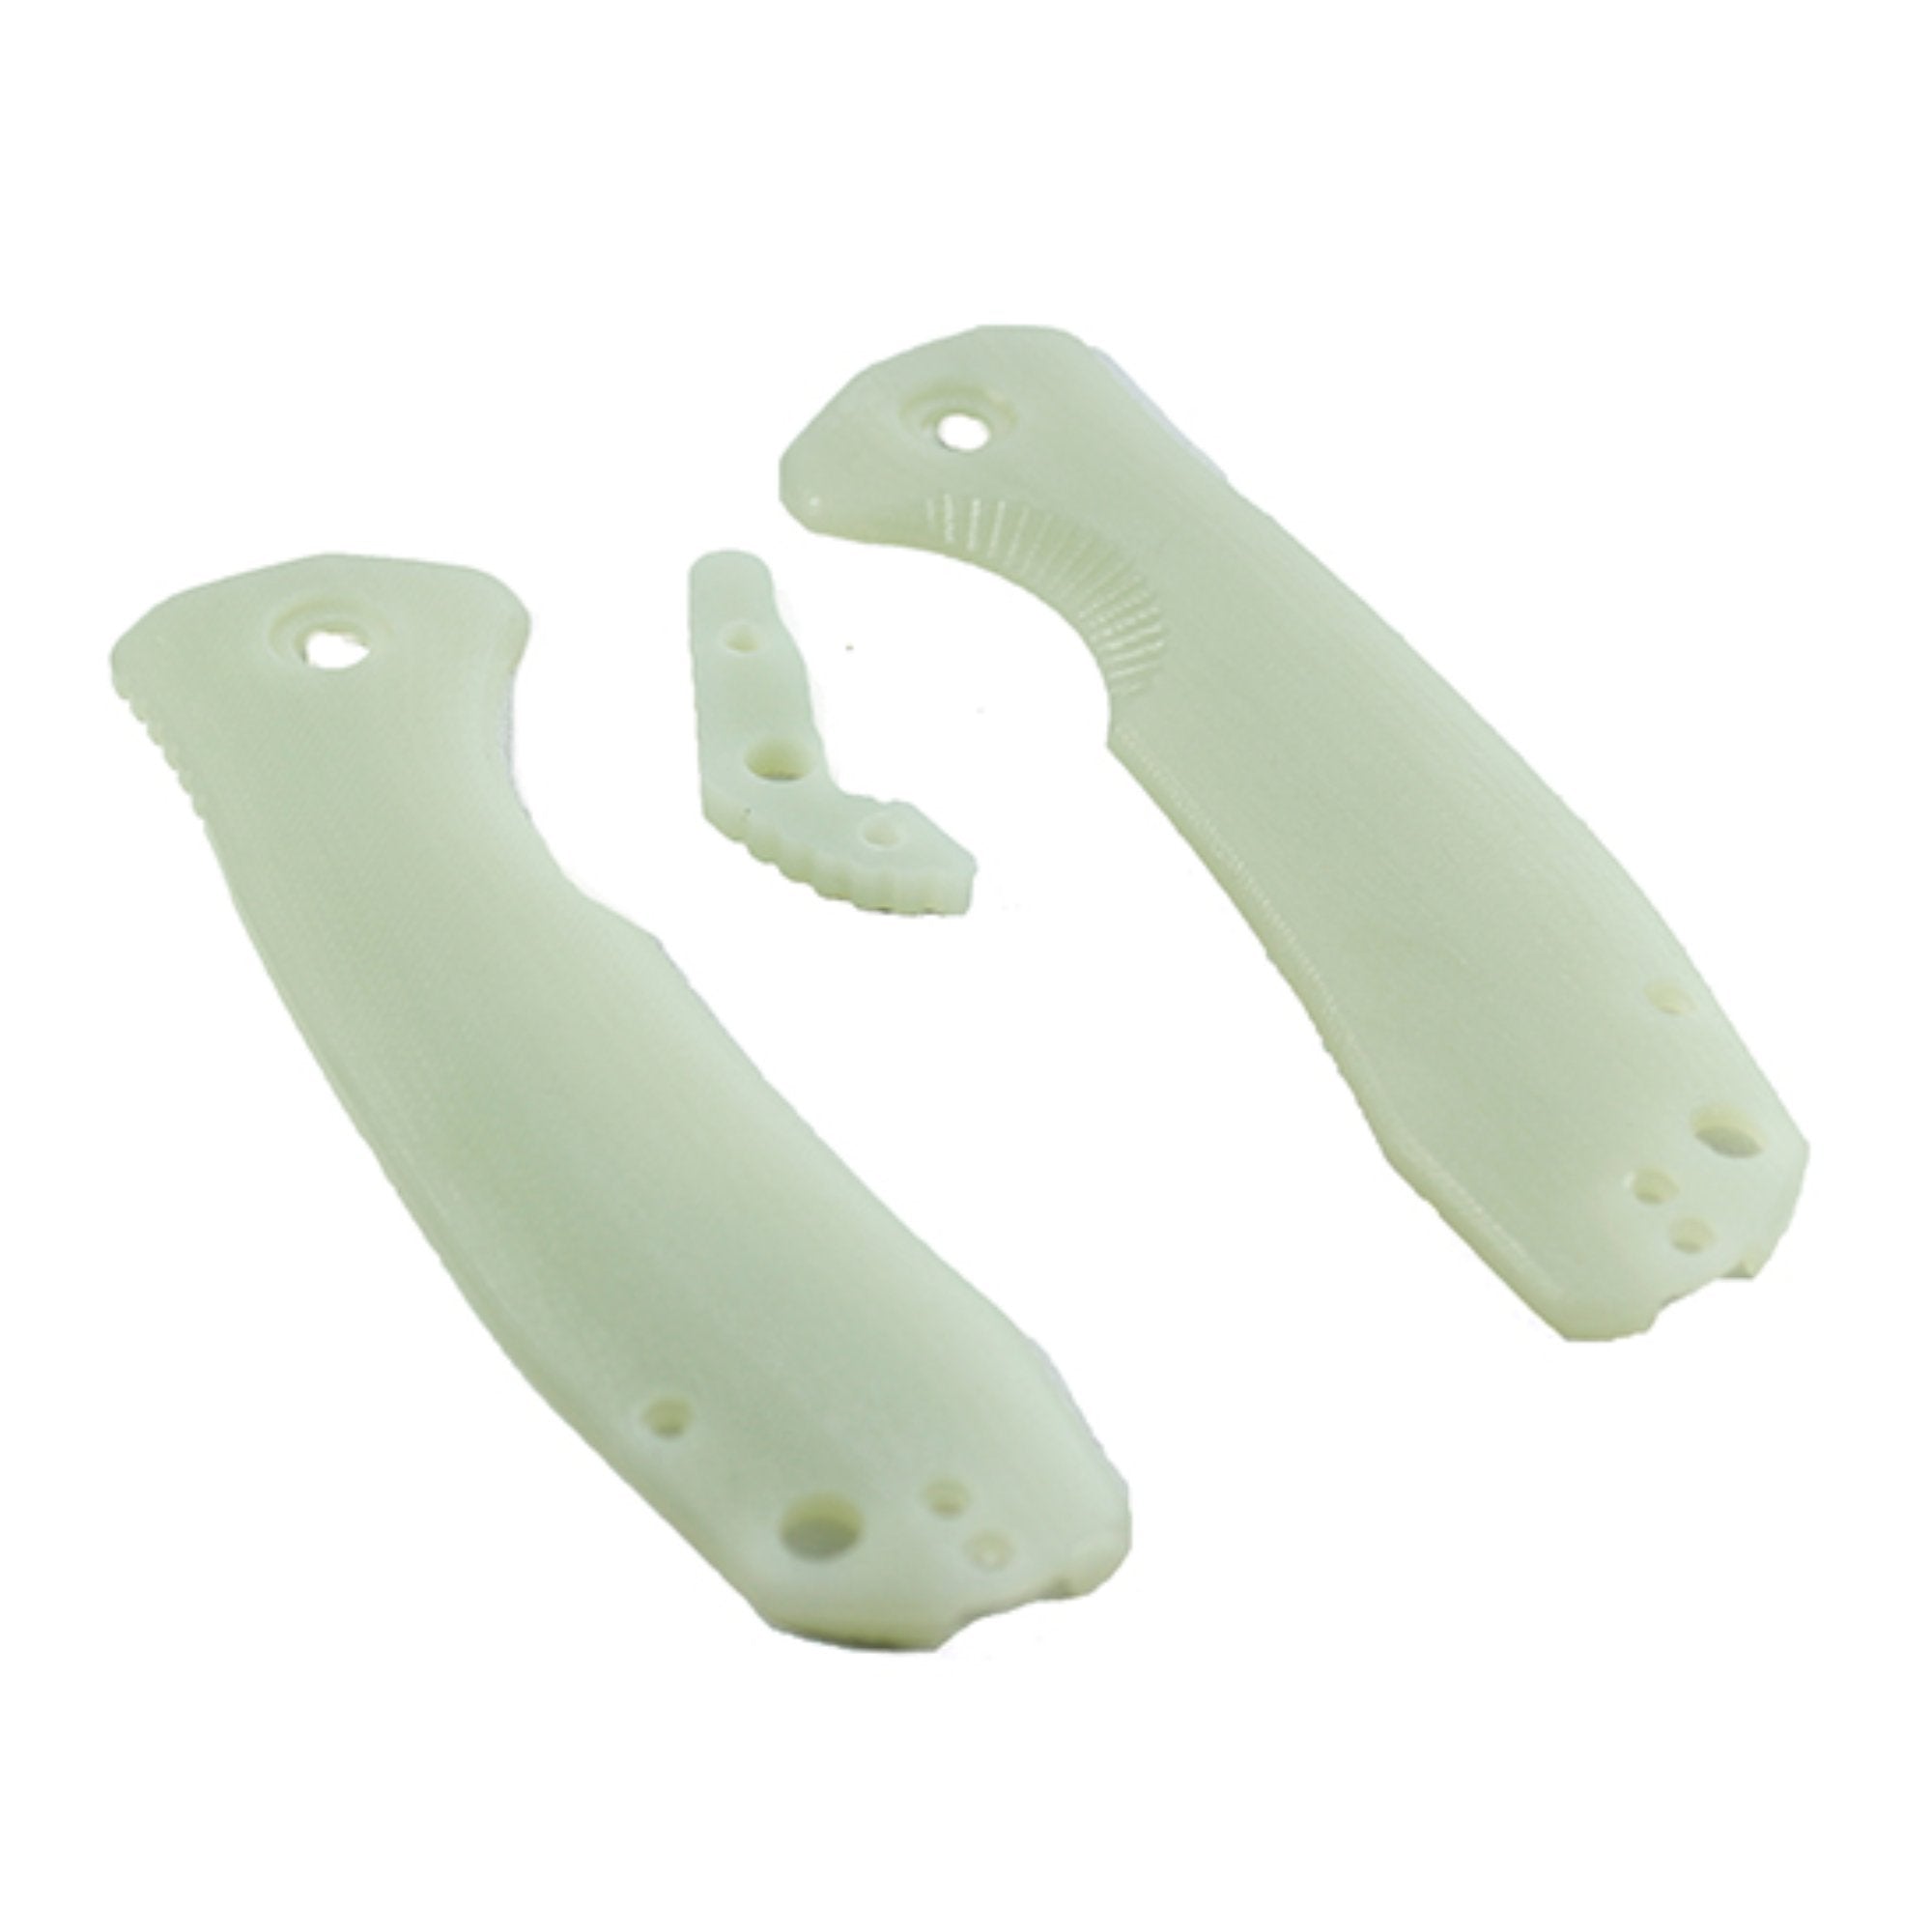
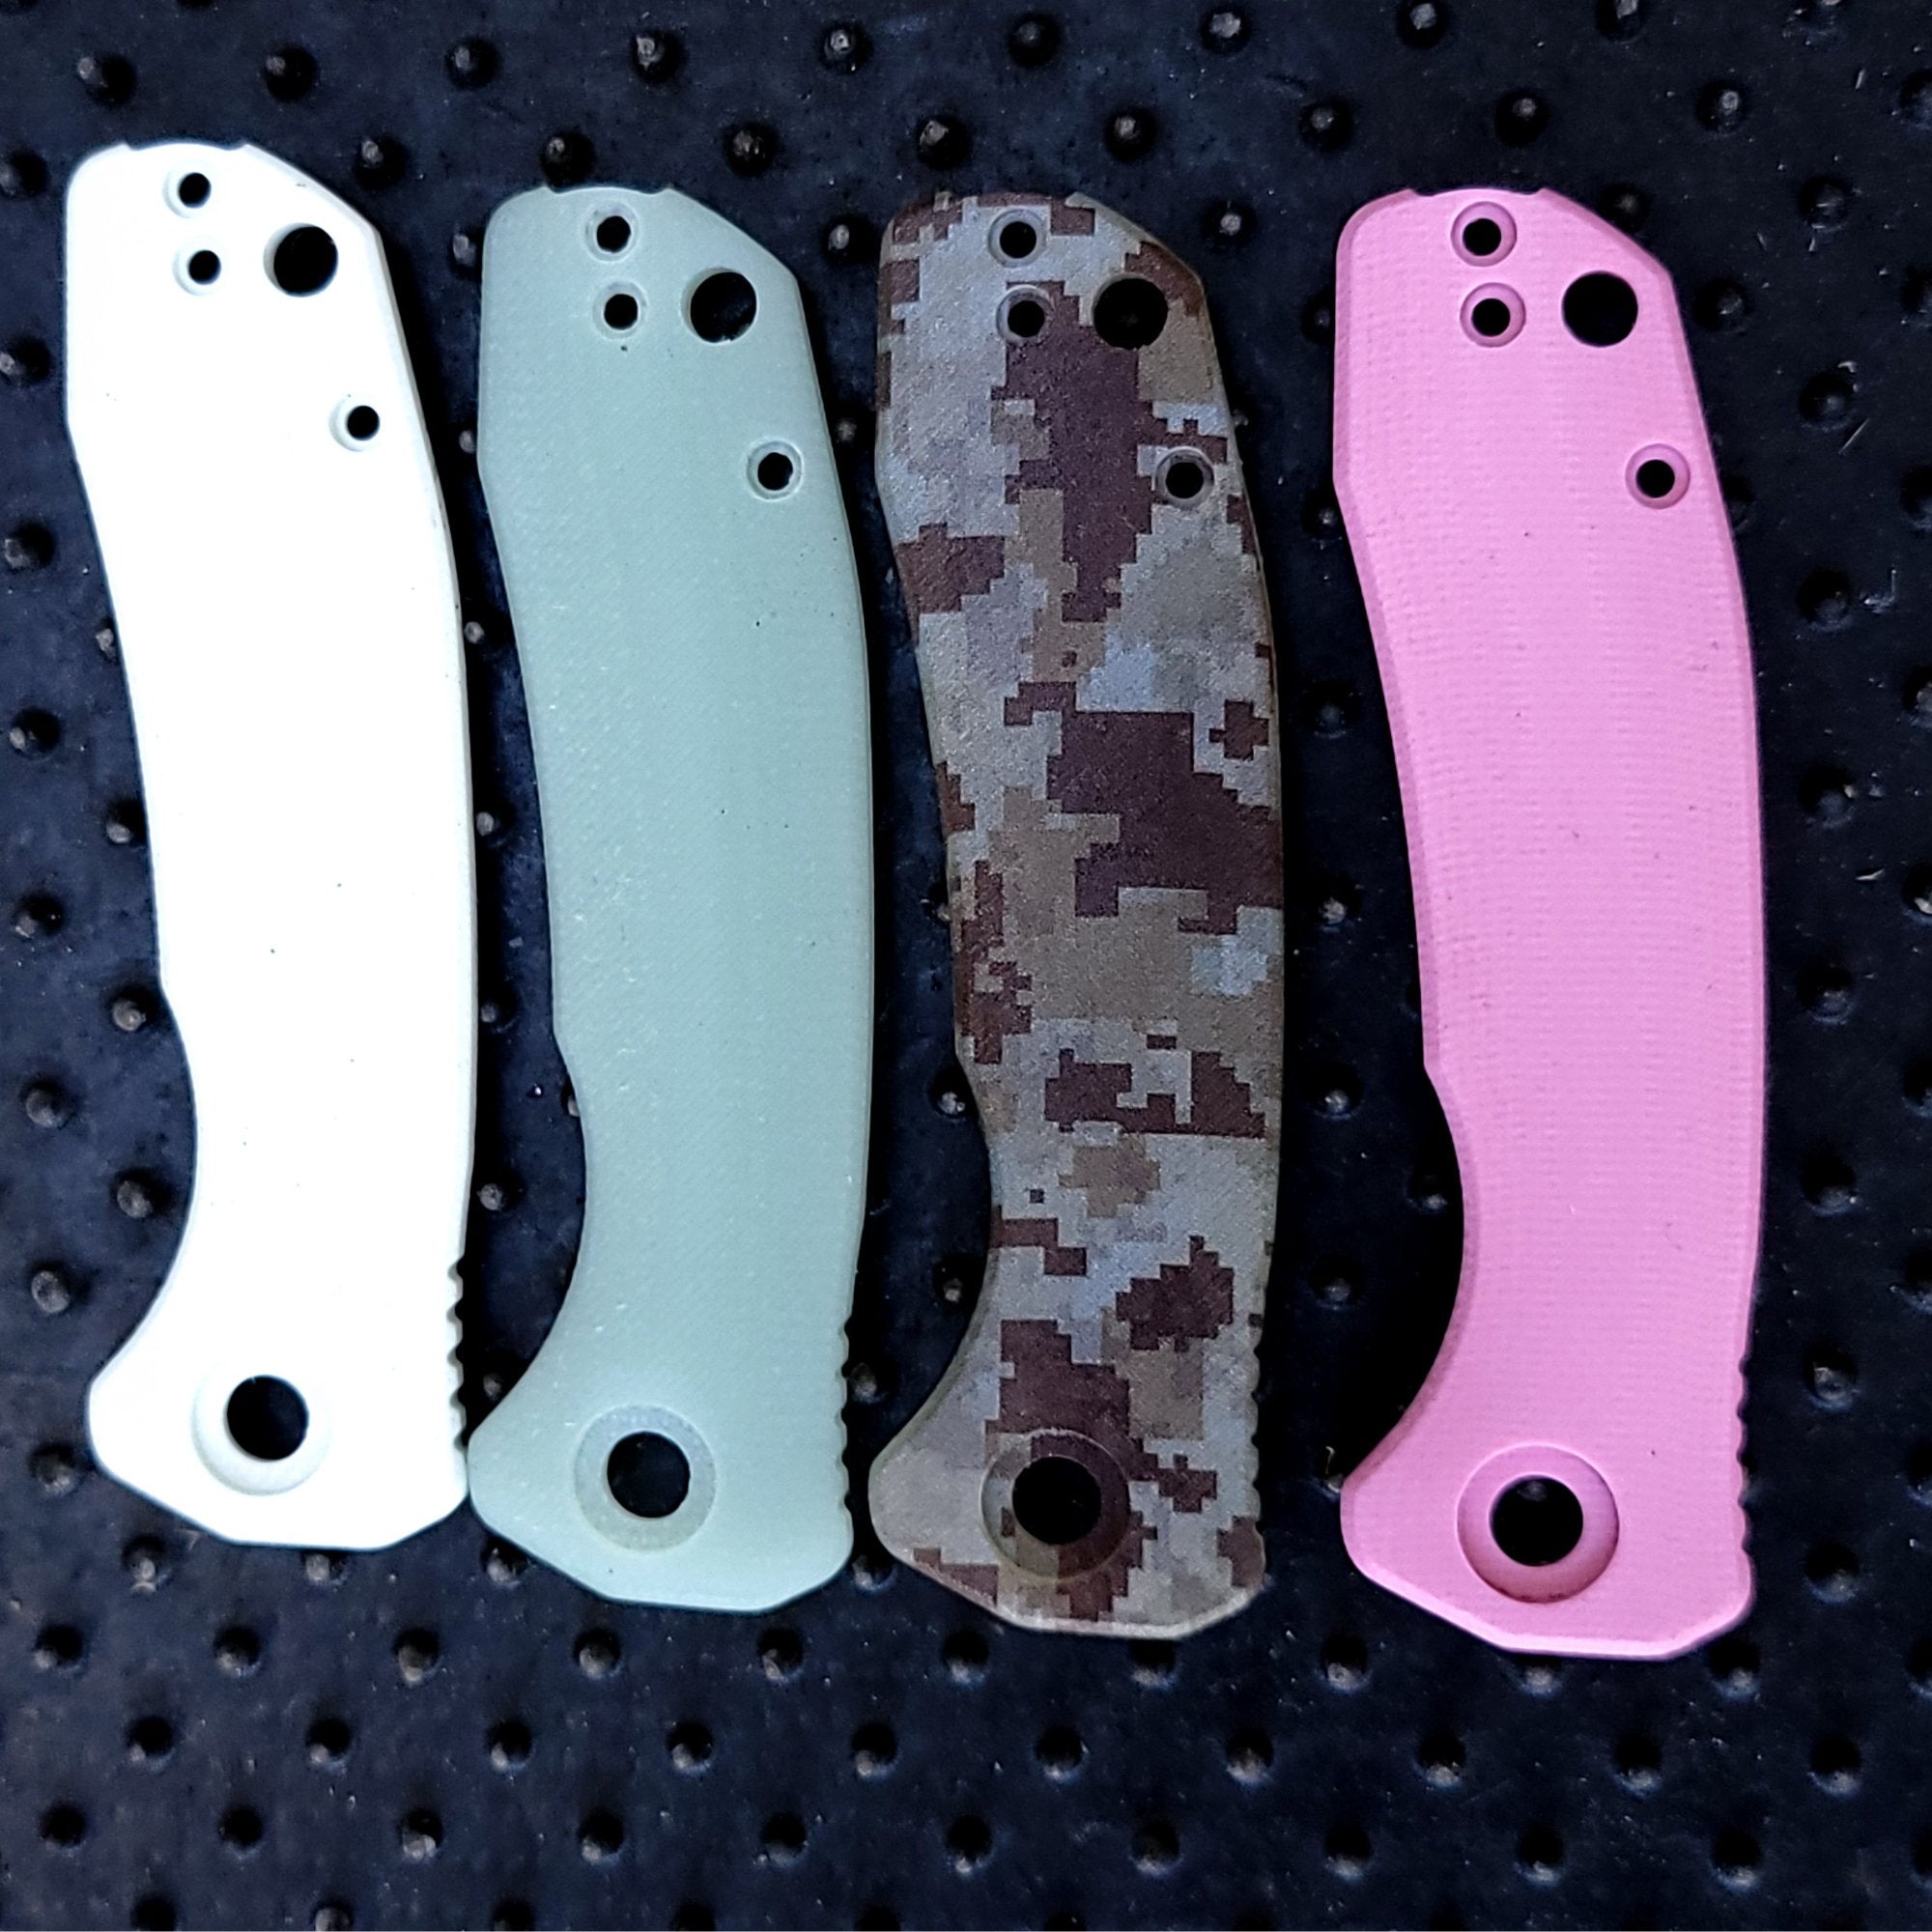
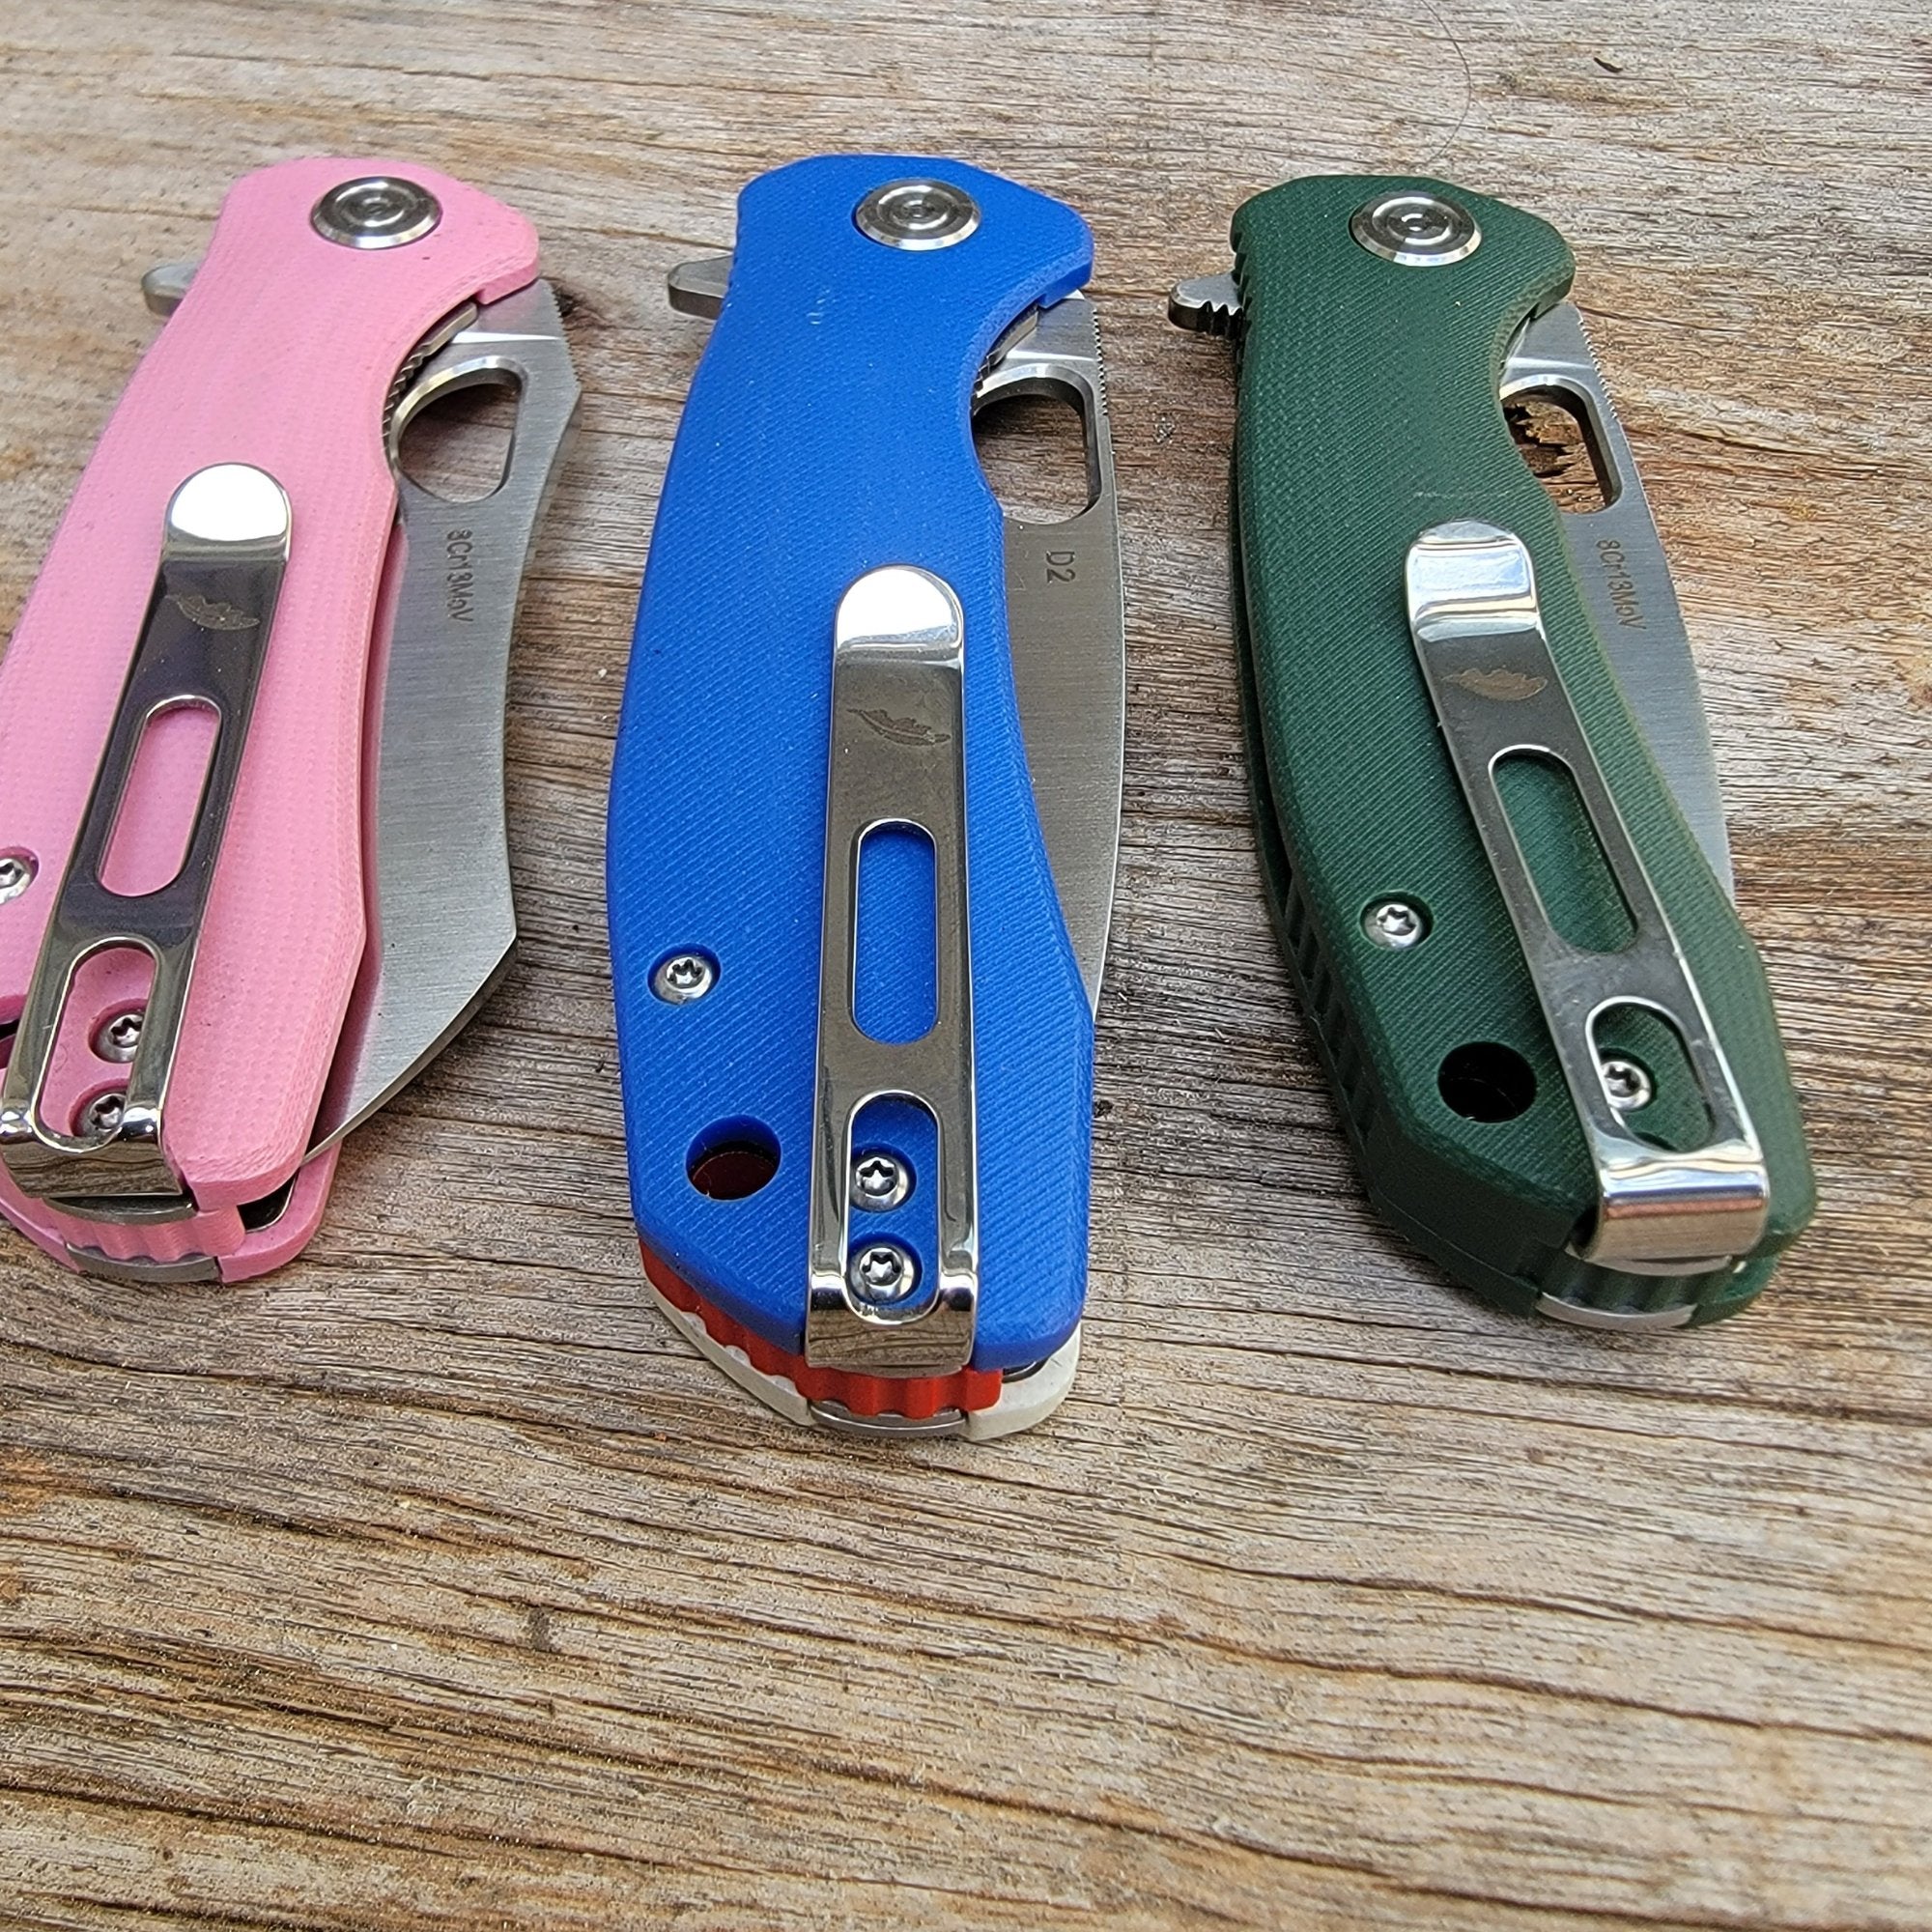
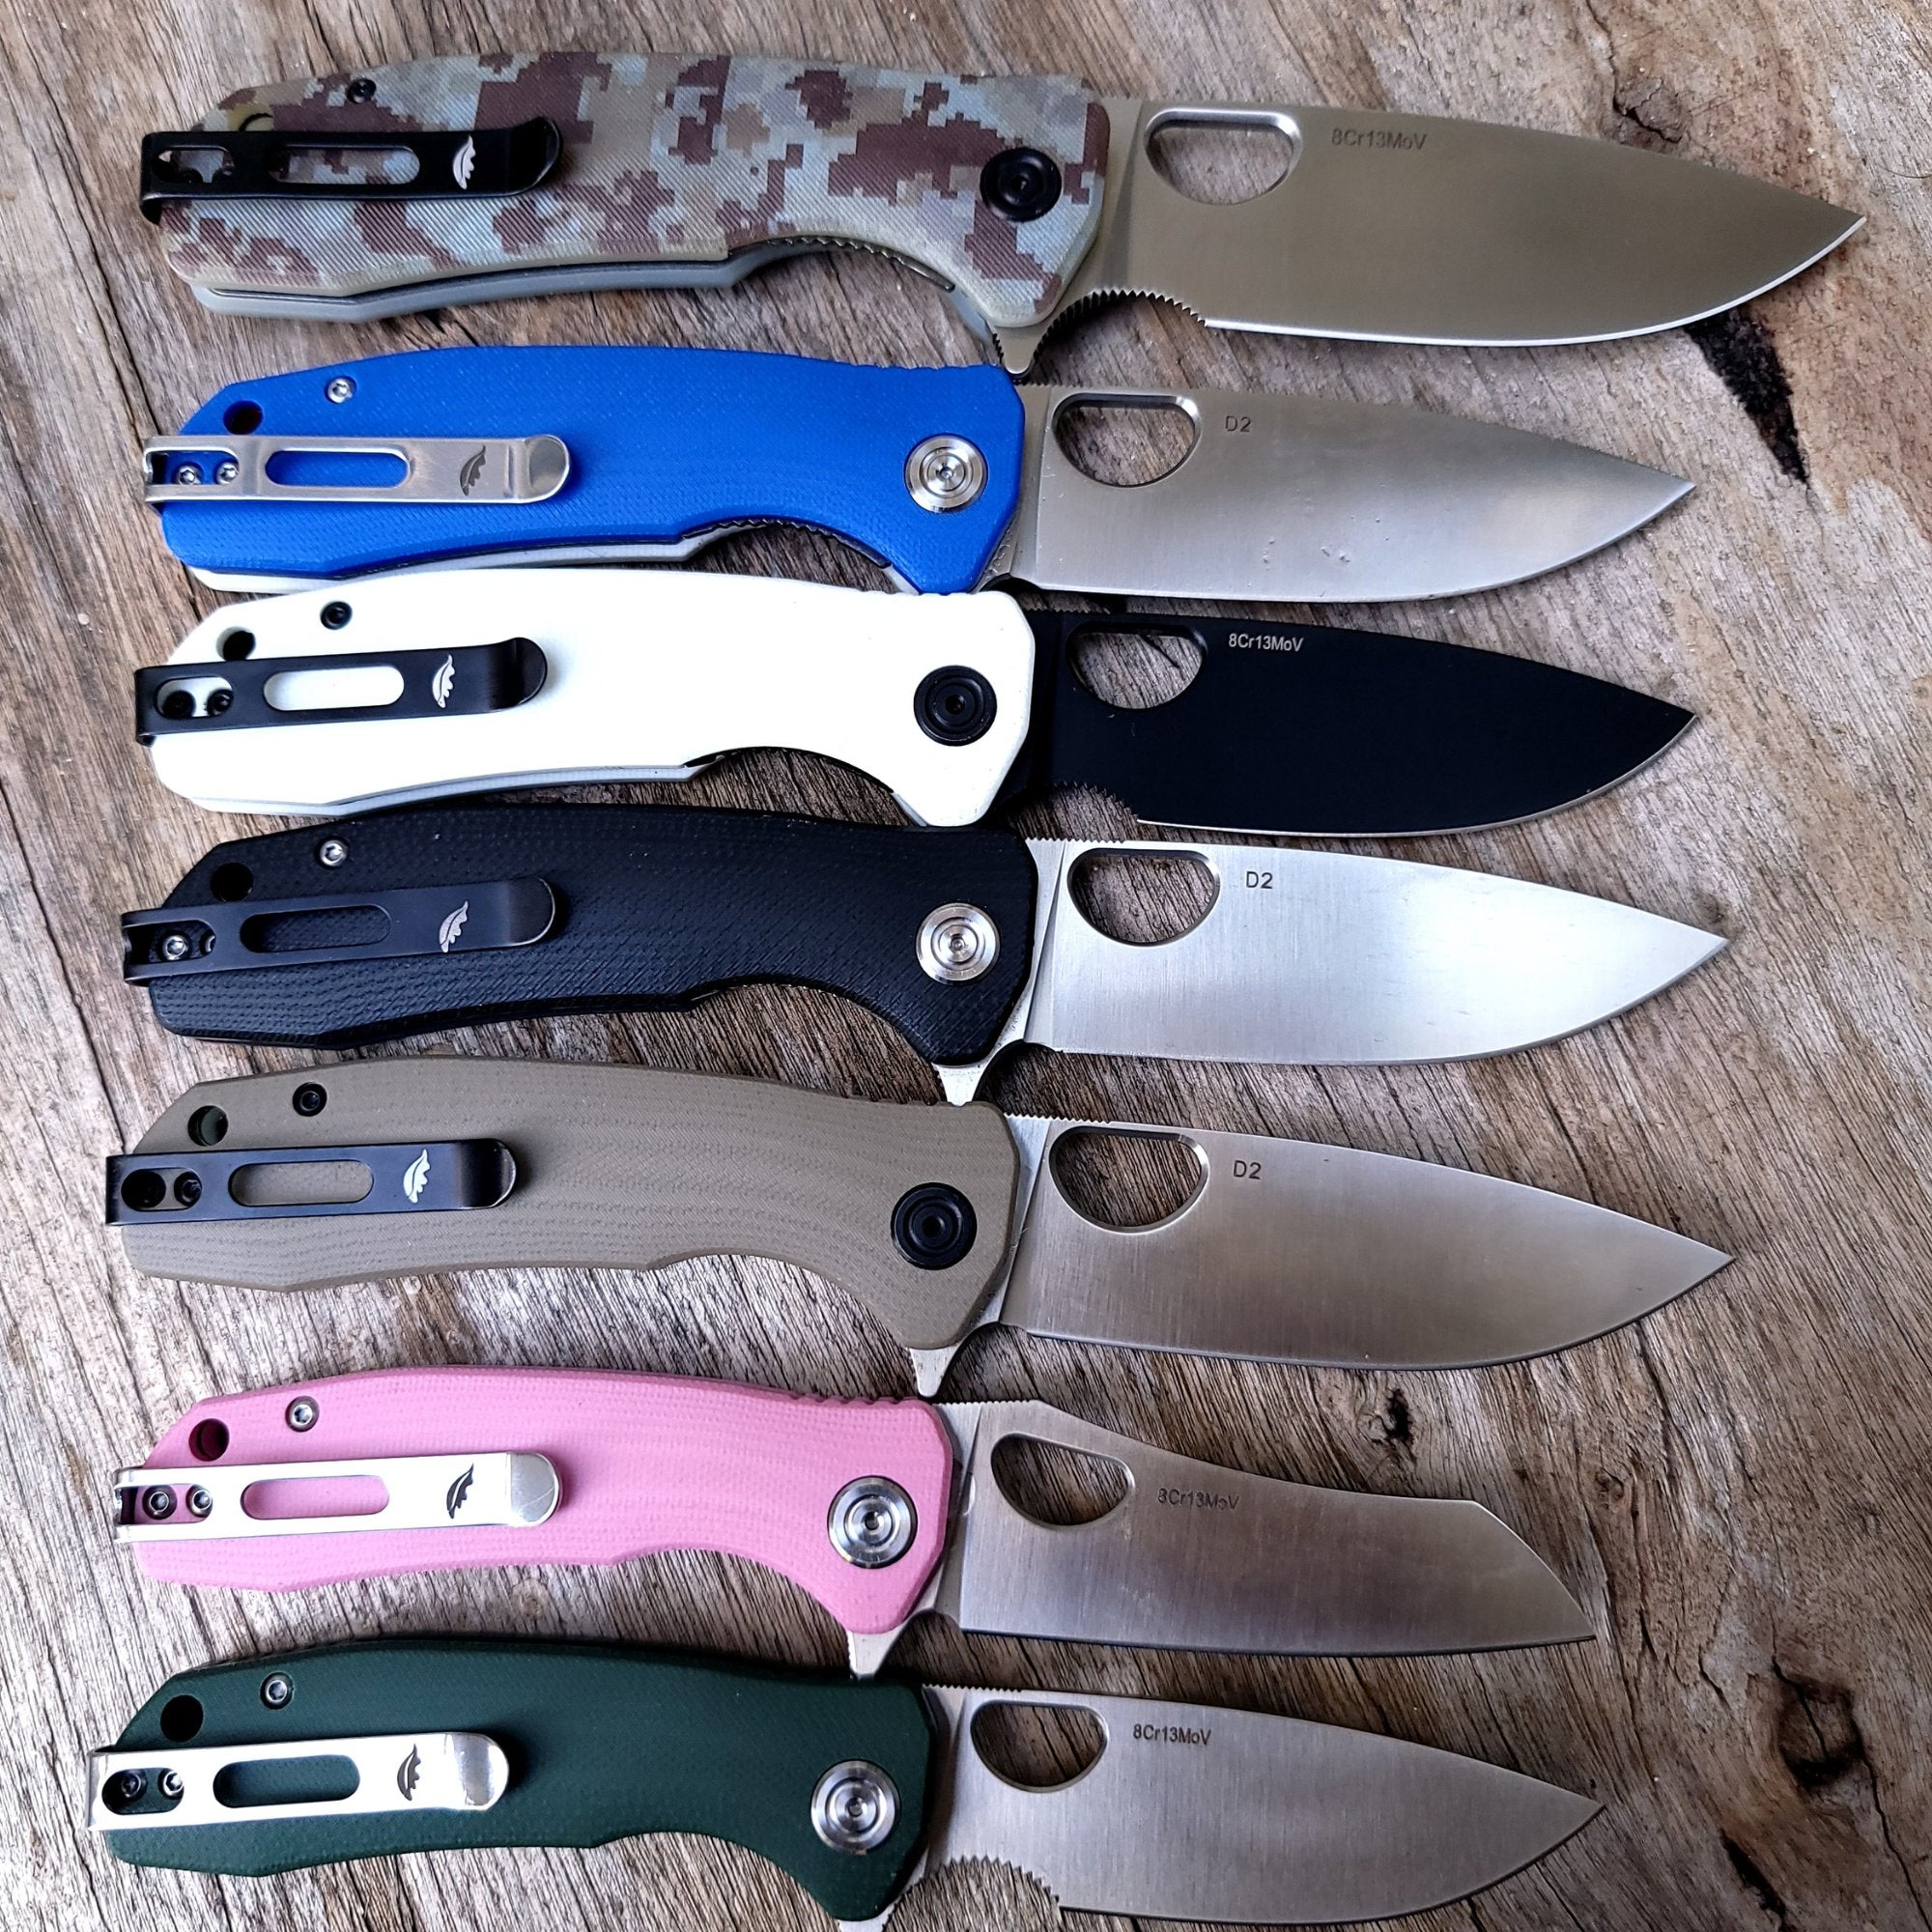
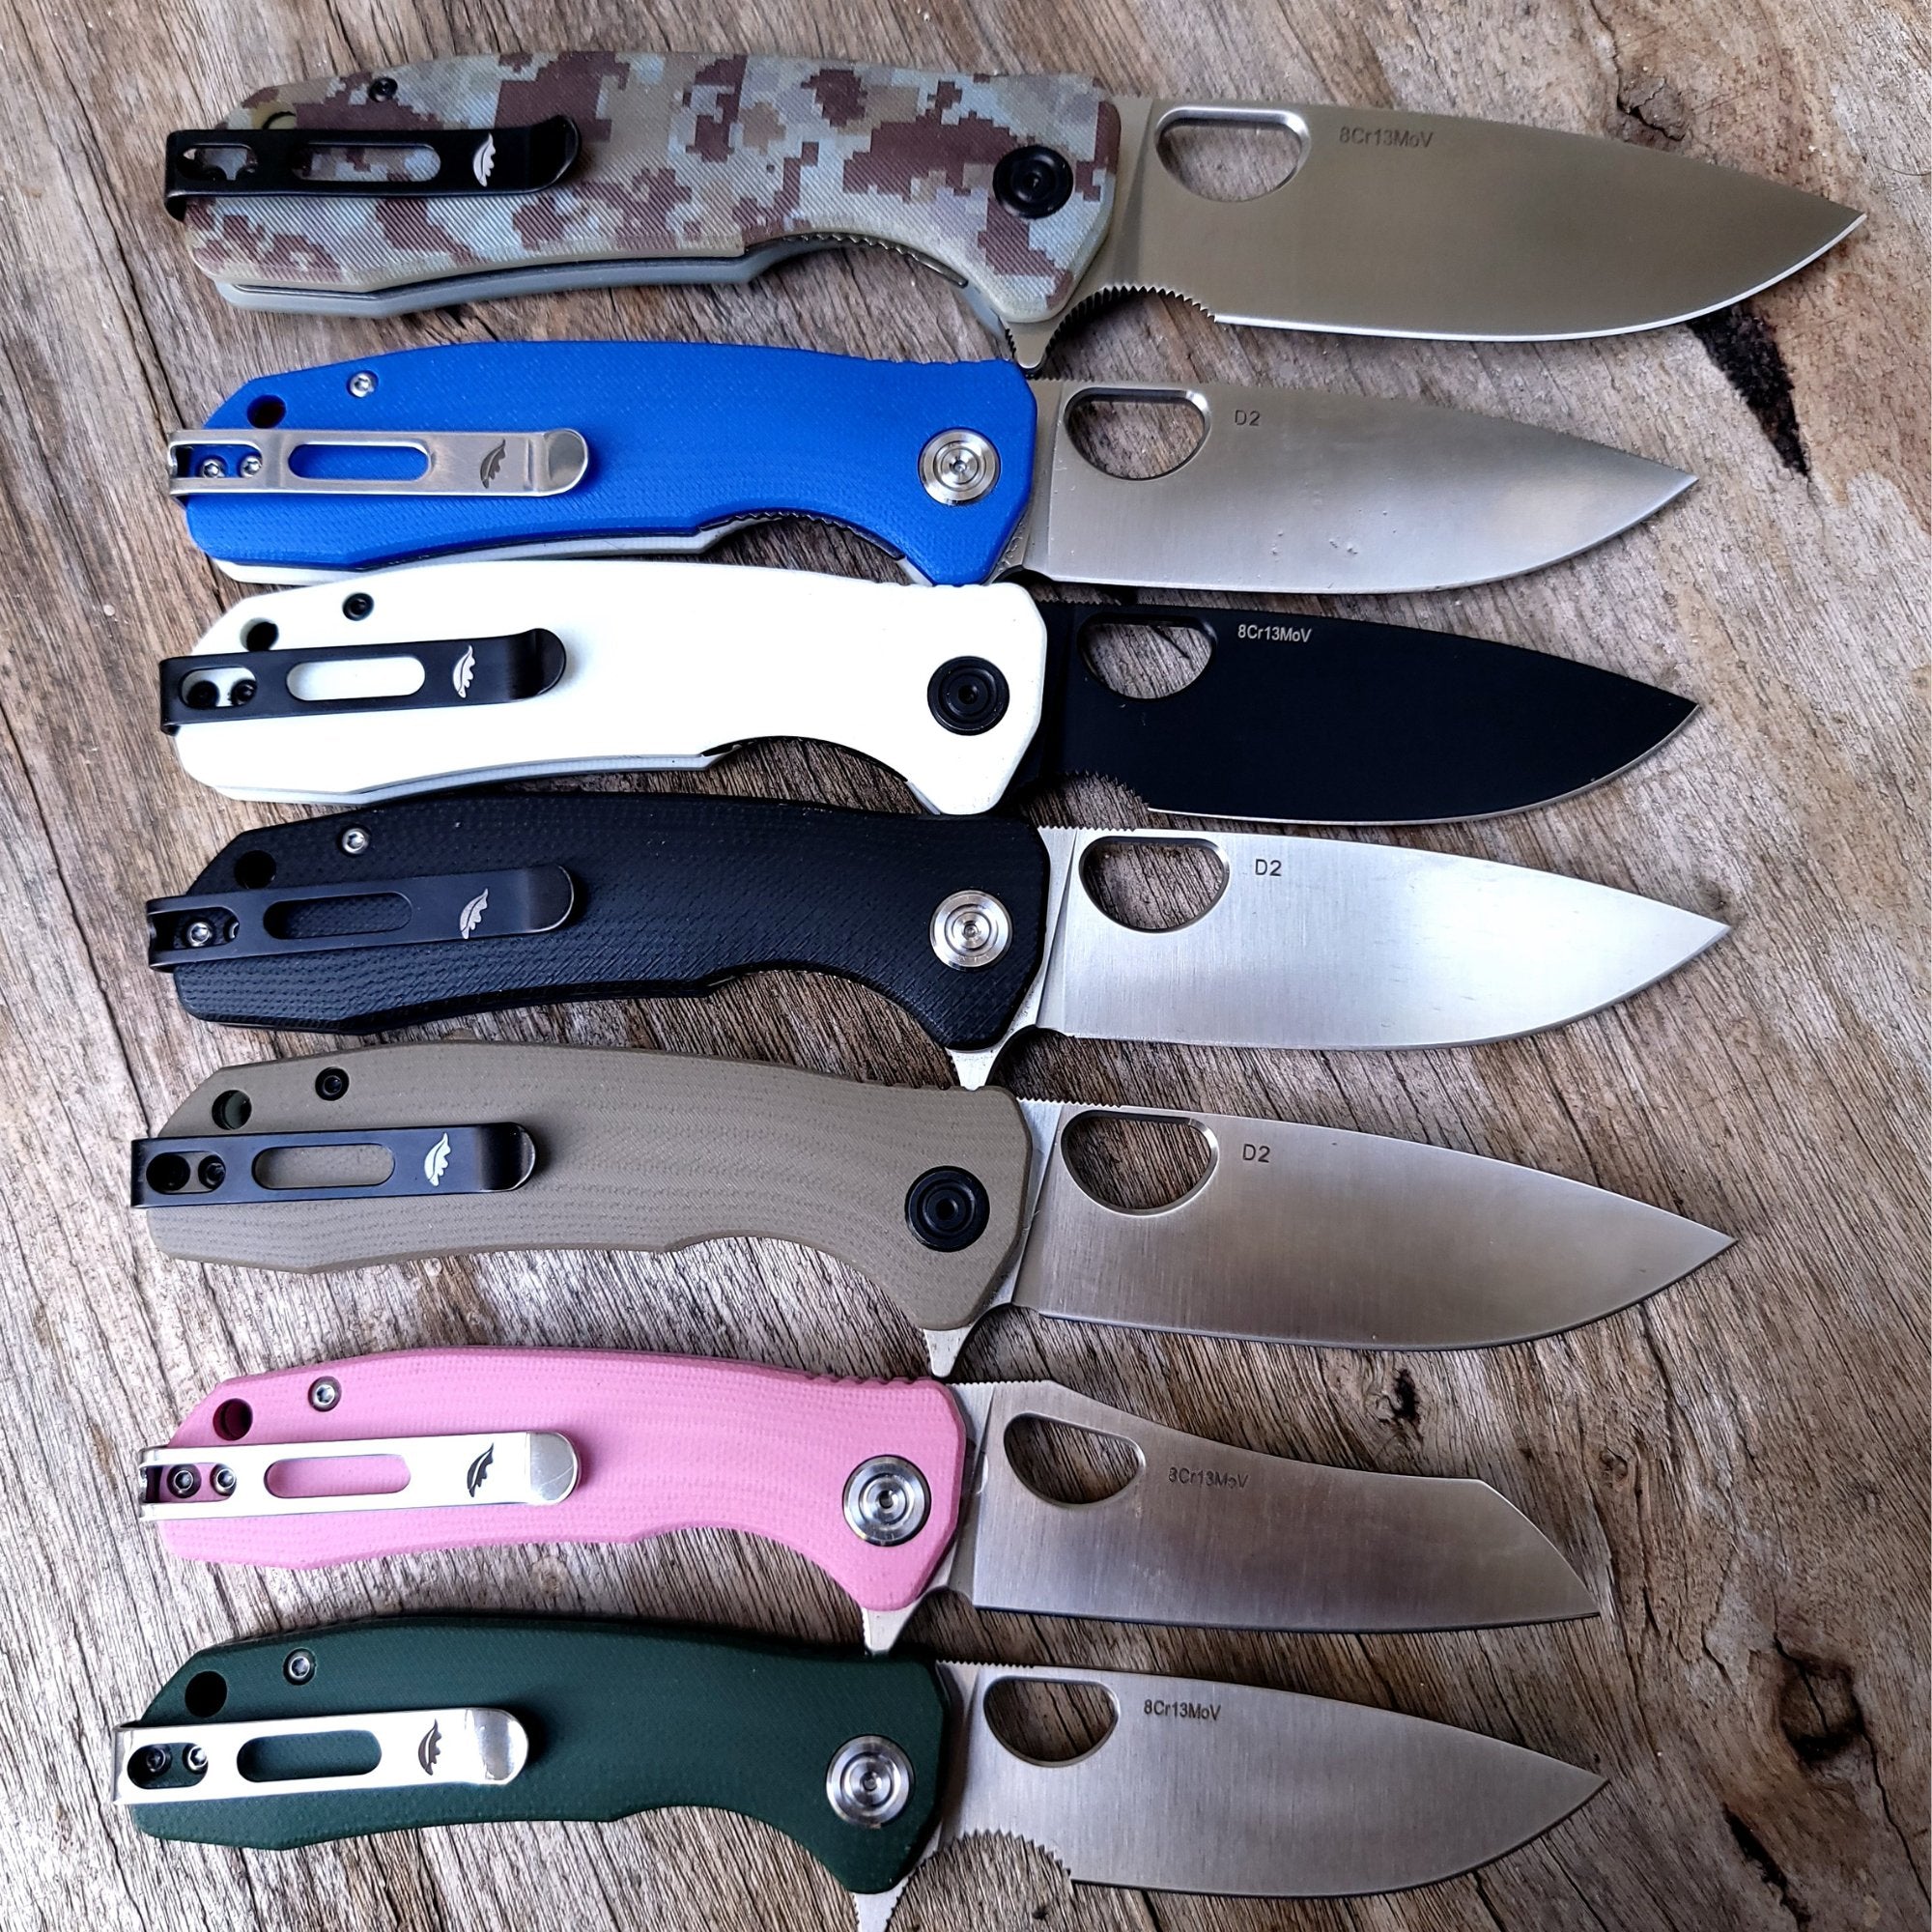
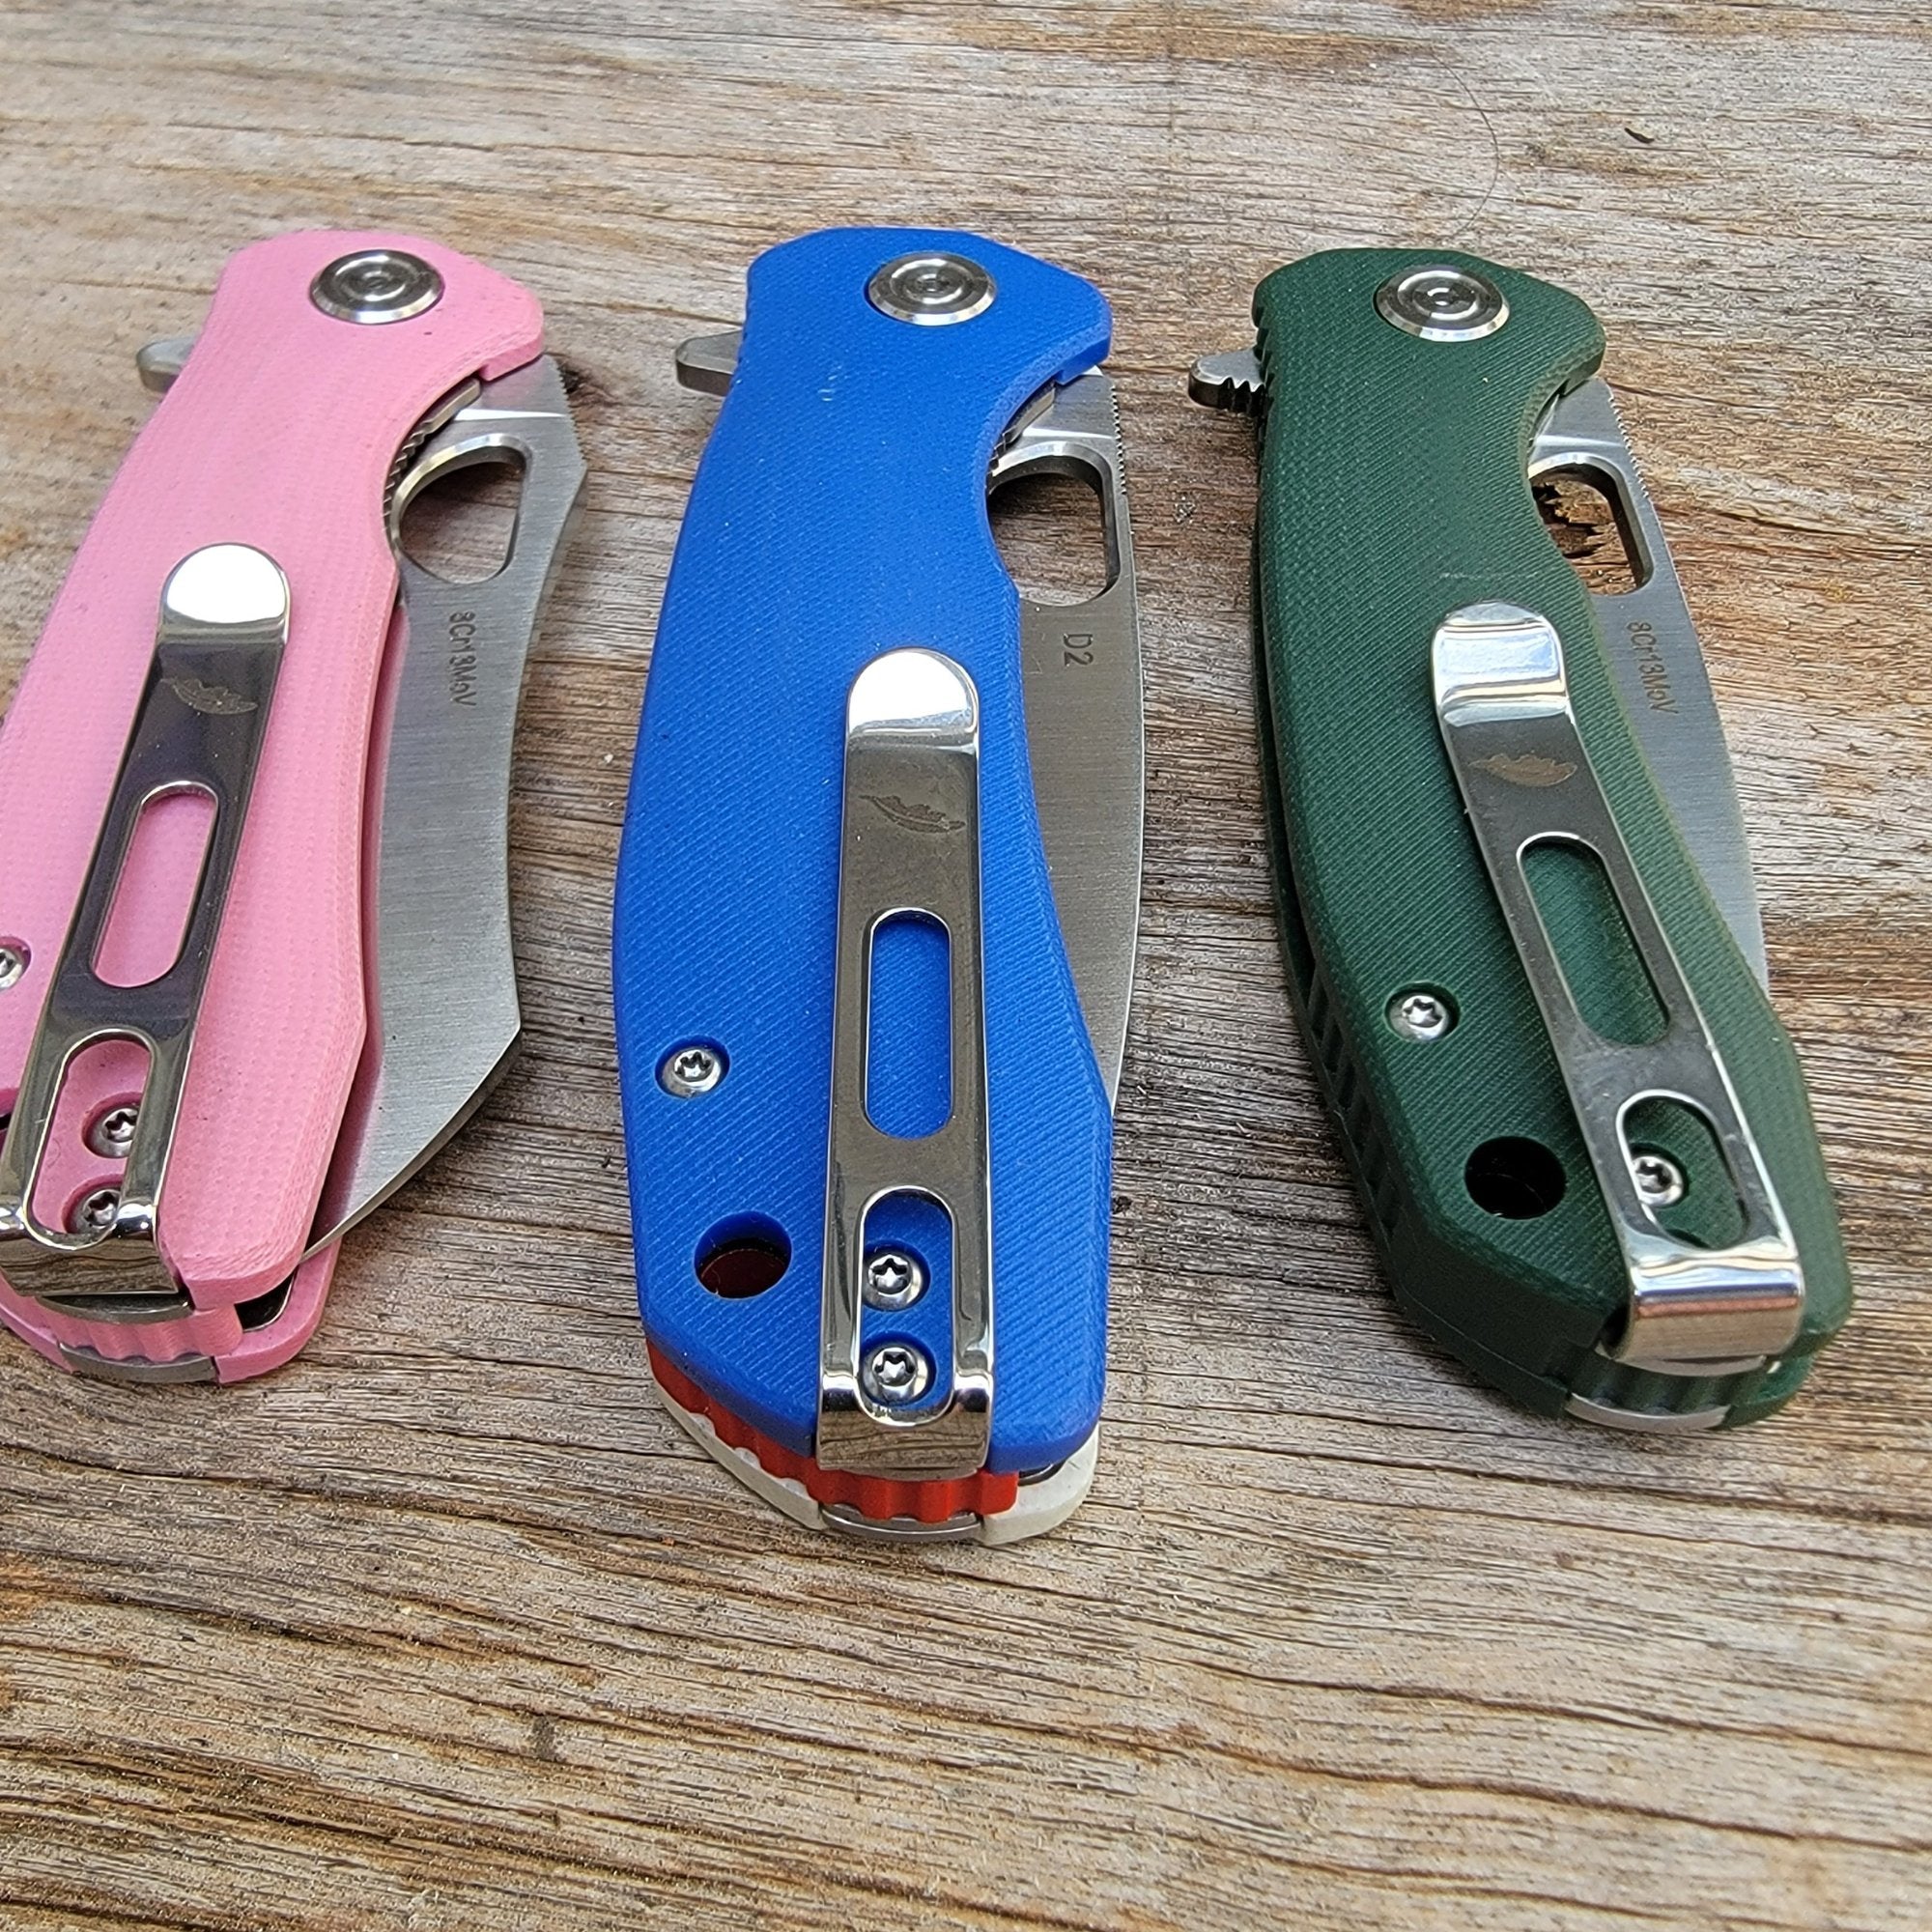
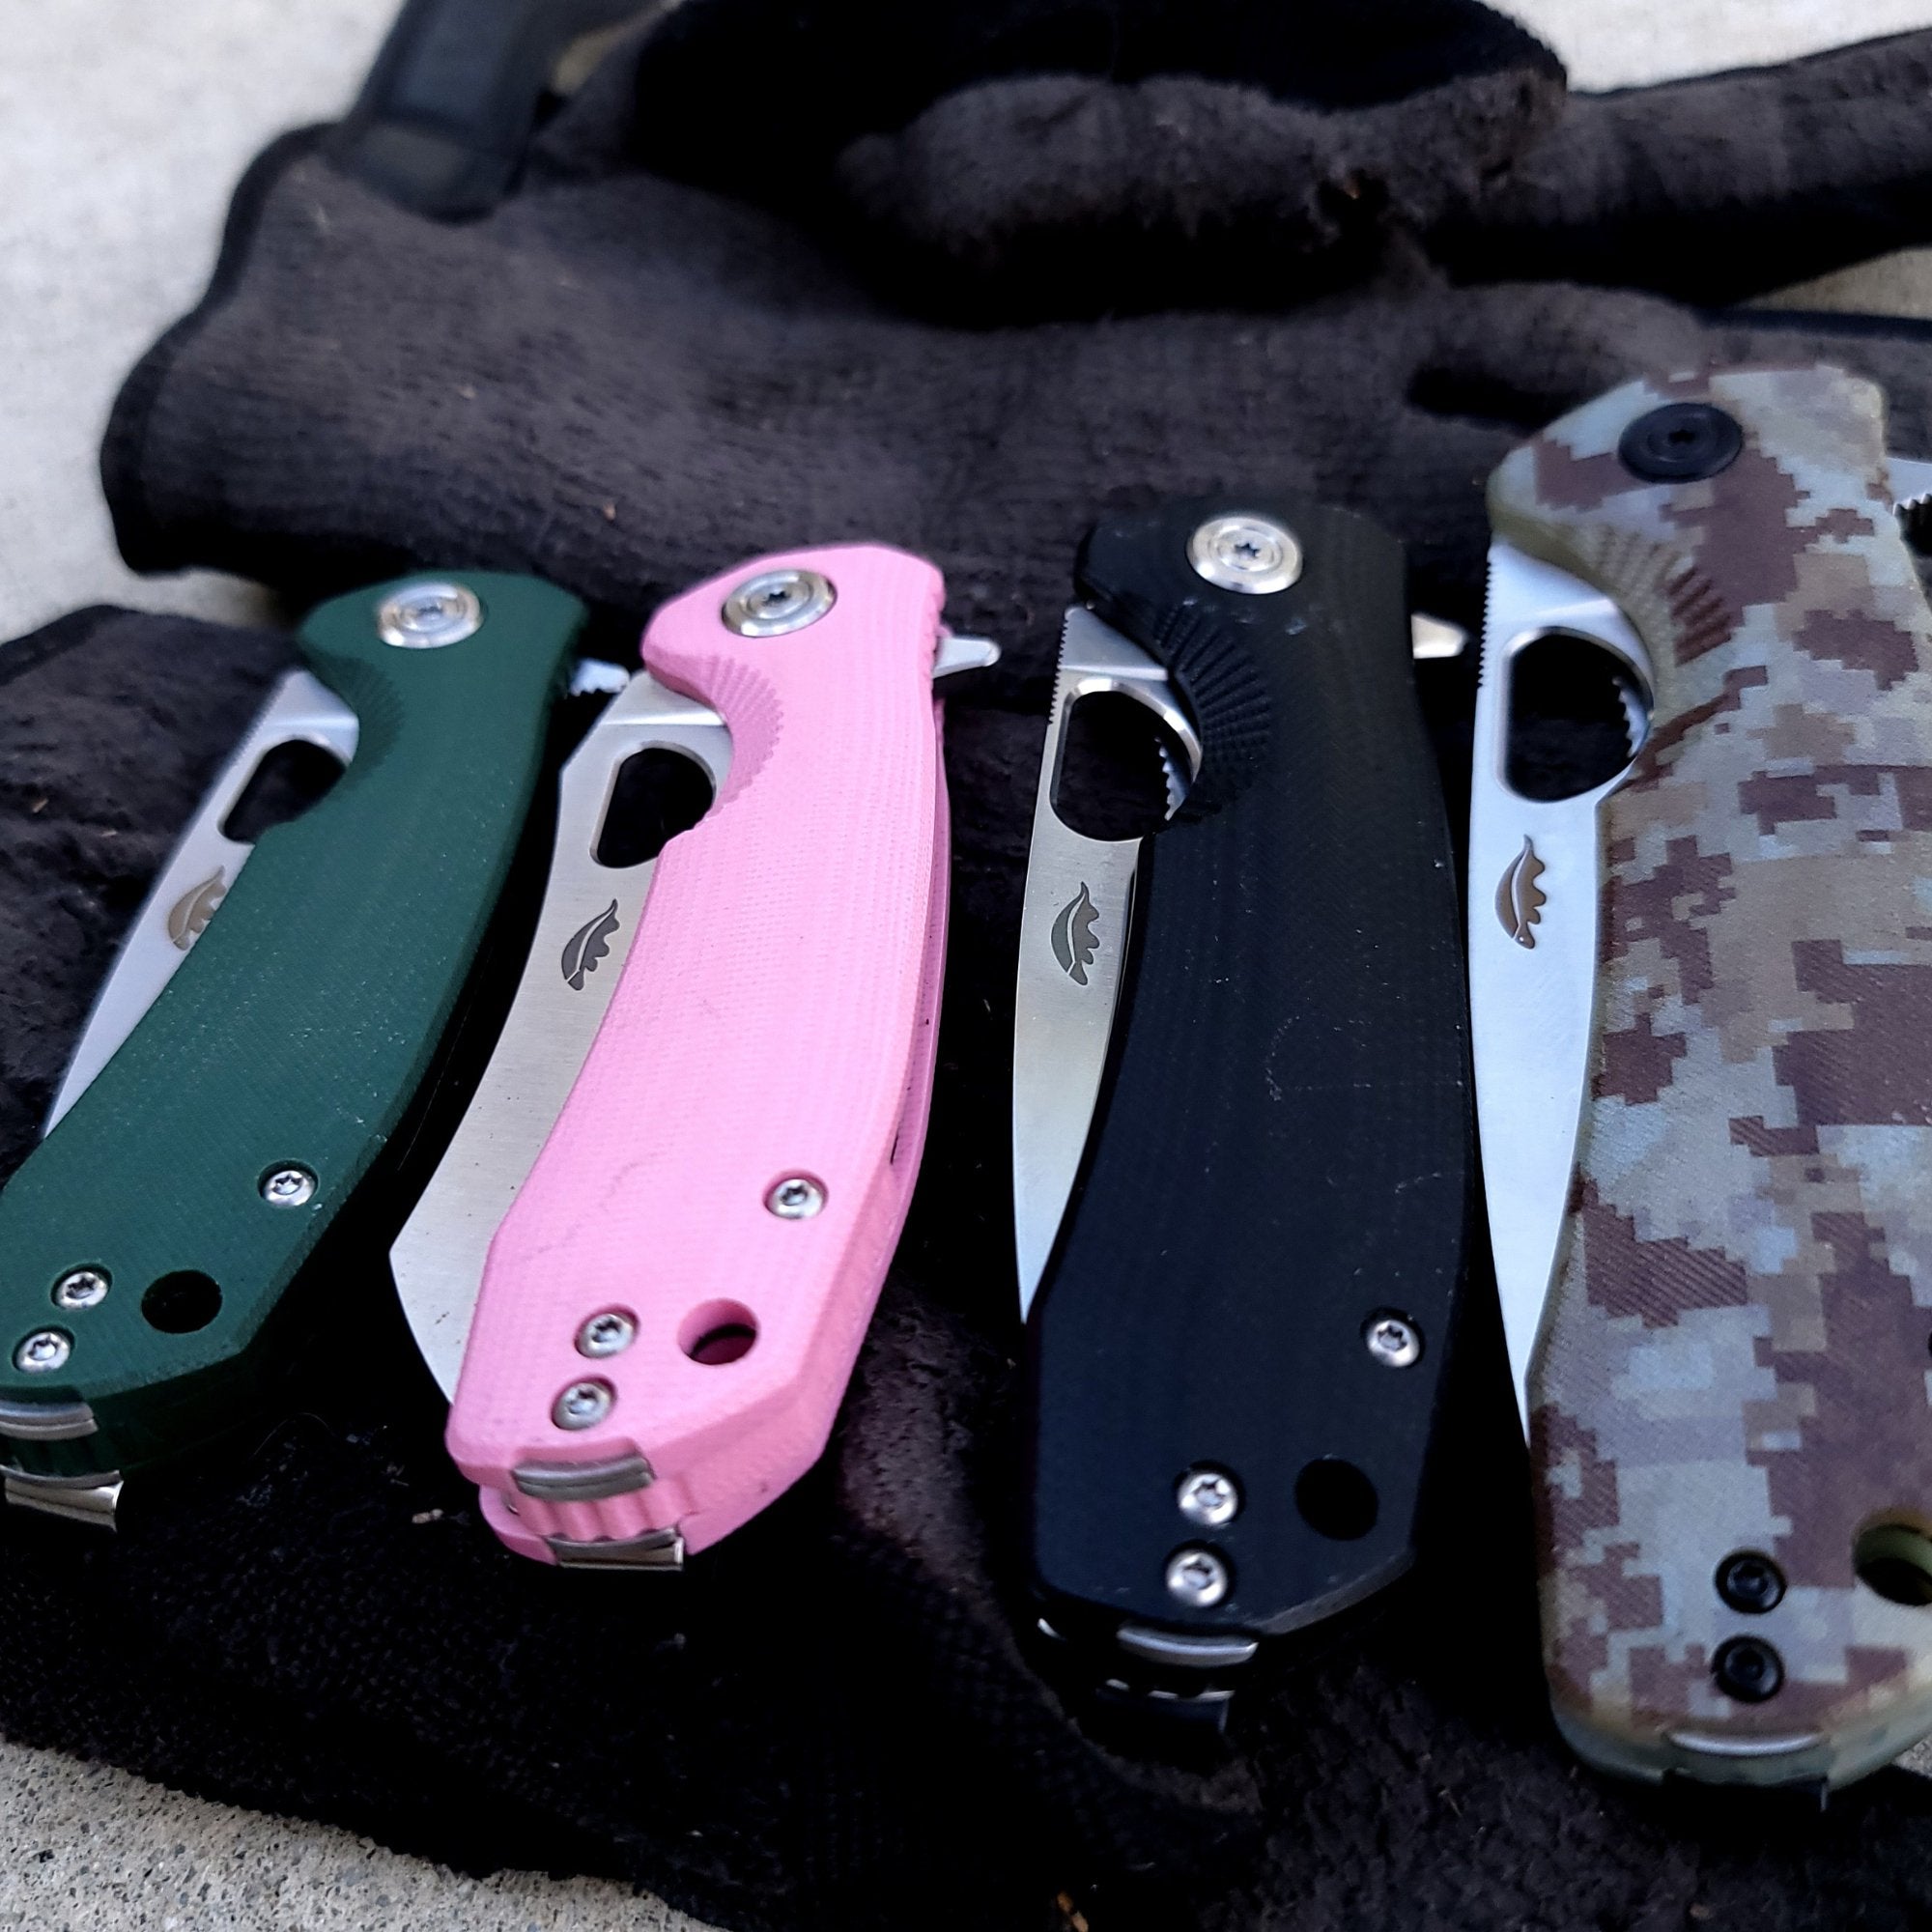
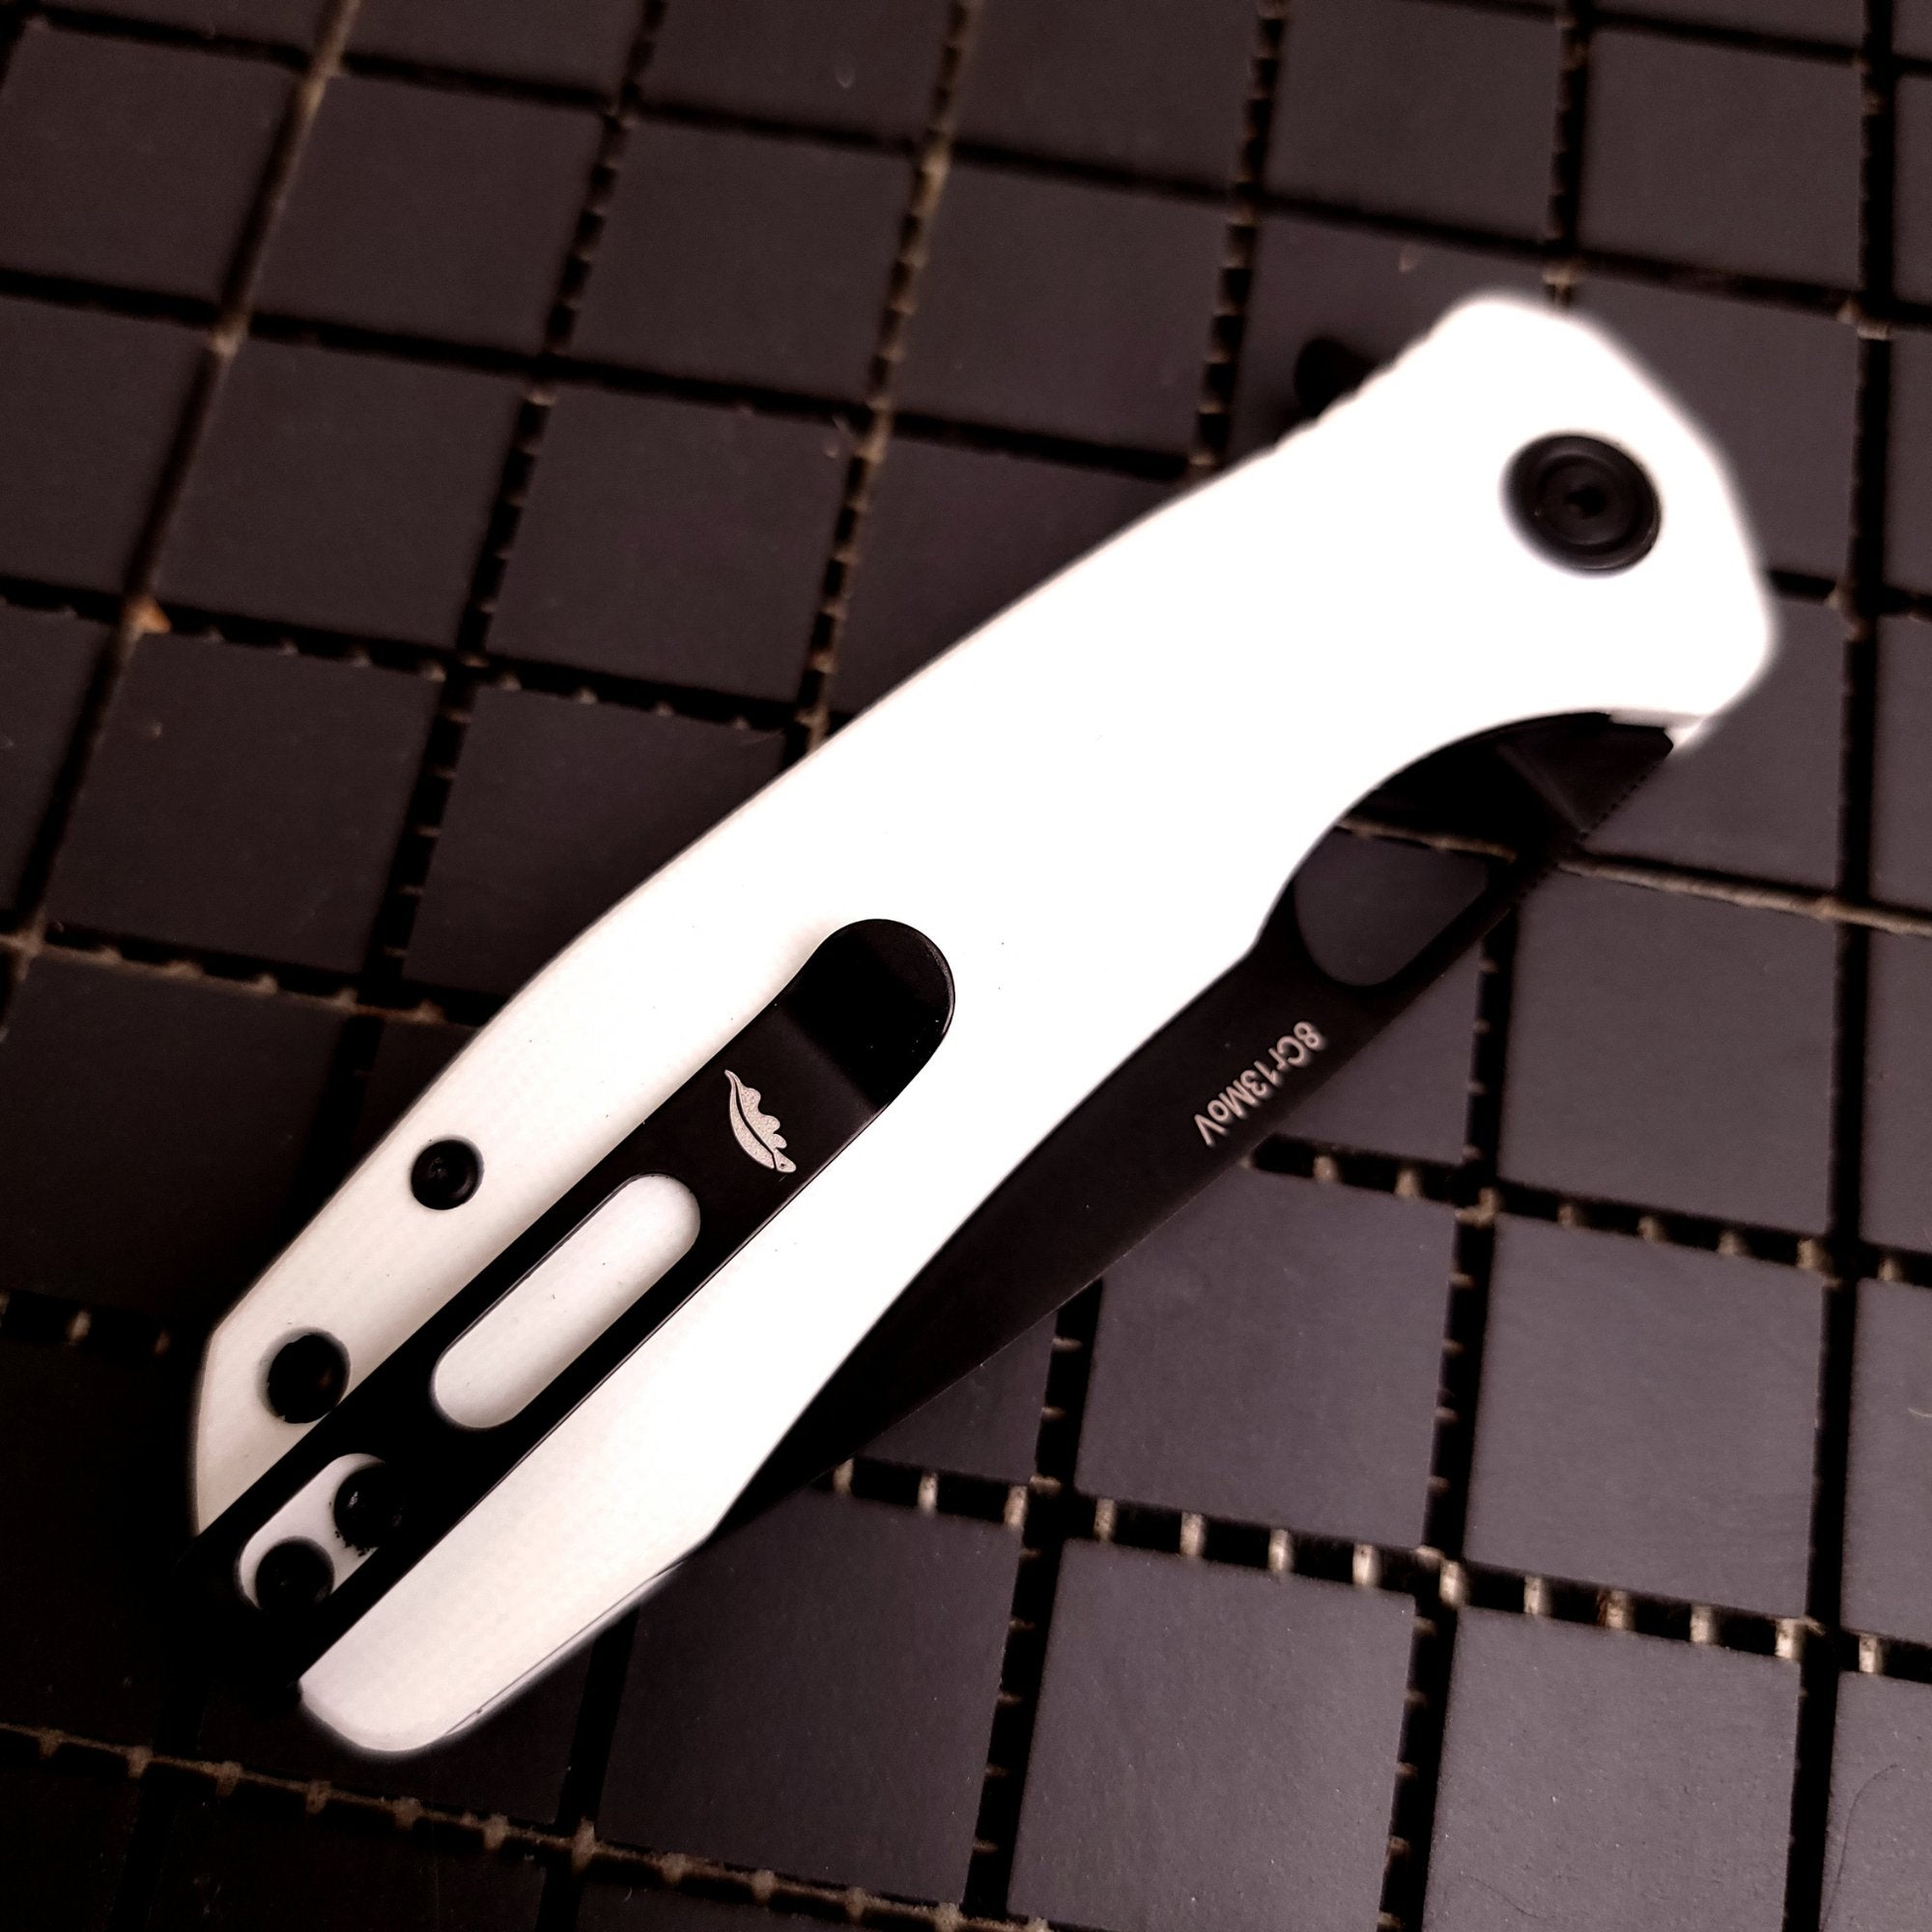
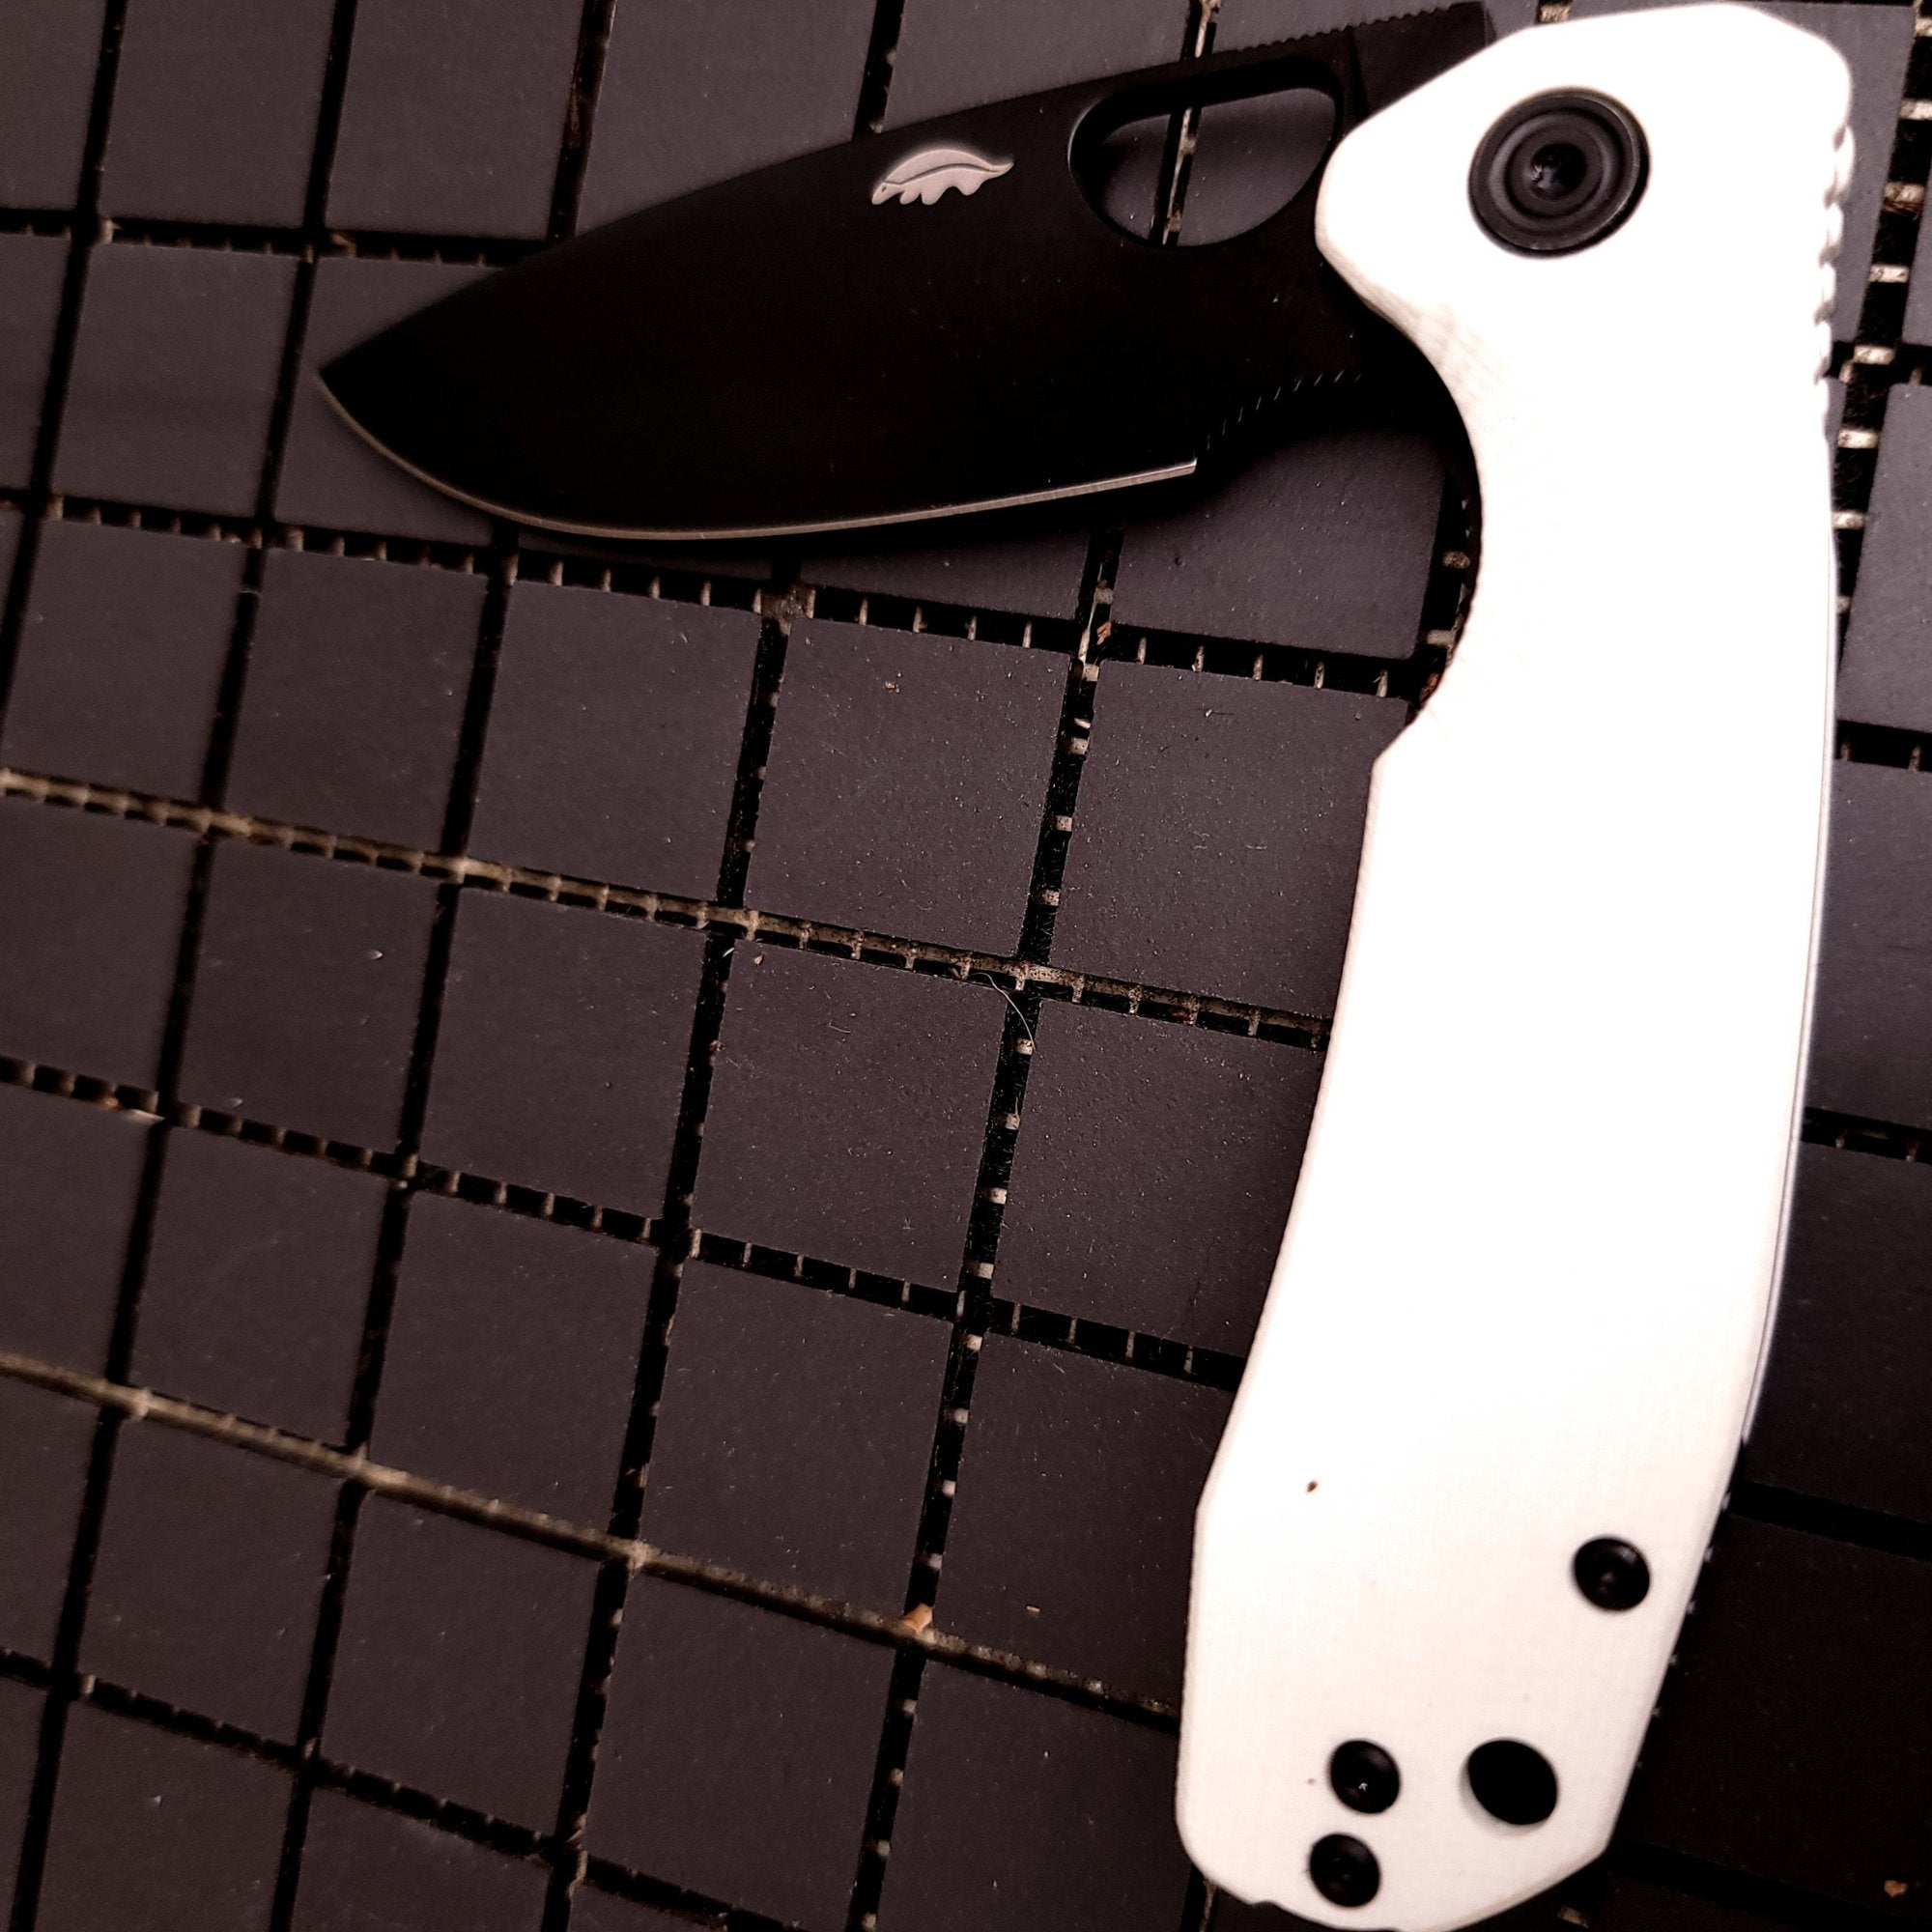
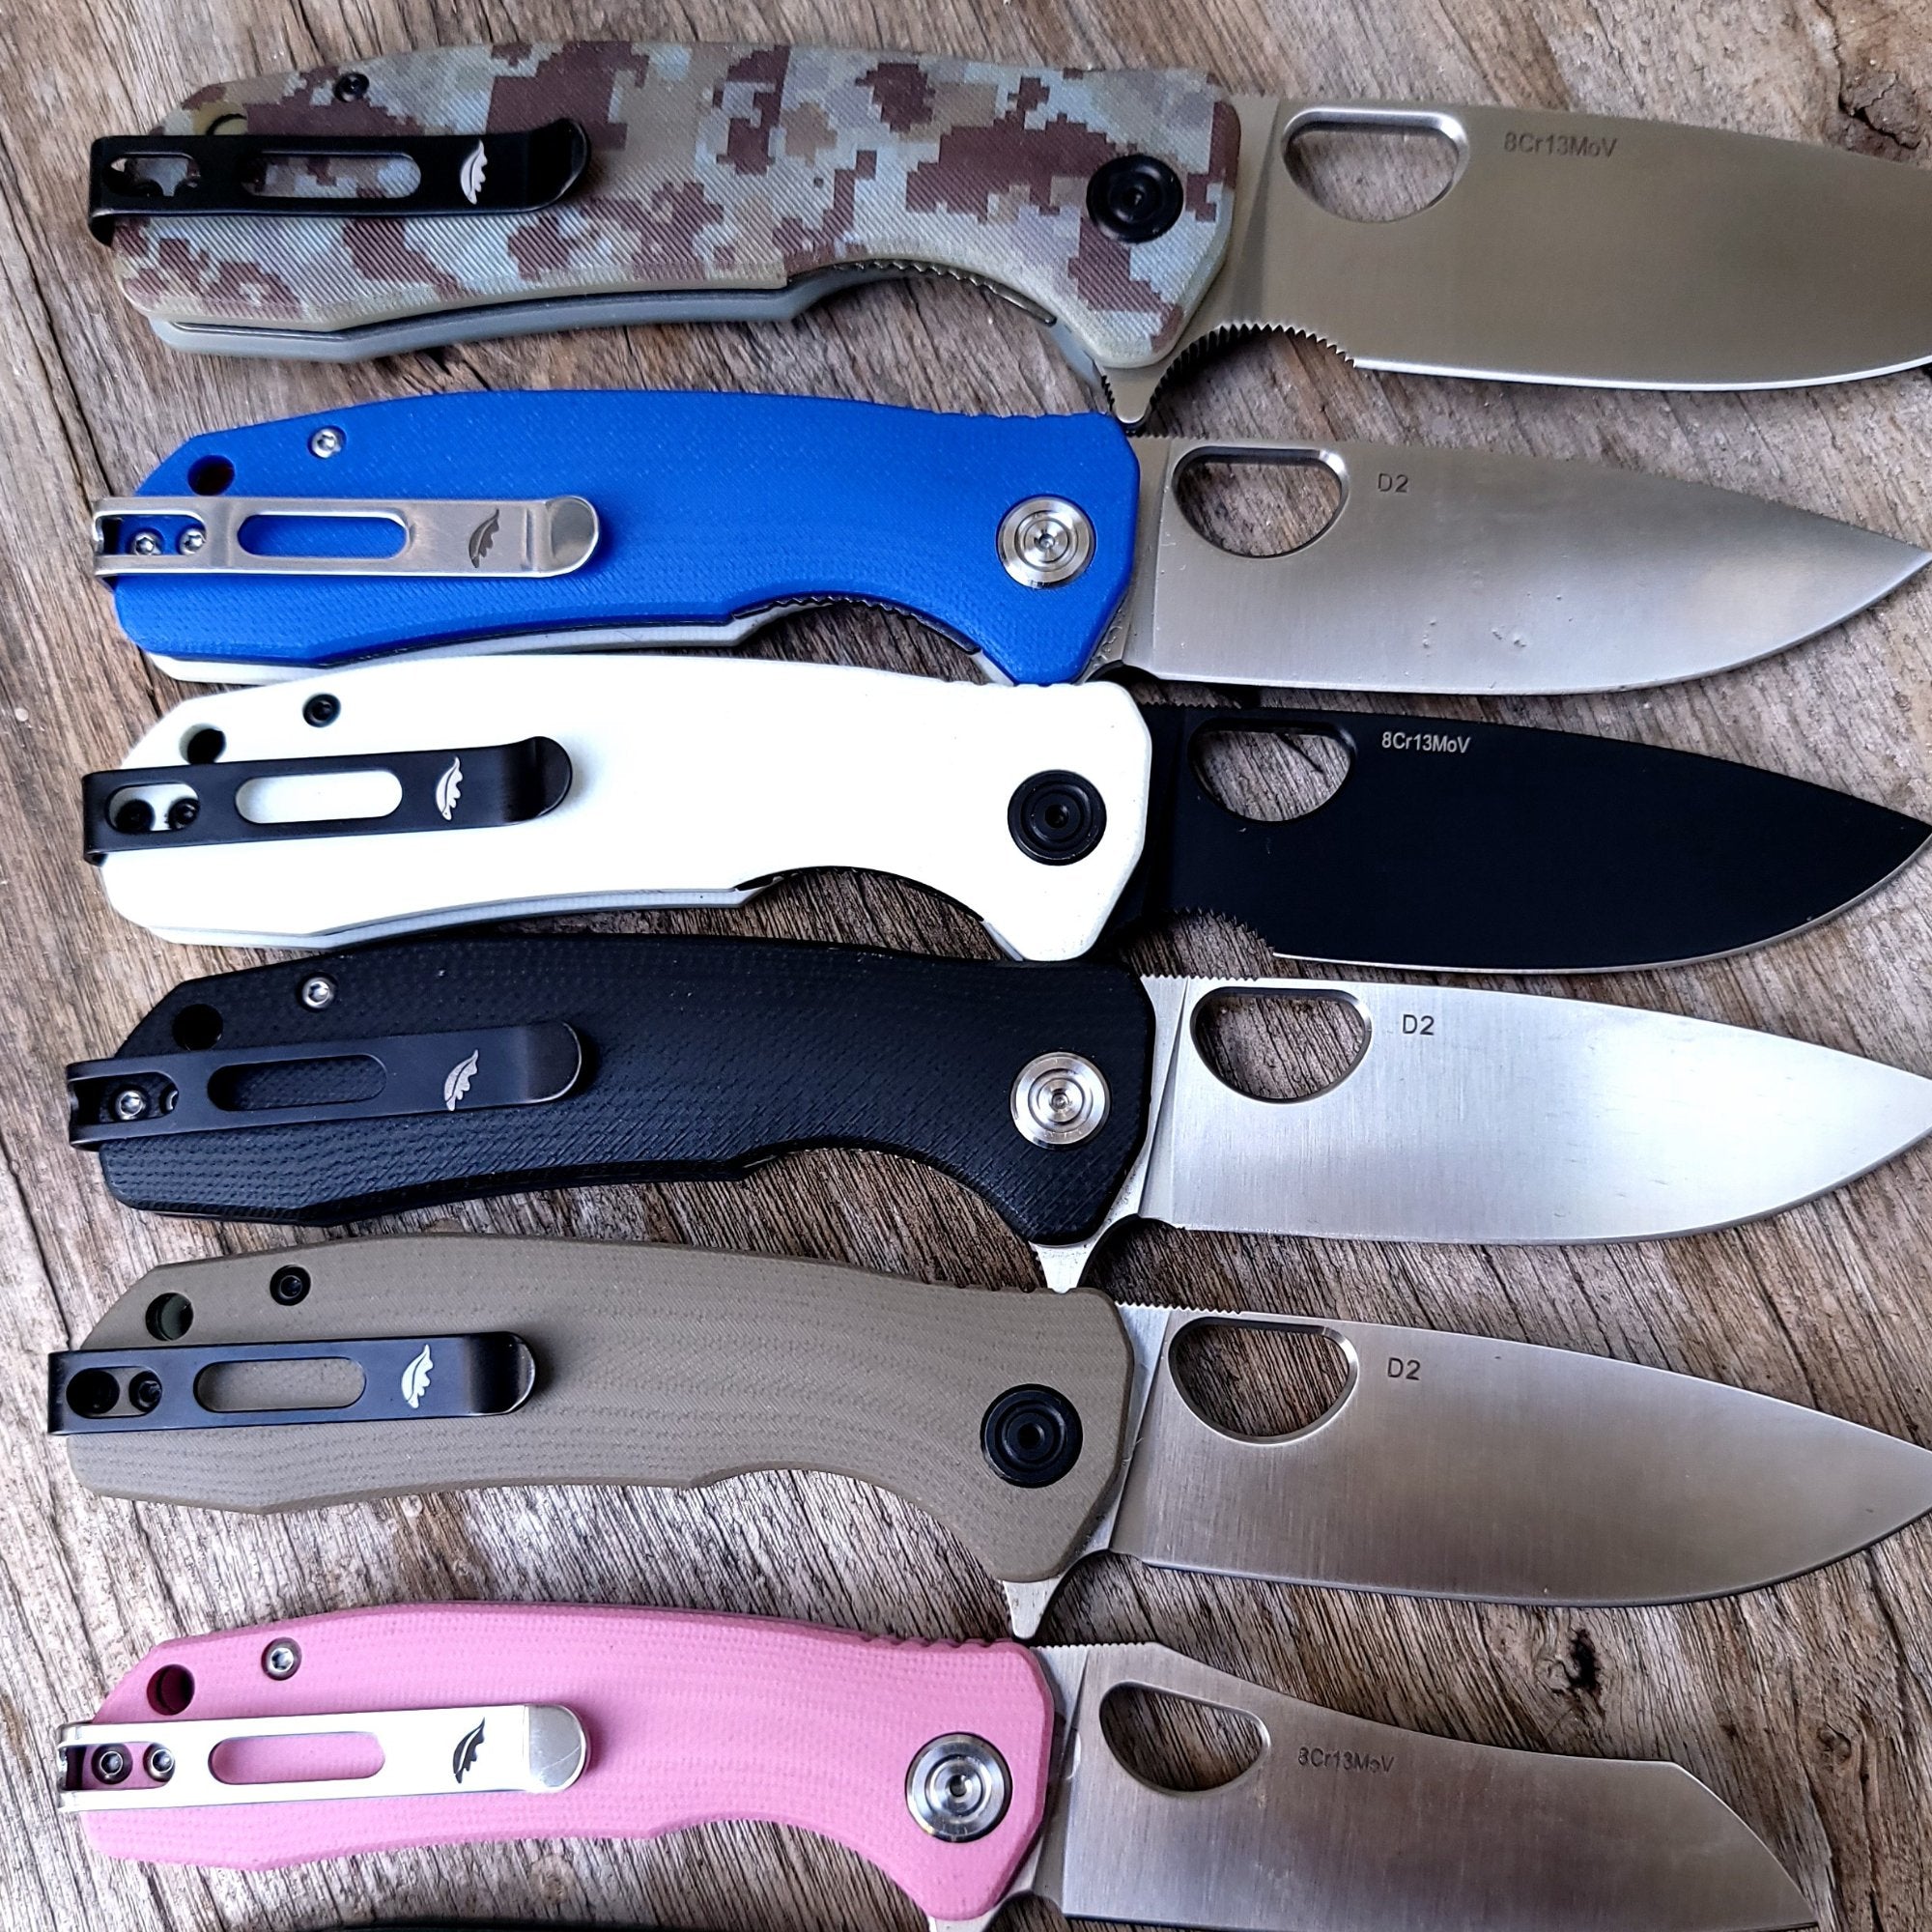
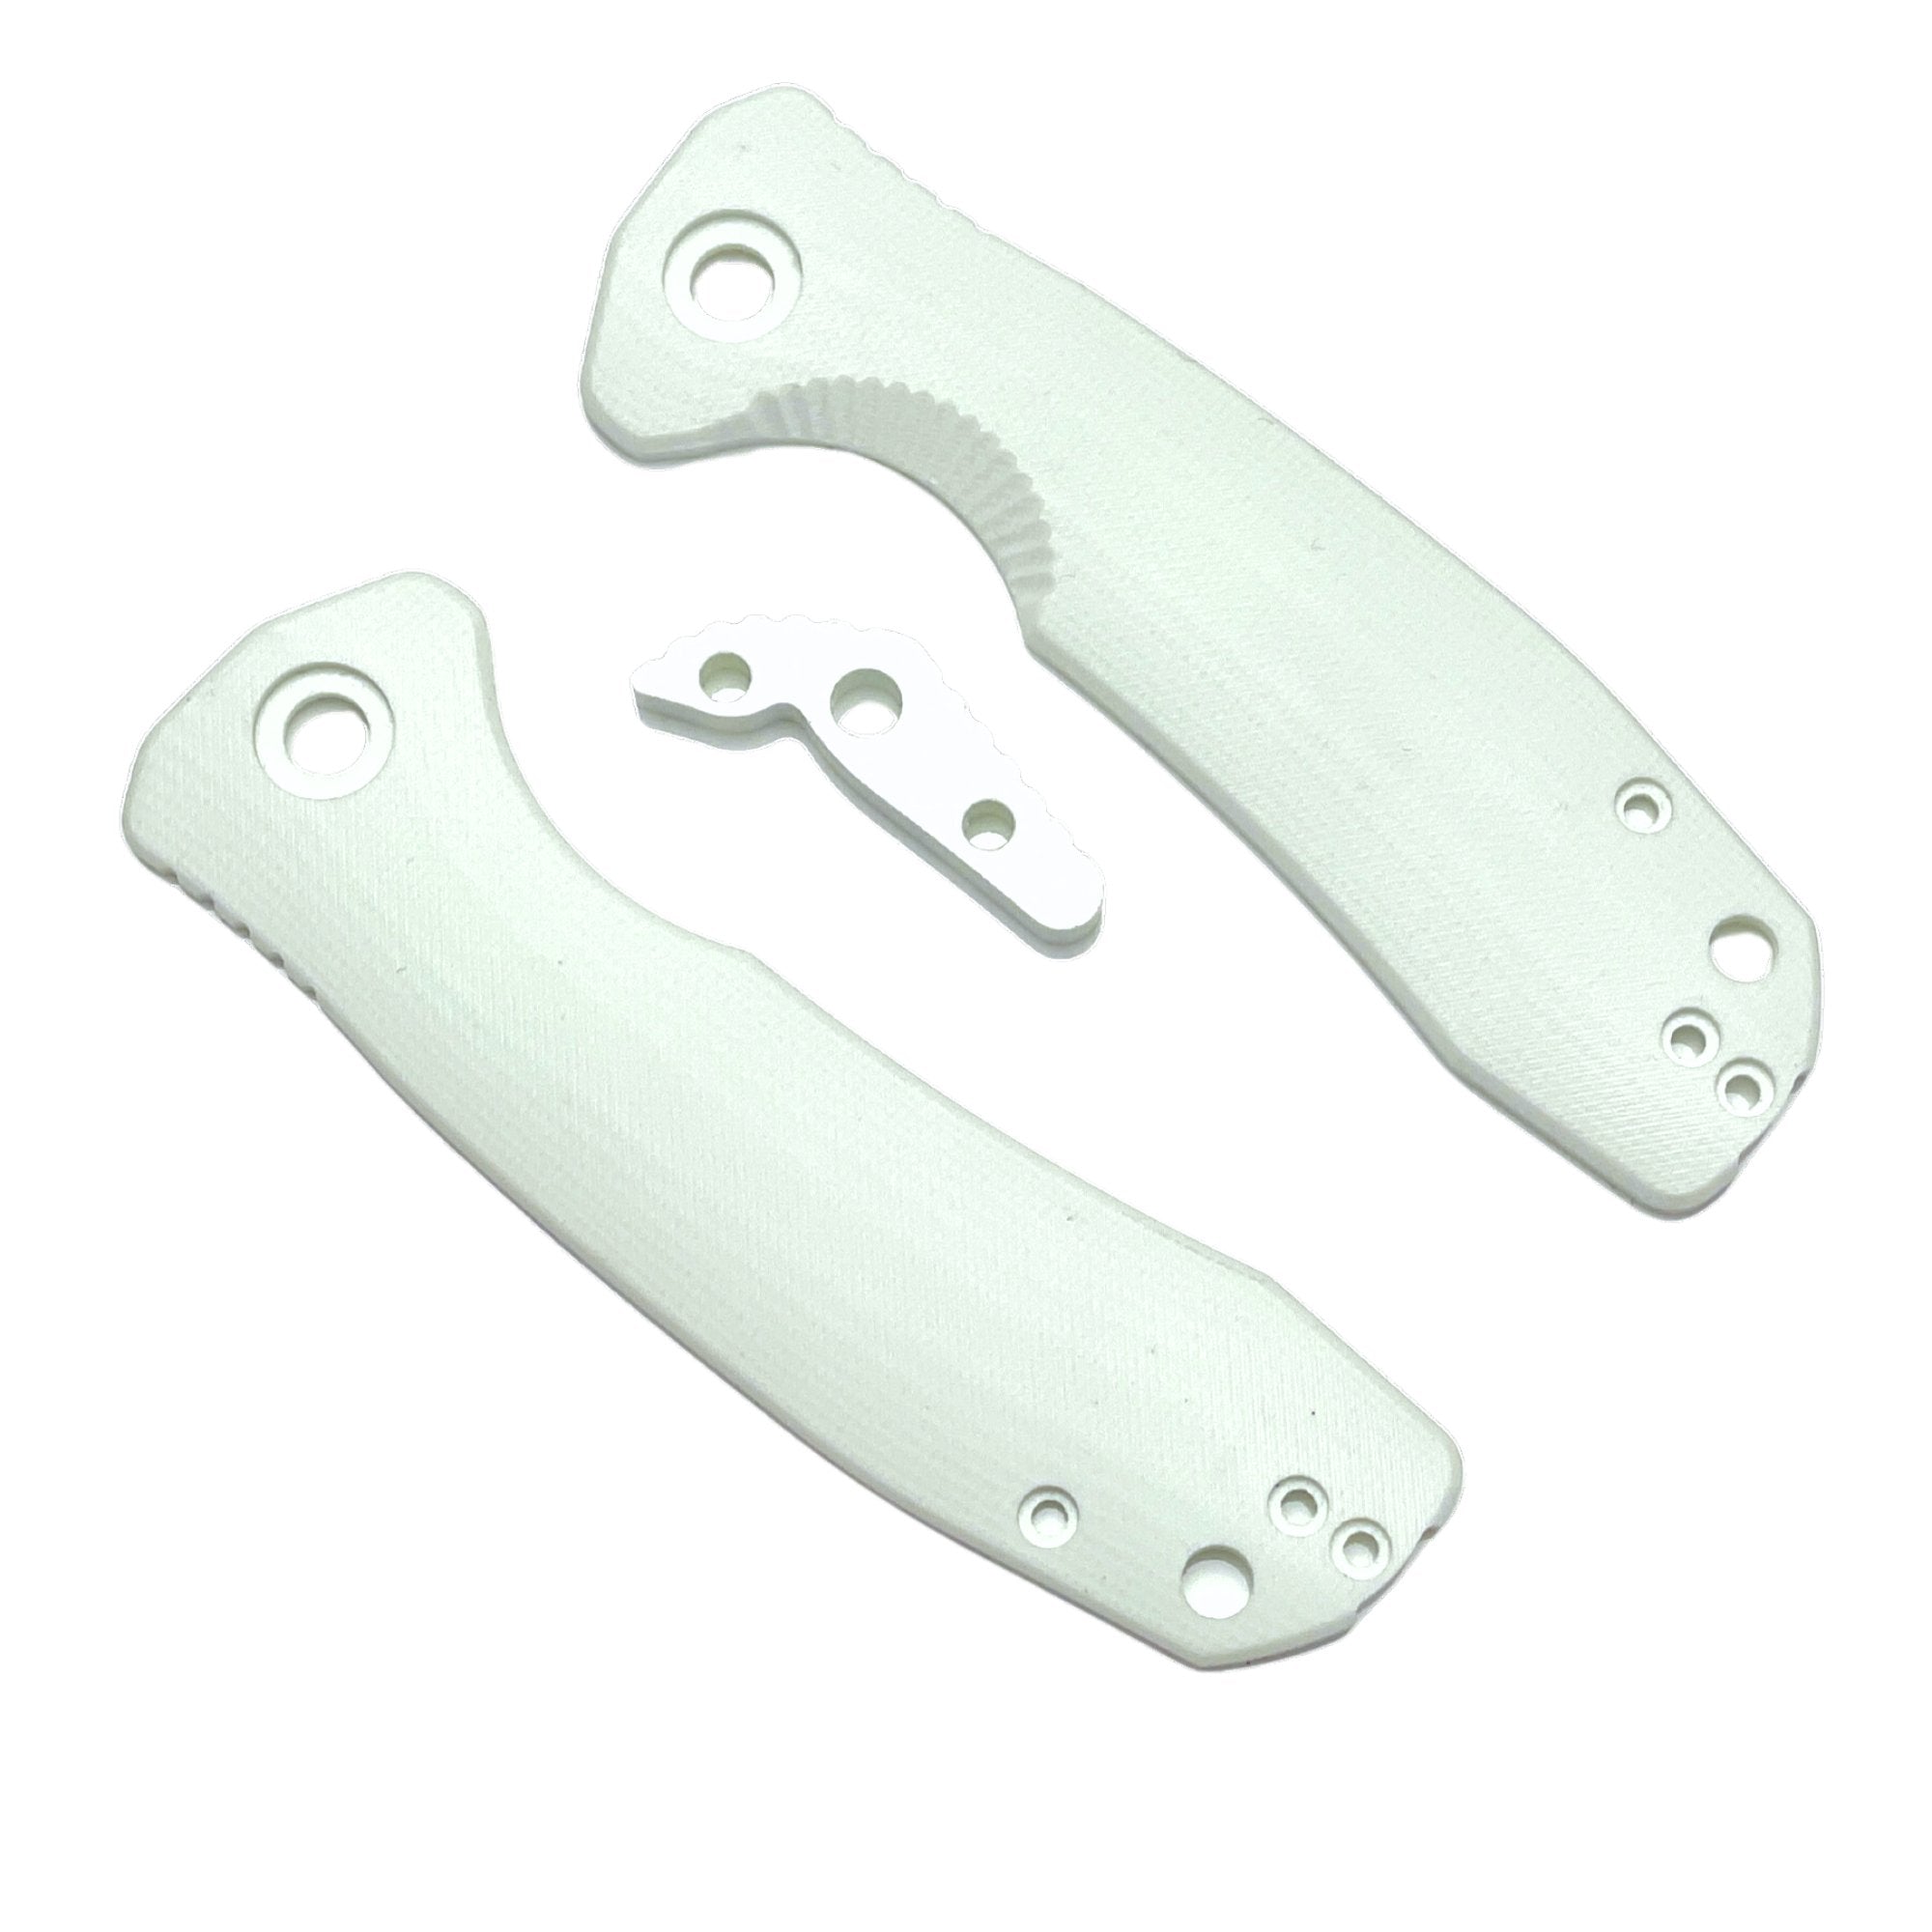
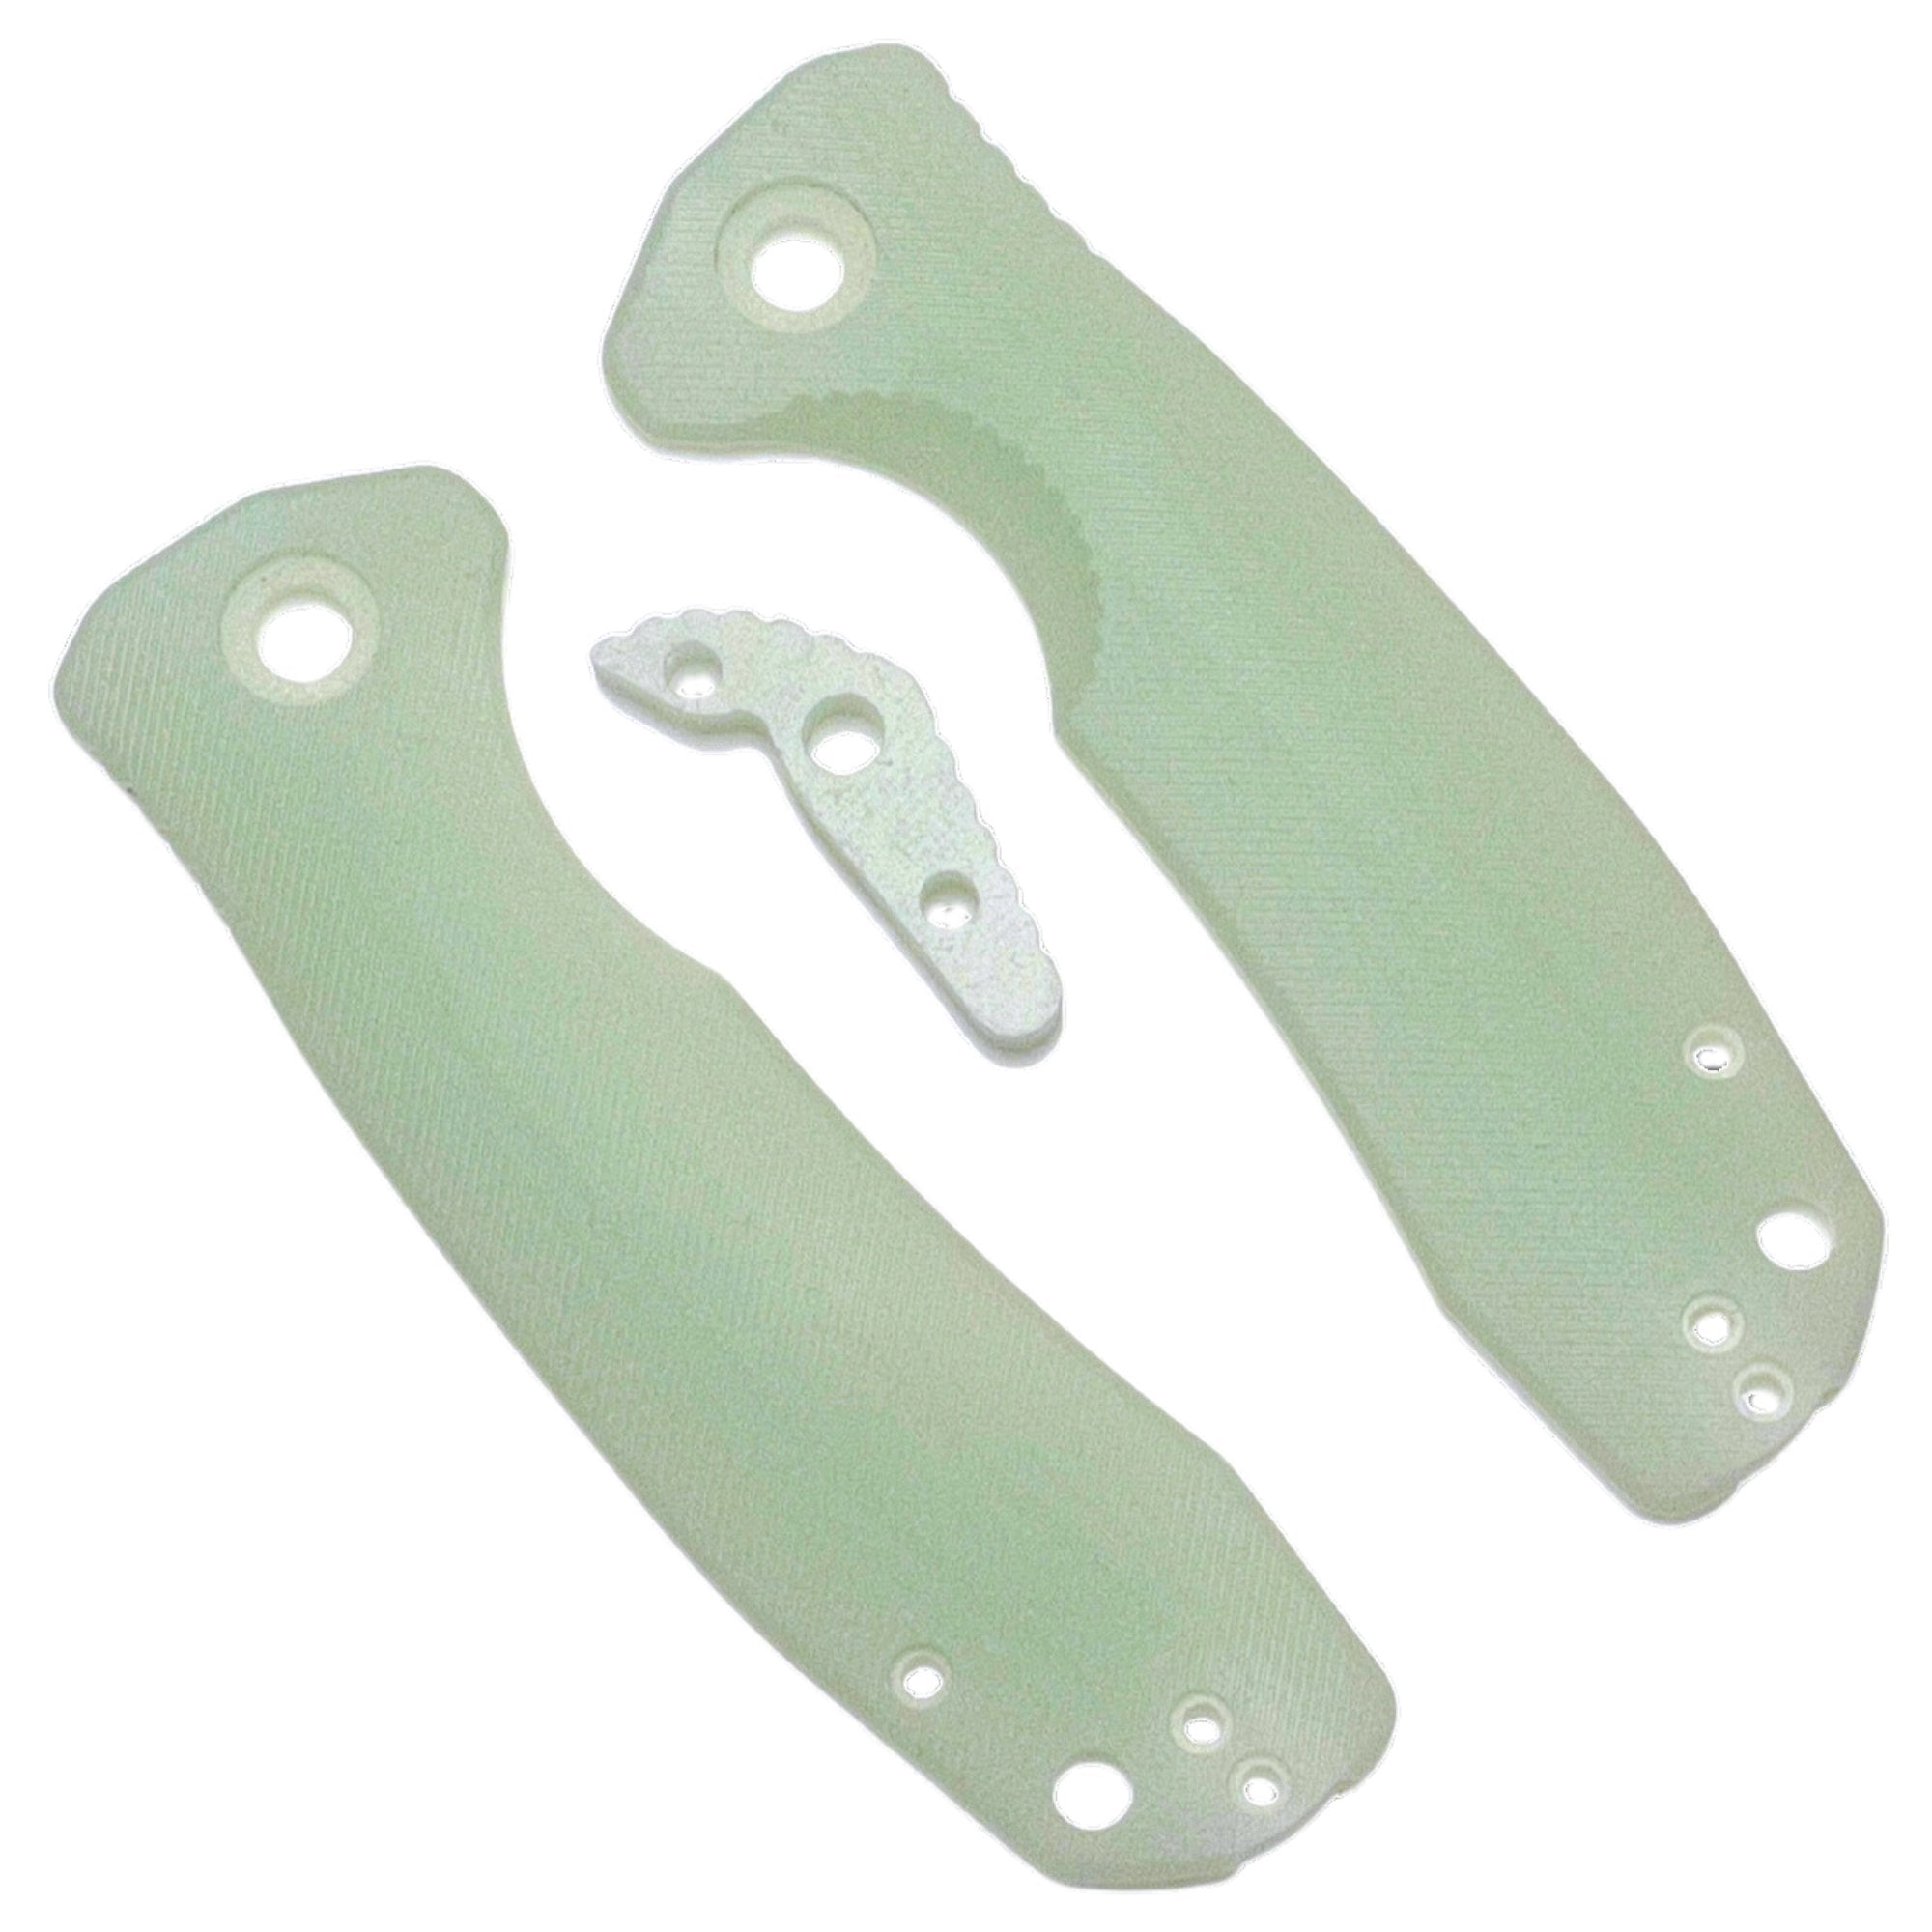
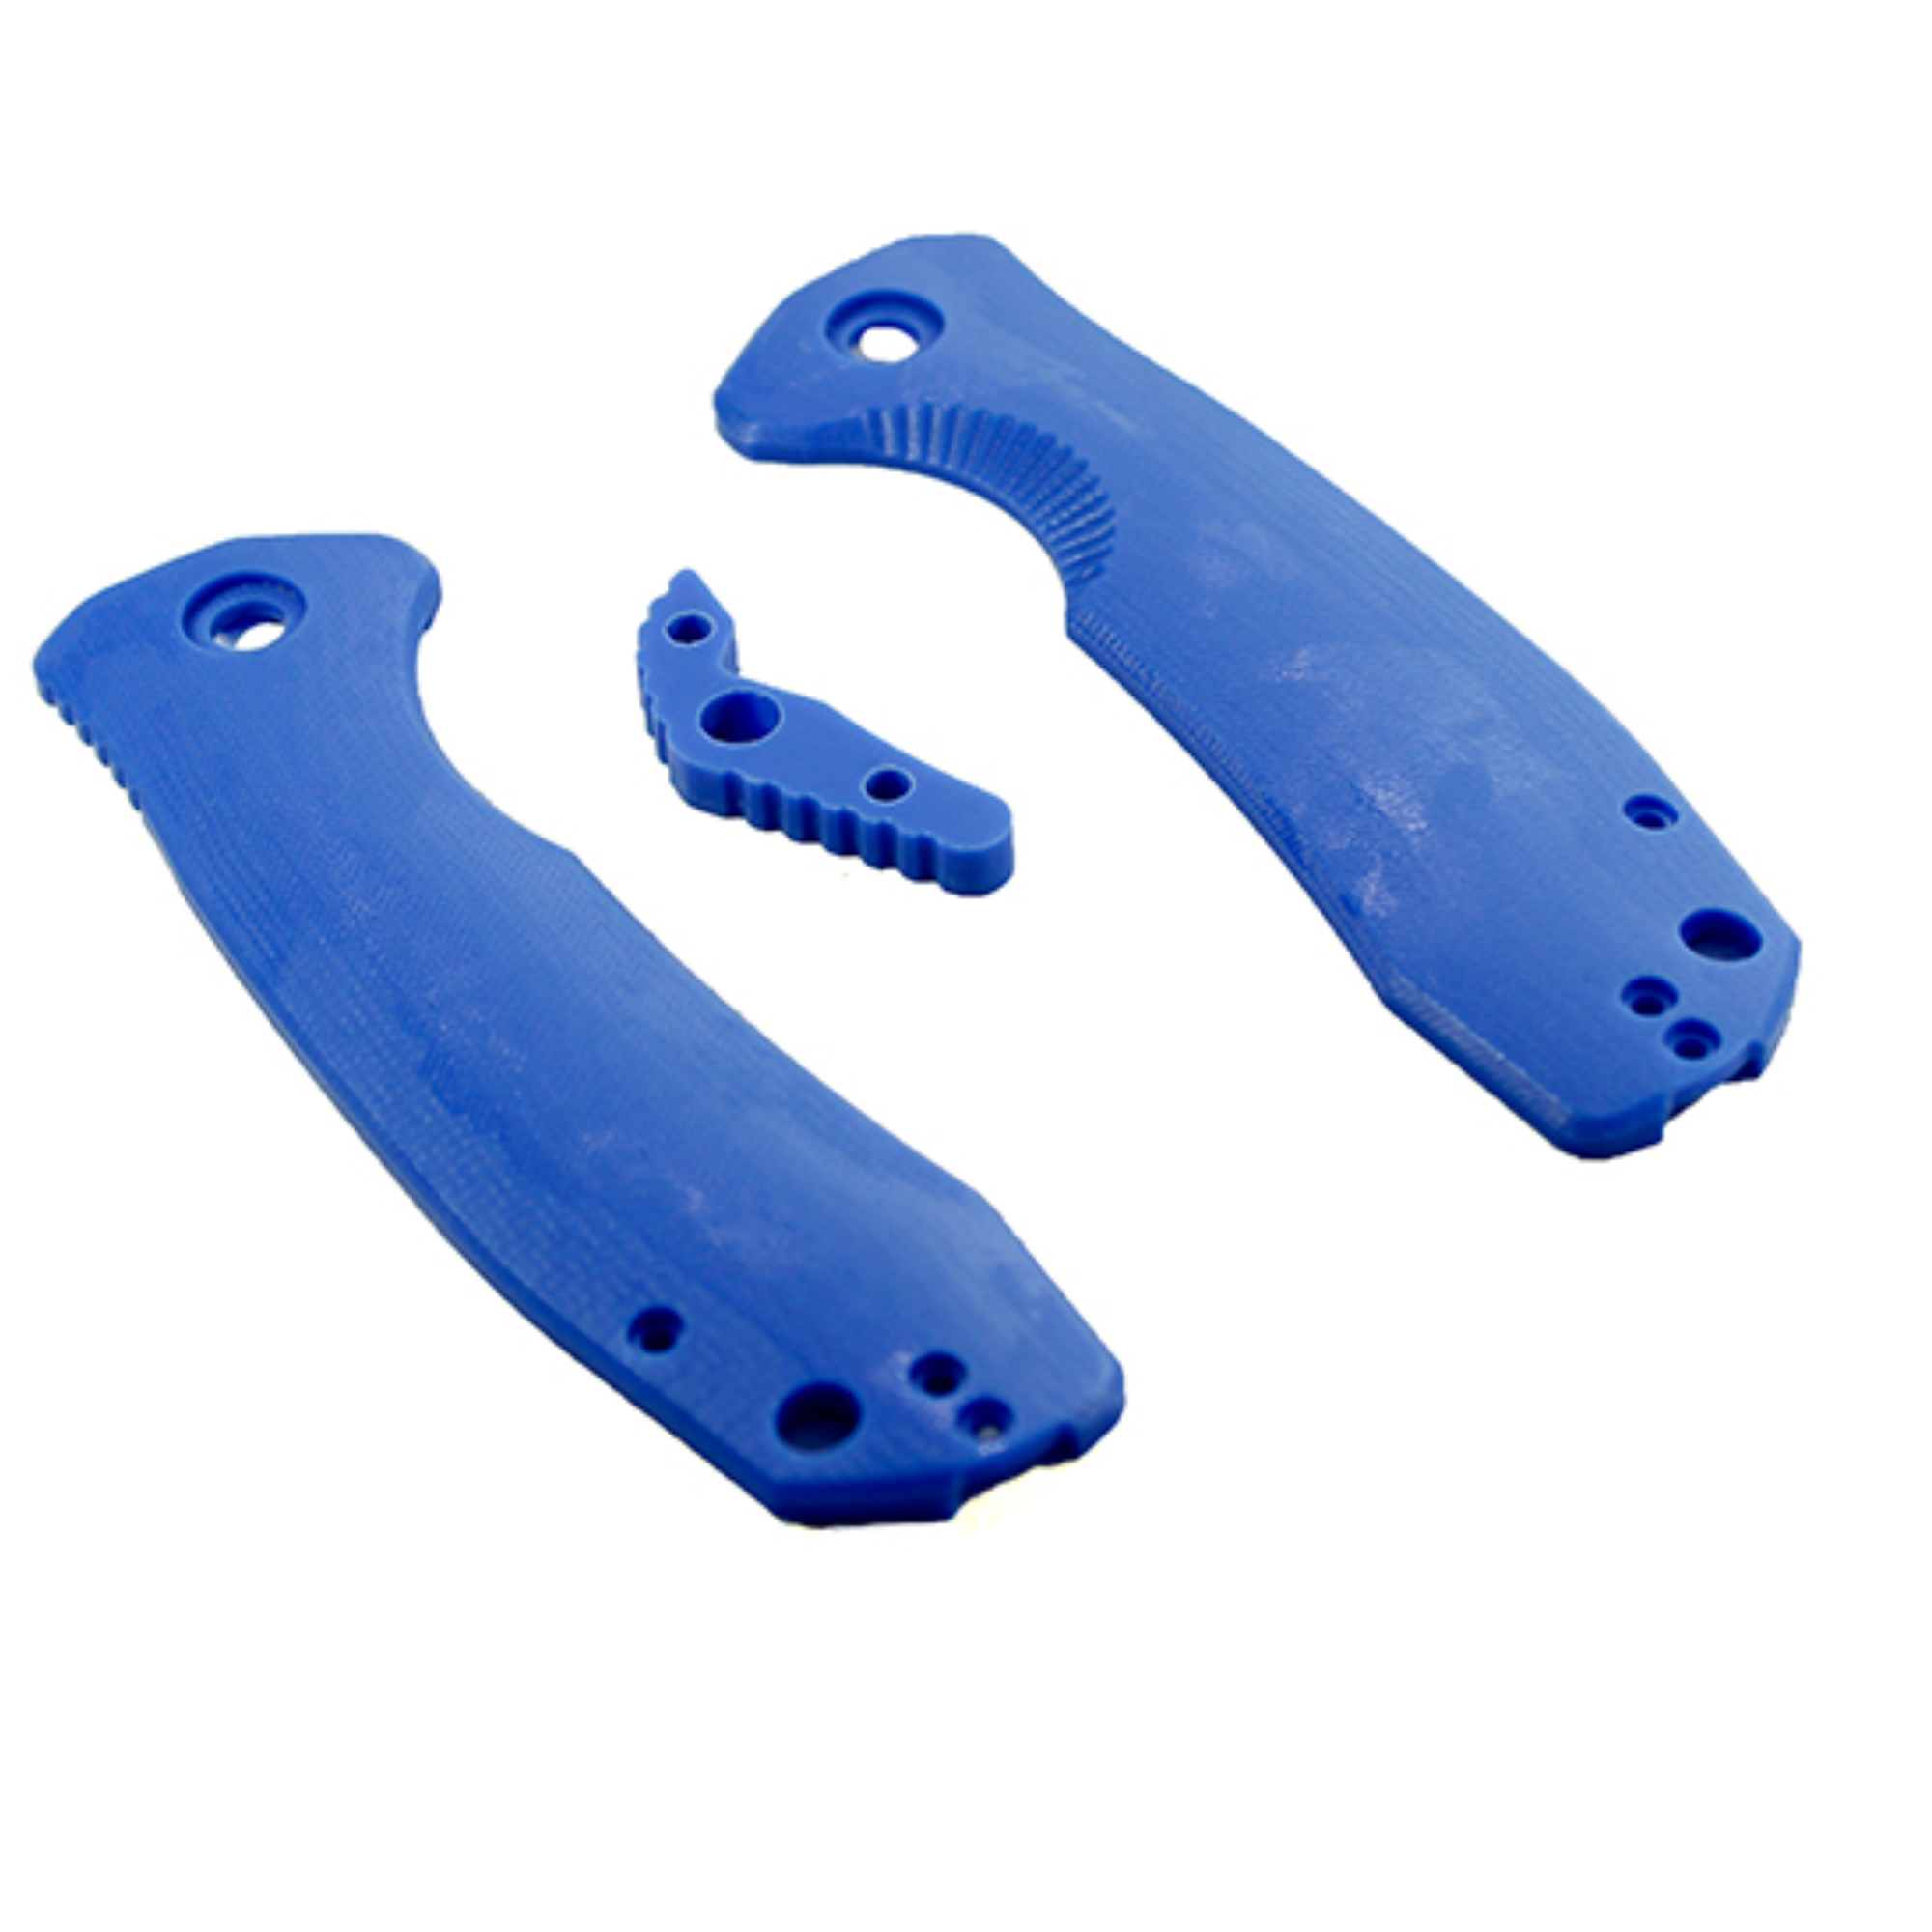
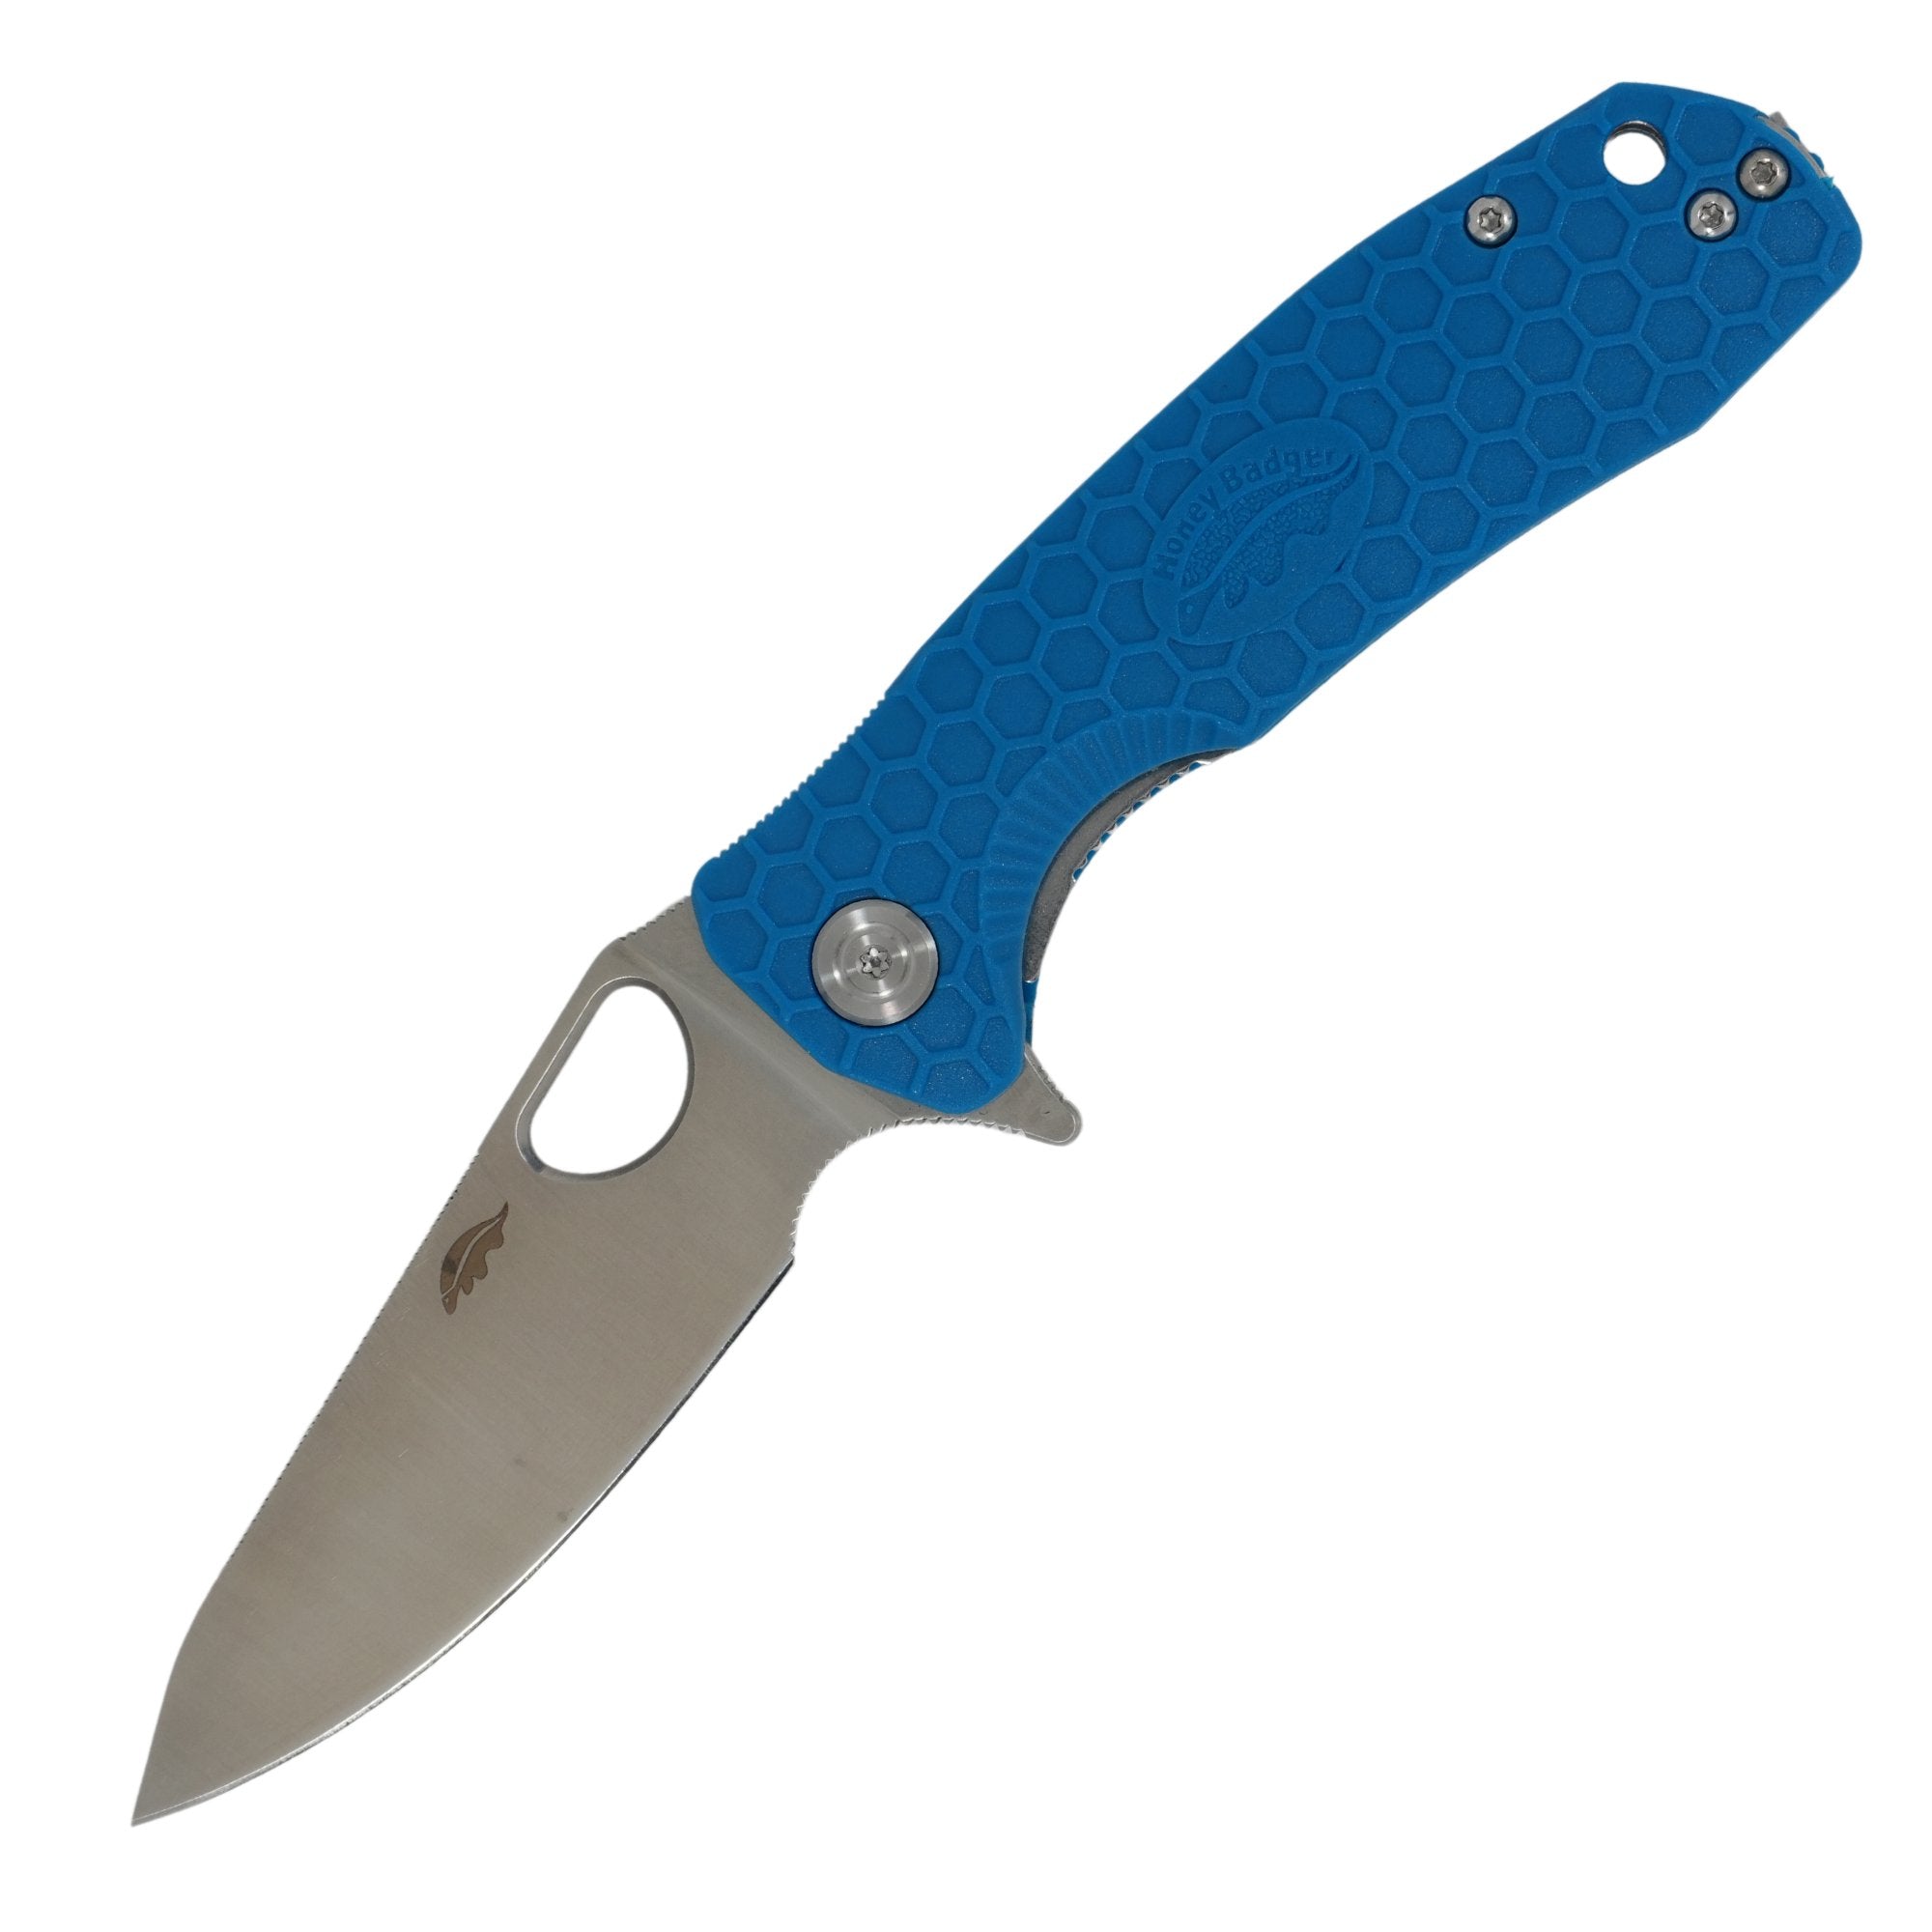
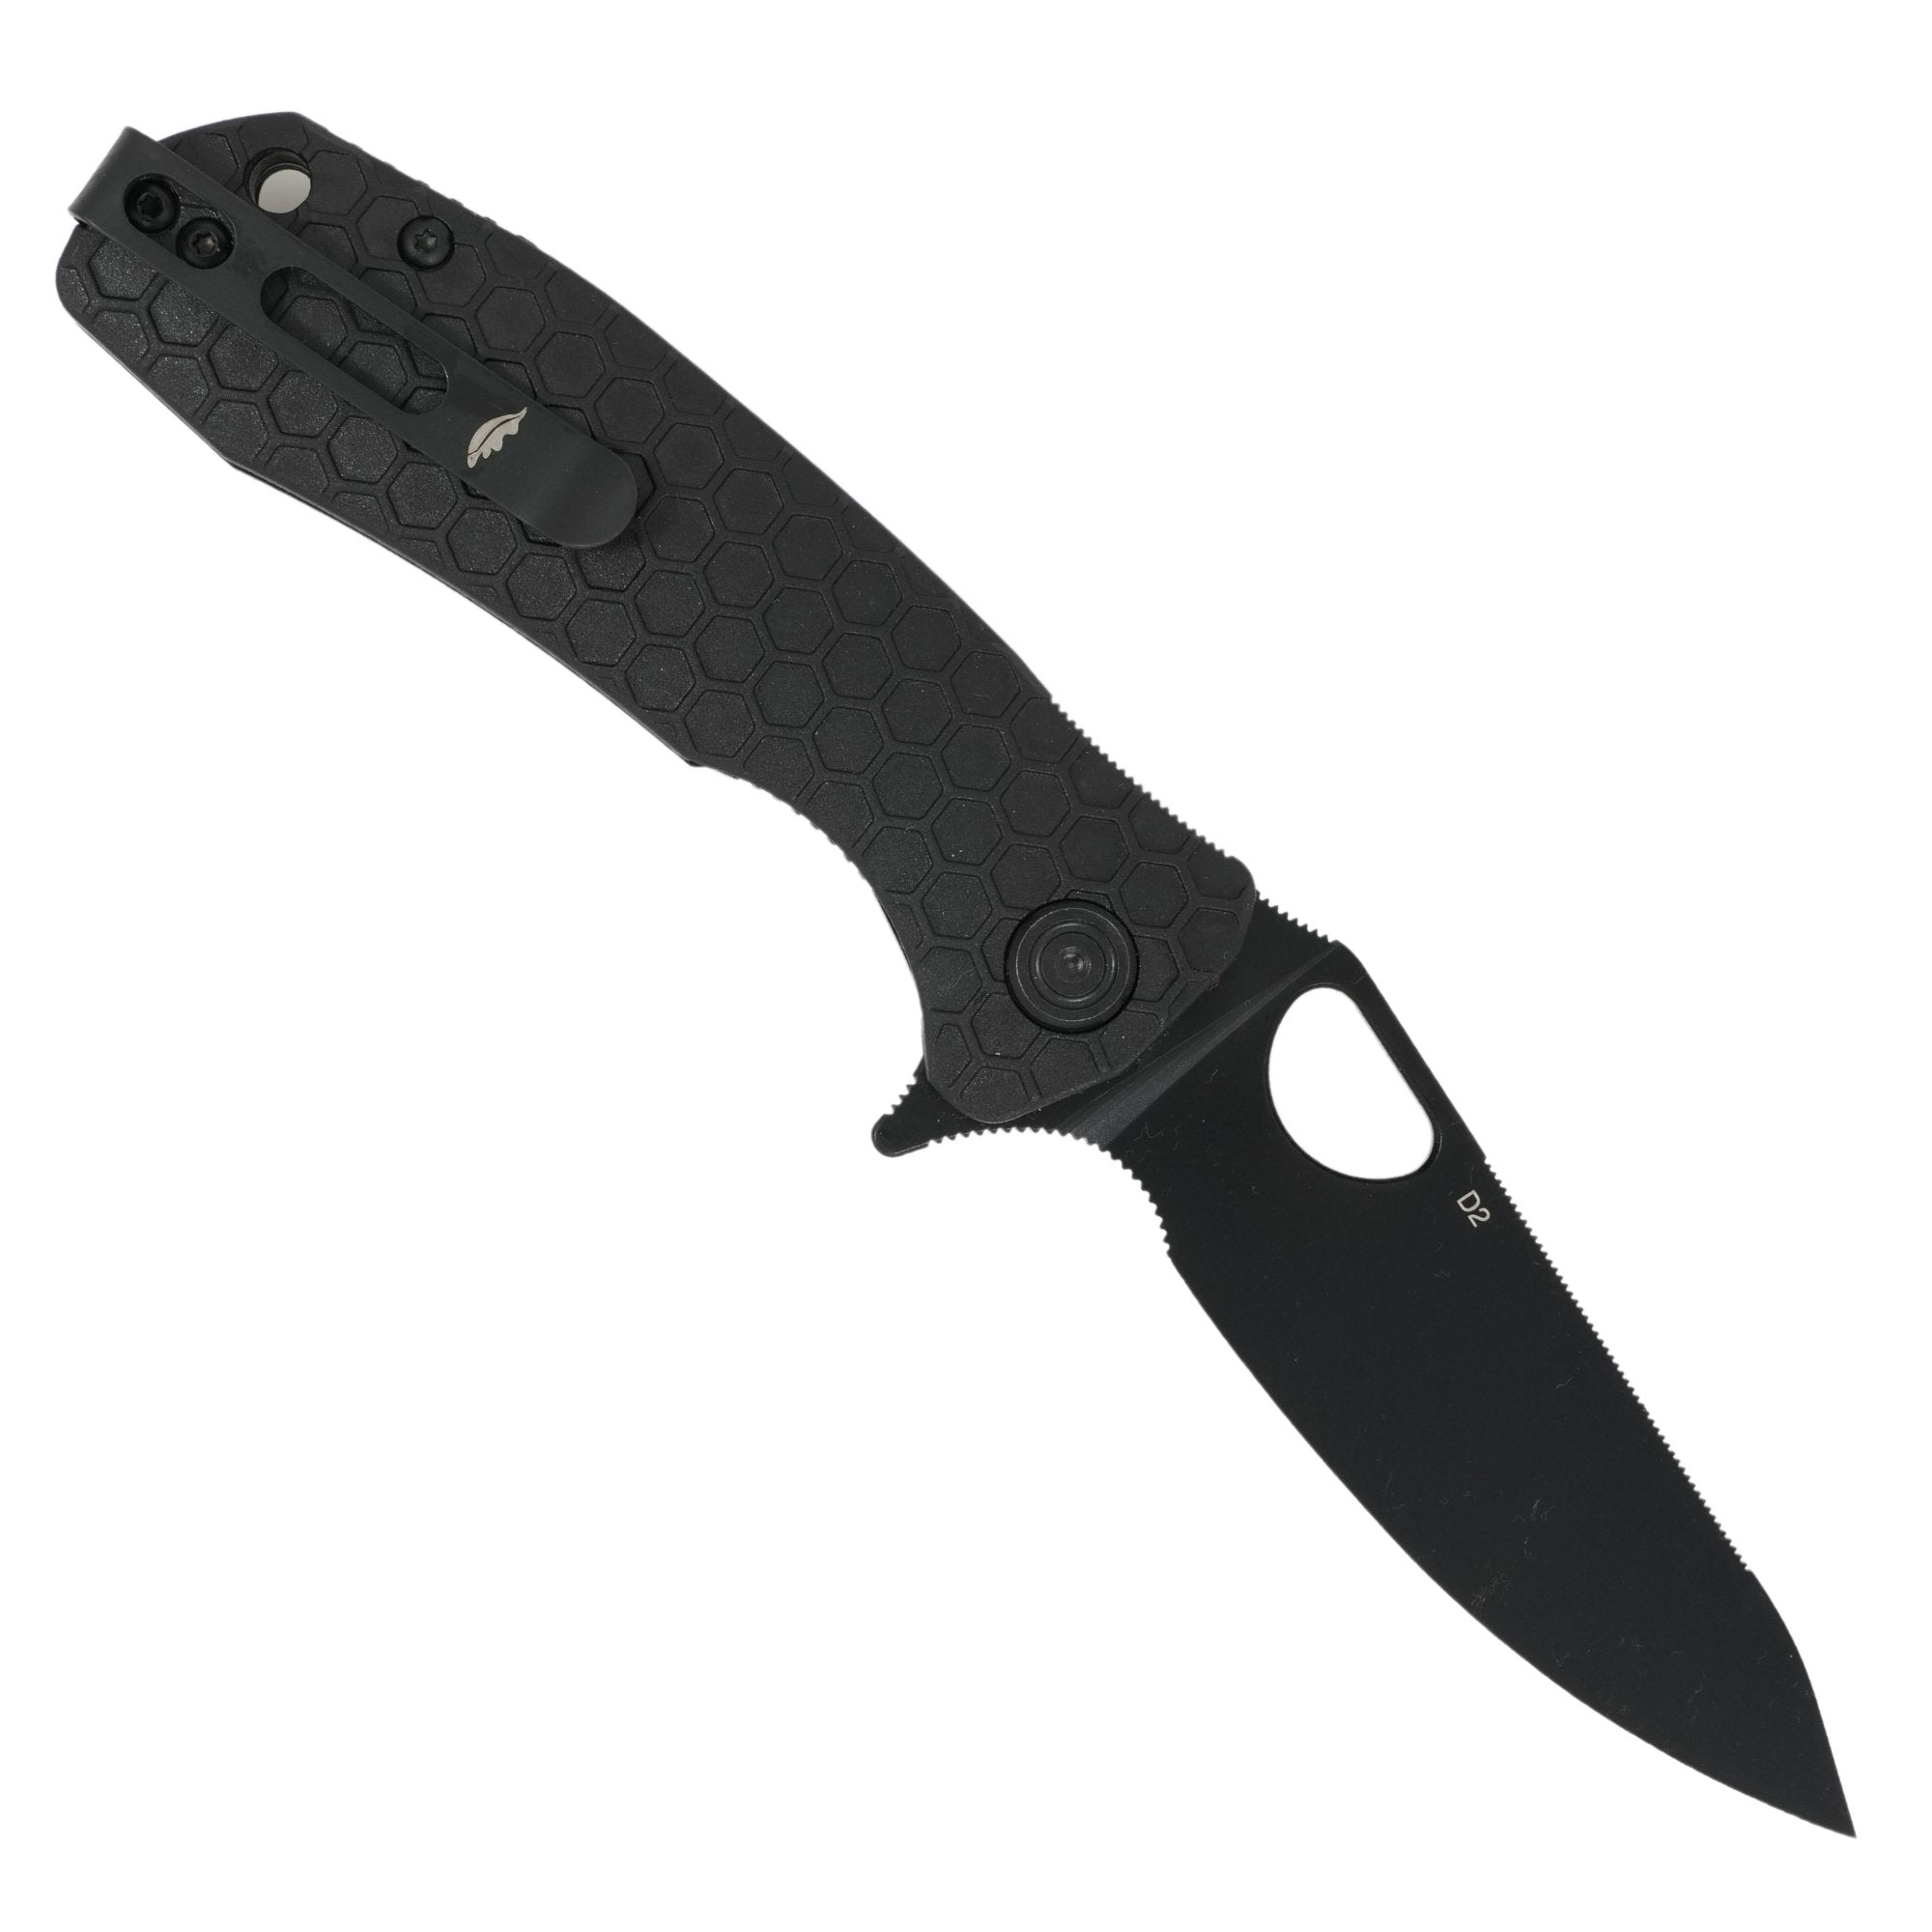
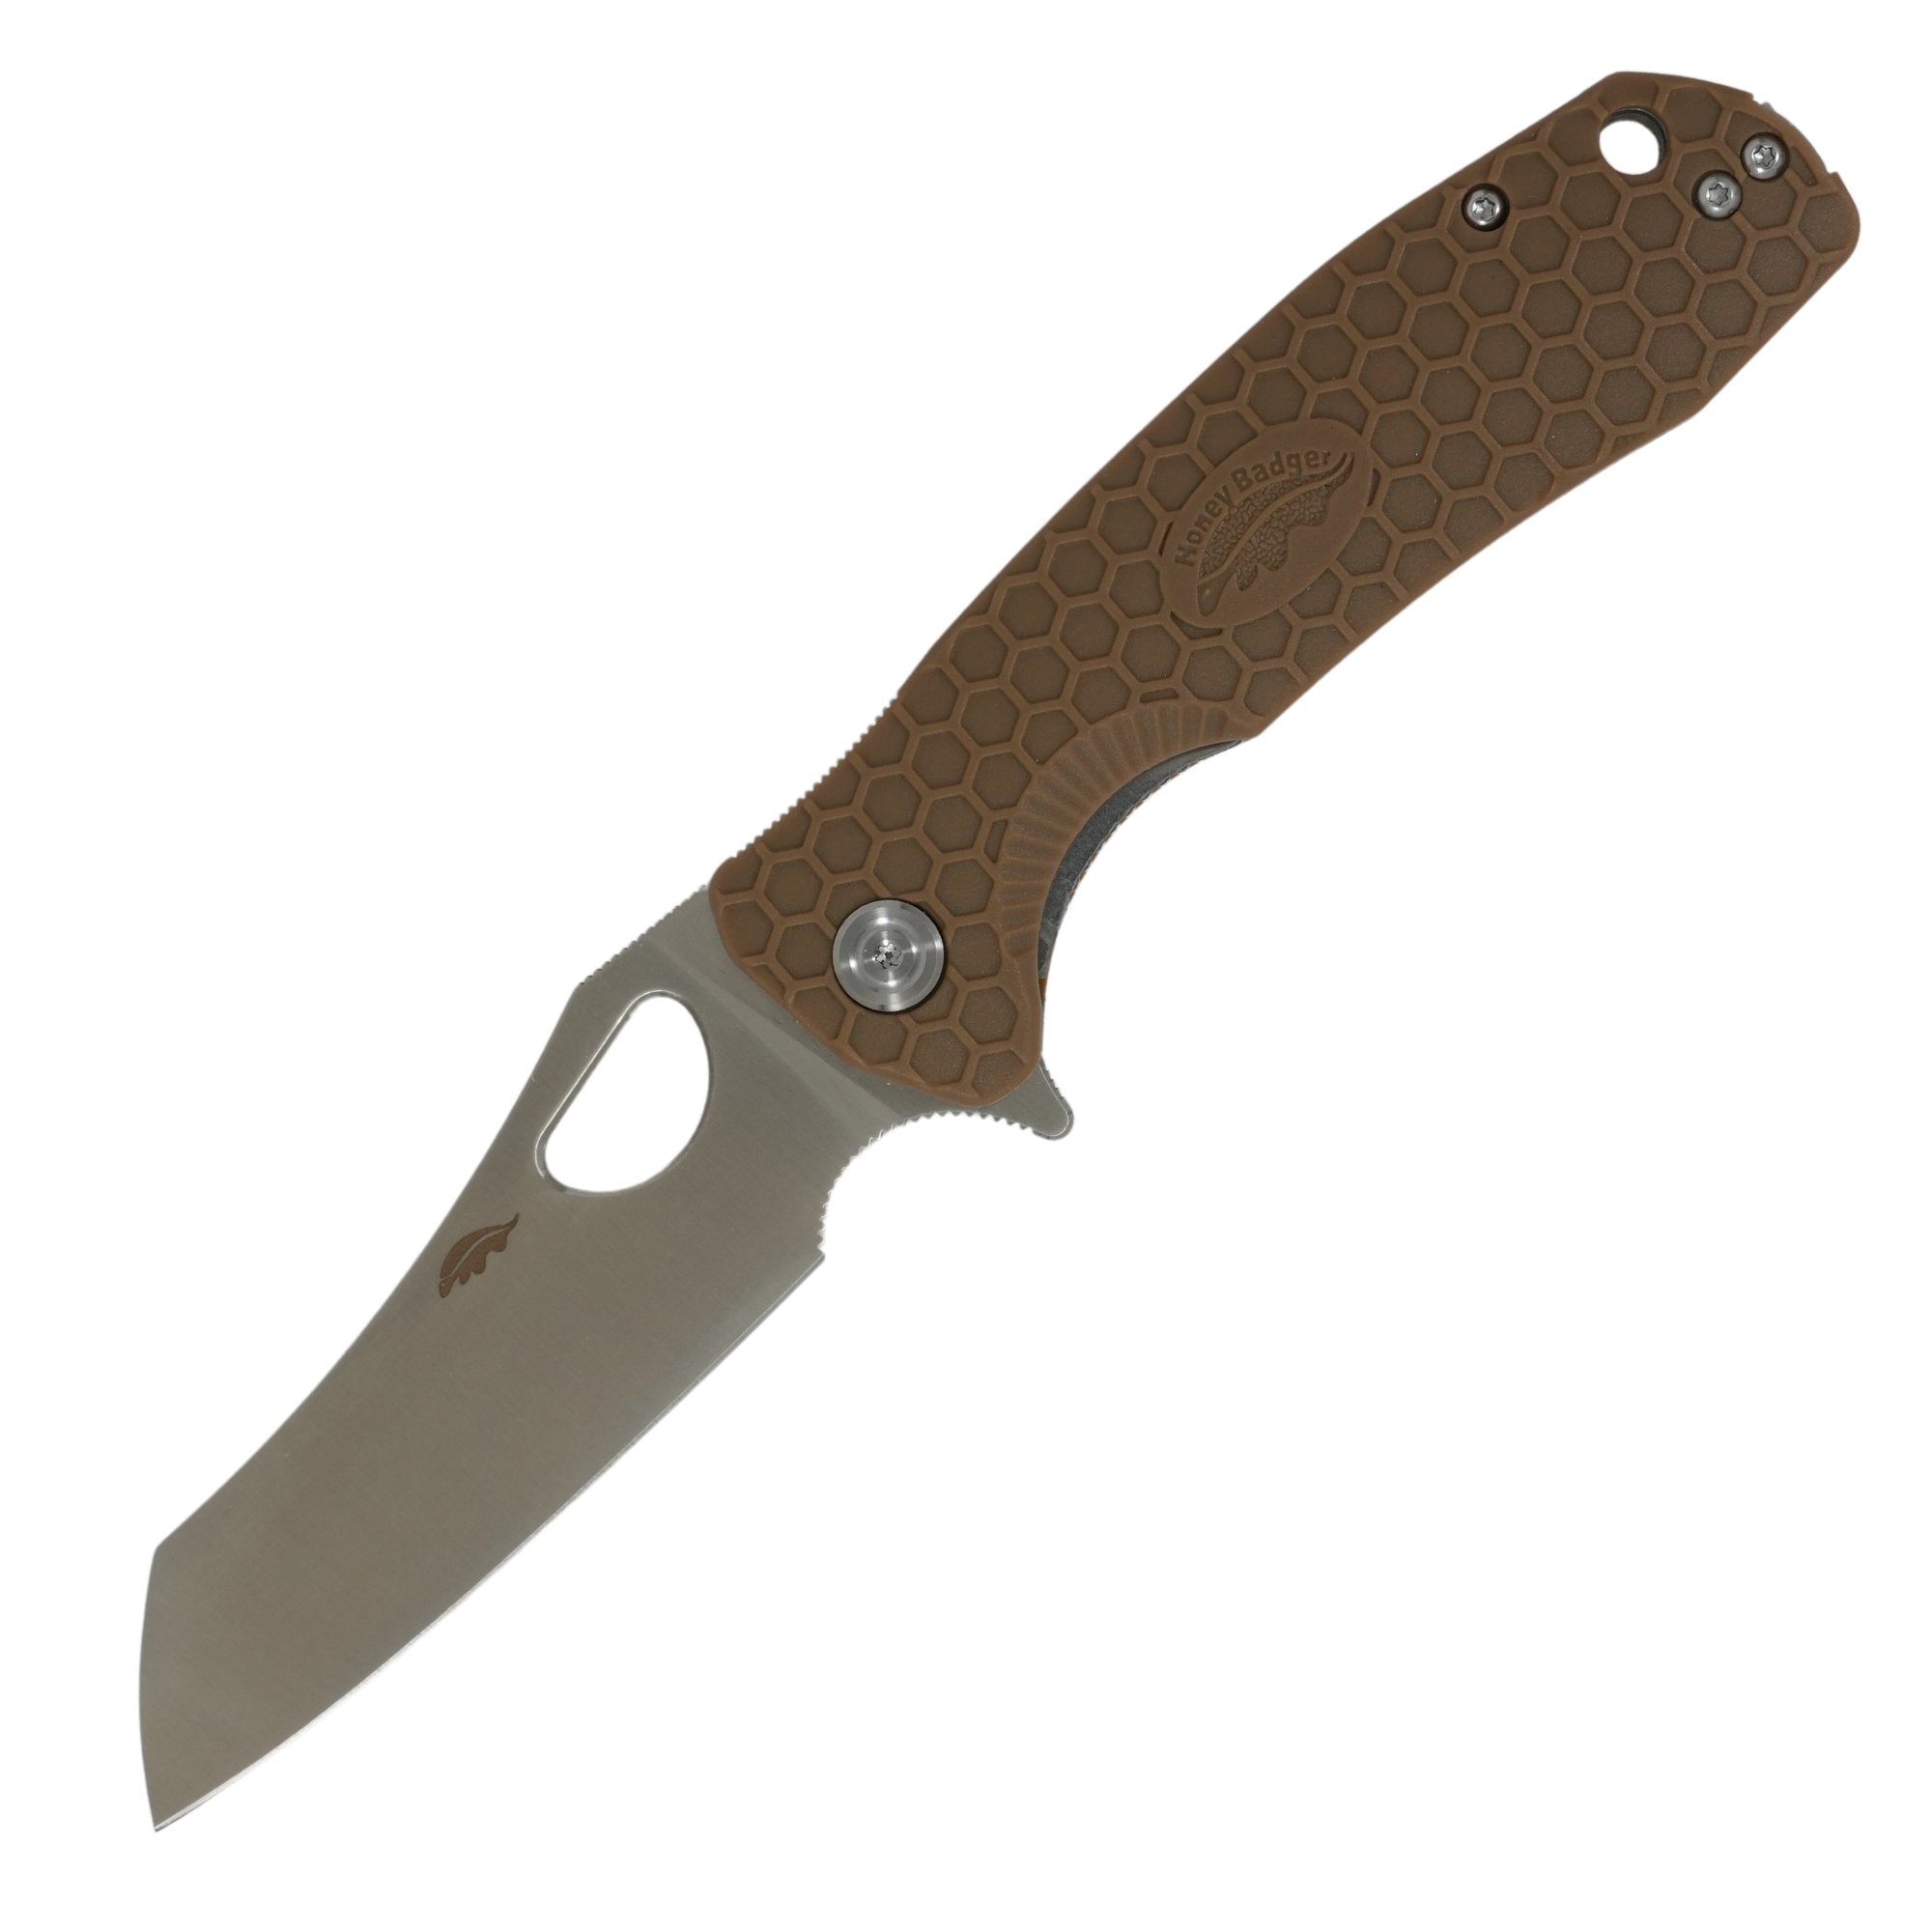
By popular demand we introduced the white handle kit for the Honey Badger range of knives. Honey Badger knives come in 3 sizes and so does the white handle kit. Note that these handles are designed to only fit the later model Honey Badger knives that have the left/right switchable pocket clip.
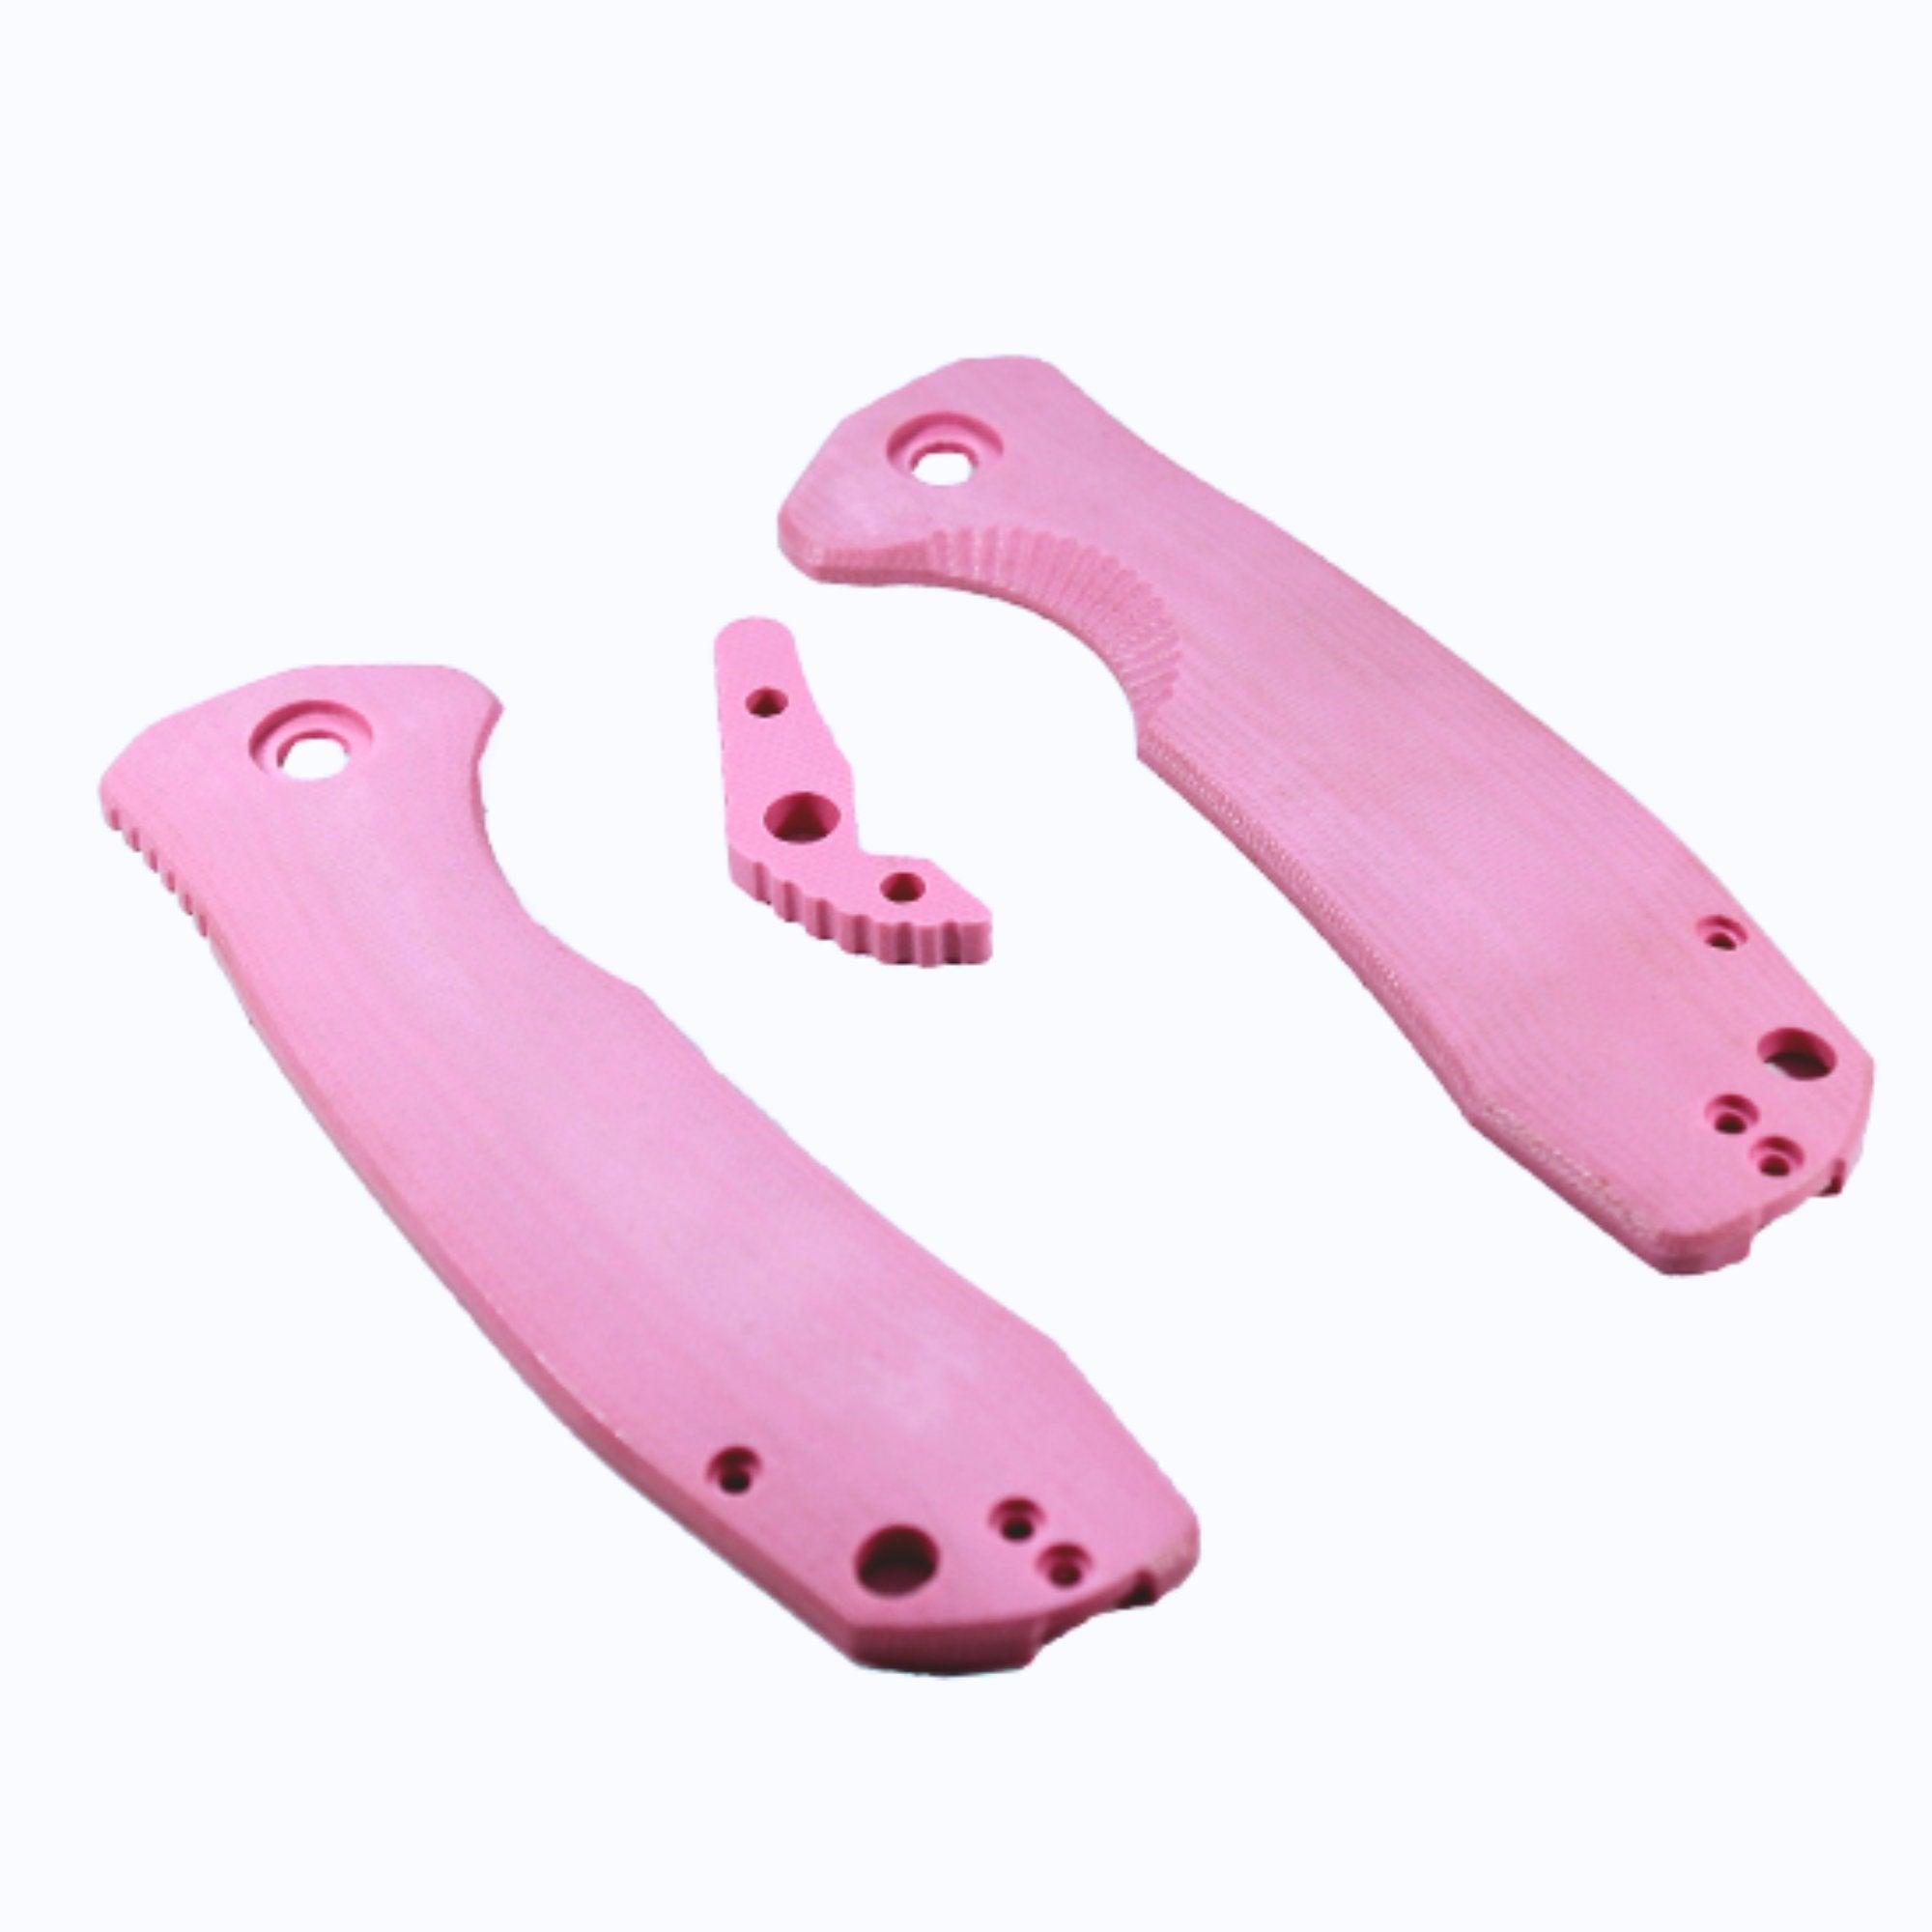
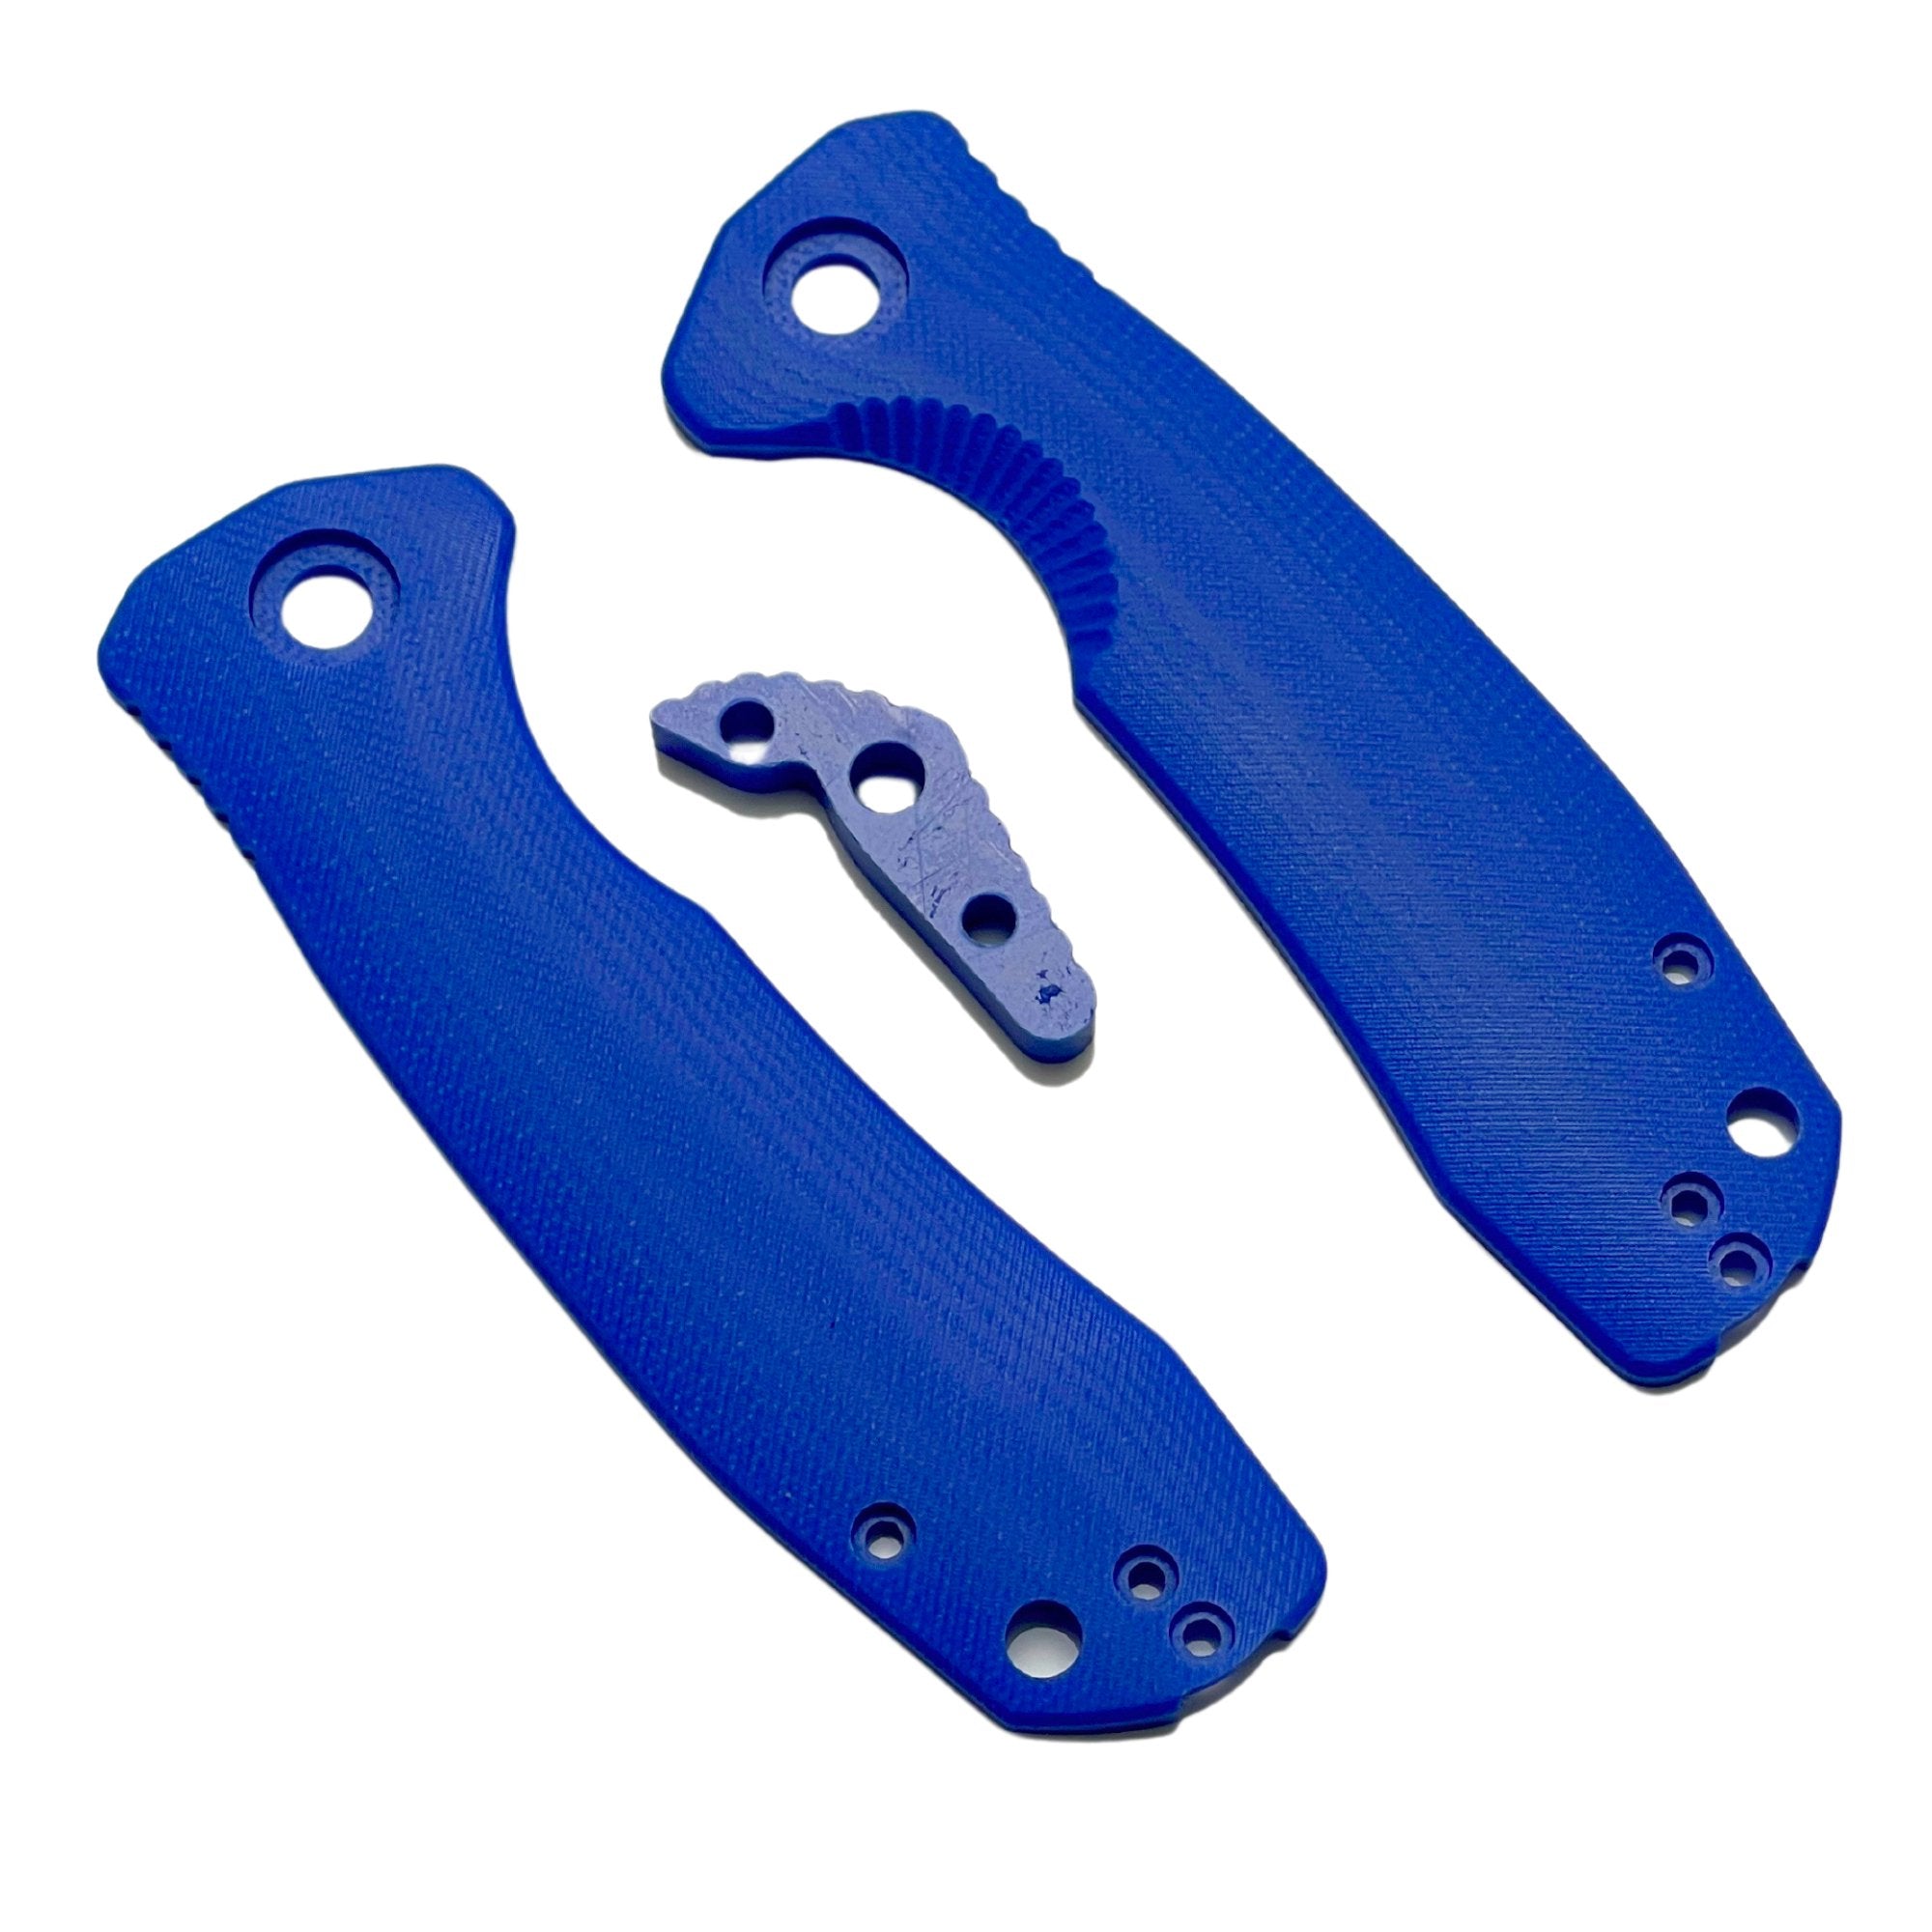
The problem that many folks who dye their handles were facing is that unless you are dying a white substrate the resulting color is not what you expect. And so the White Handle Kit became a reality.
How to dye the handles
The process is really quite easy. Get hold of a bottle of RIT dye in the color of your choice. There are two types of RIT dye- All-purpose and DyeMore. We have tried both with equal success but have not tested long term color fastness. All bottles come with directions on the side which while mainly for clothing can just be scaled back for our purposes. Please read and understand the directions and precautions before starting.
- Wipe the scales down with a cloth dipped in some rubbing alcohol. This to remove any finger grease and to get them nice and clean.
- Find a pot just wide enough to allow you to lay the handles scales flat in the bottom of it. Add about a 1/4 cup of water or just as much as is needed to fully cover the scales.
- Heat up the water to just before boiling, then turn off the heat.
- Add a couple tablespoons of white vinegar.
- Add a tablespoon of dye and stir the mixture.
- Thread some wire through the lanyard holes of the scales and lower the scales into the mixture in the pot.
- After 1 minute lift the handles out to see if you like the color. If too light then put them back in again for another minute or two. If still too light then mix in an extra tablespoon of dye.
- Once you are happy remove the scales from the dye and rinse under the tap.
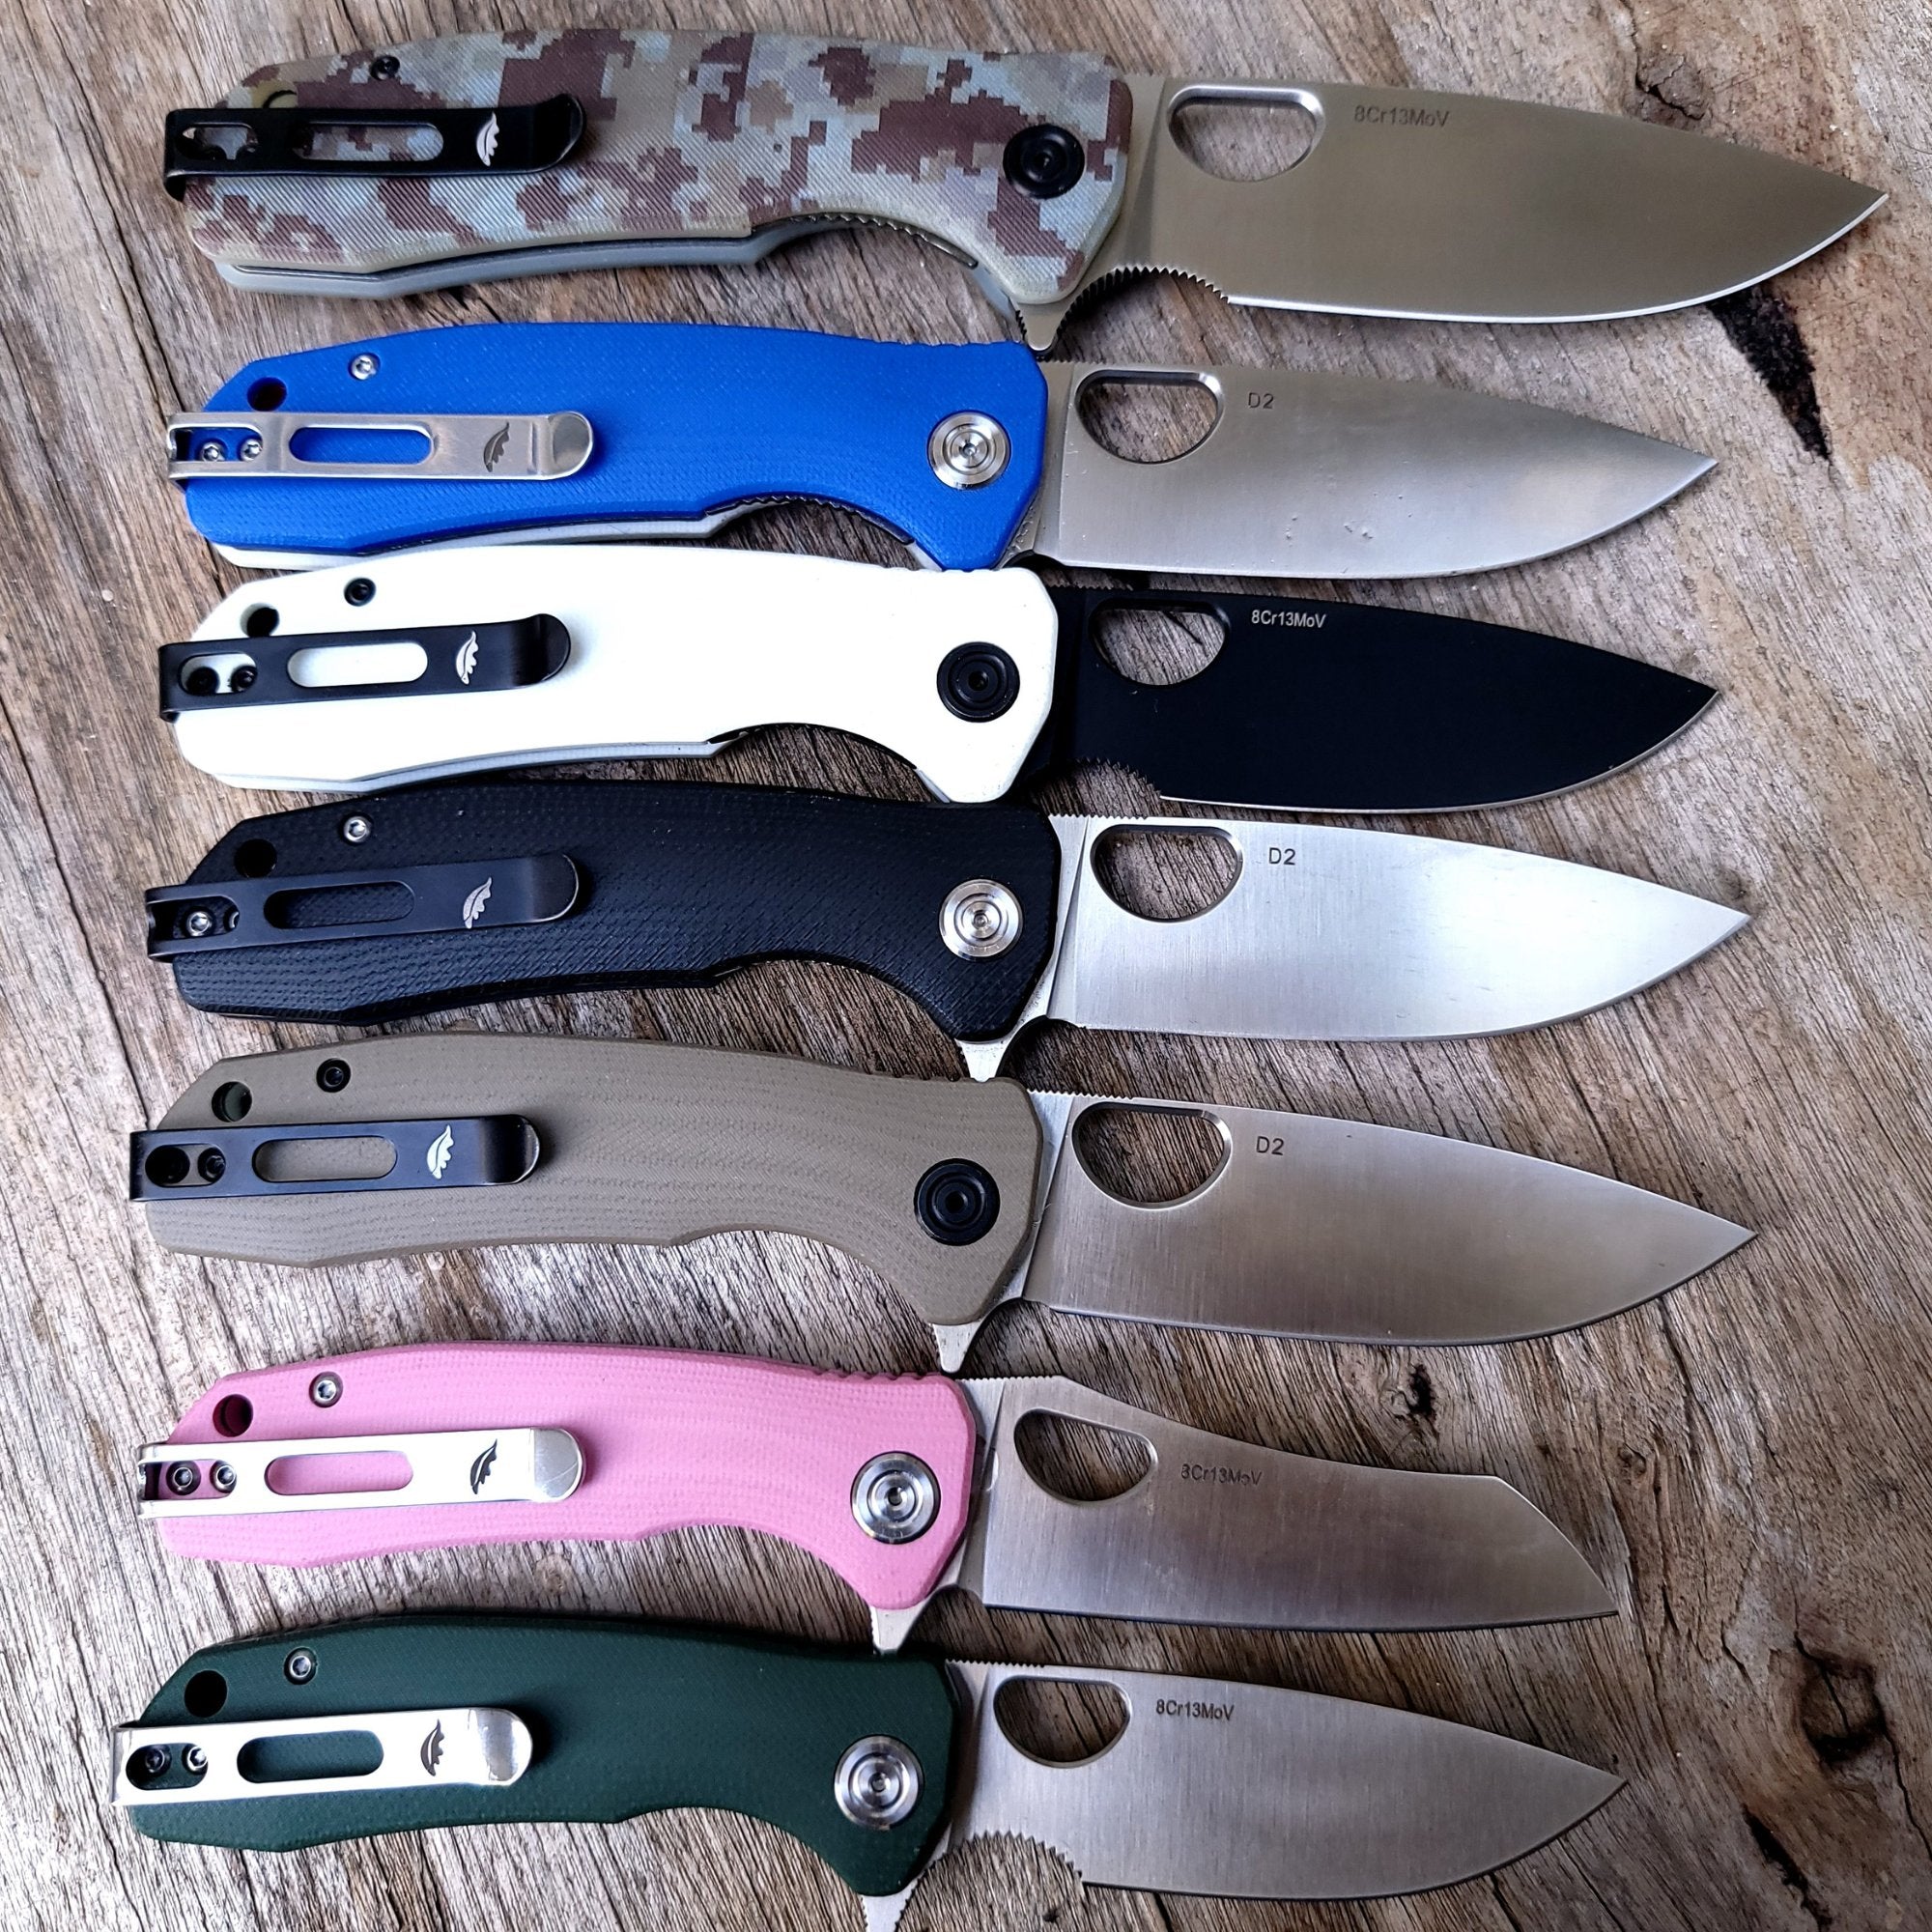
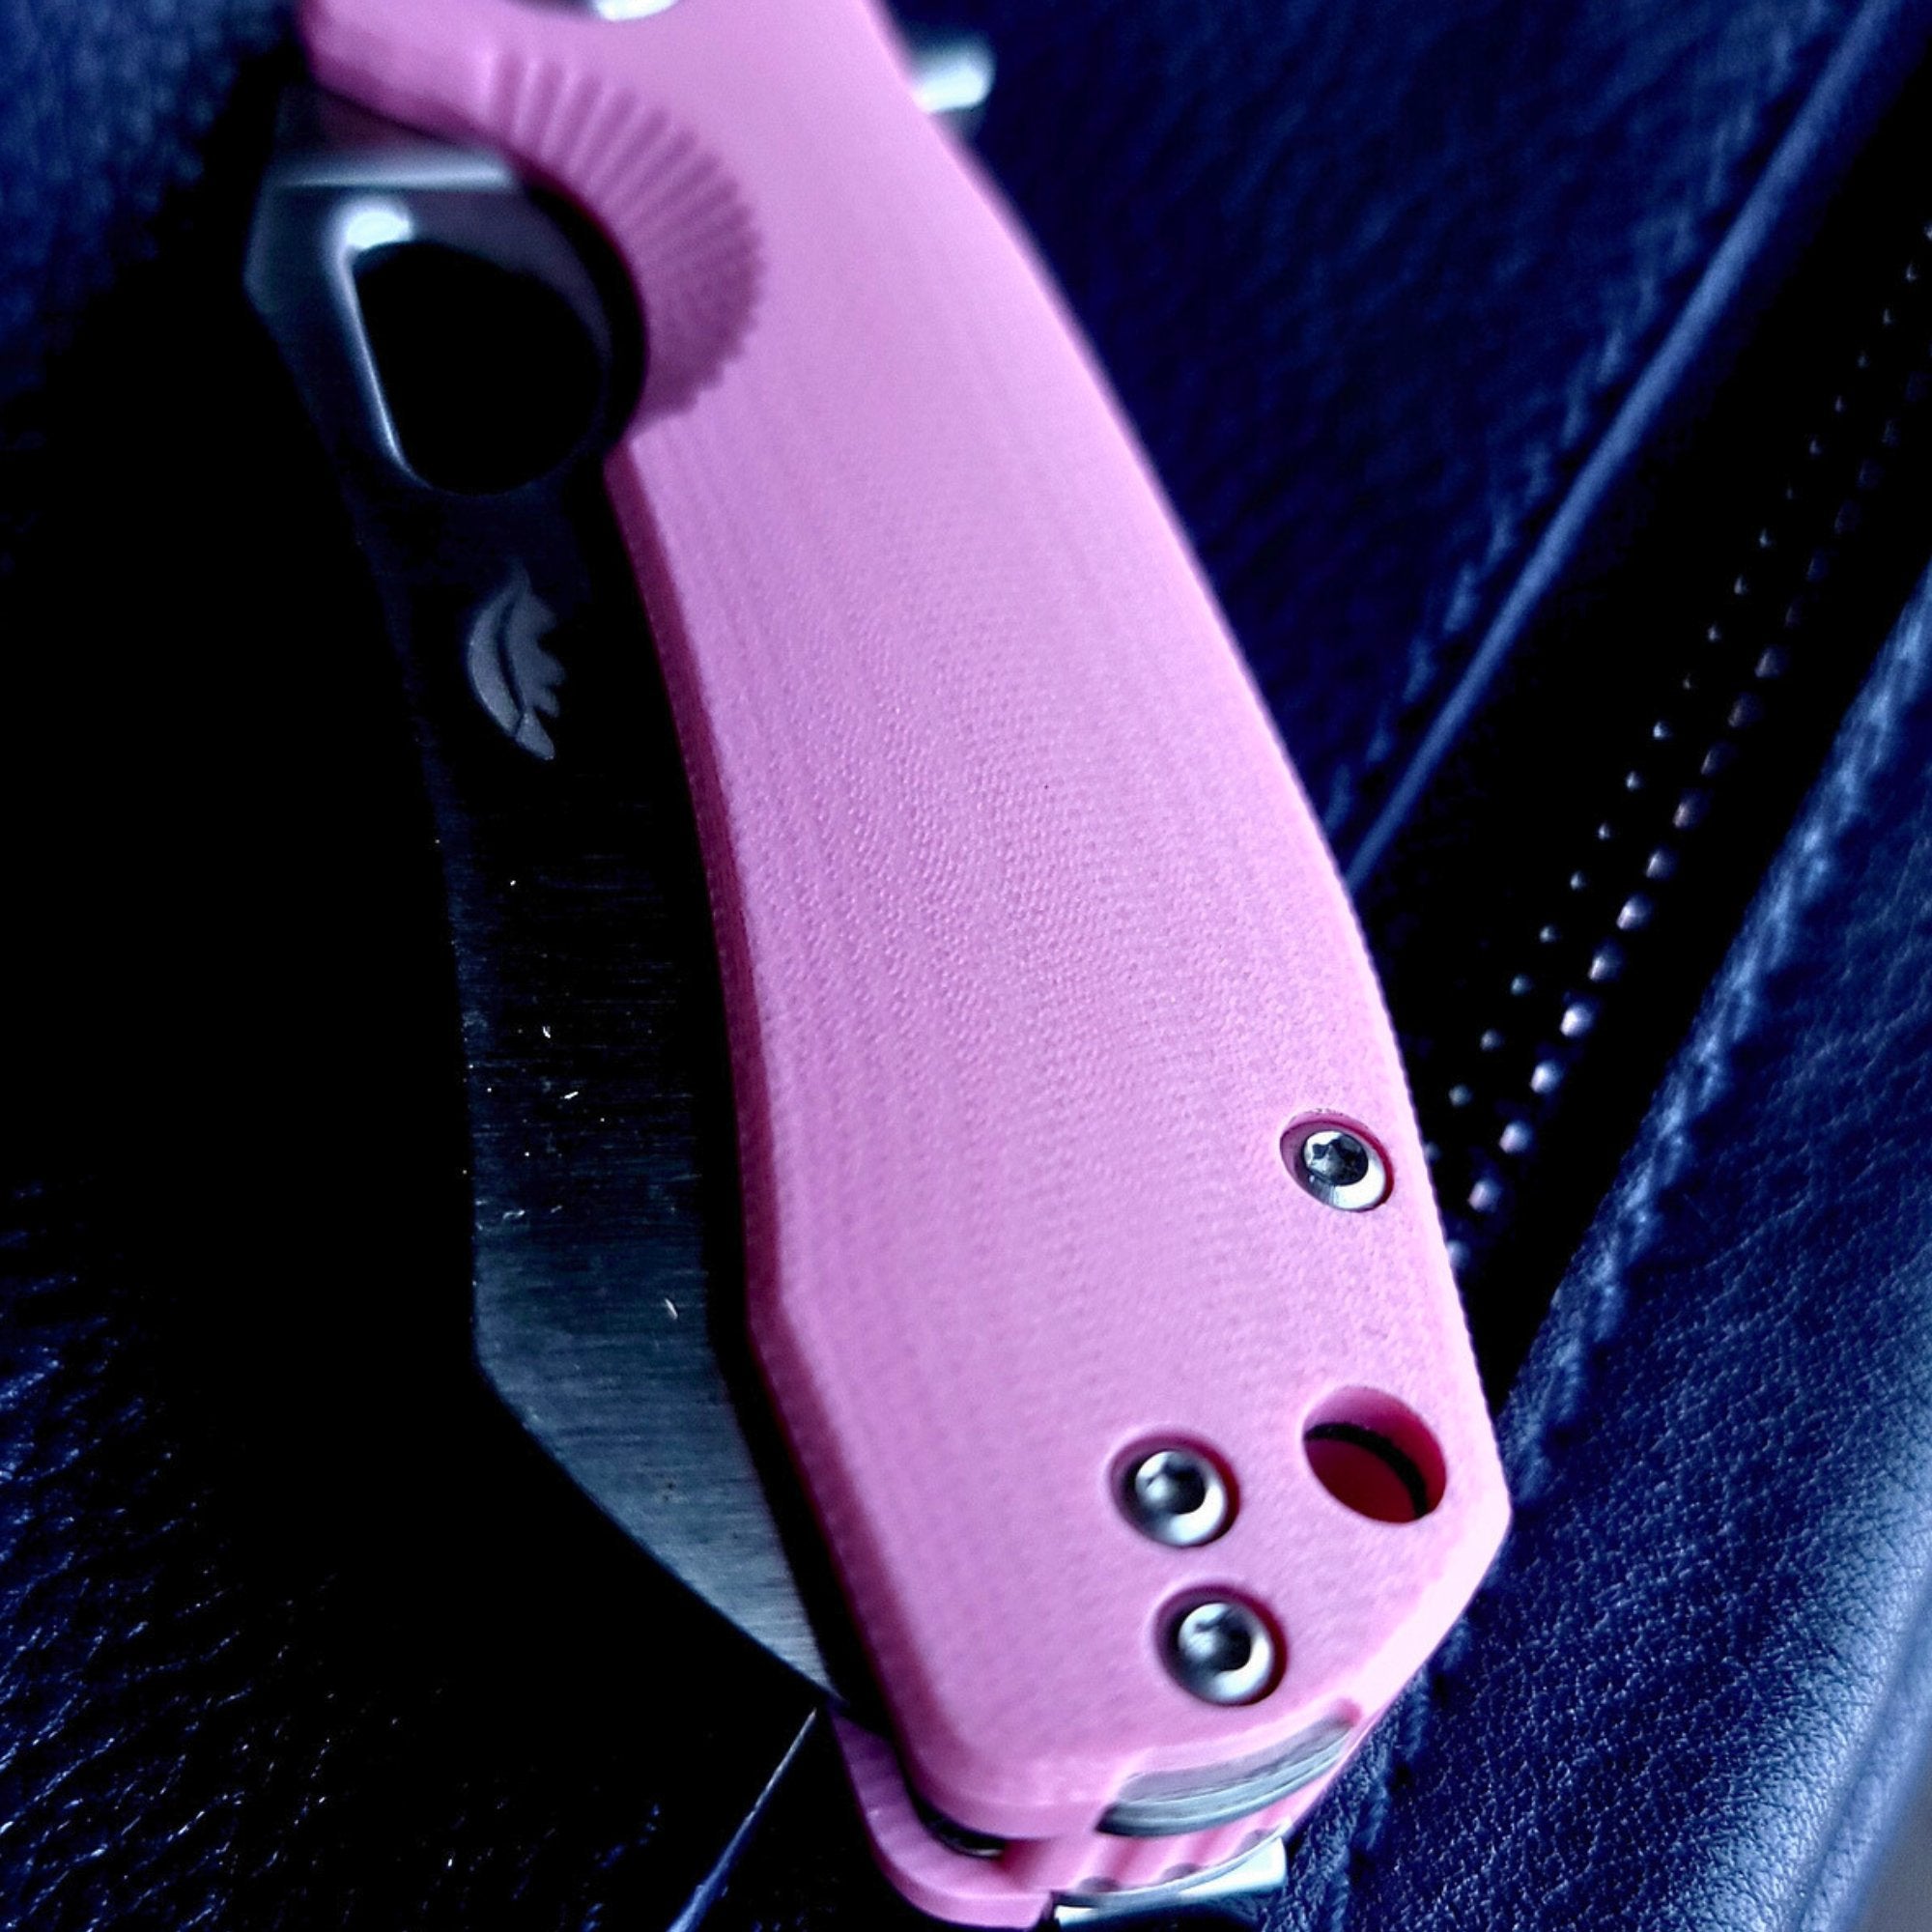
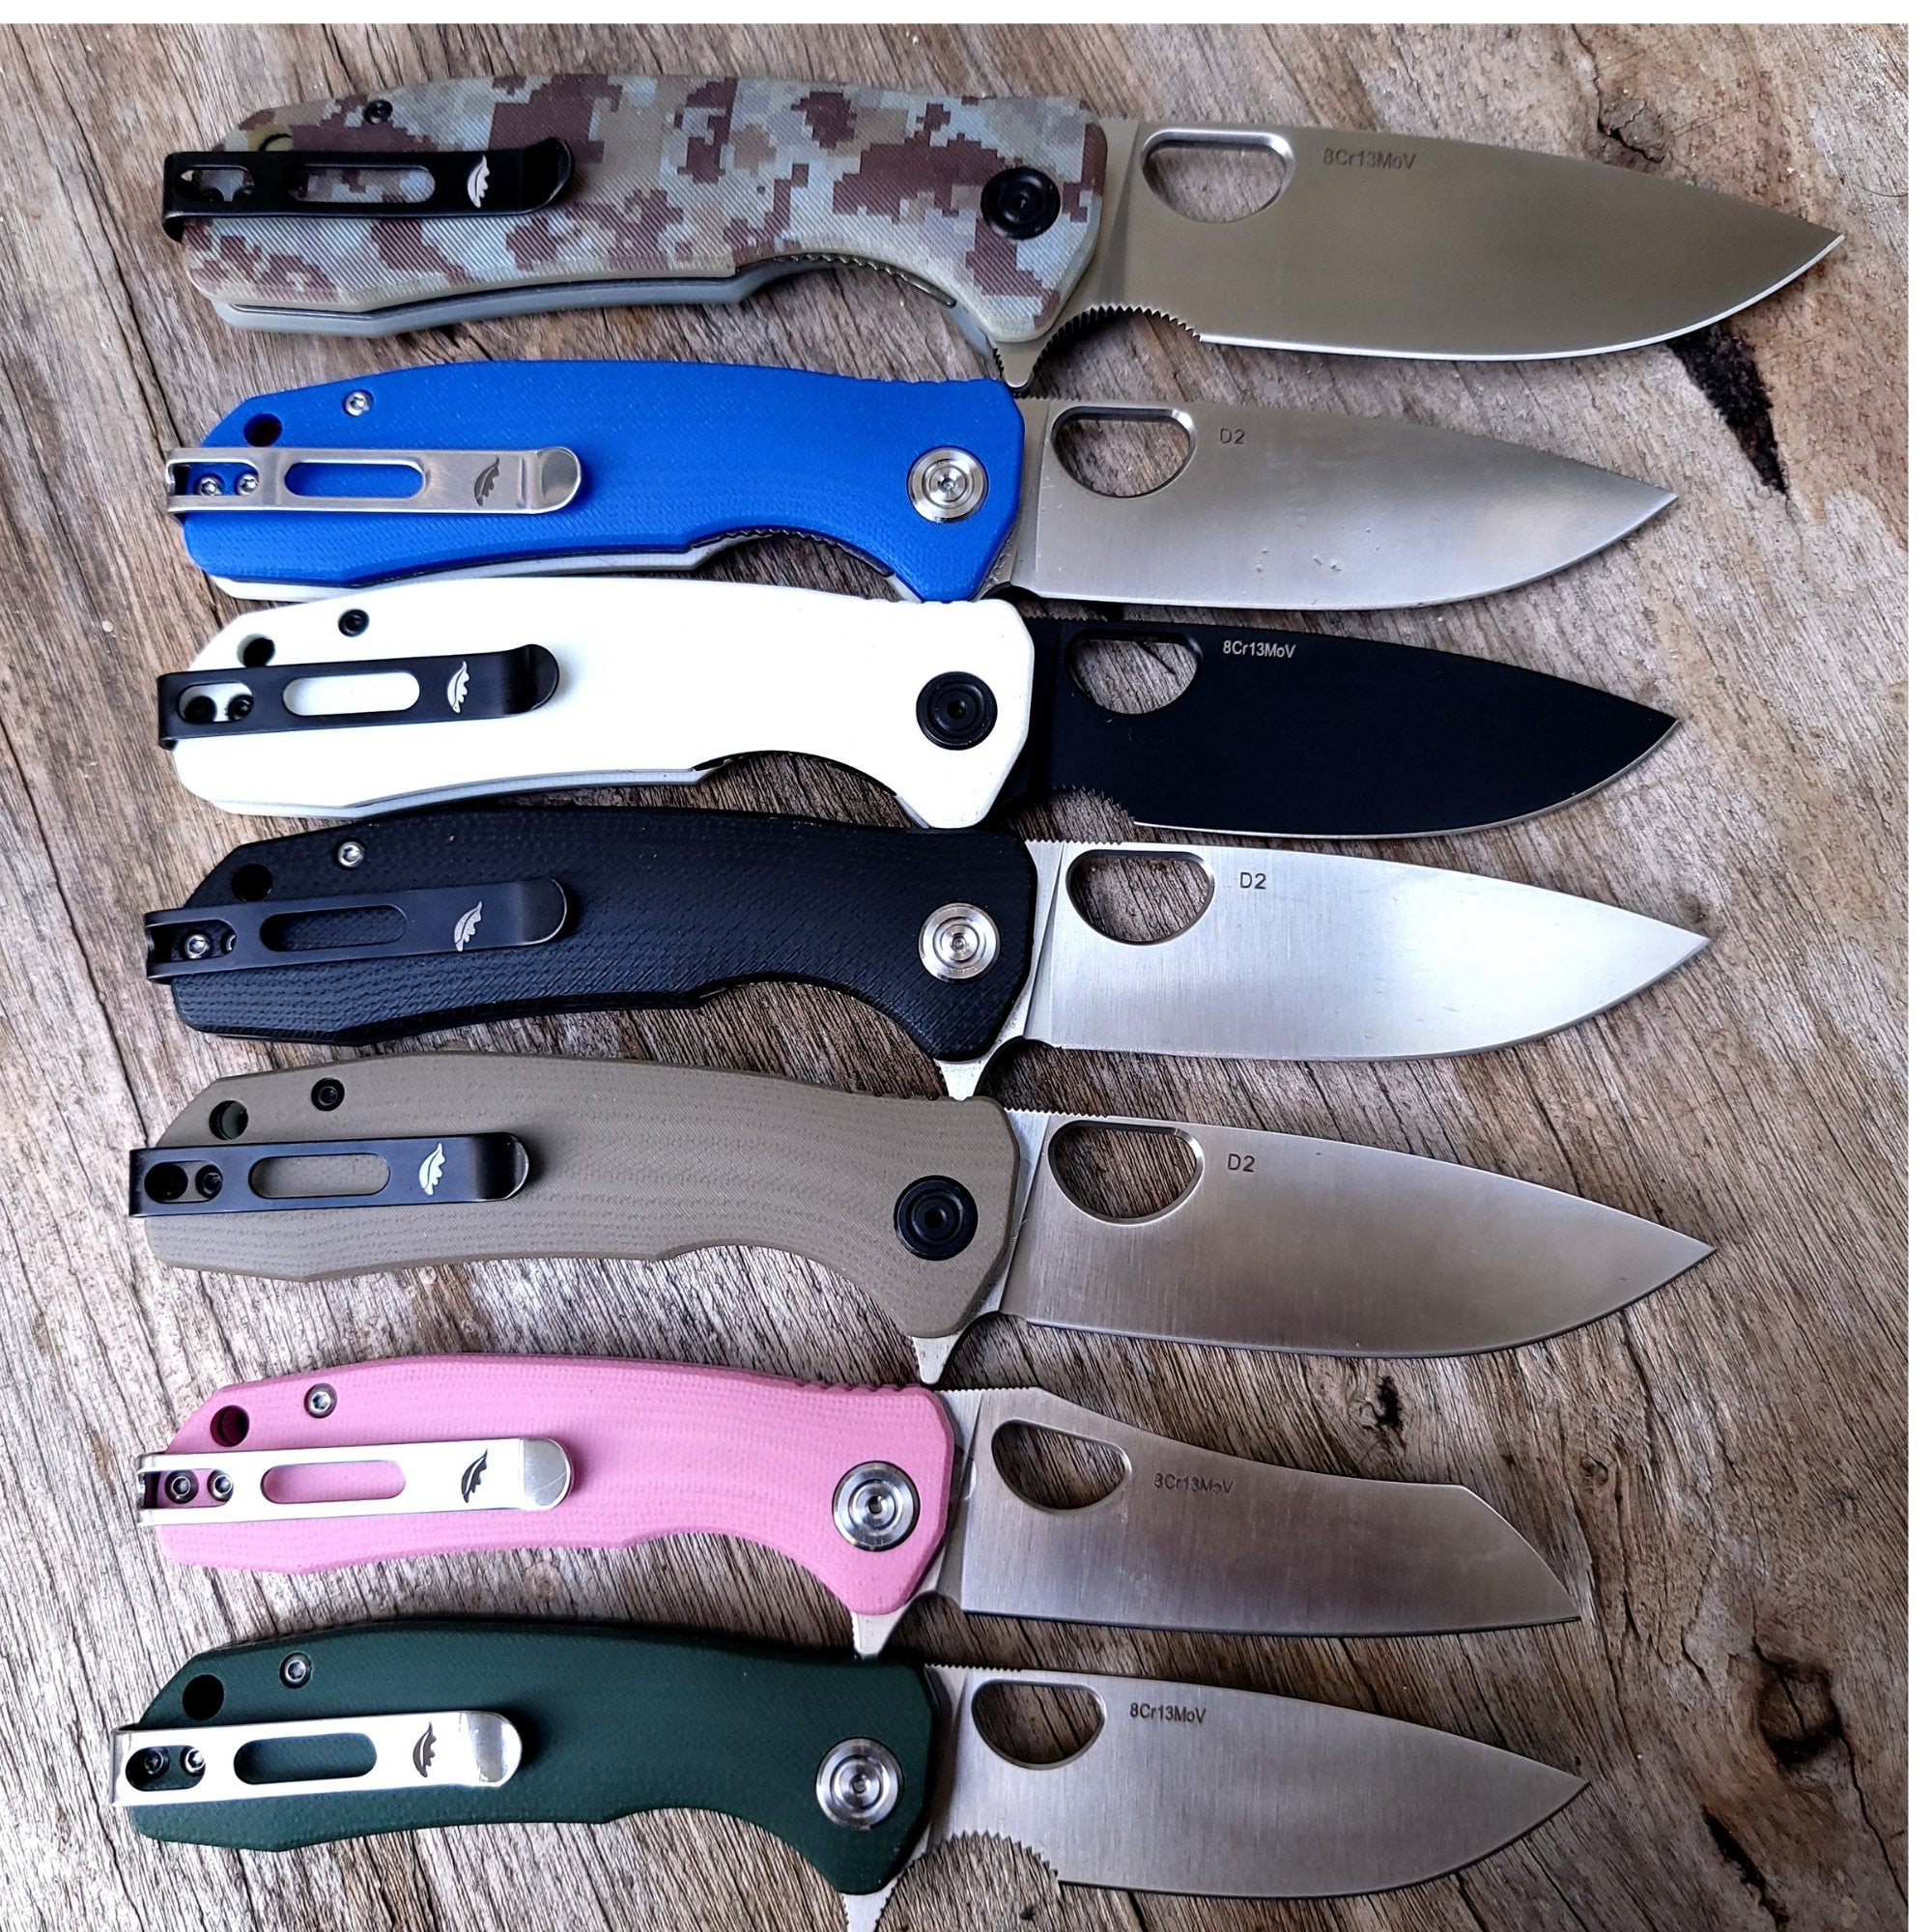
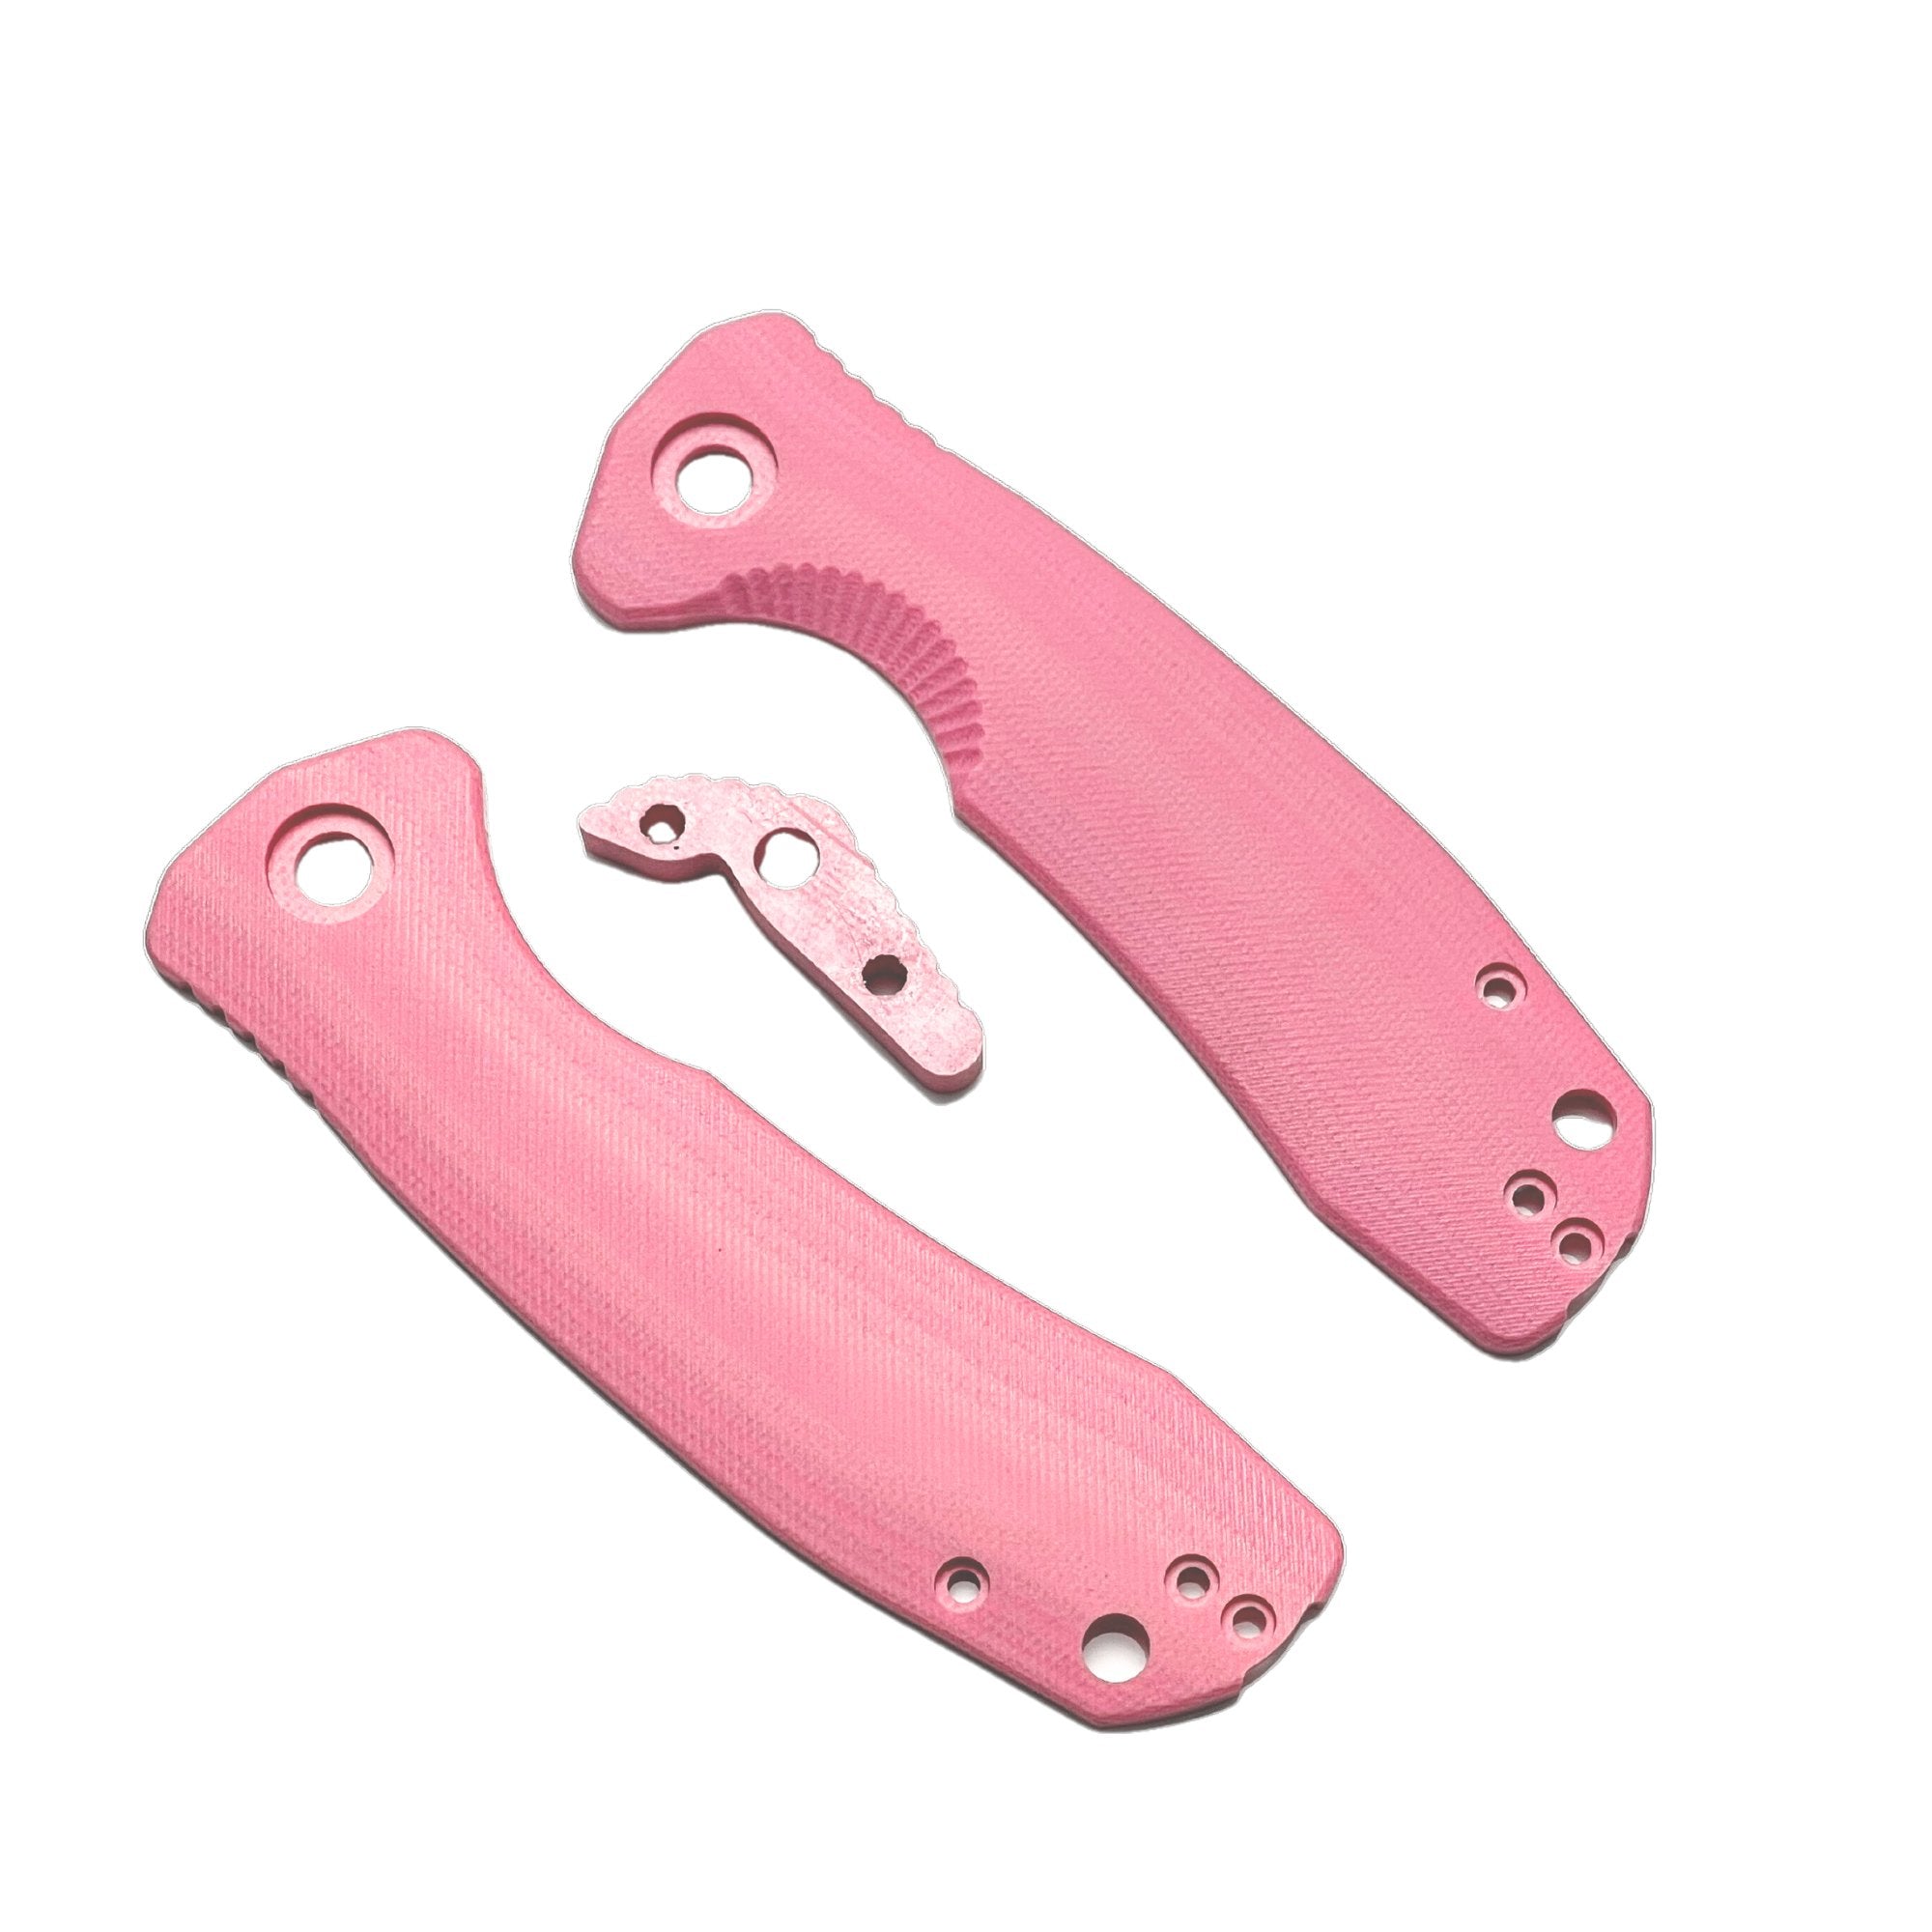
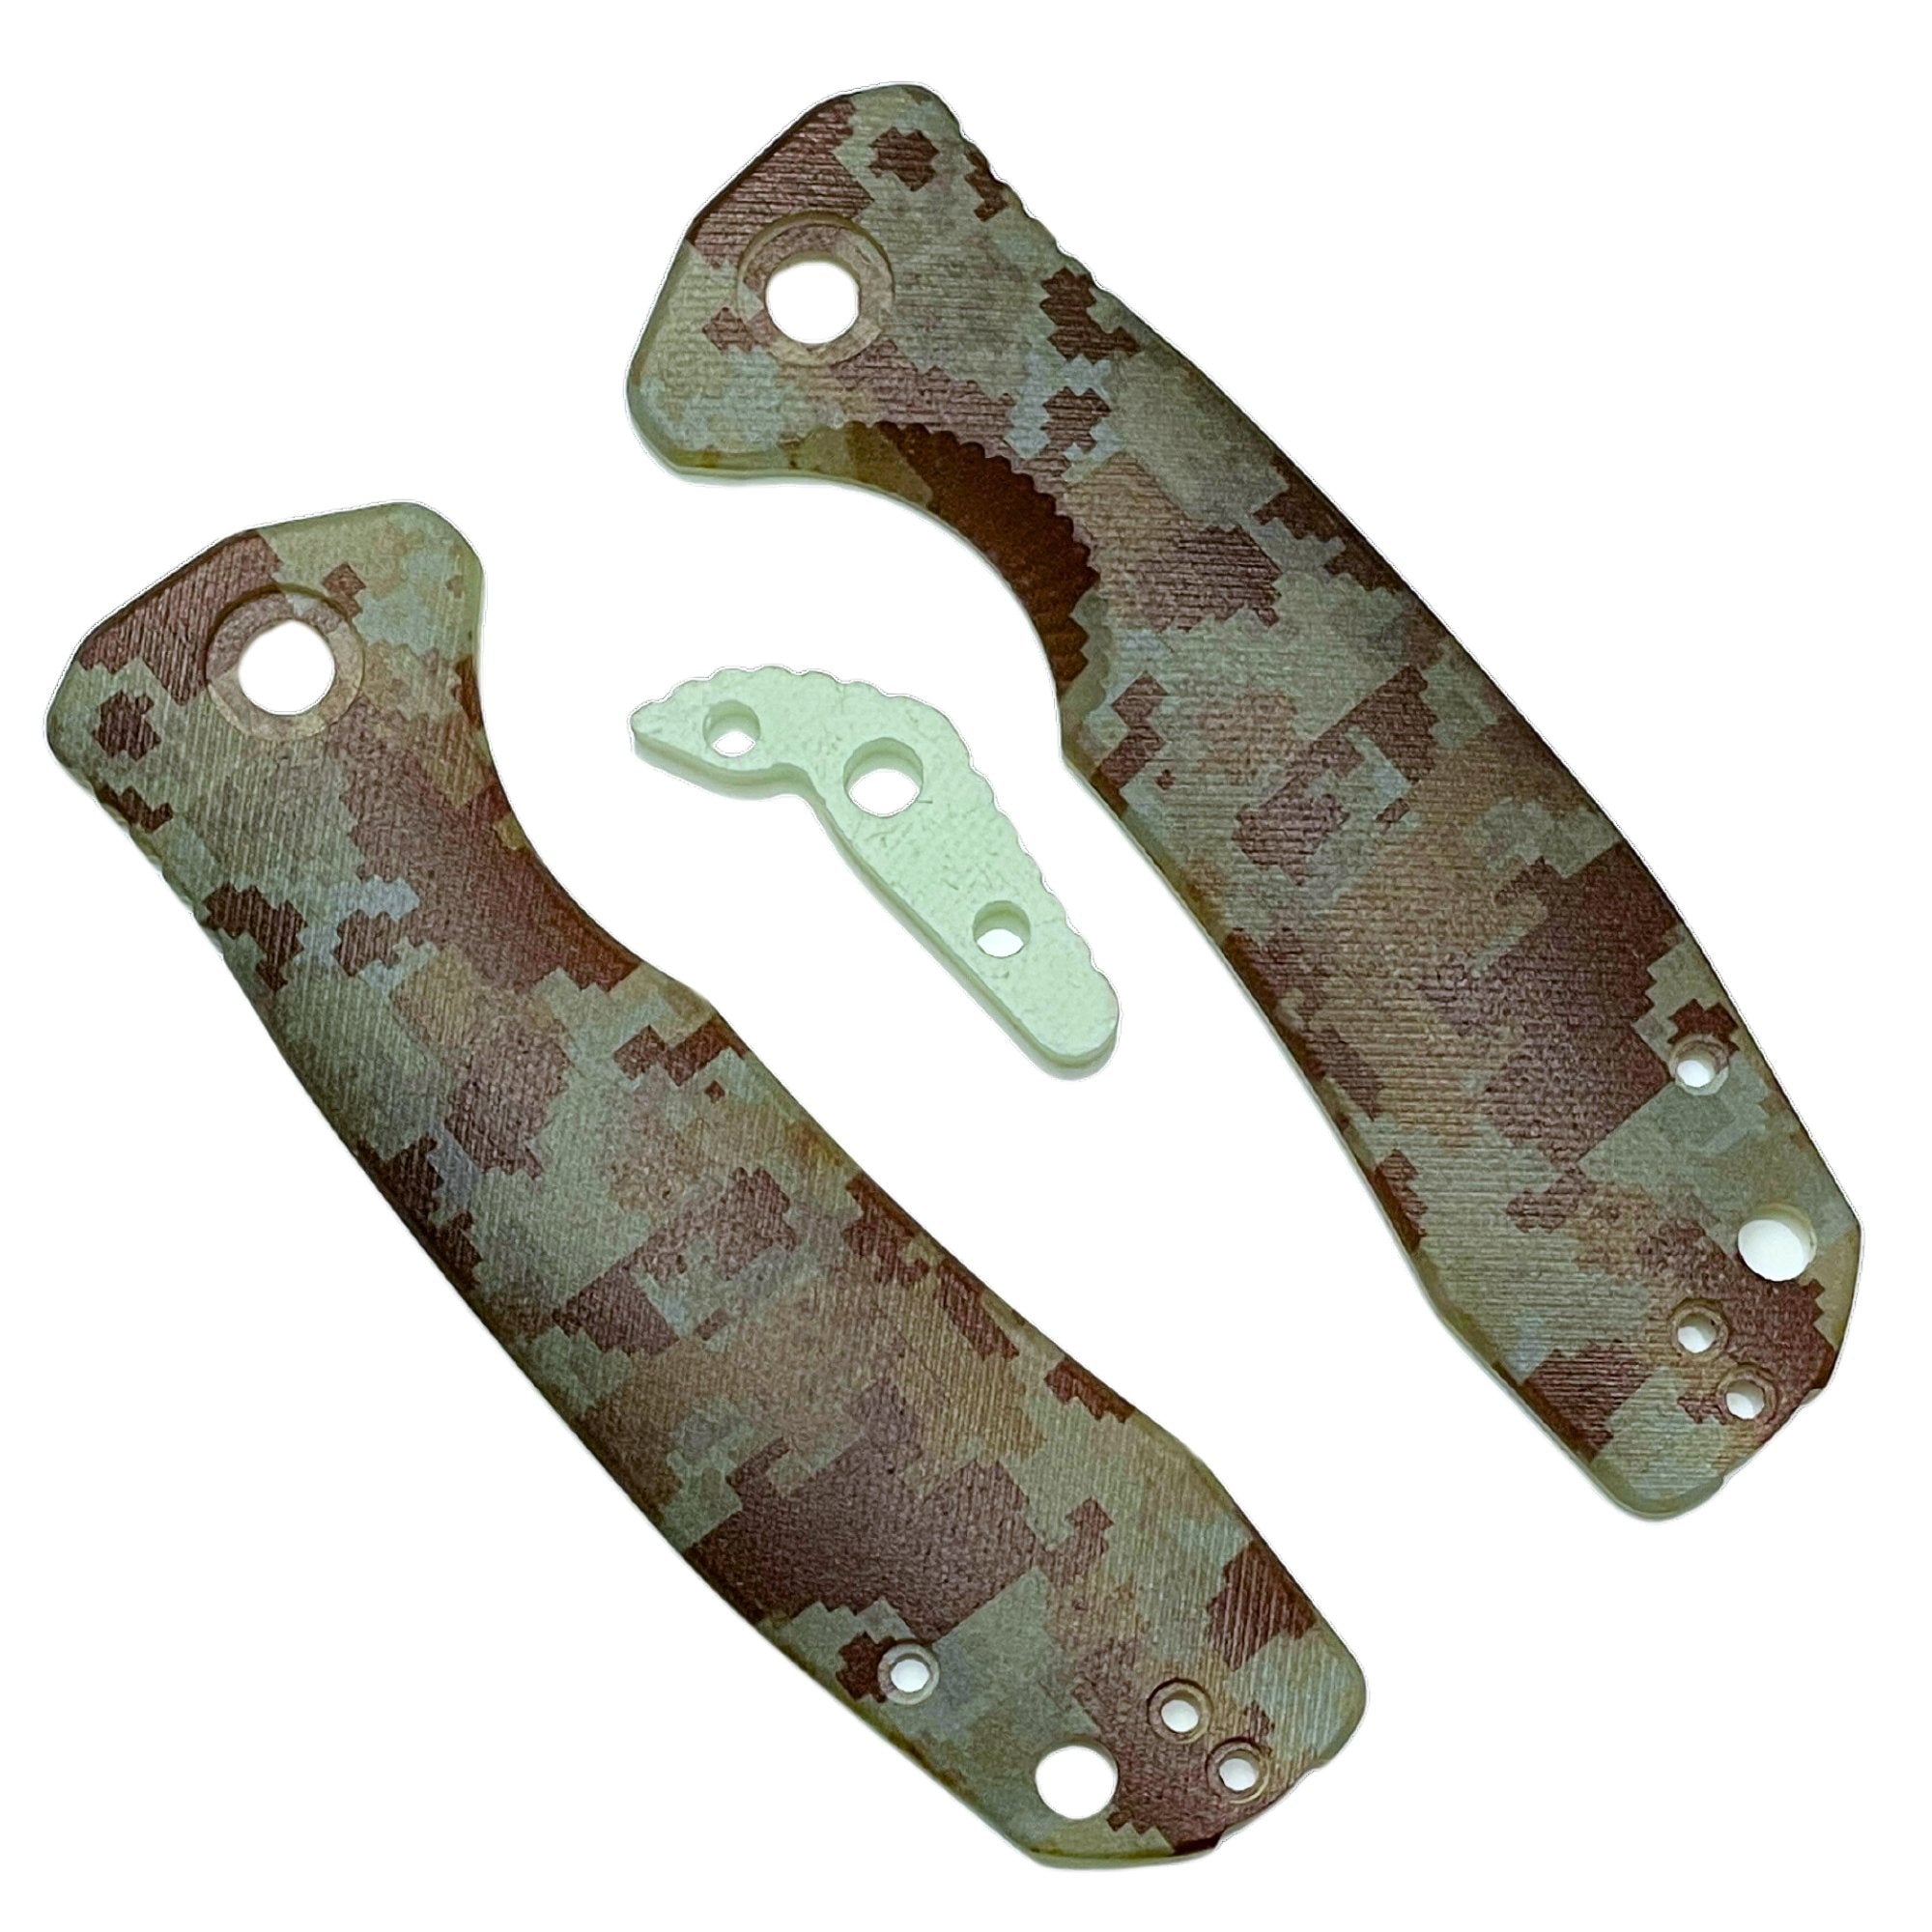
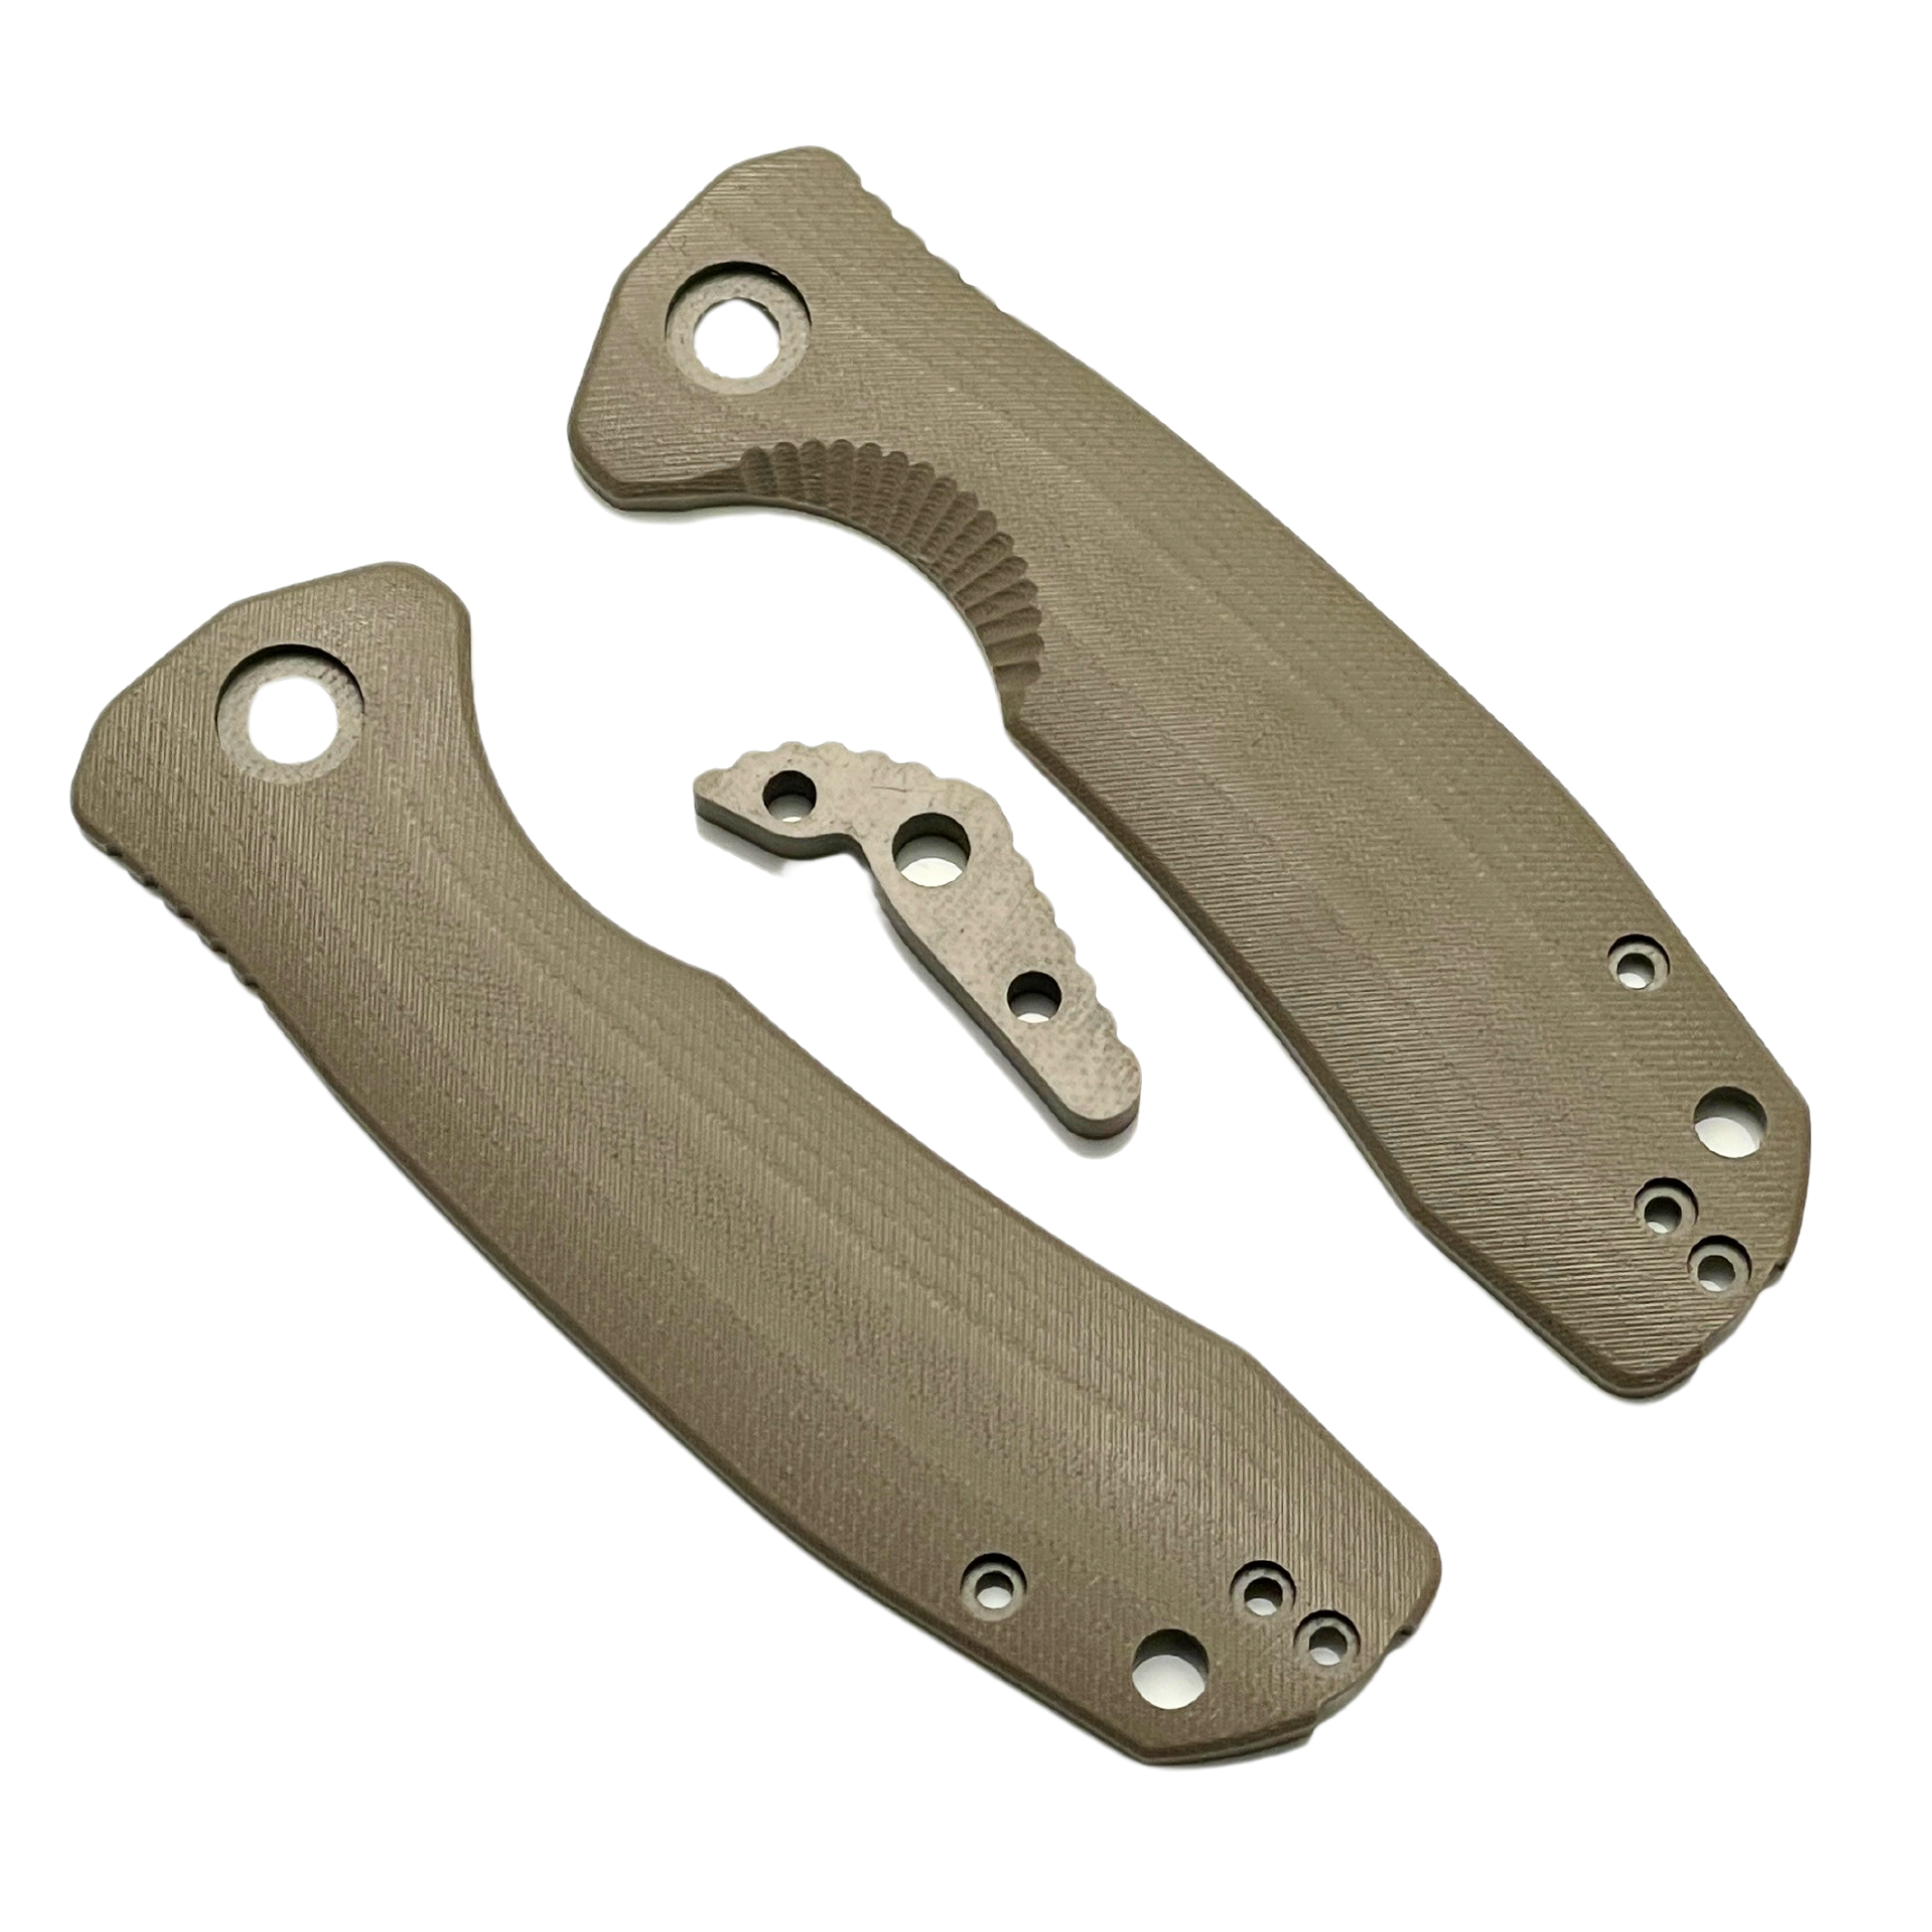
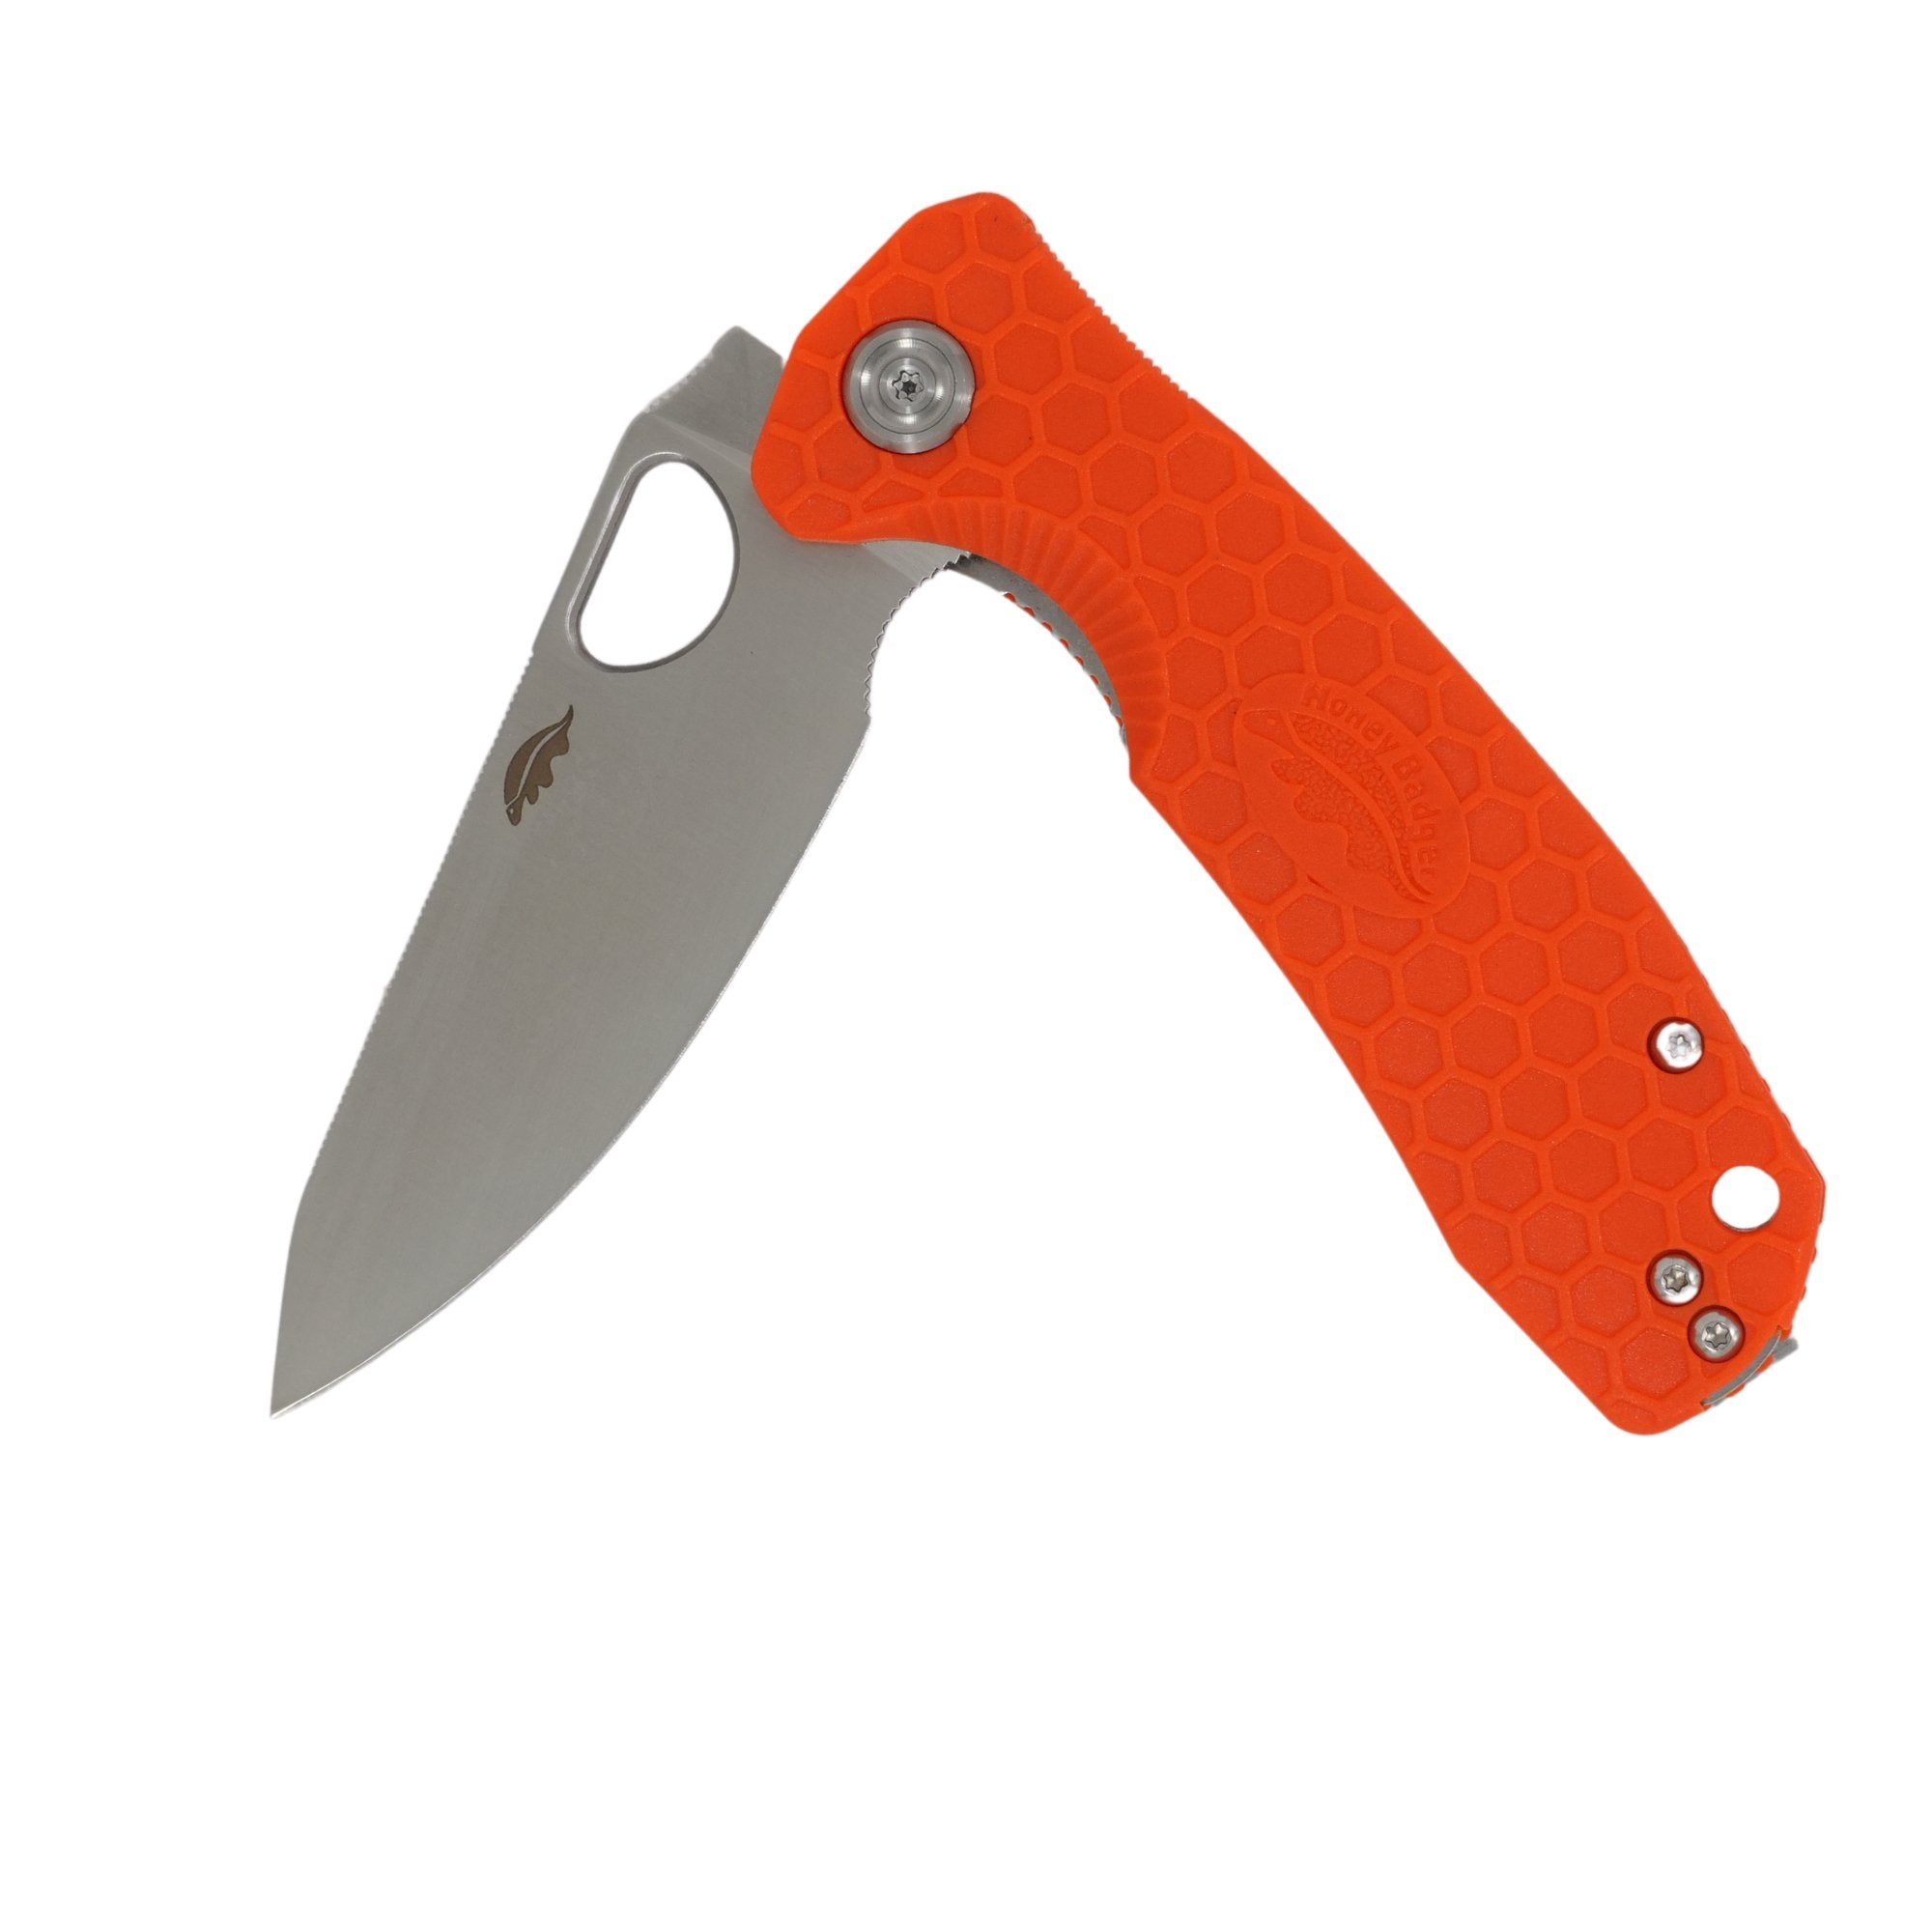
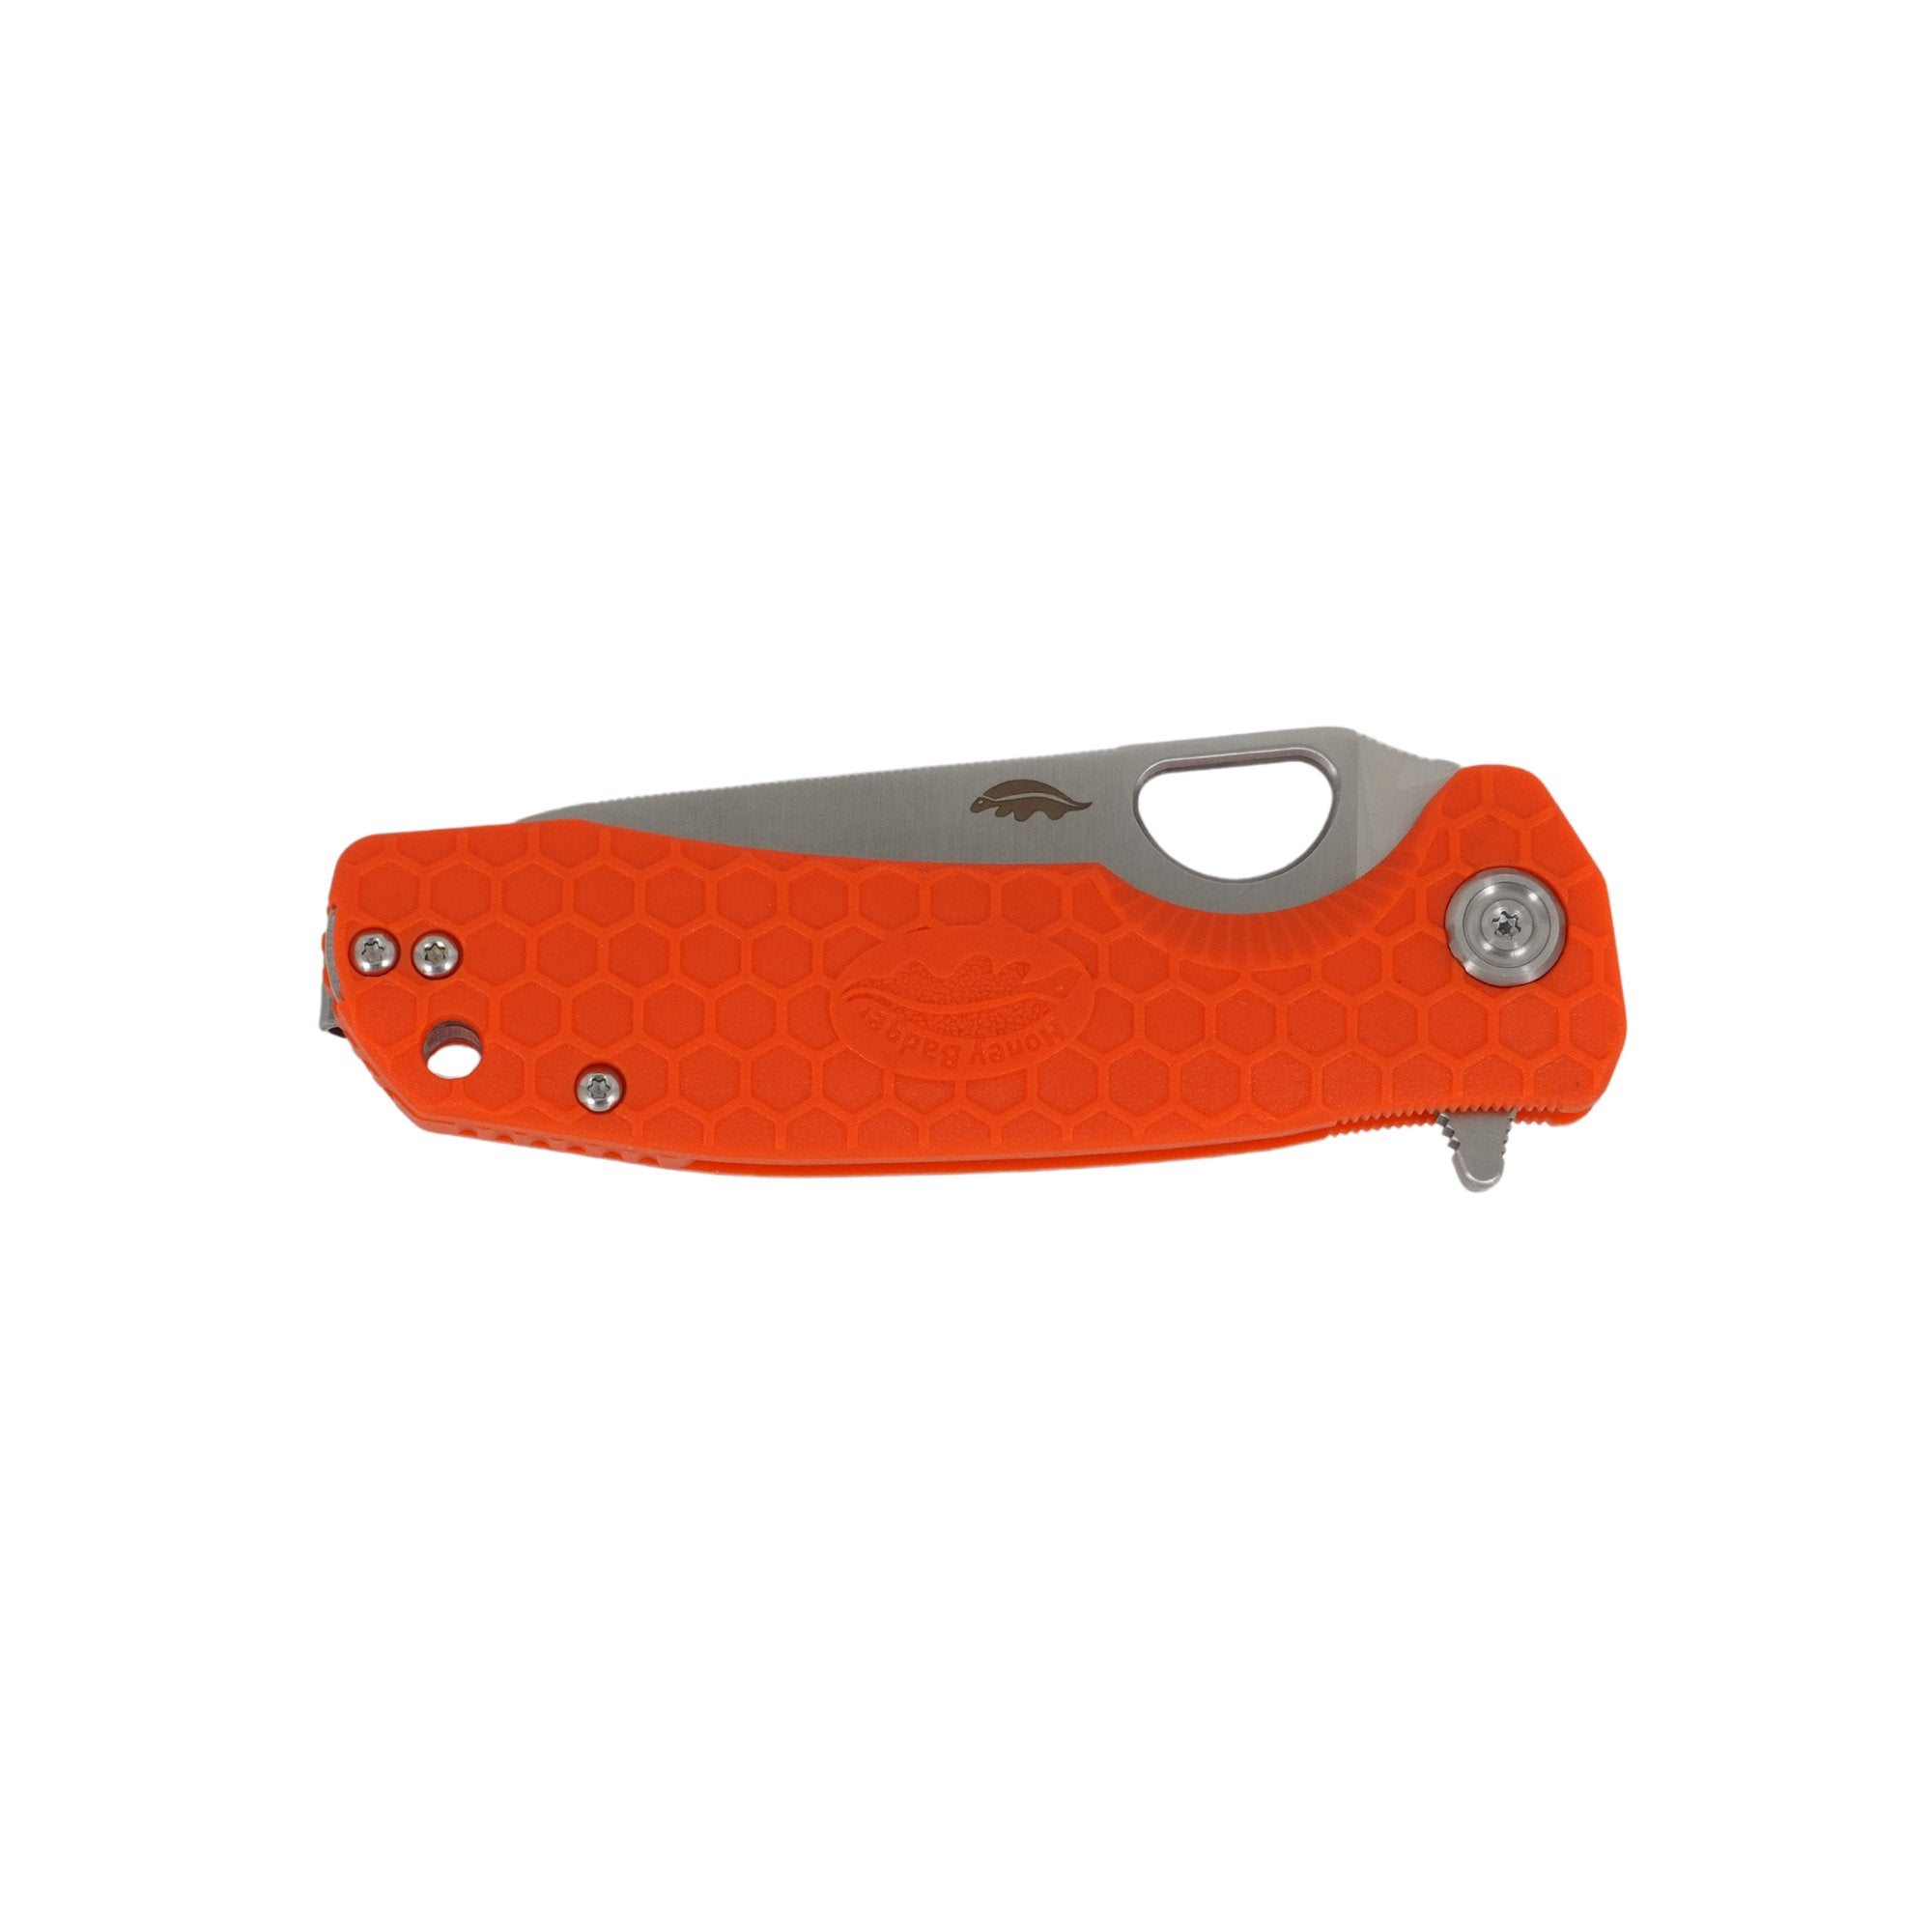
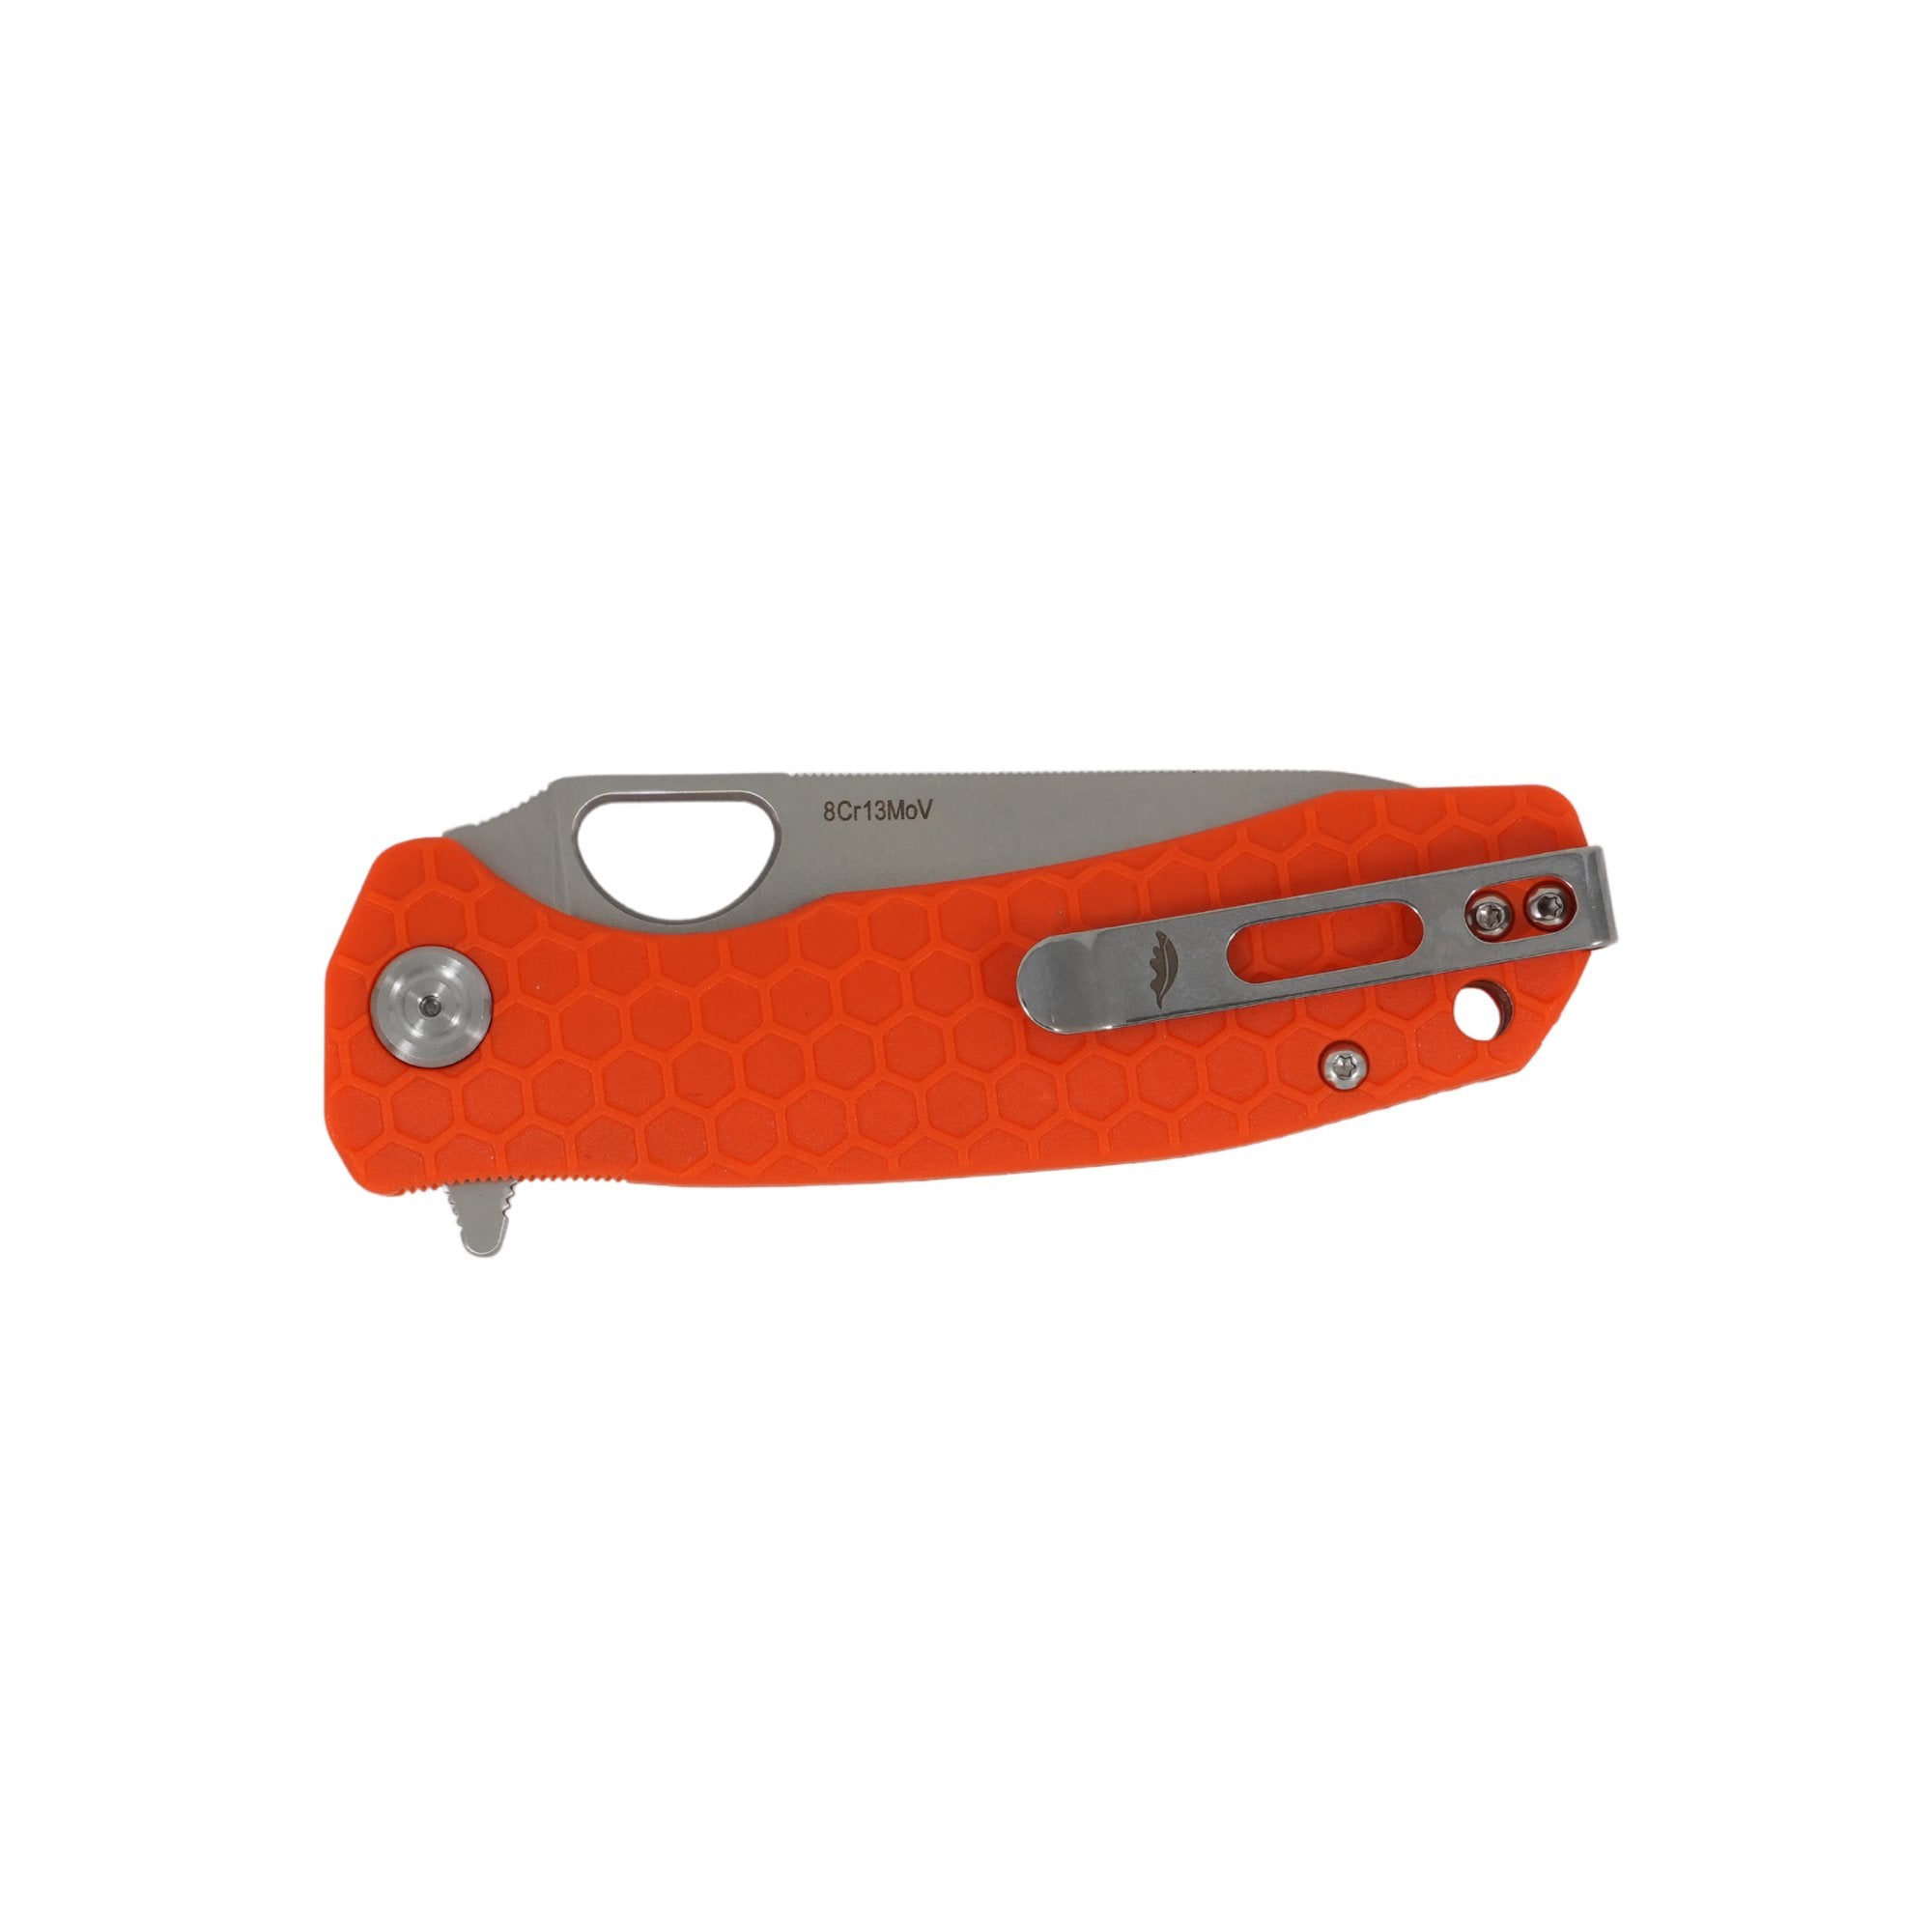
As you can see above this apricot orange came out pretty much as one would expect. The left side of the scale was left in the dye for 3 minutes and the right side for 1 minute.
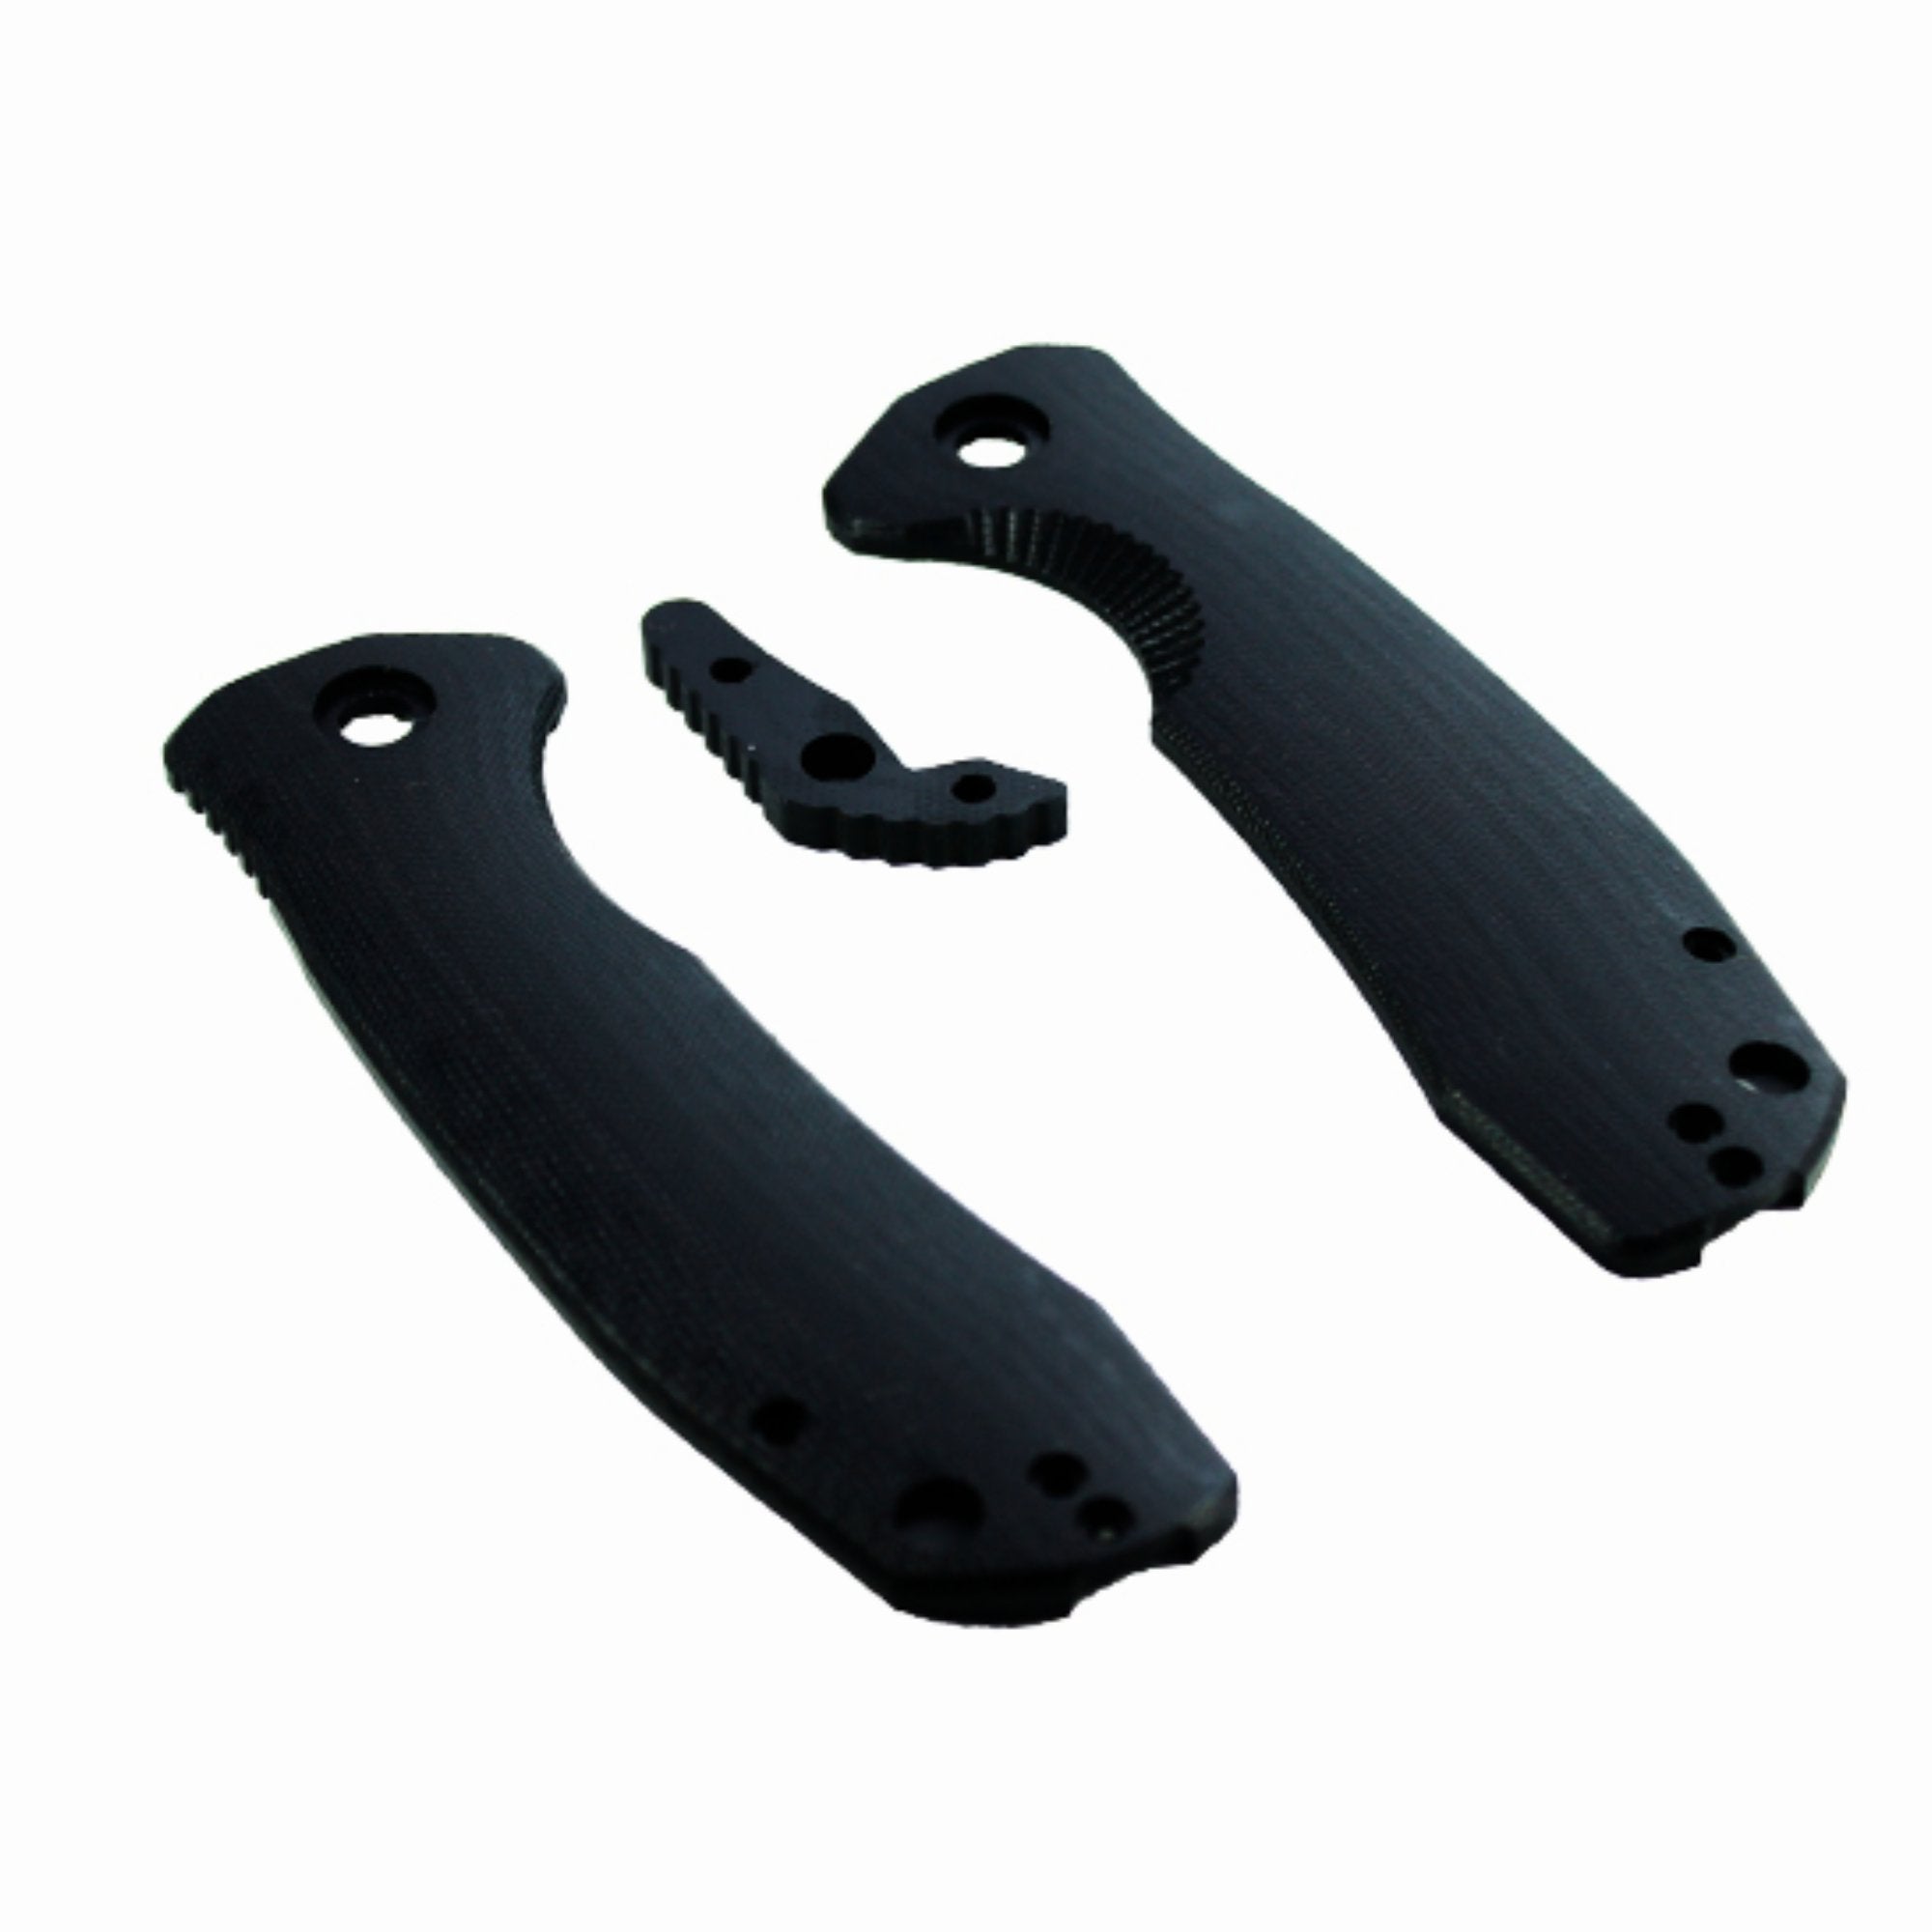
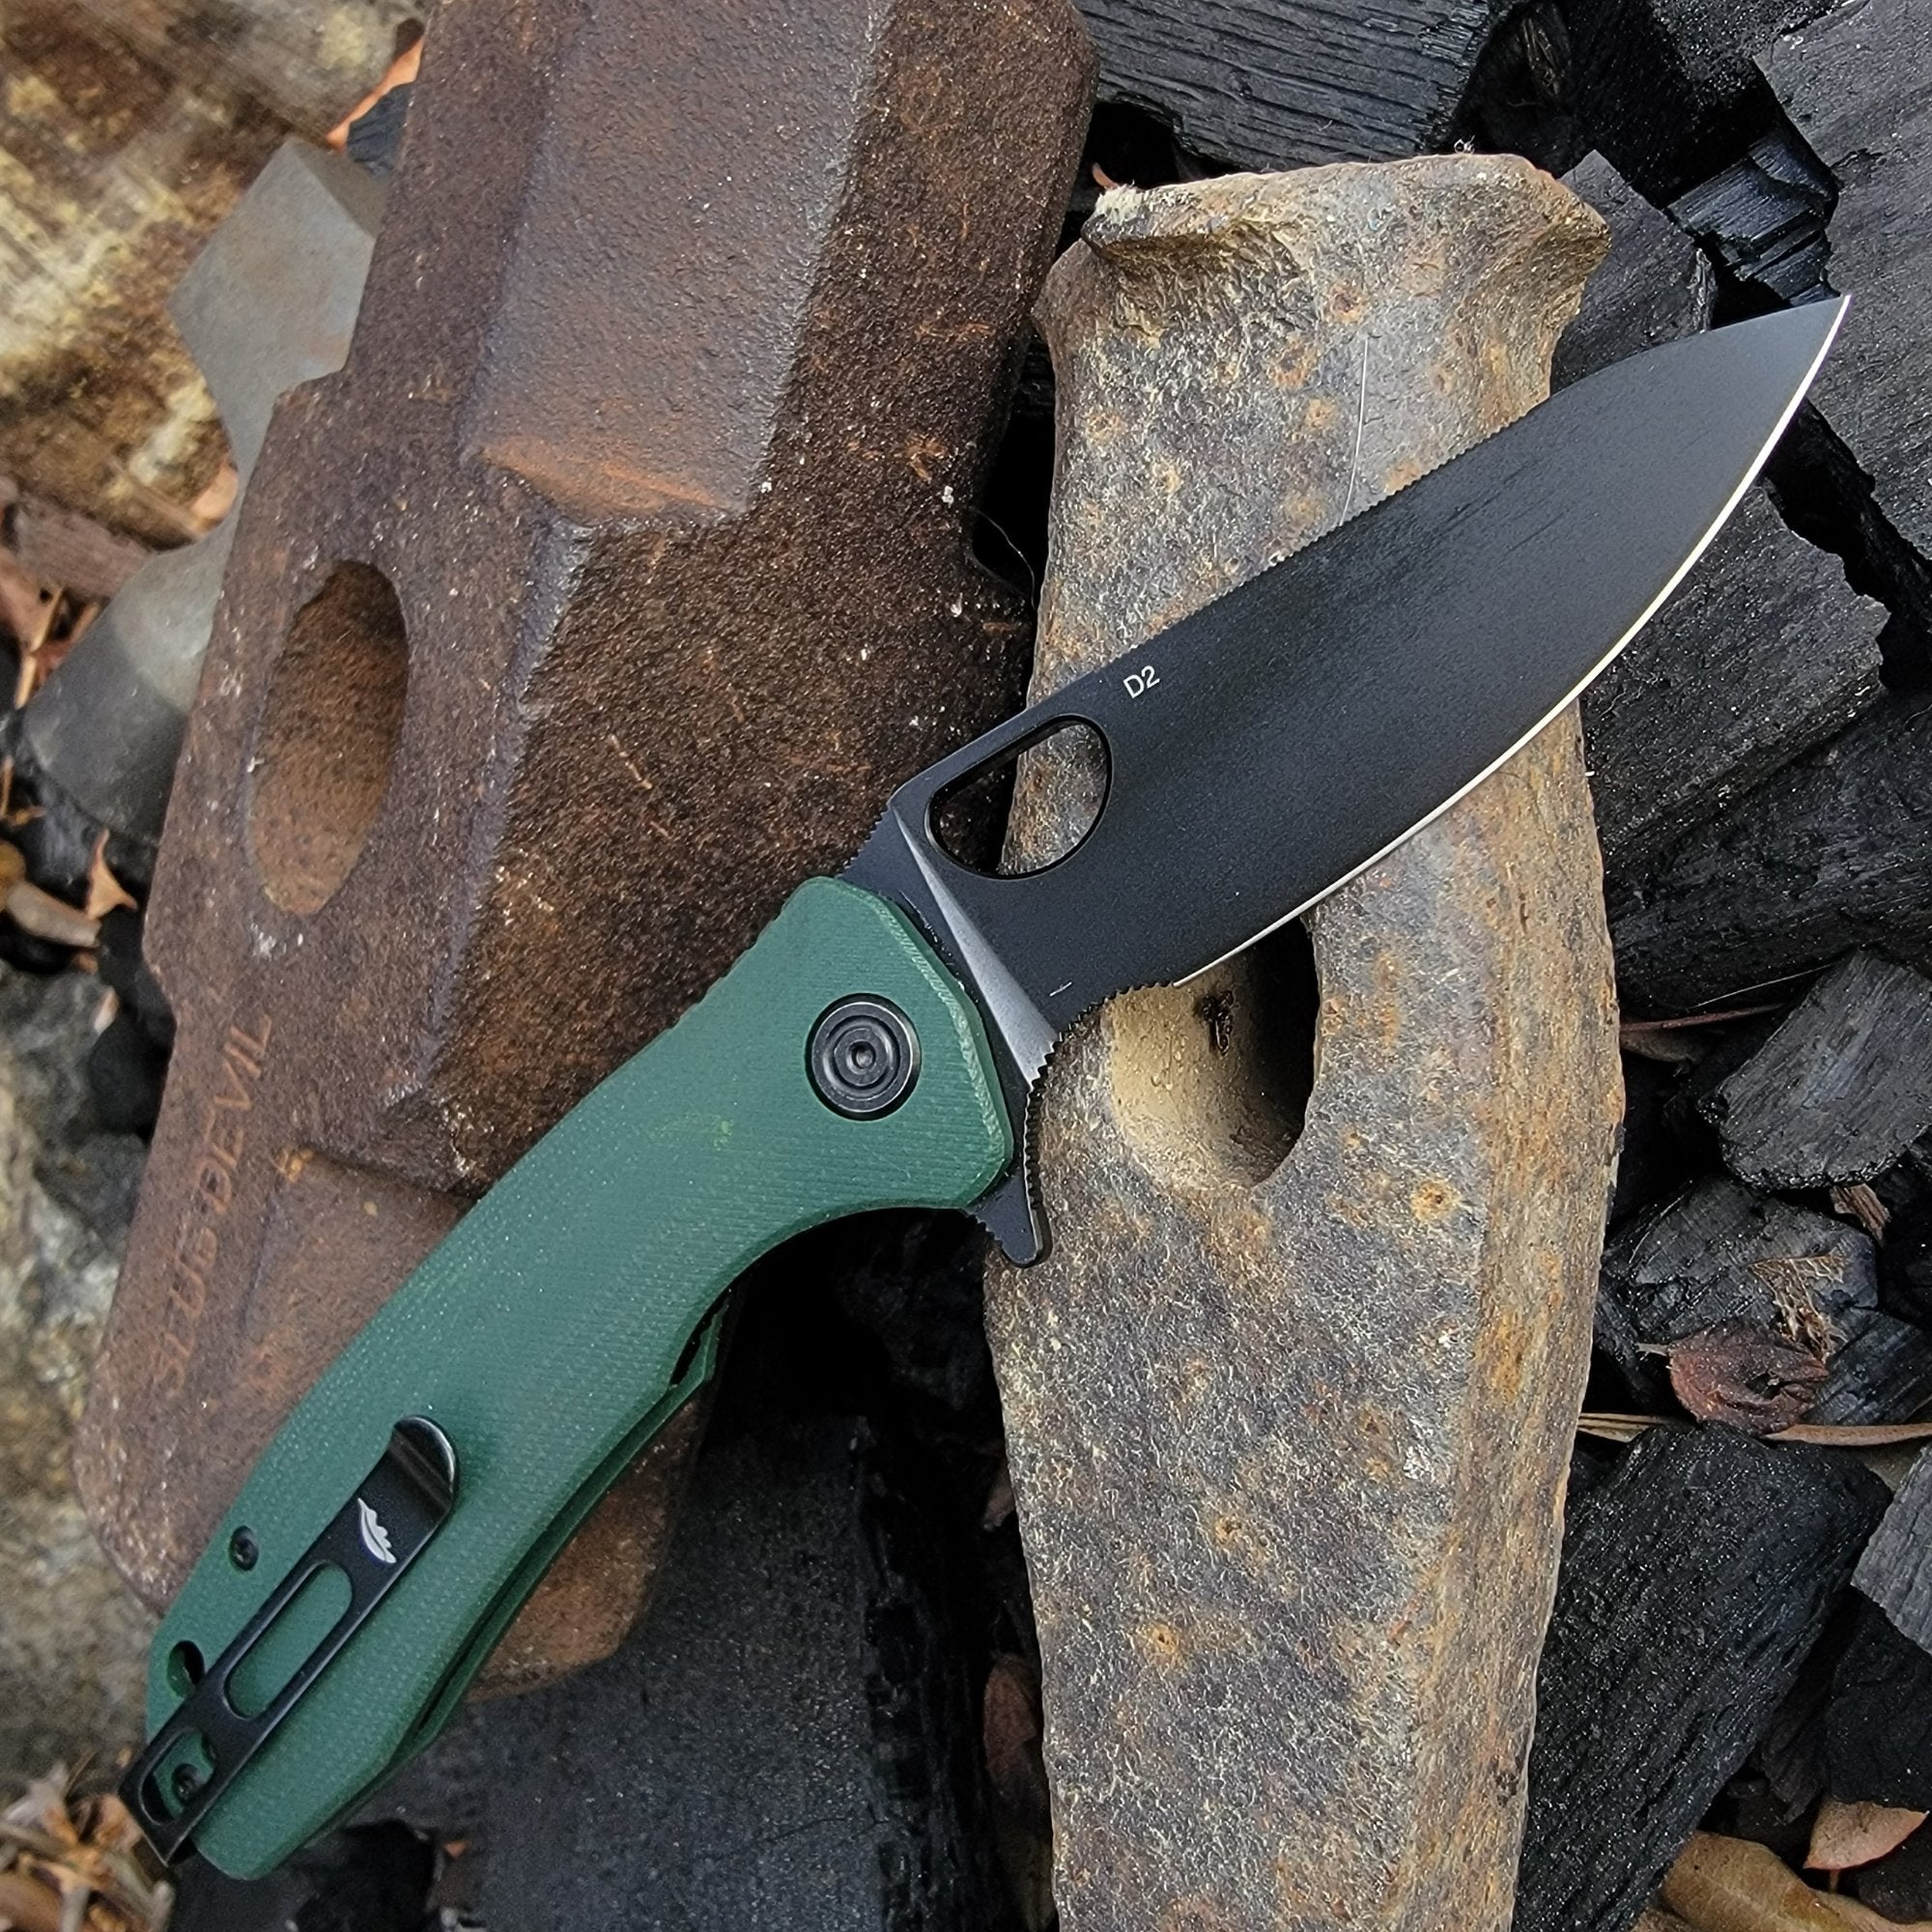
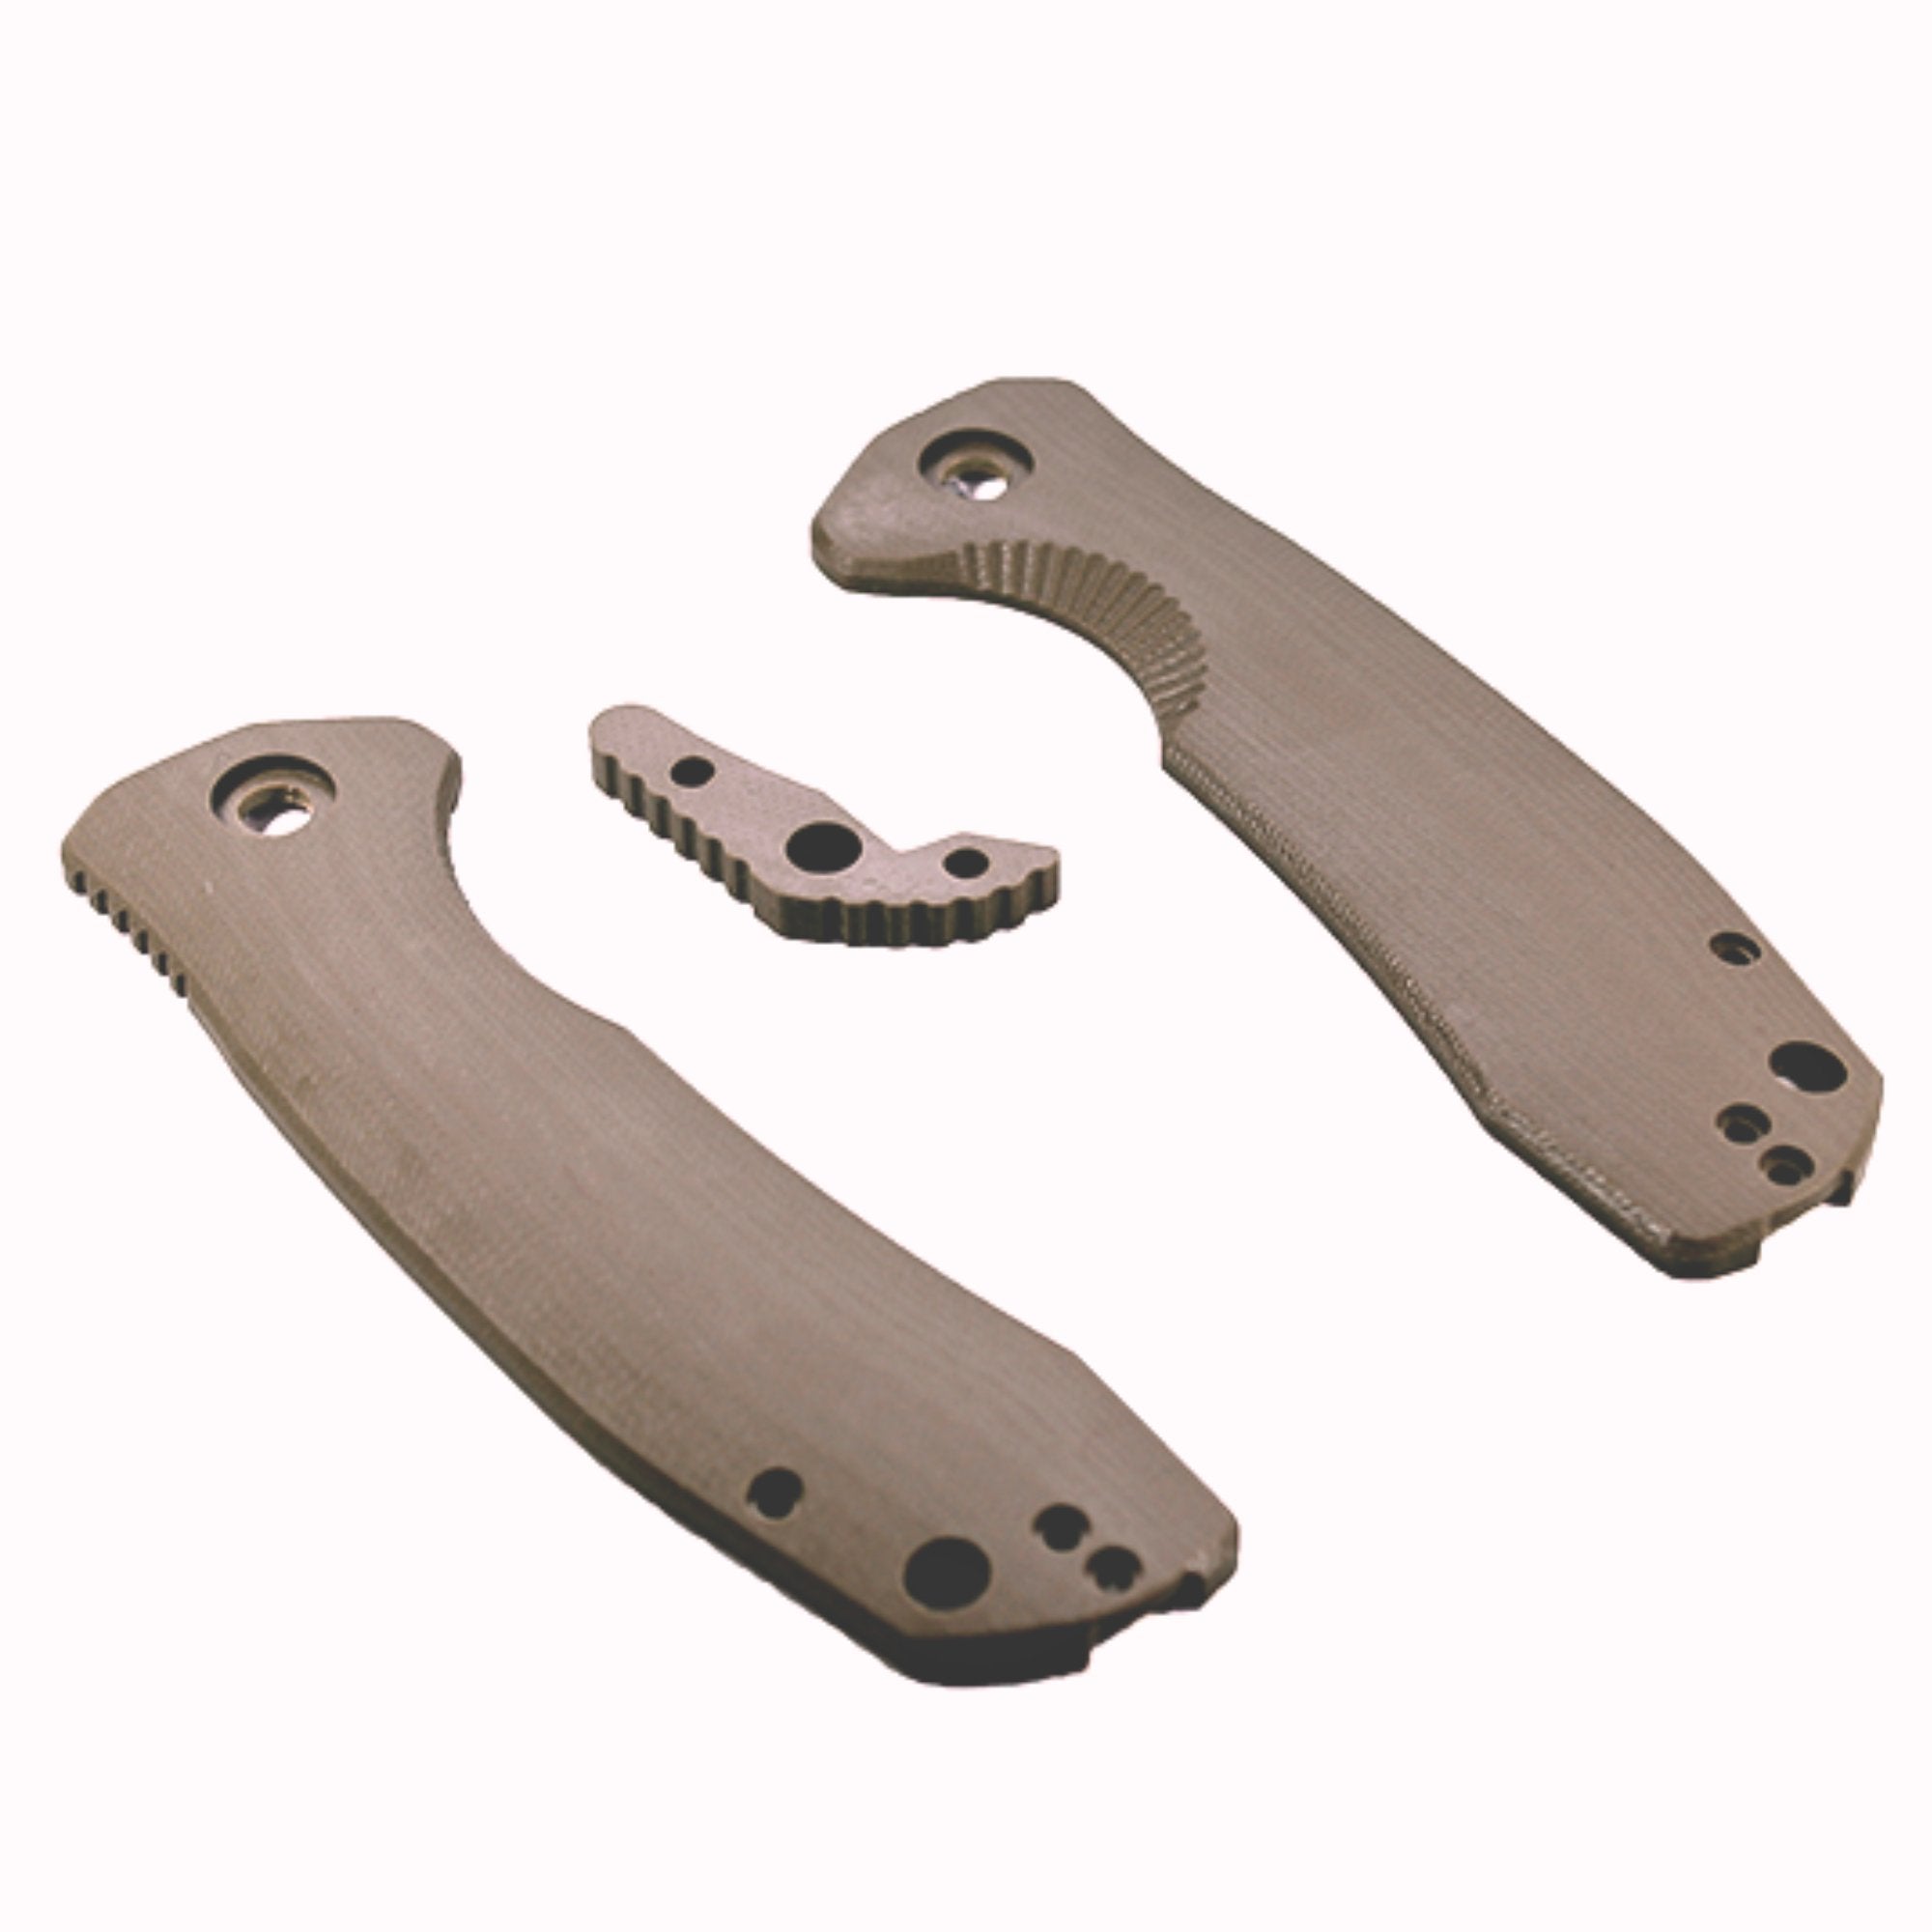
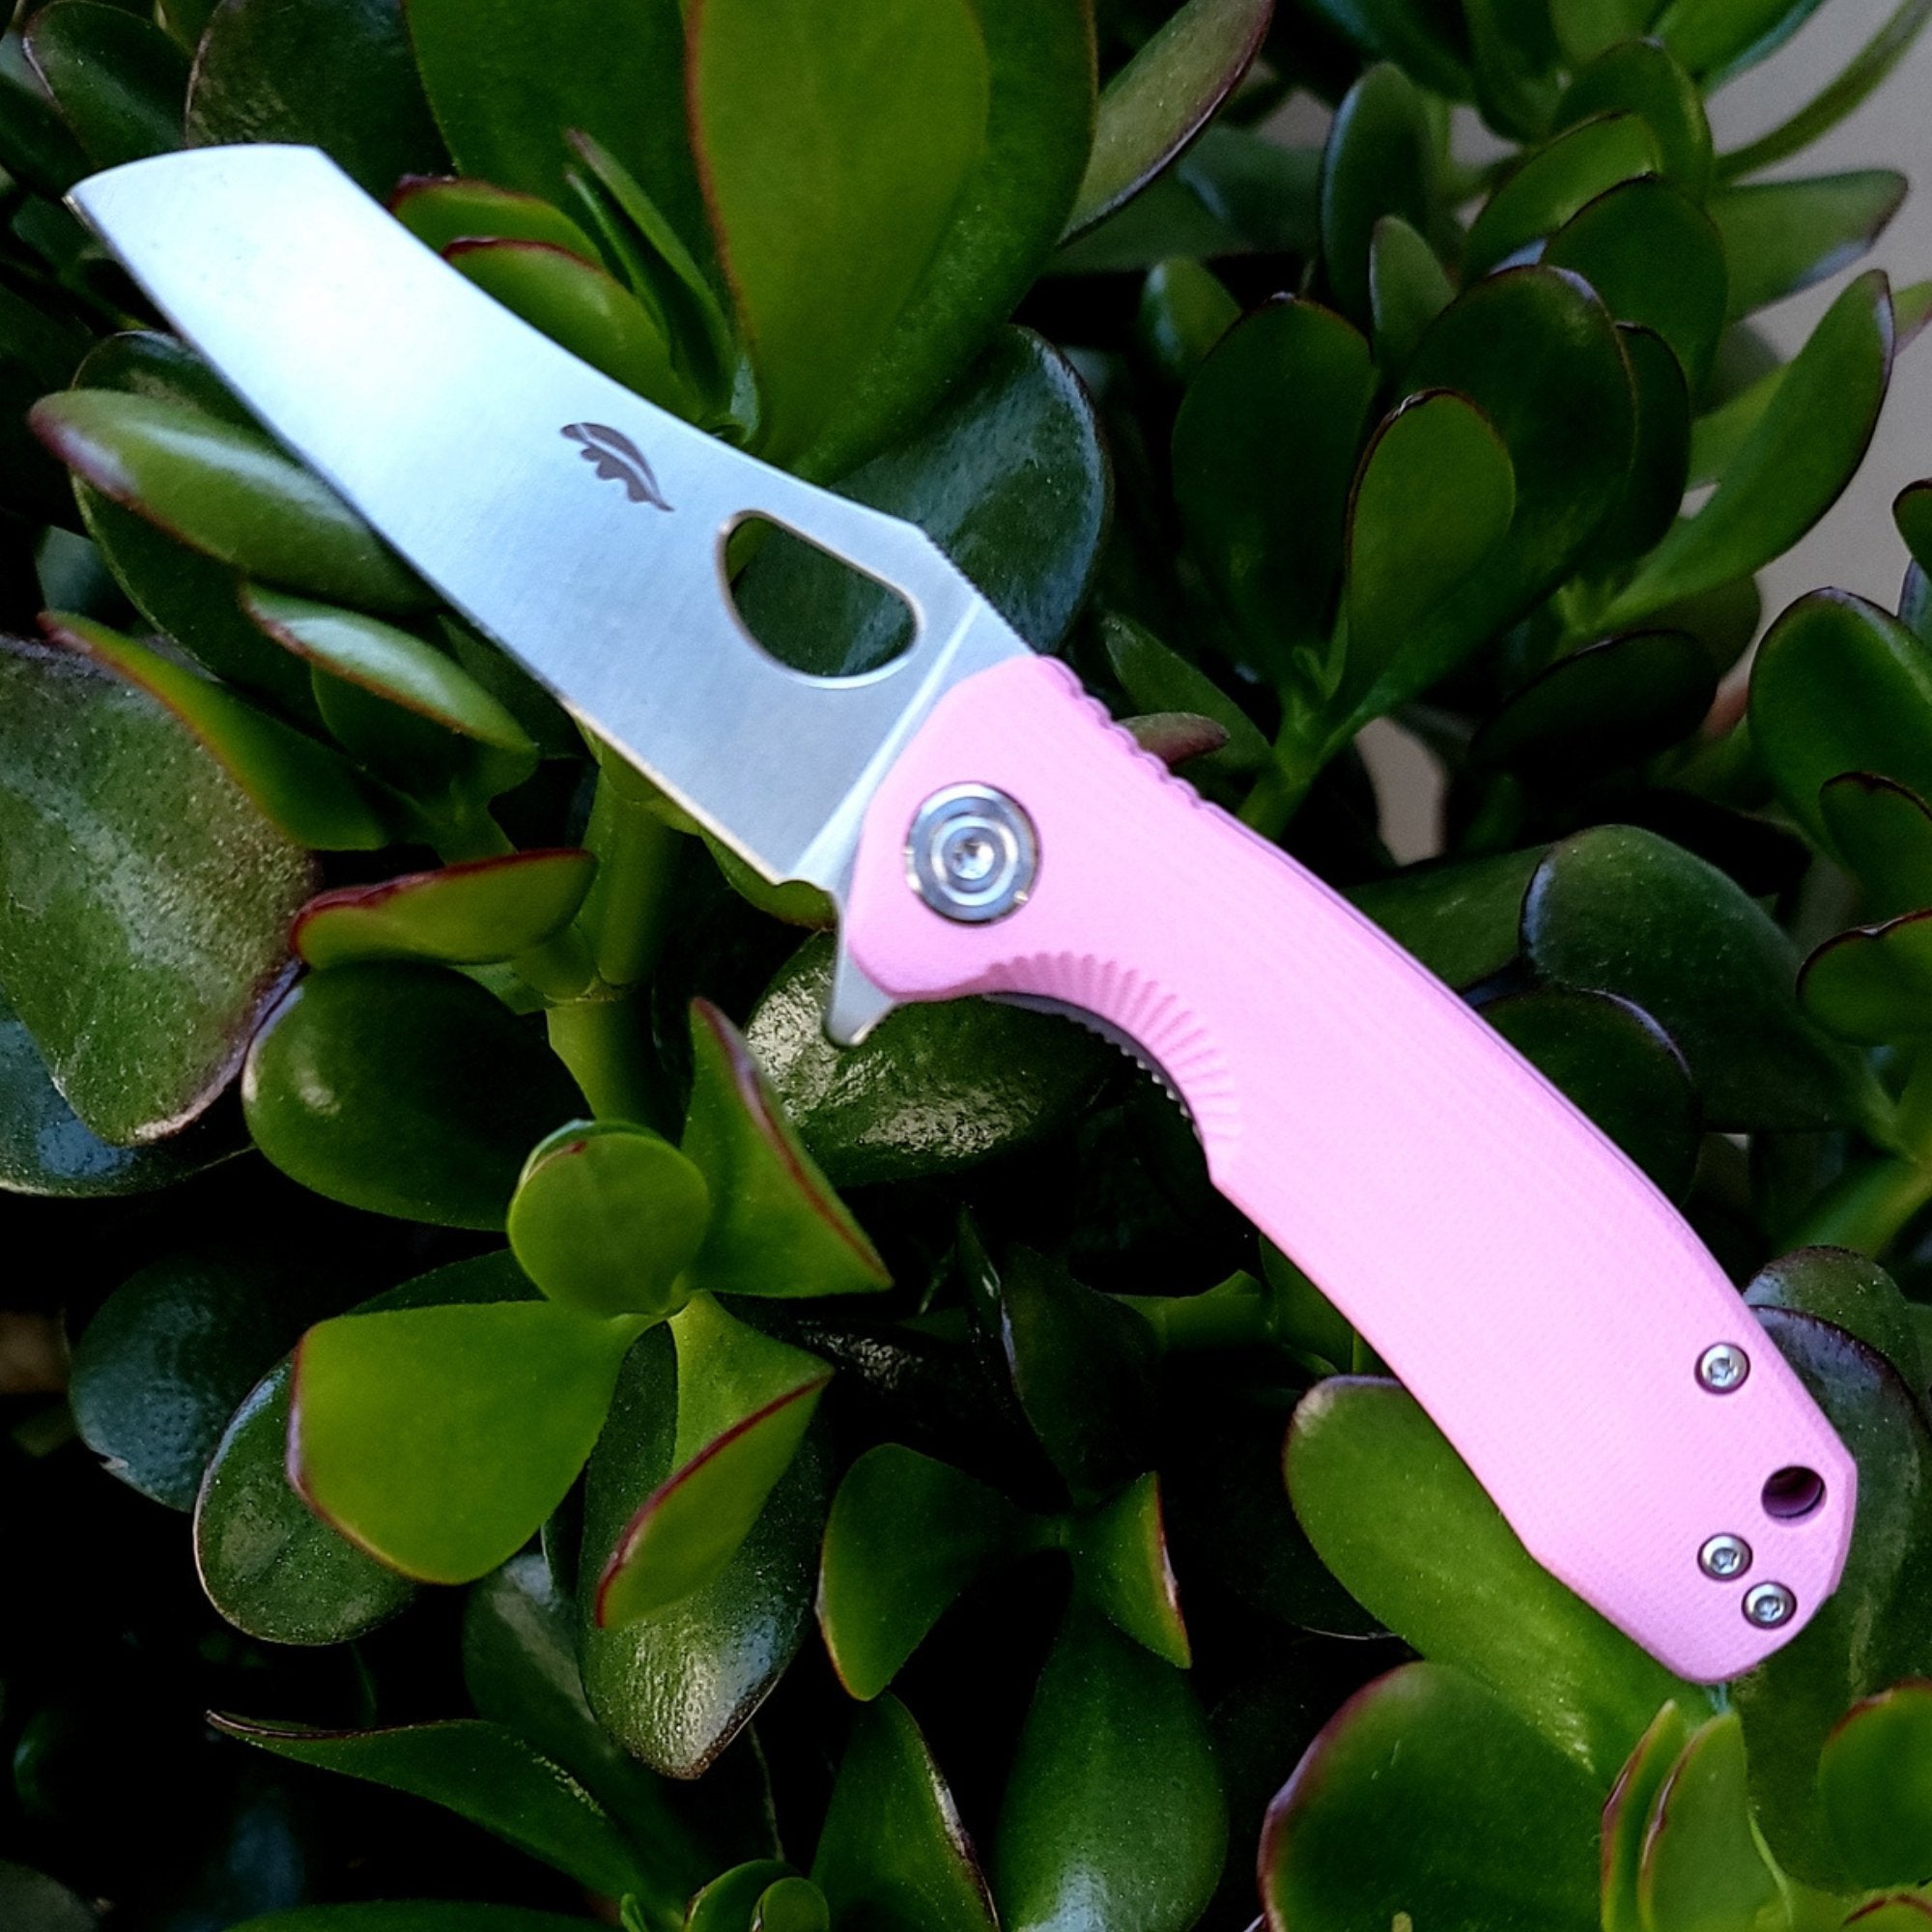
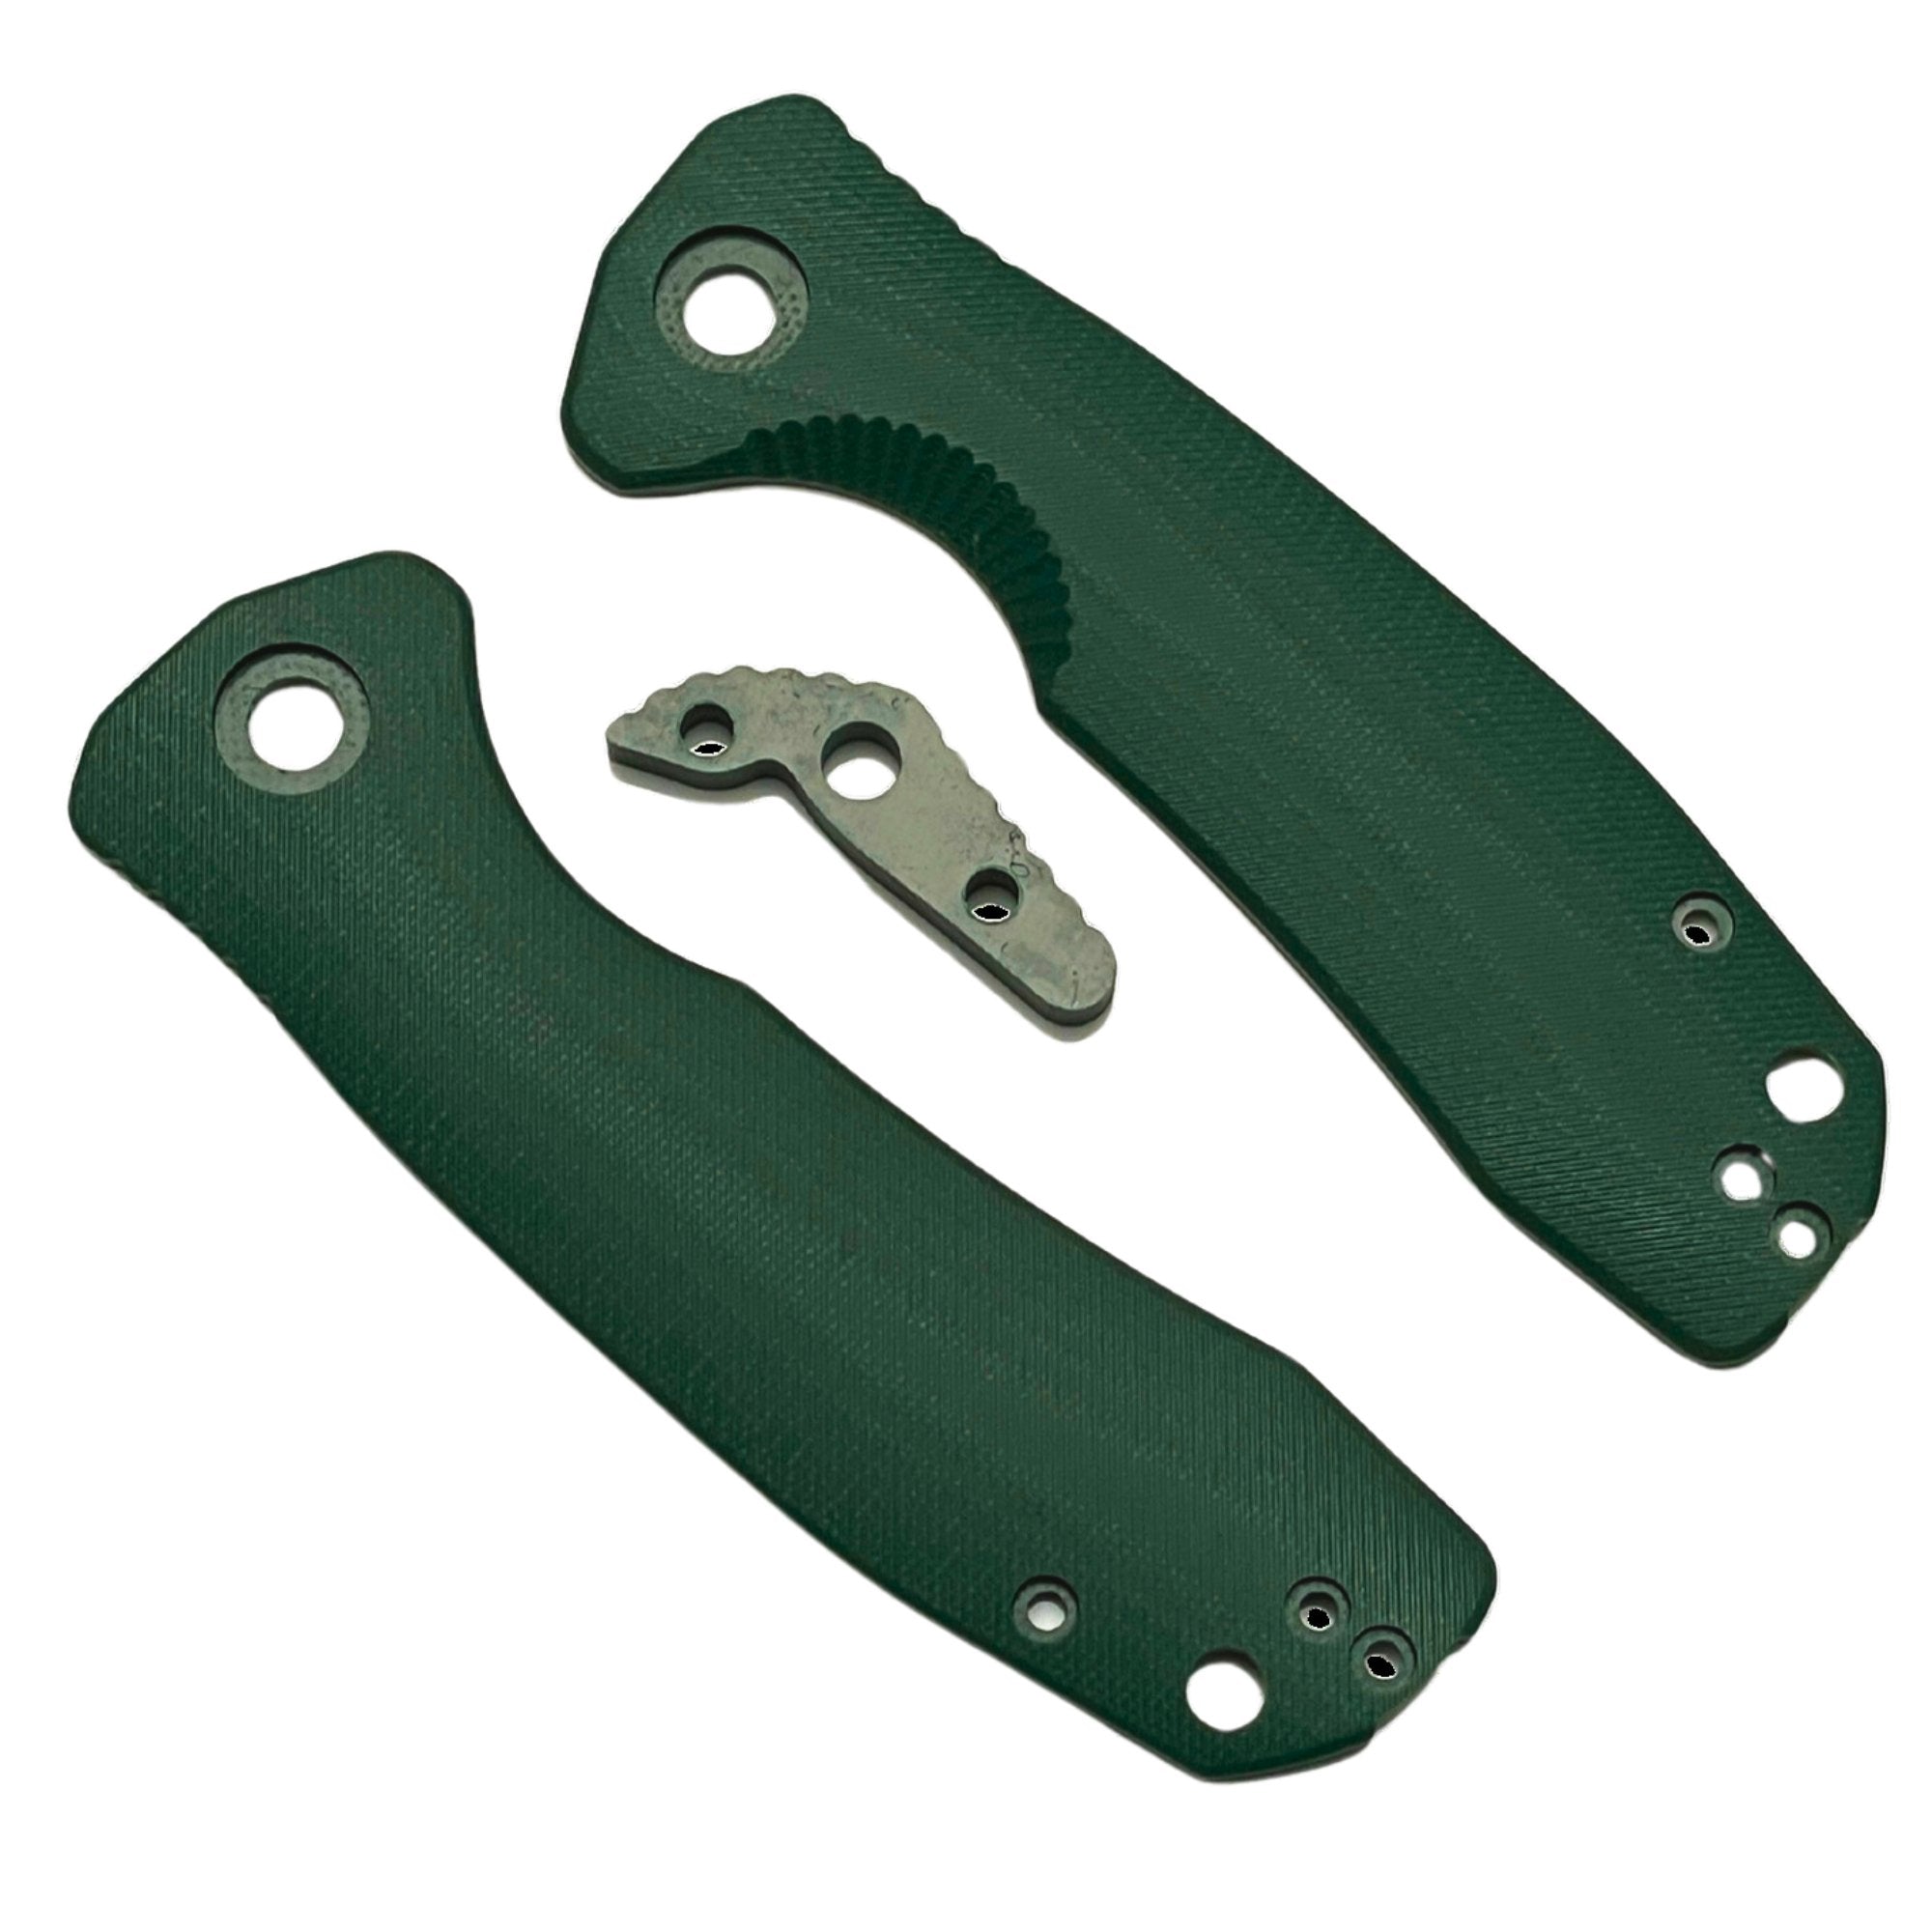
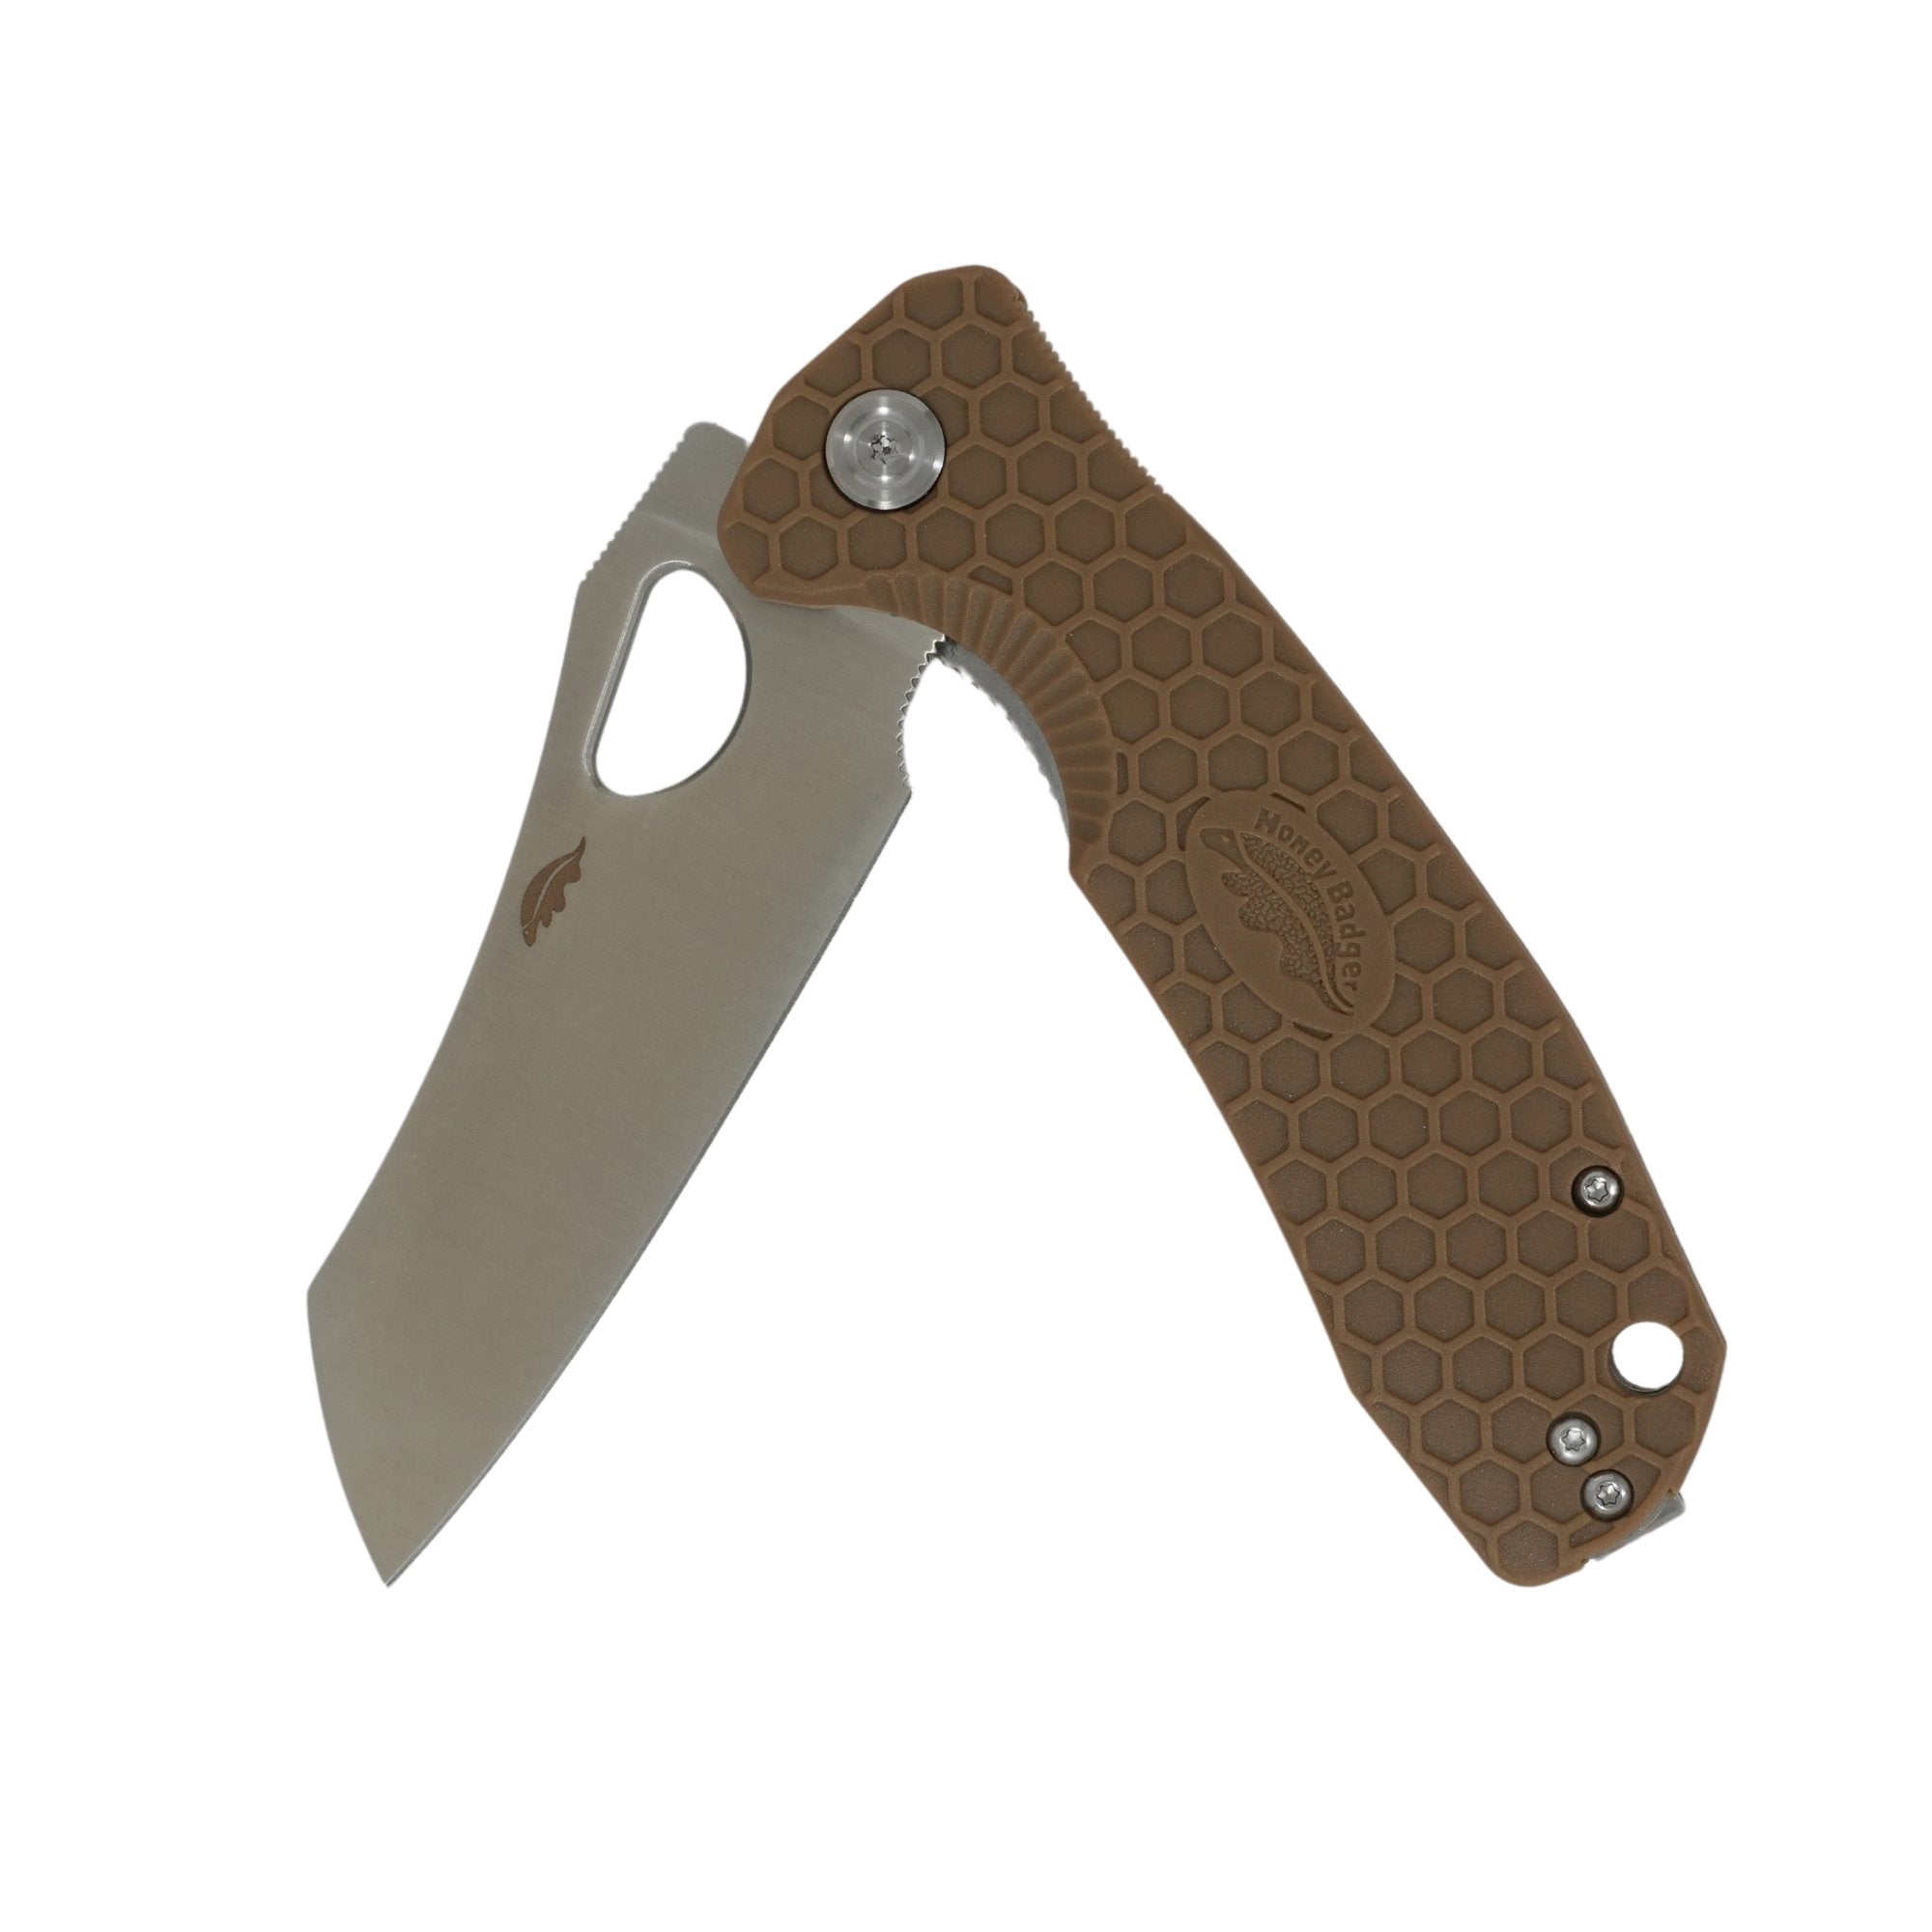
Of course there is nothing to stop you creating your own white knife by fitting the white handle kit to an existing Honey Badger knife.
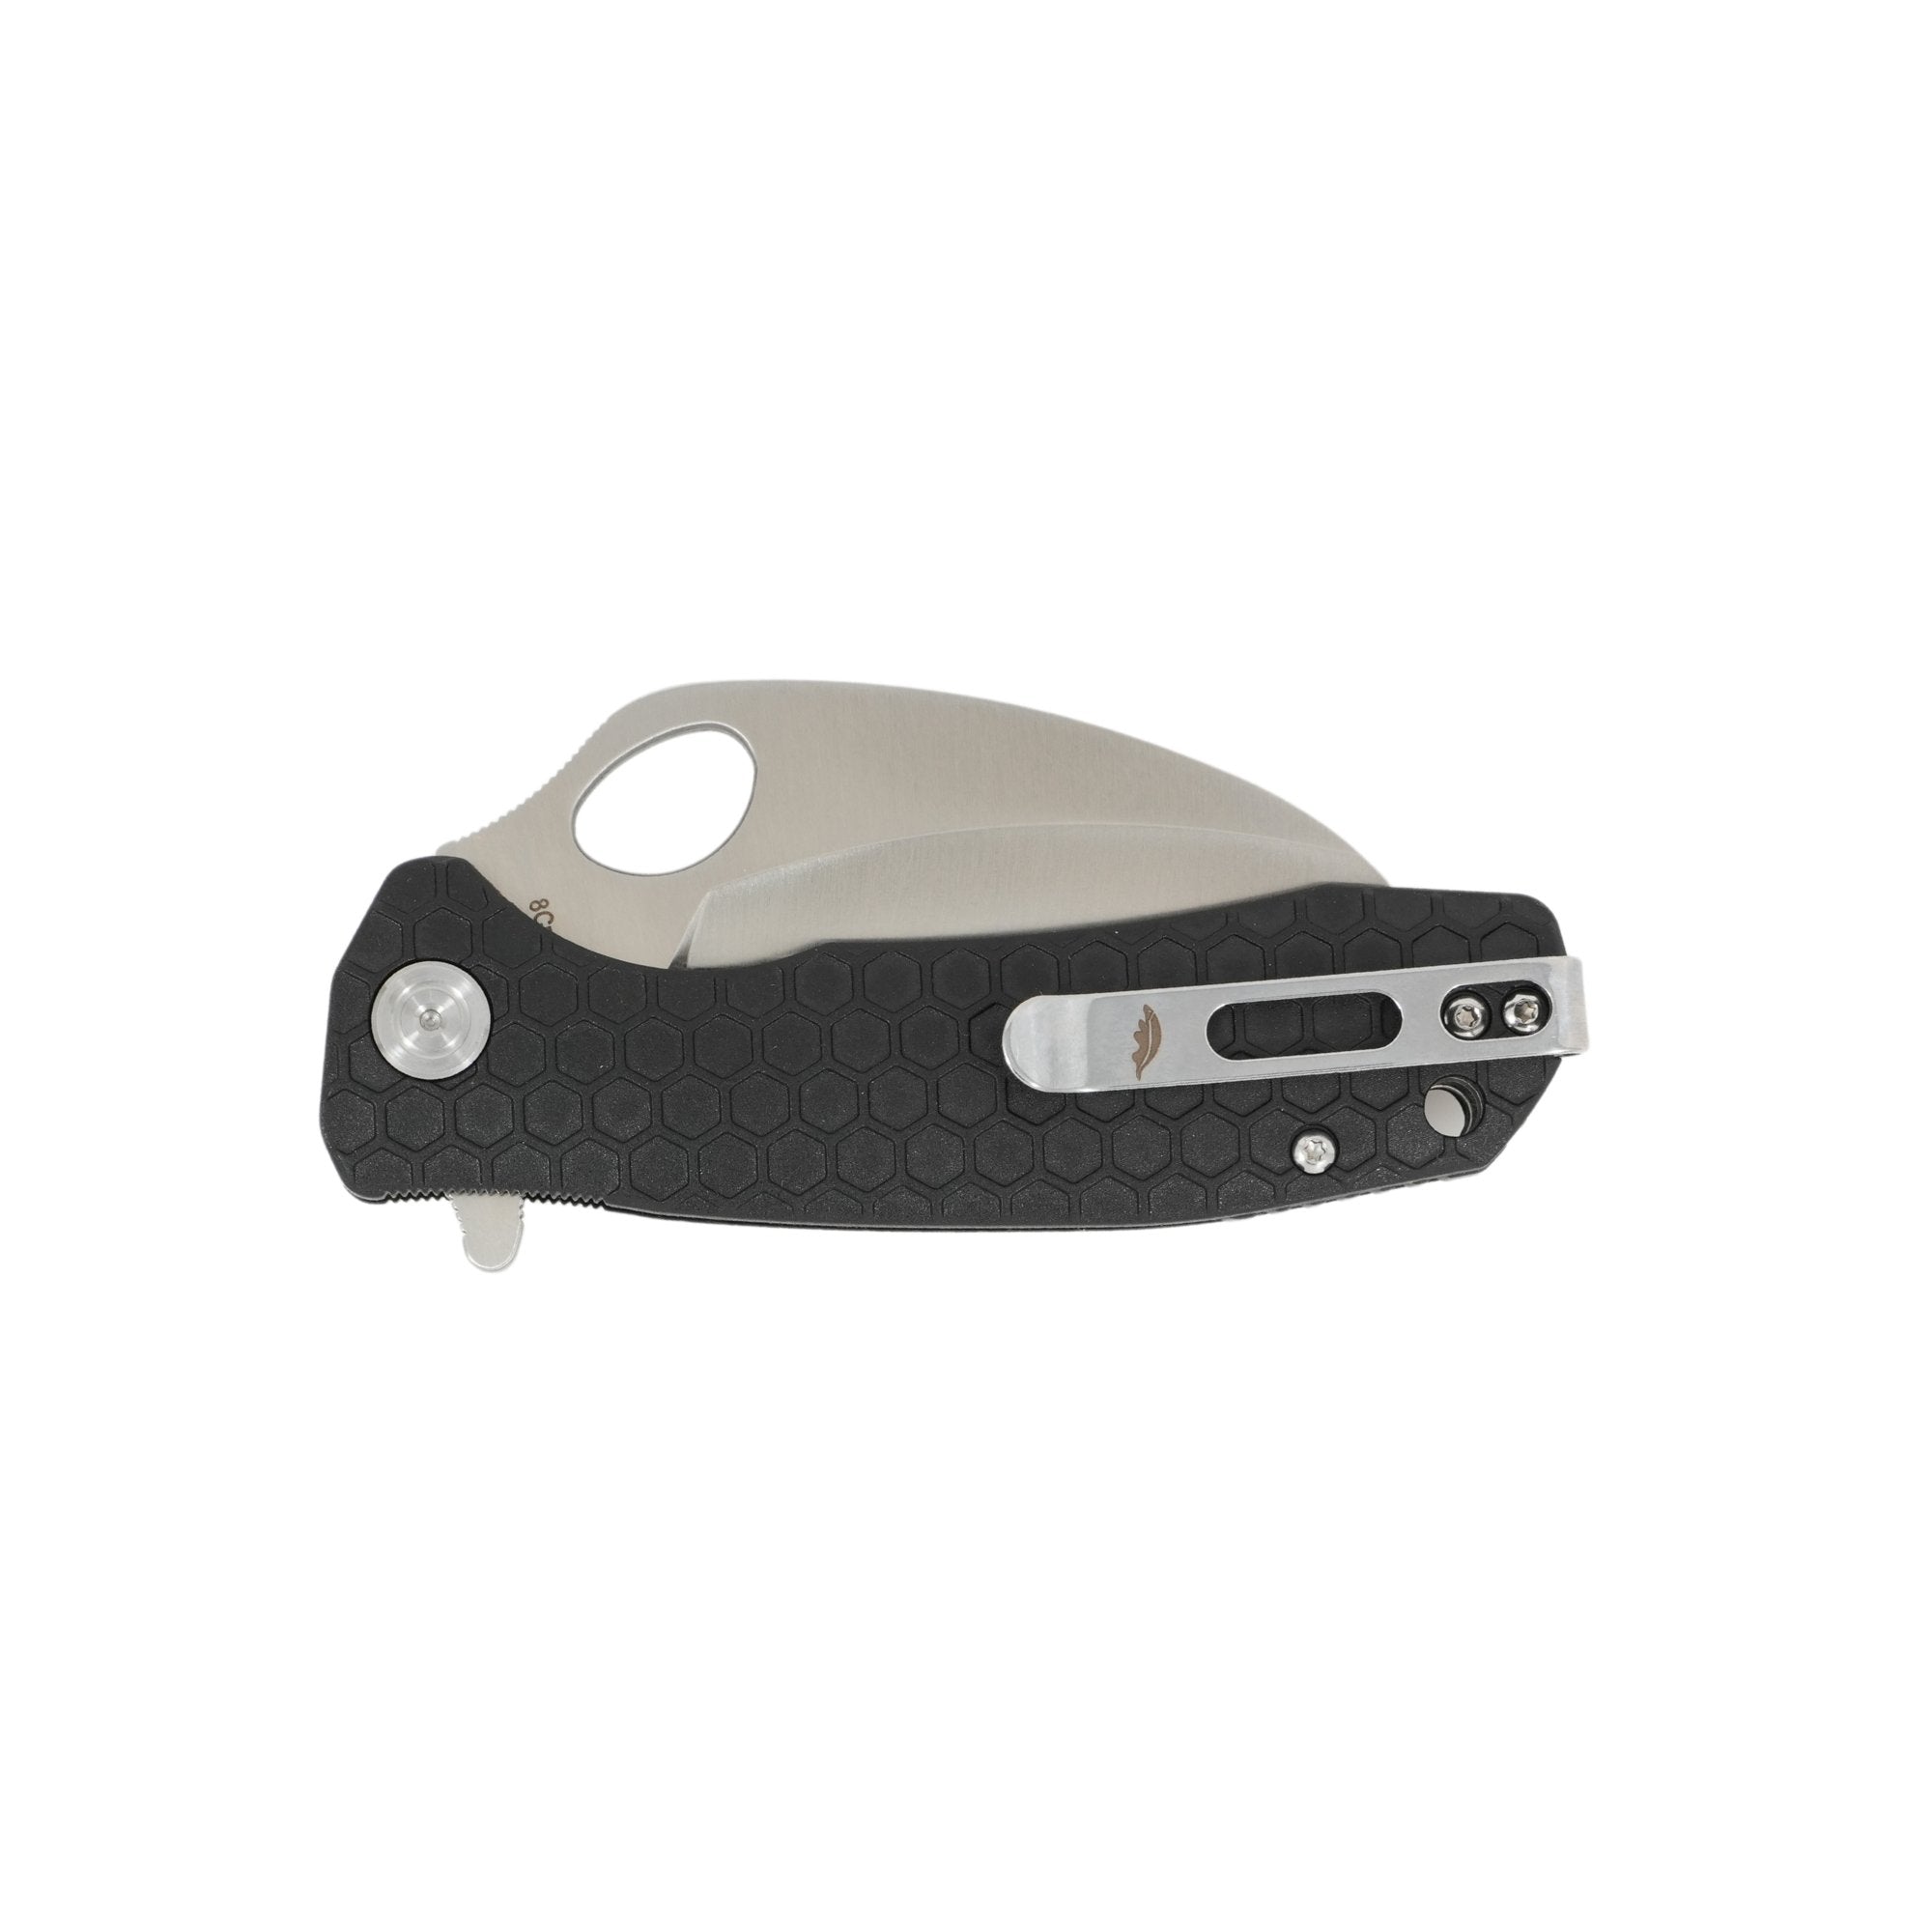
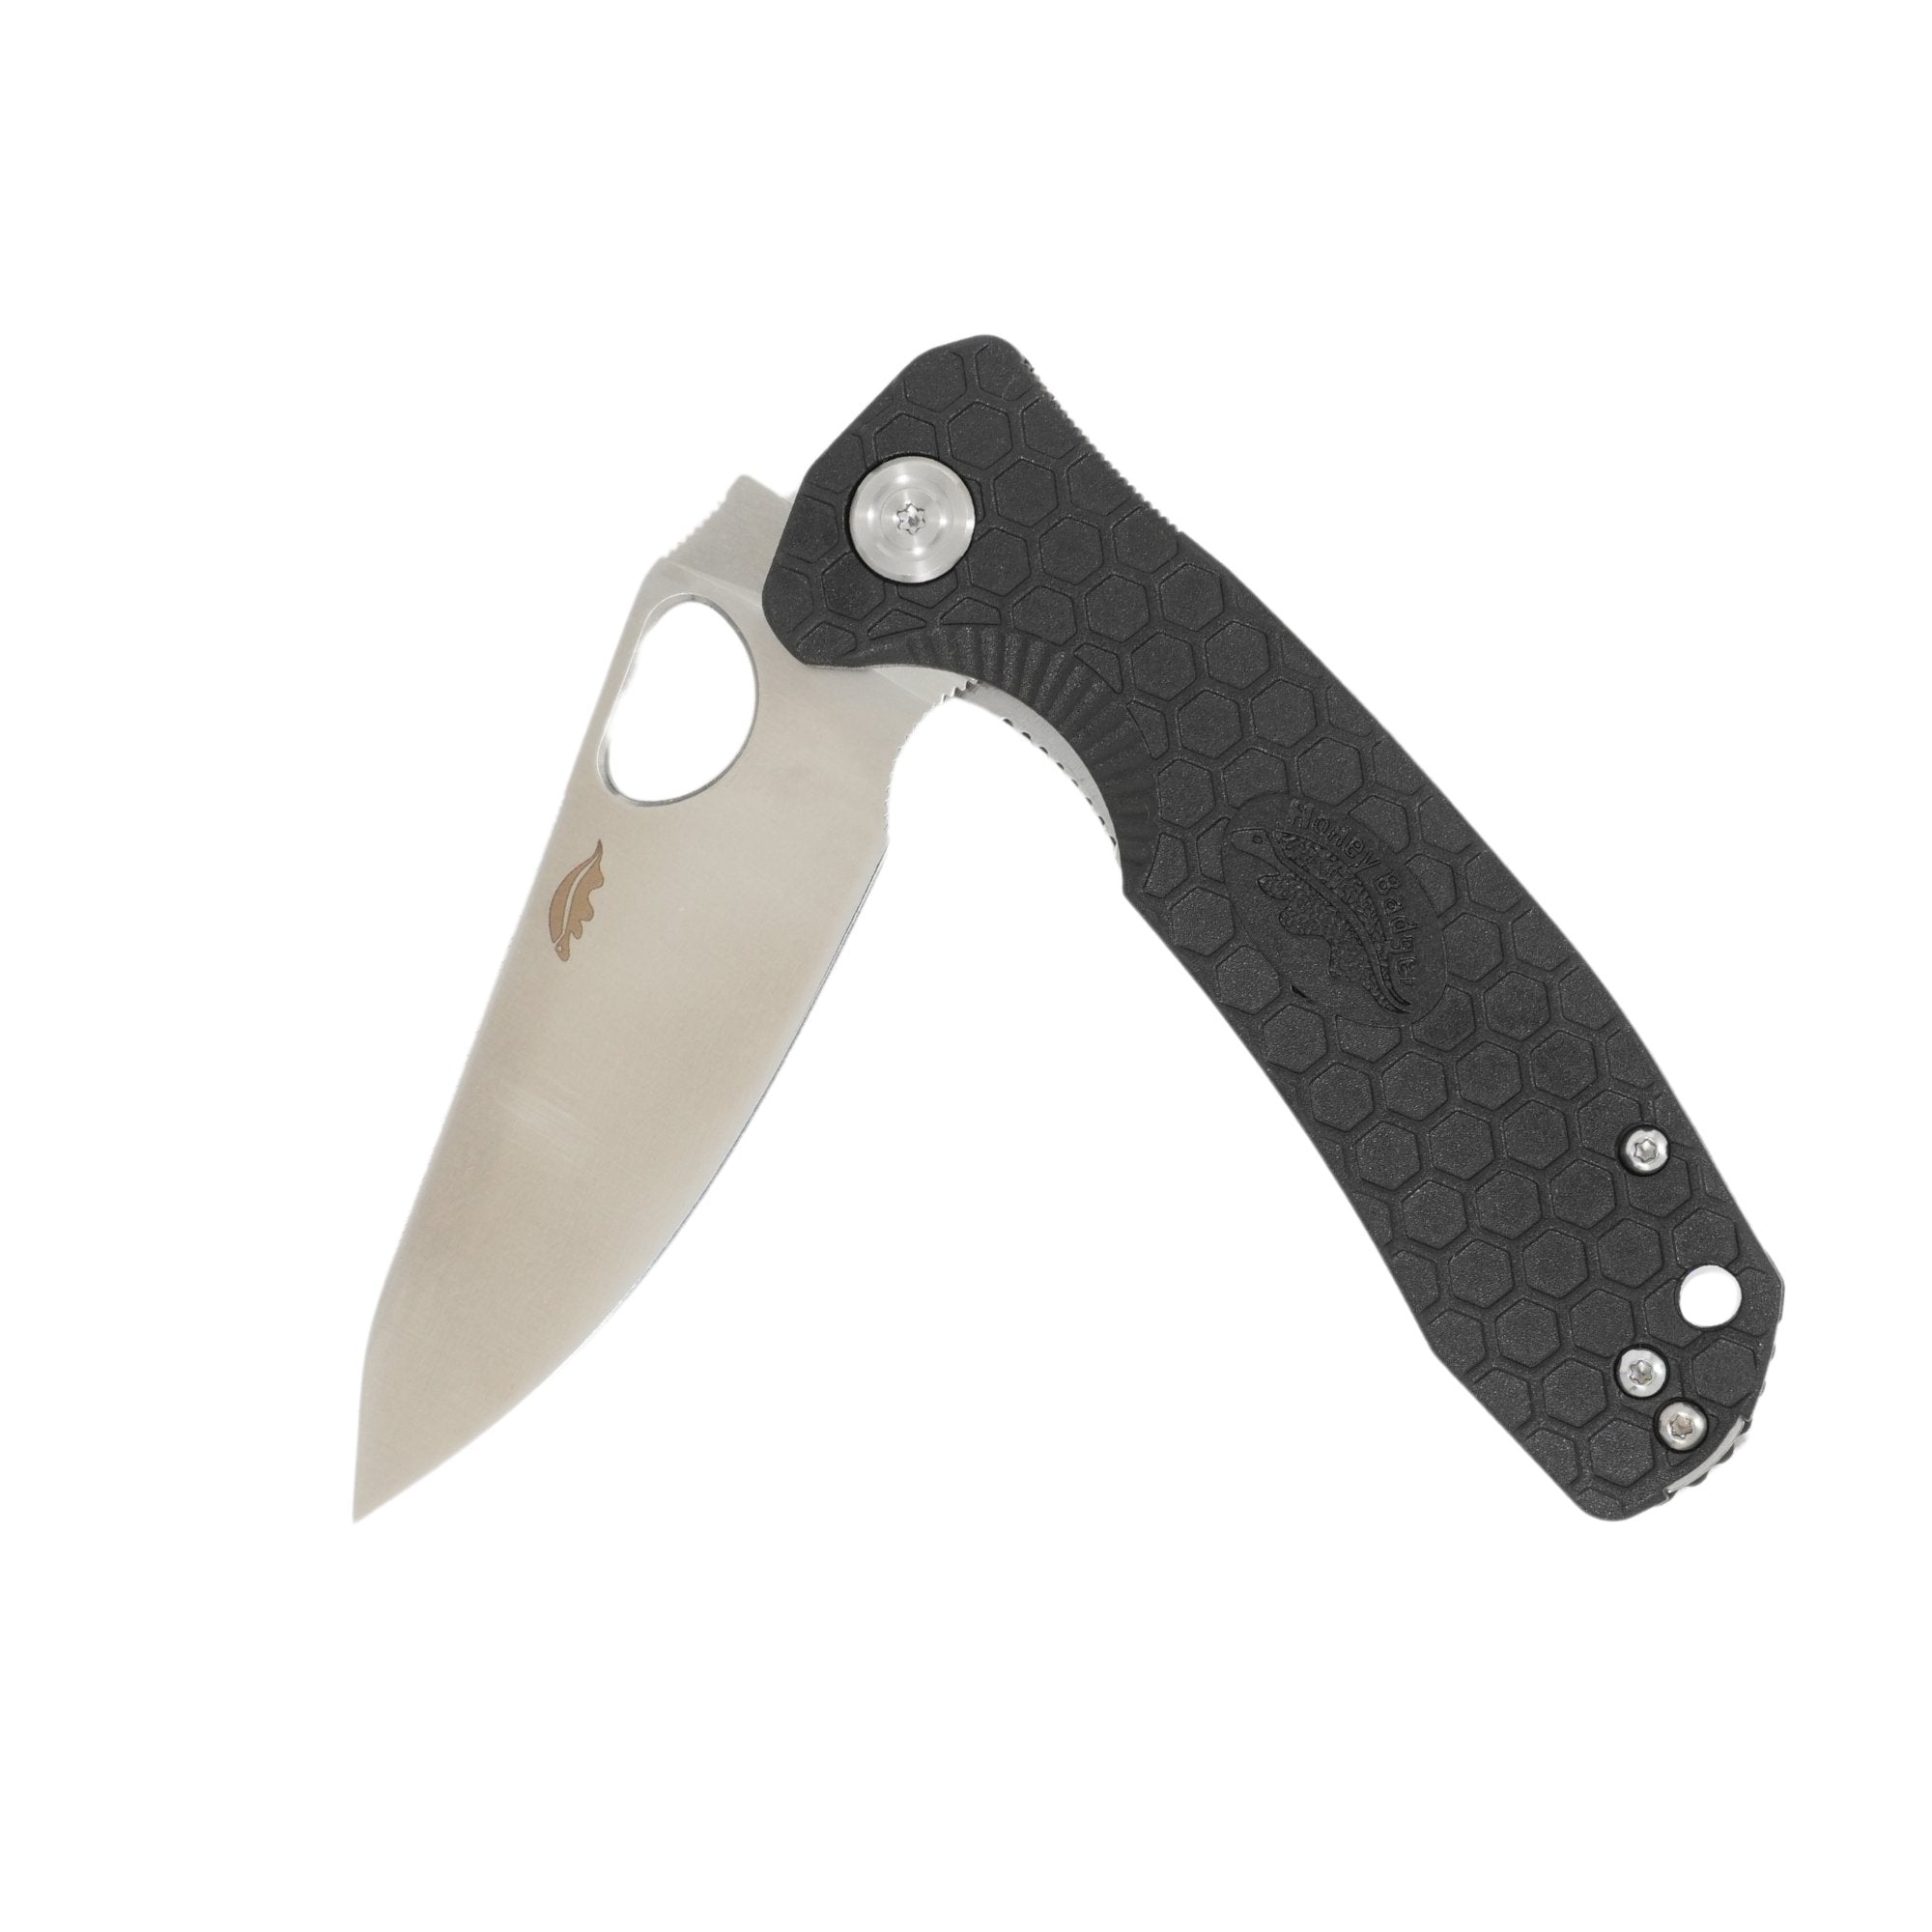
It’s really easy to remove and refit the scales.
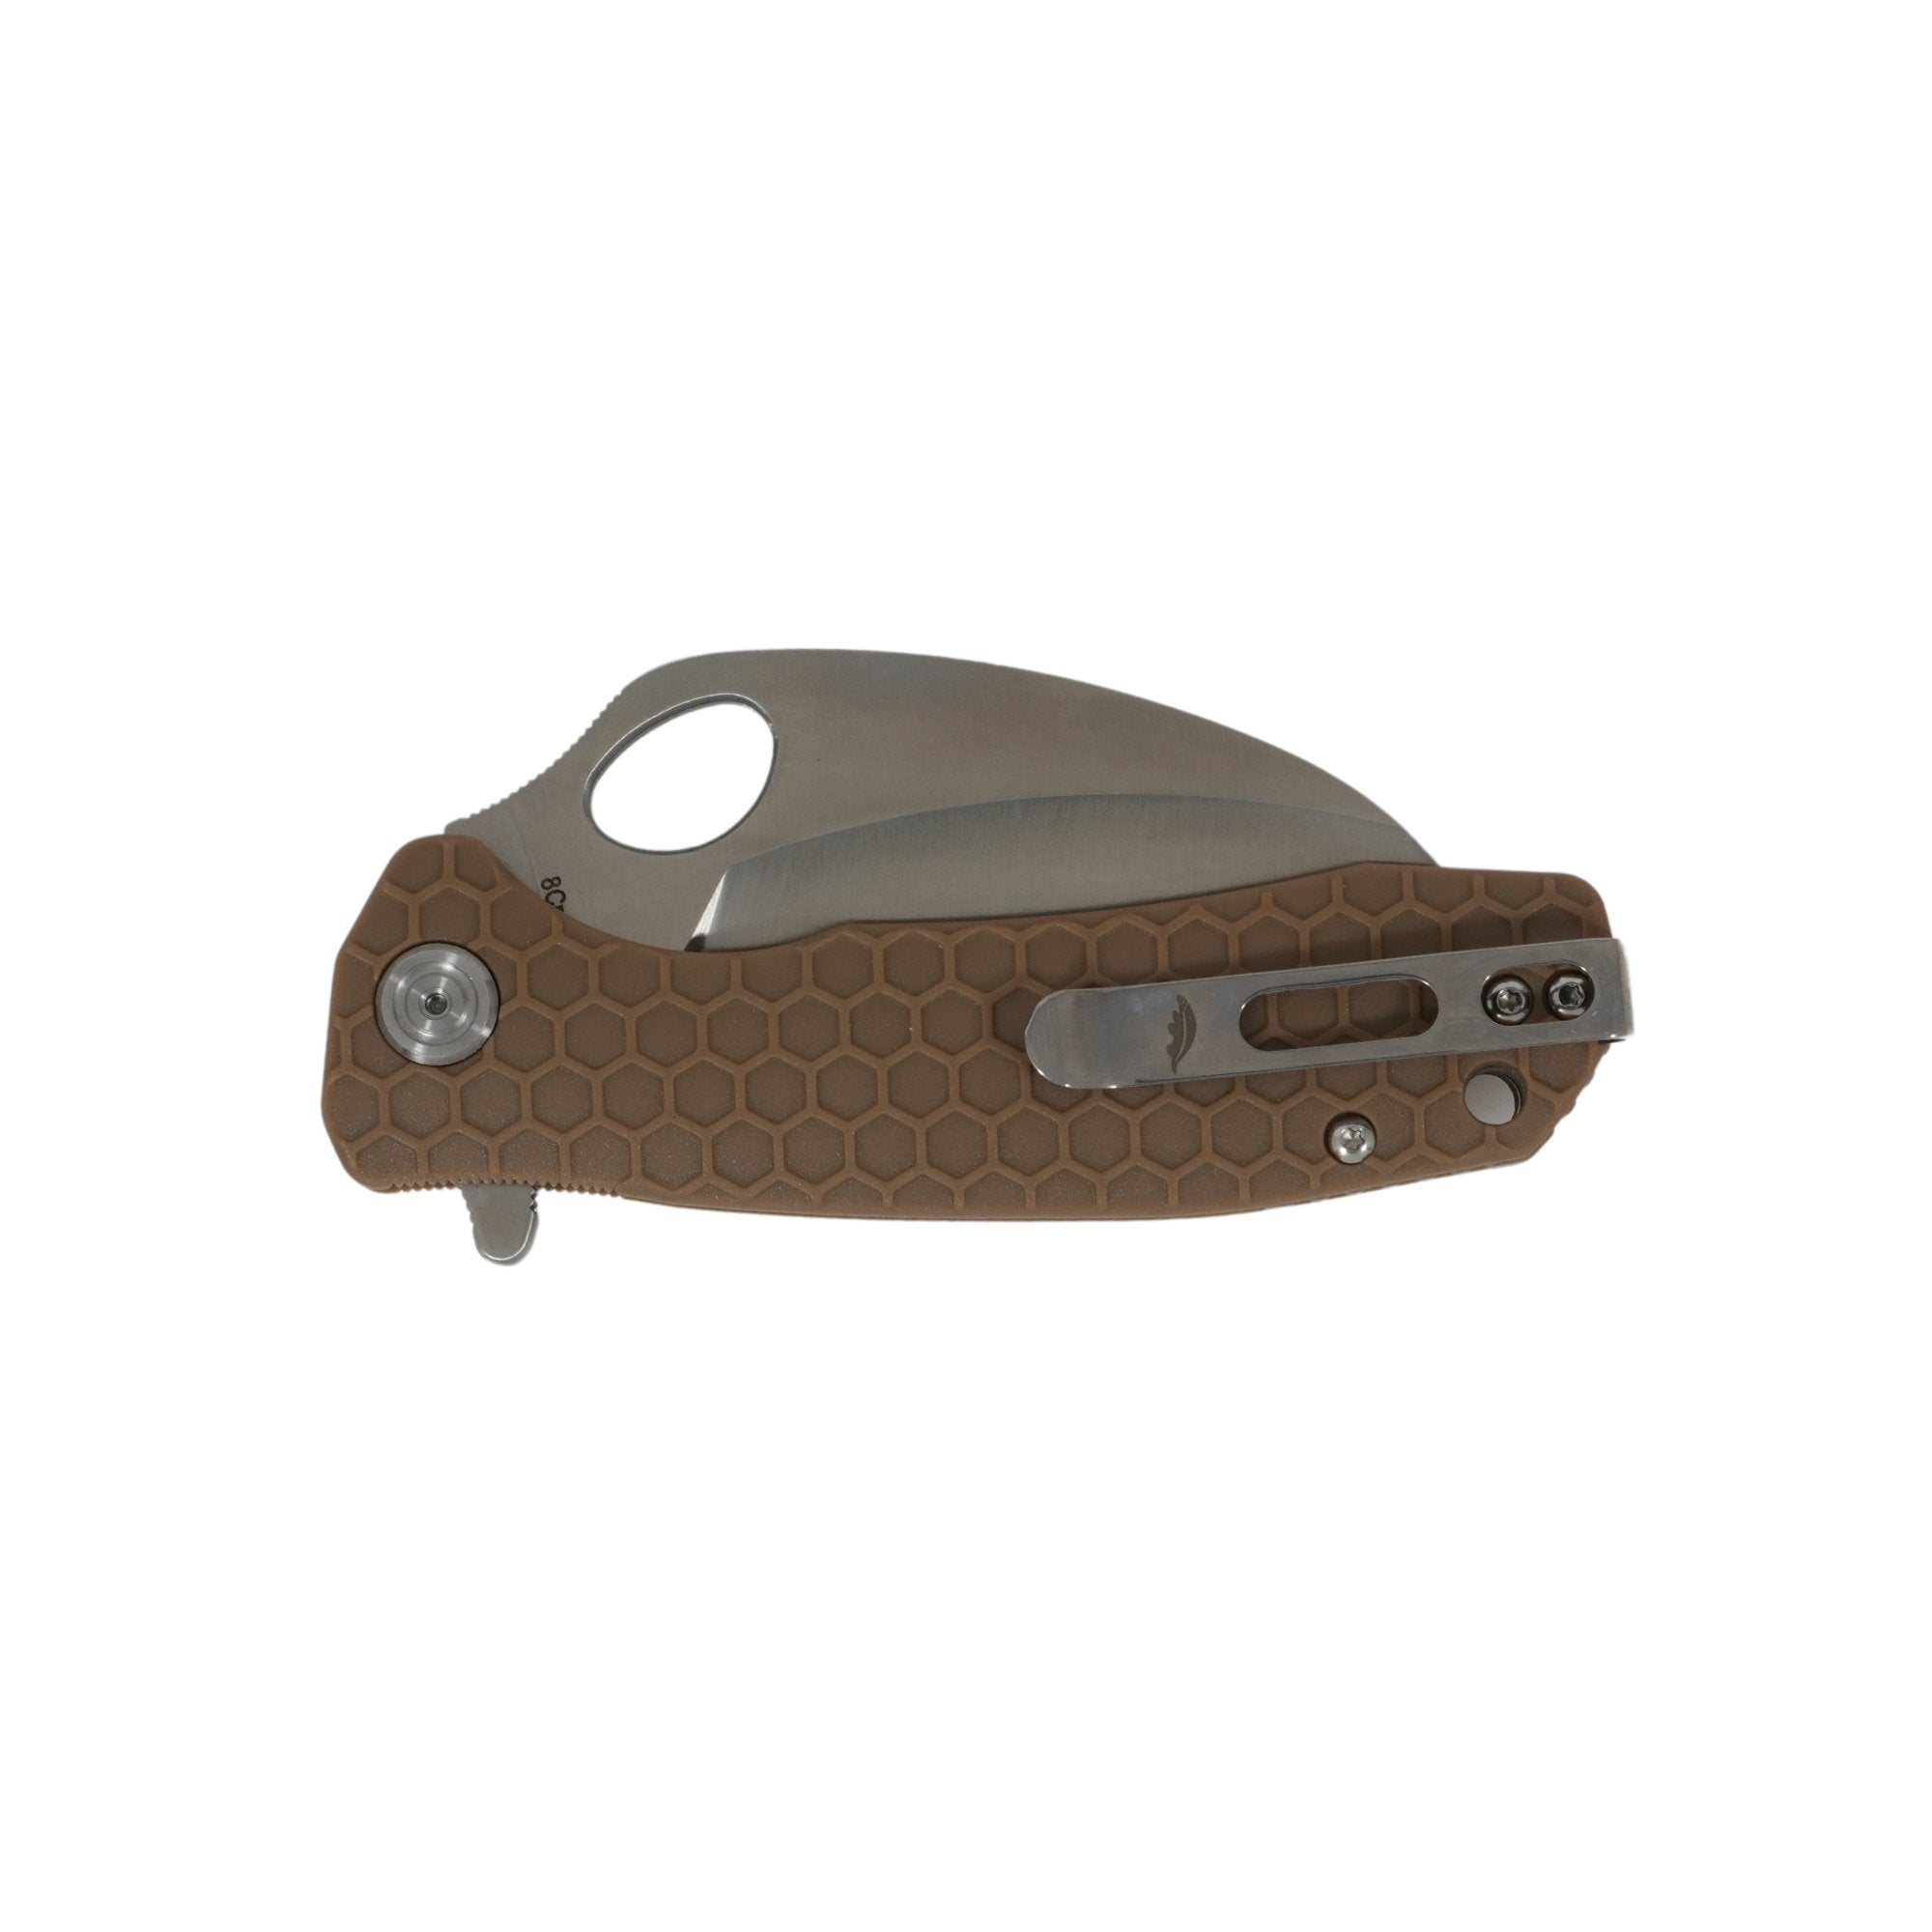
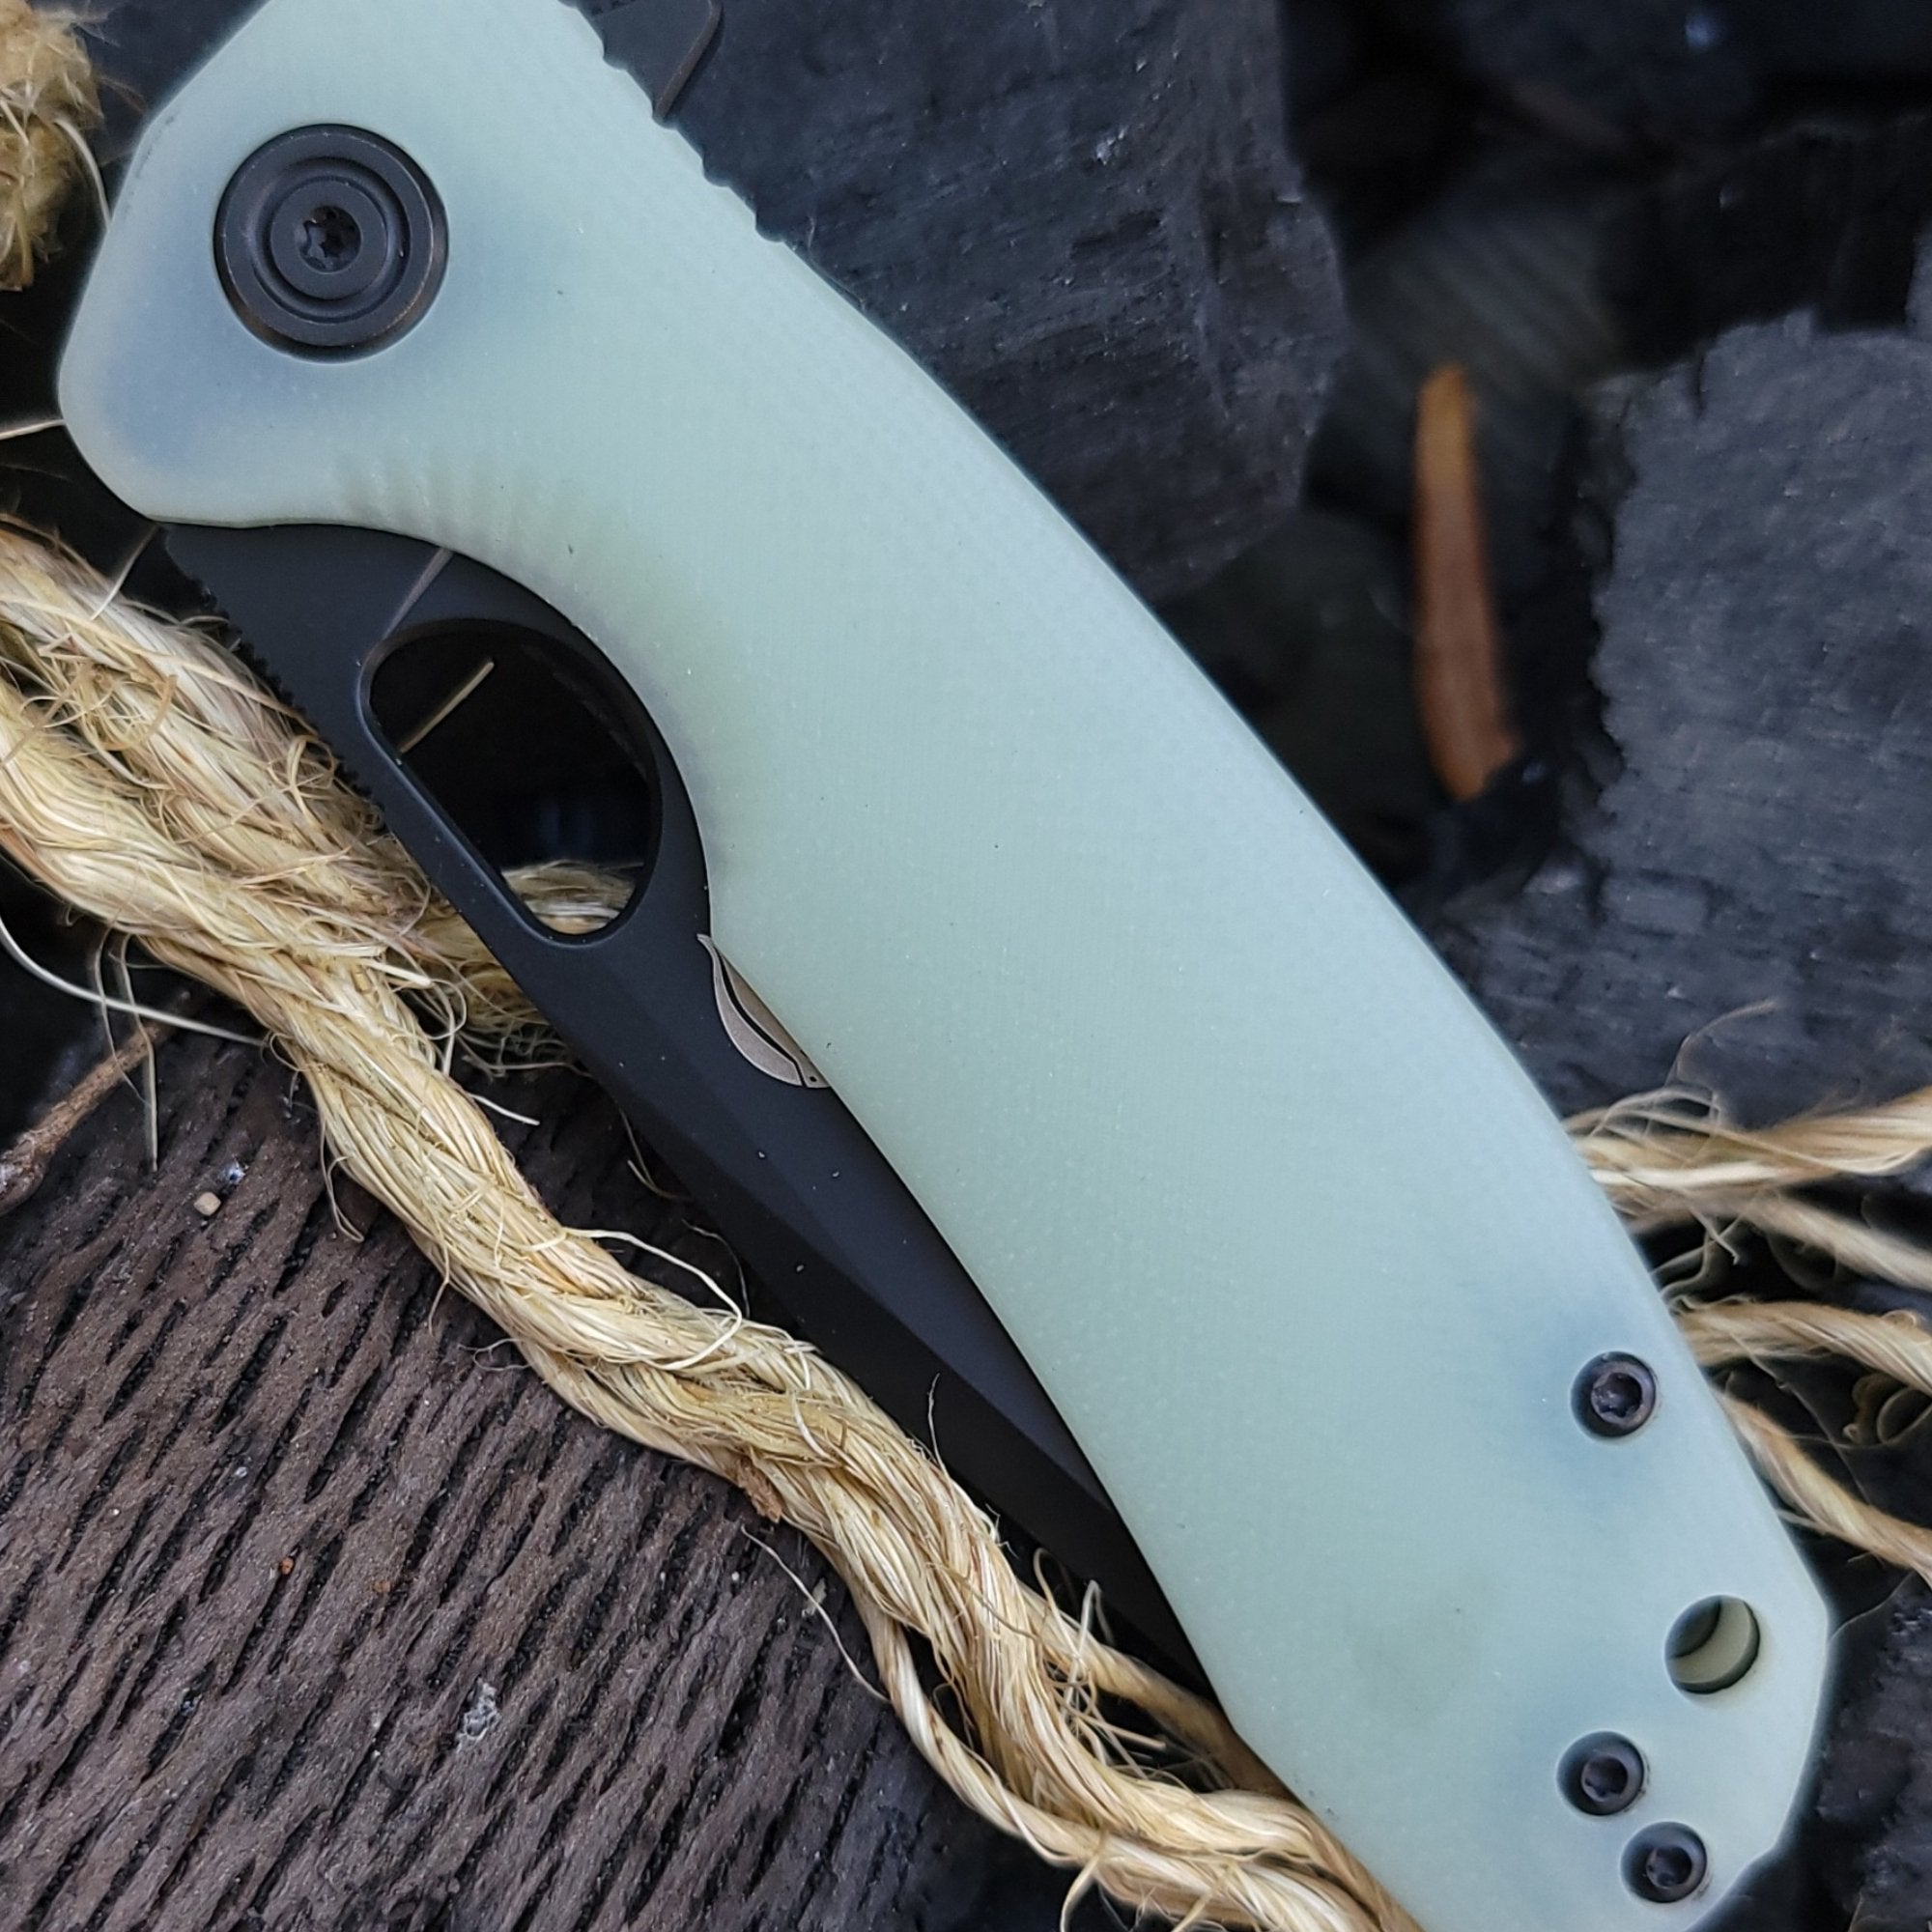
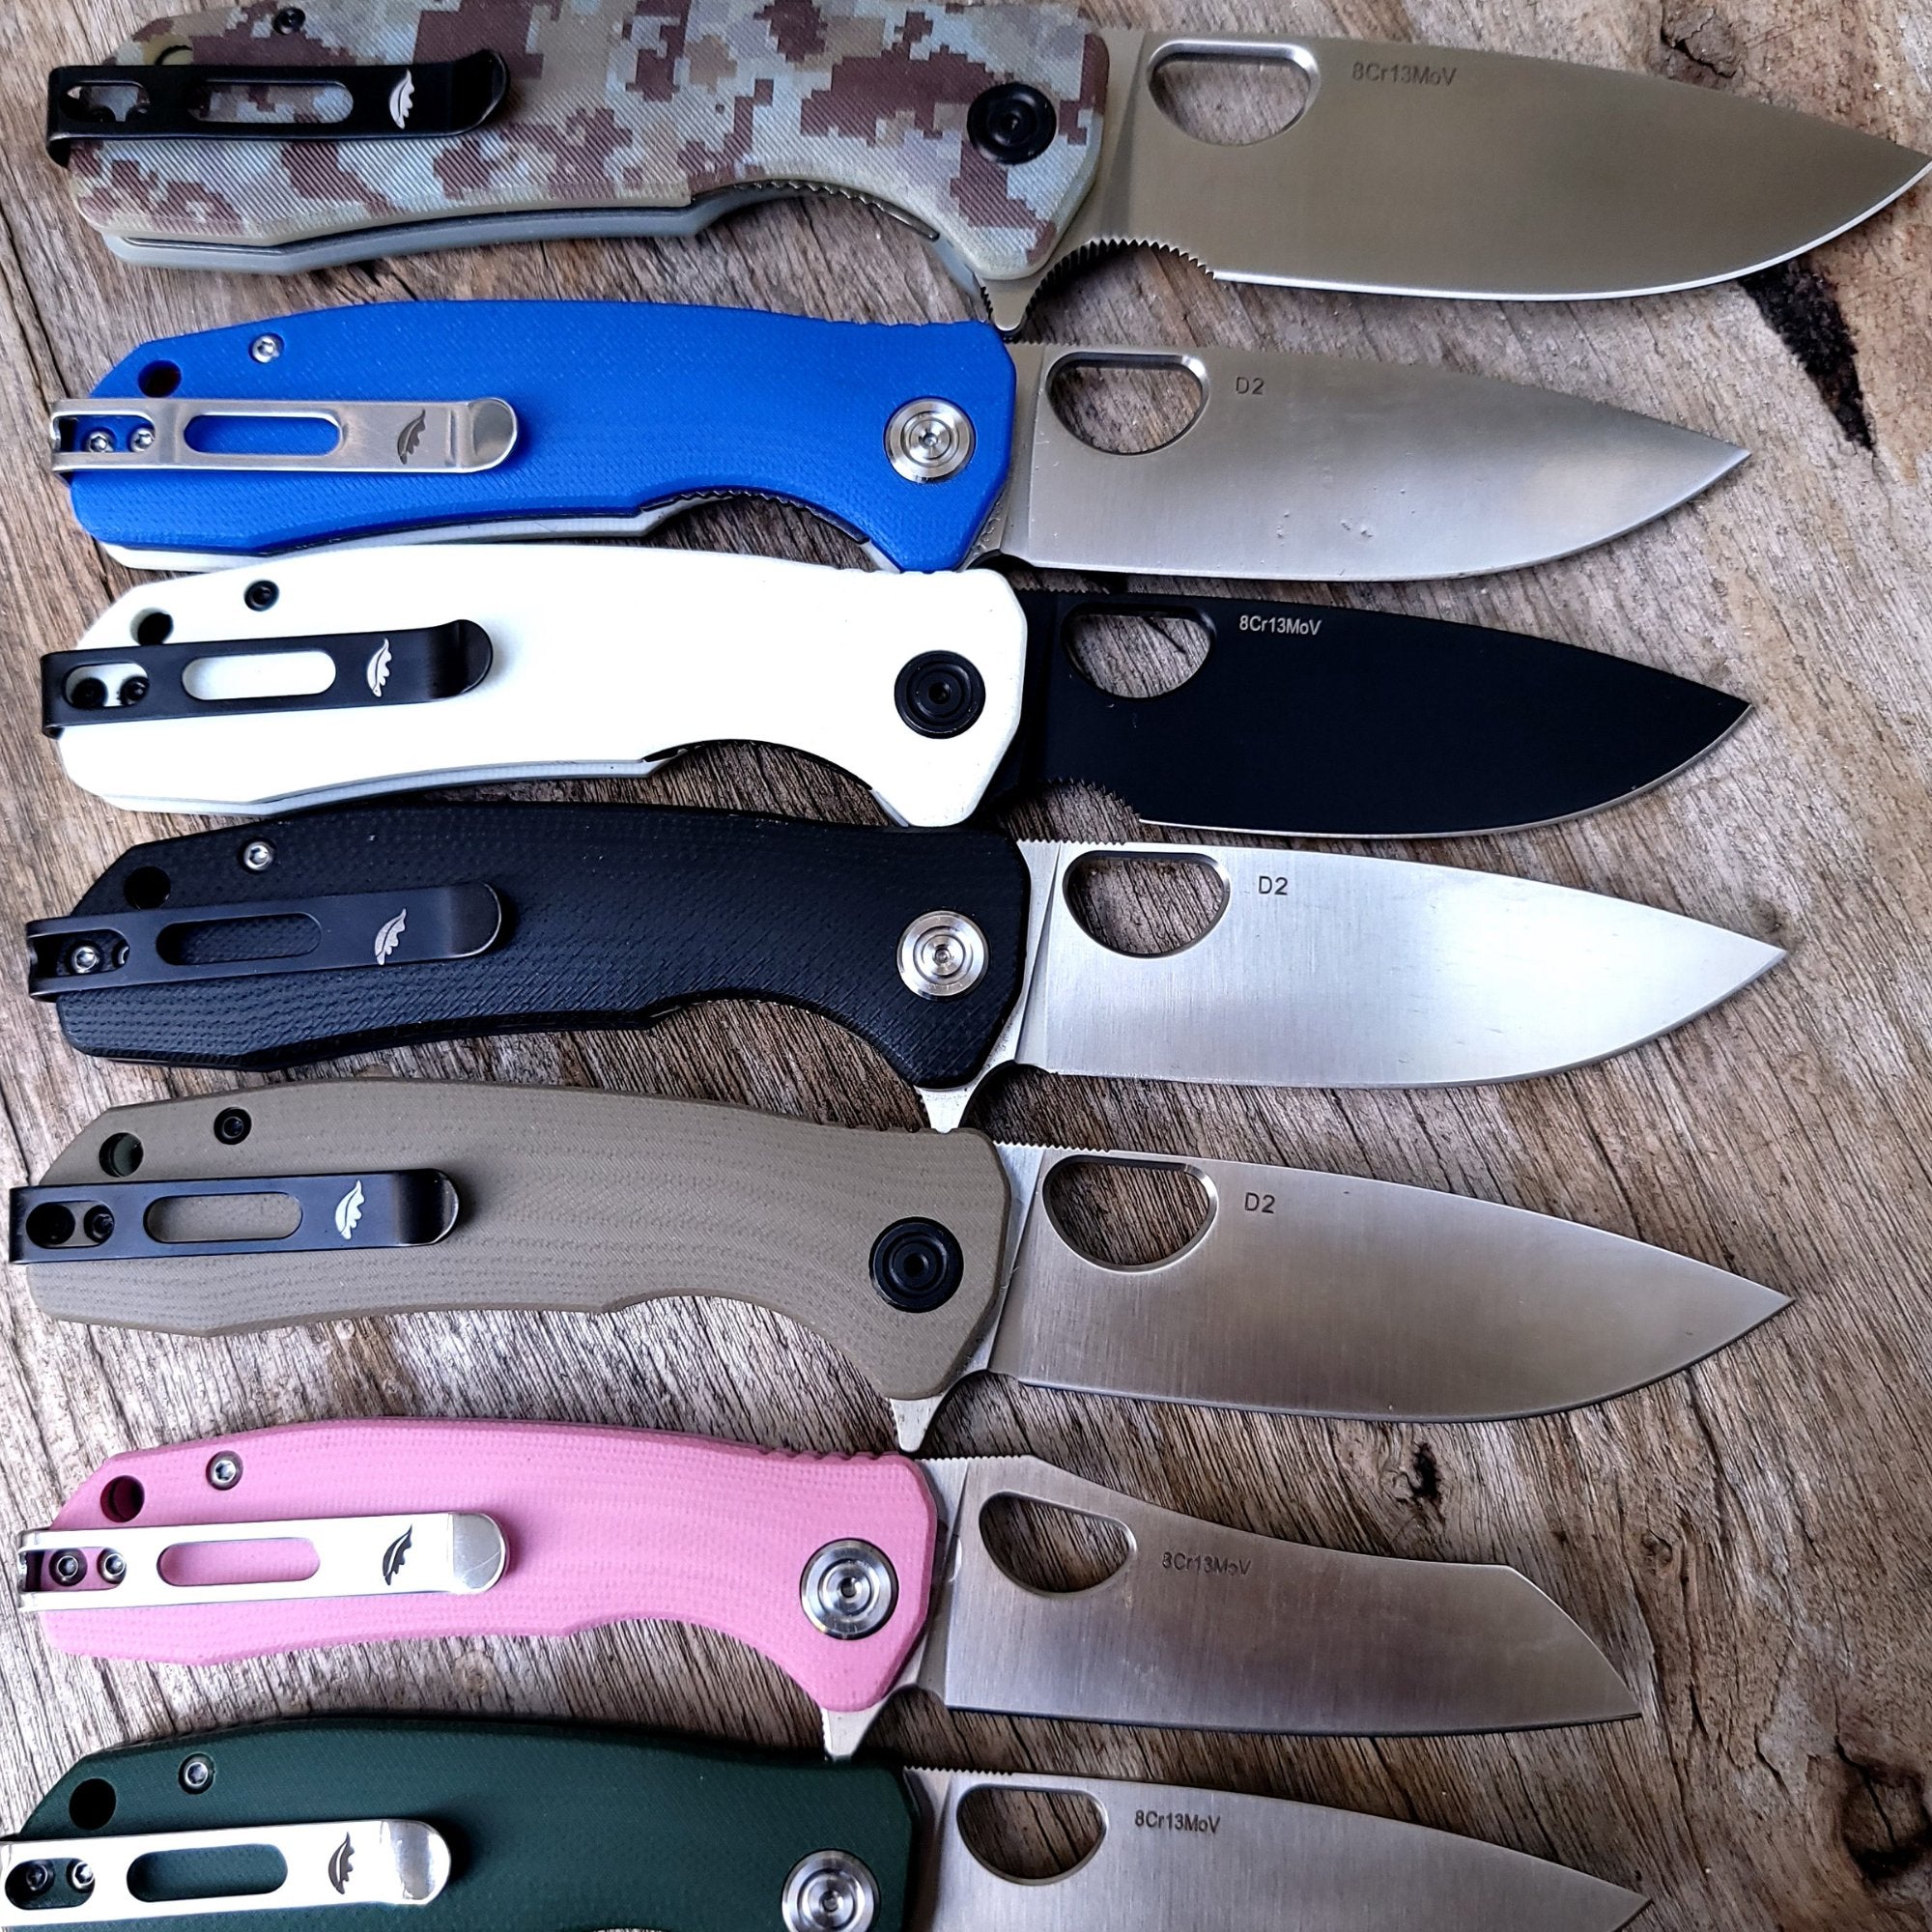
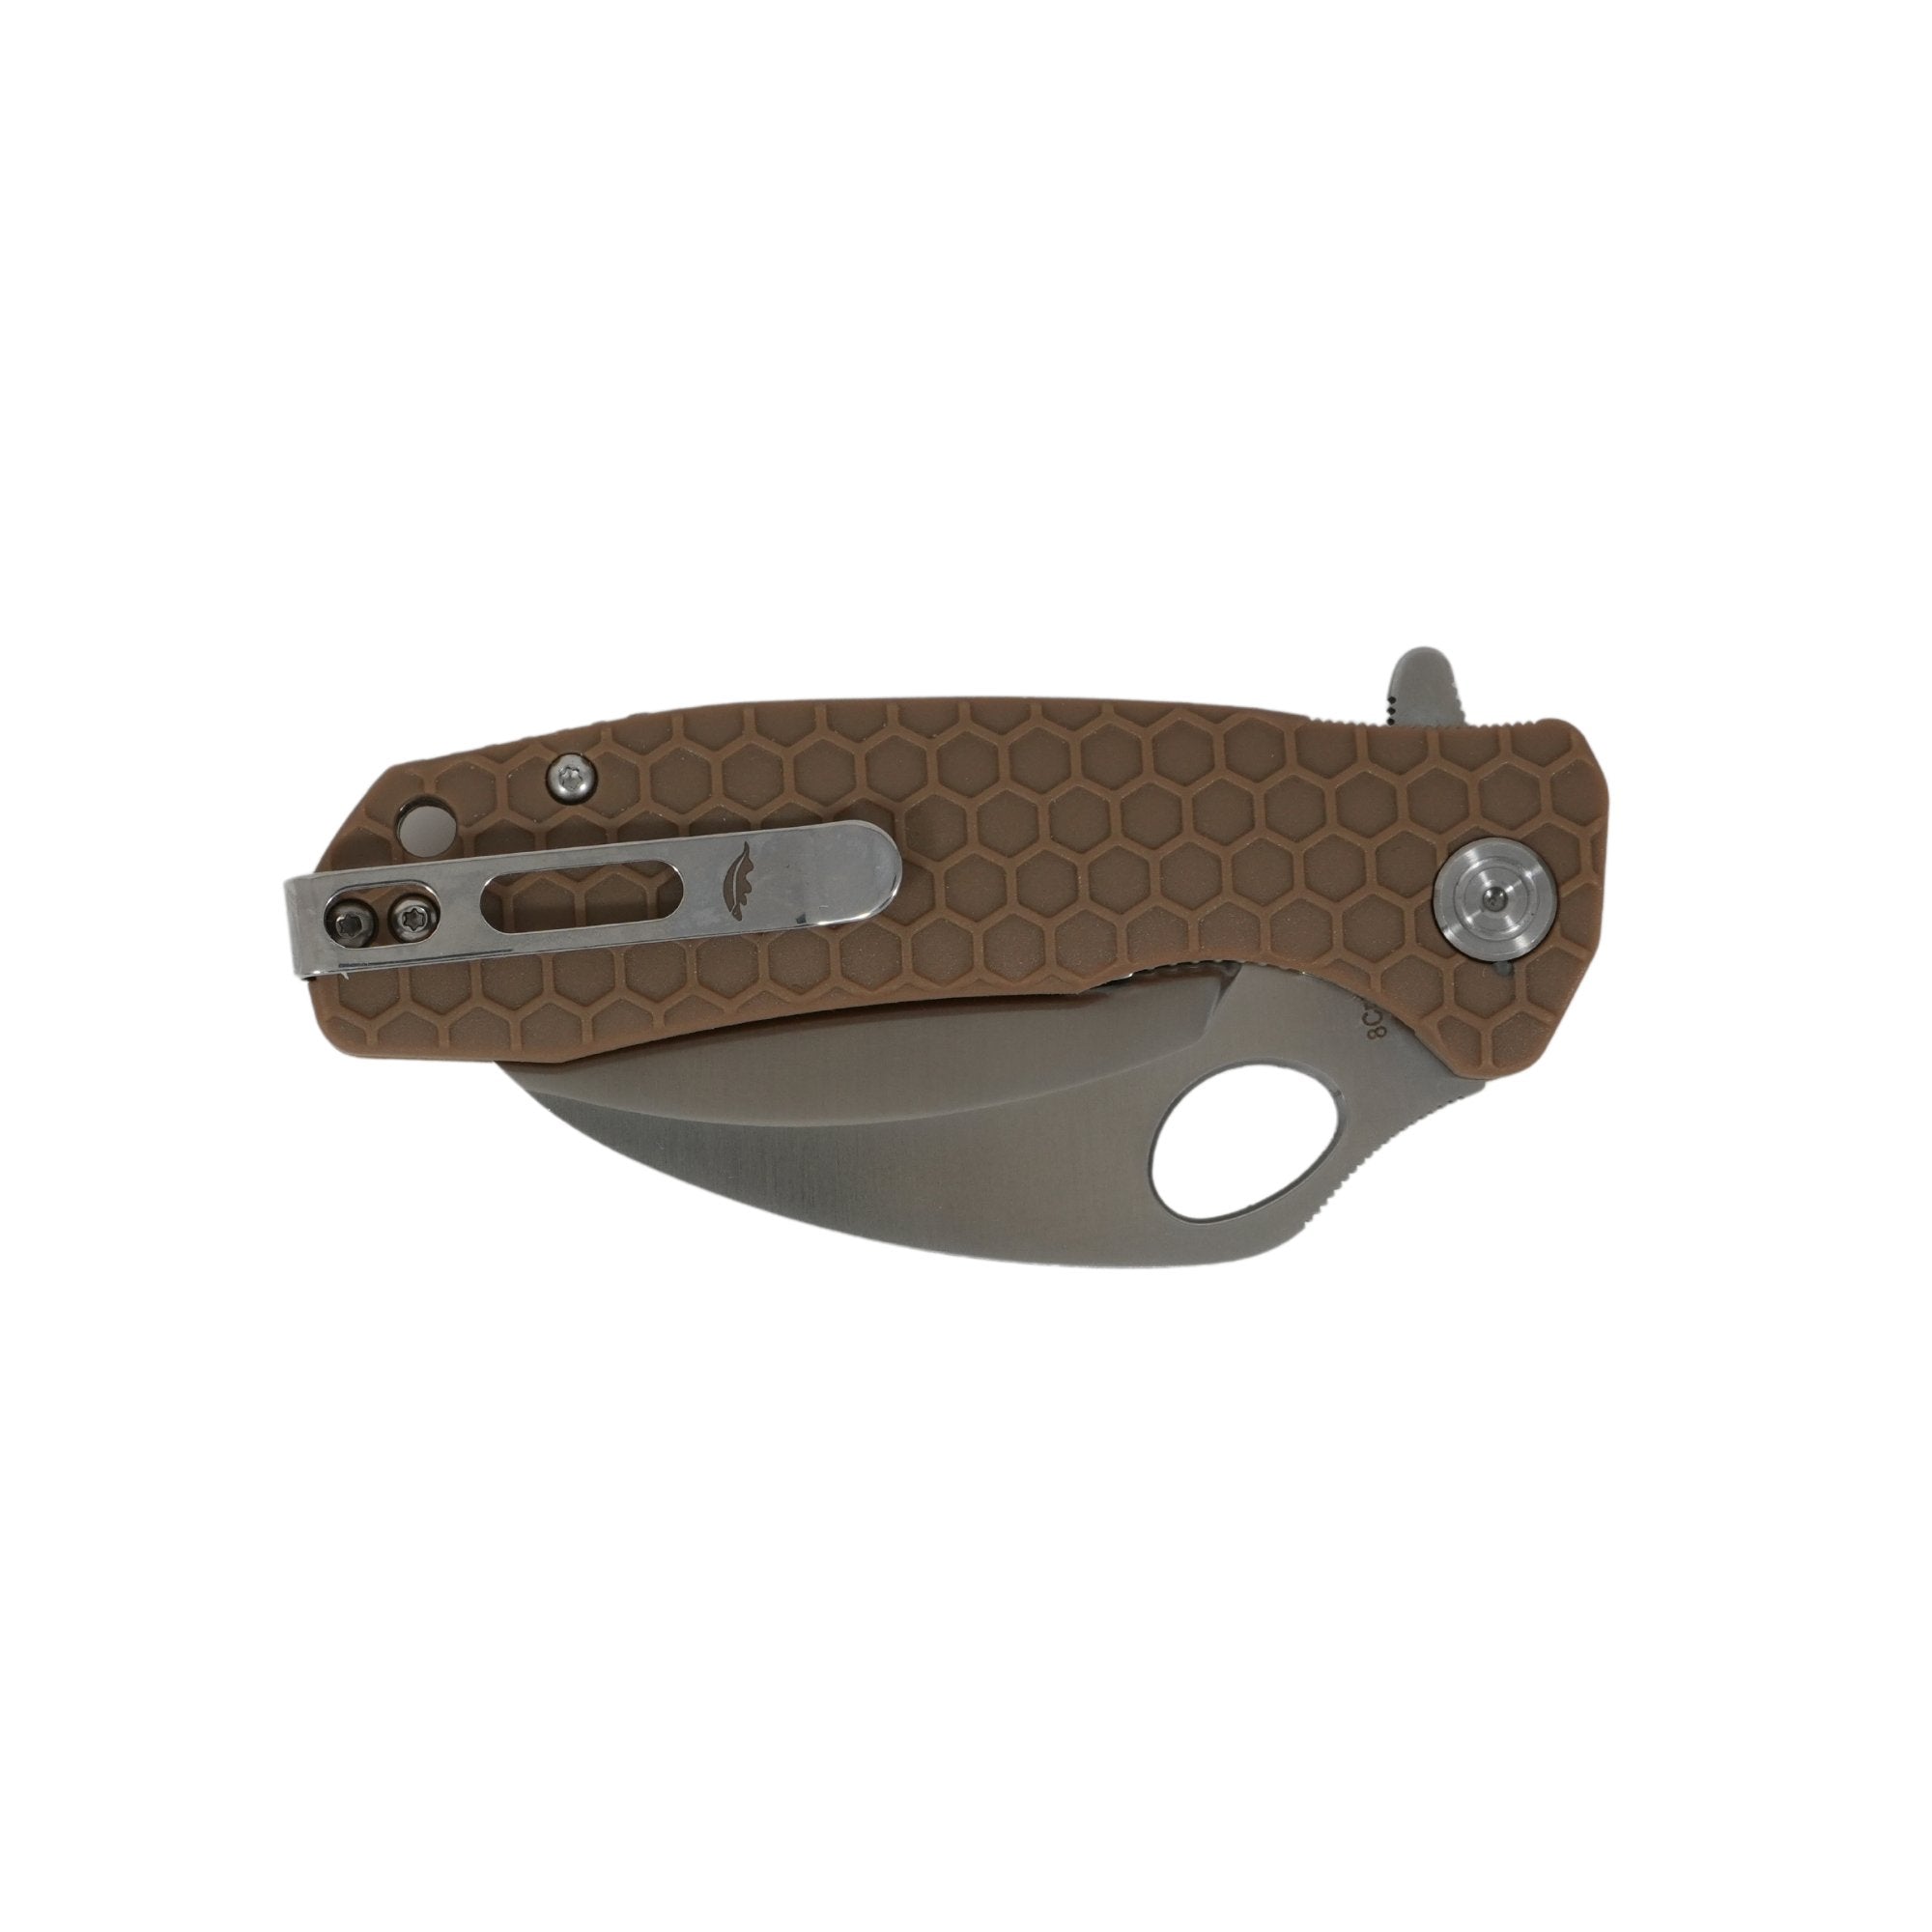
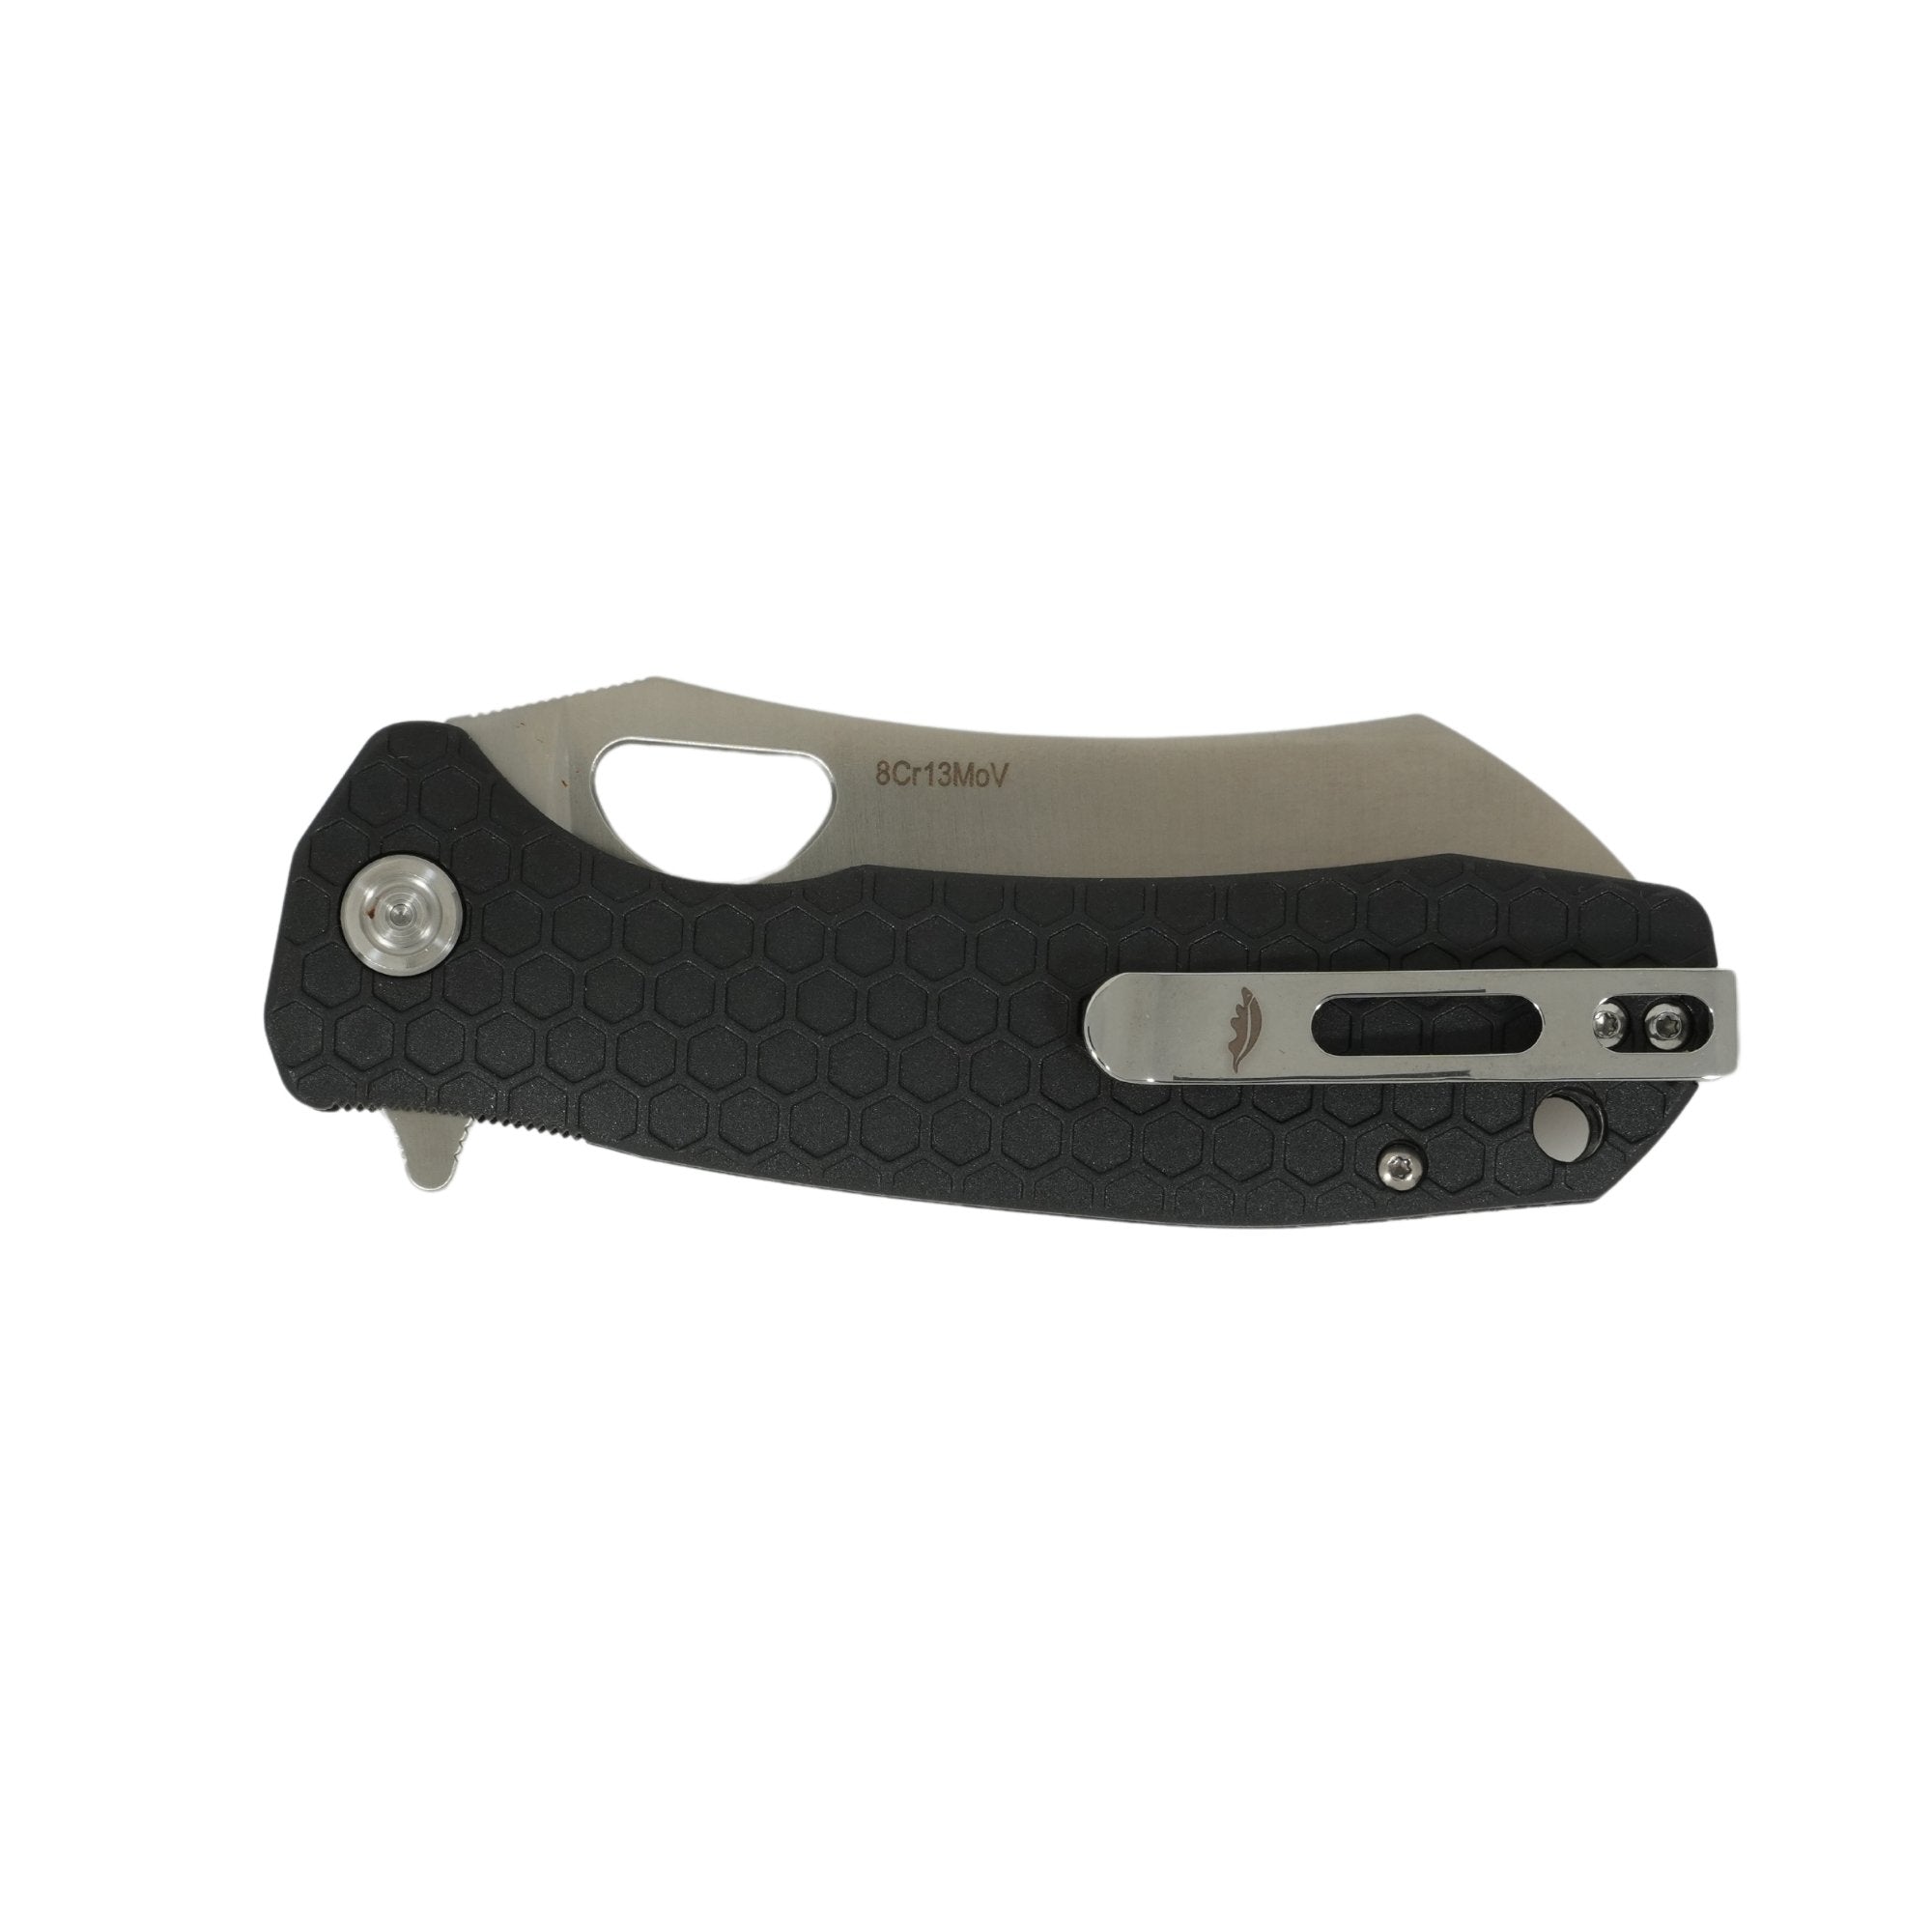
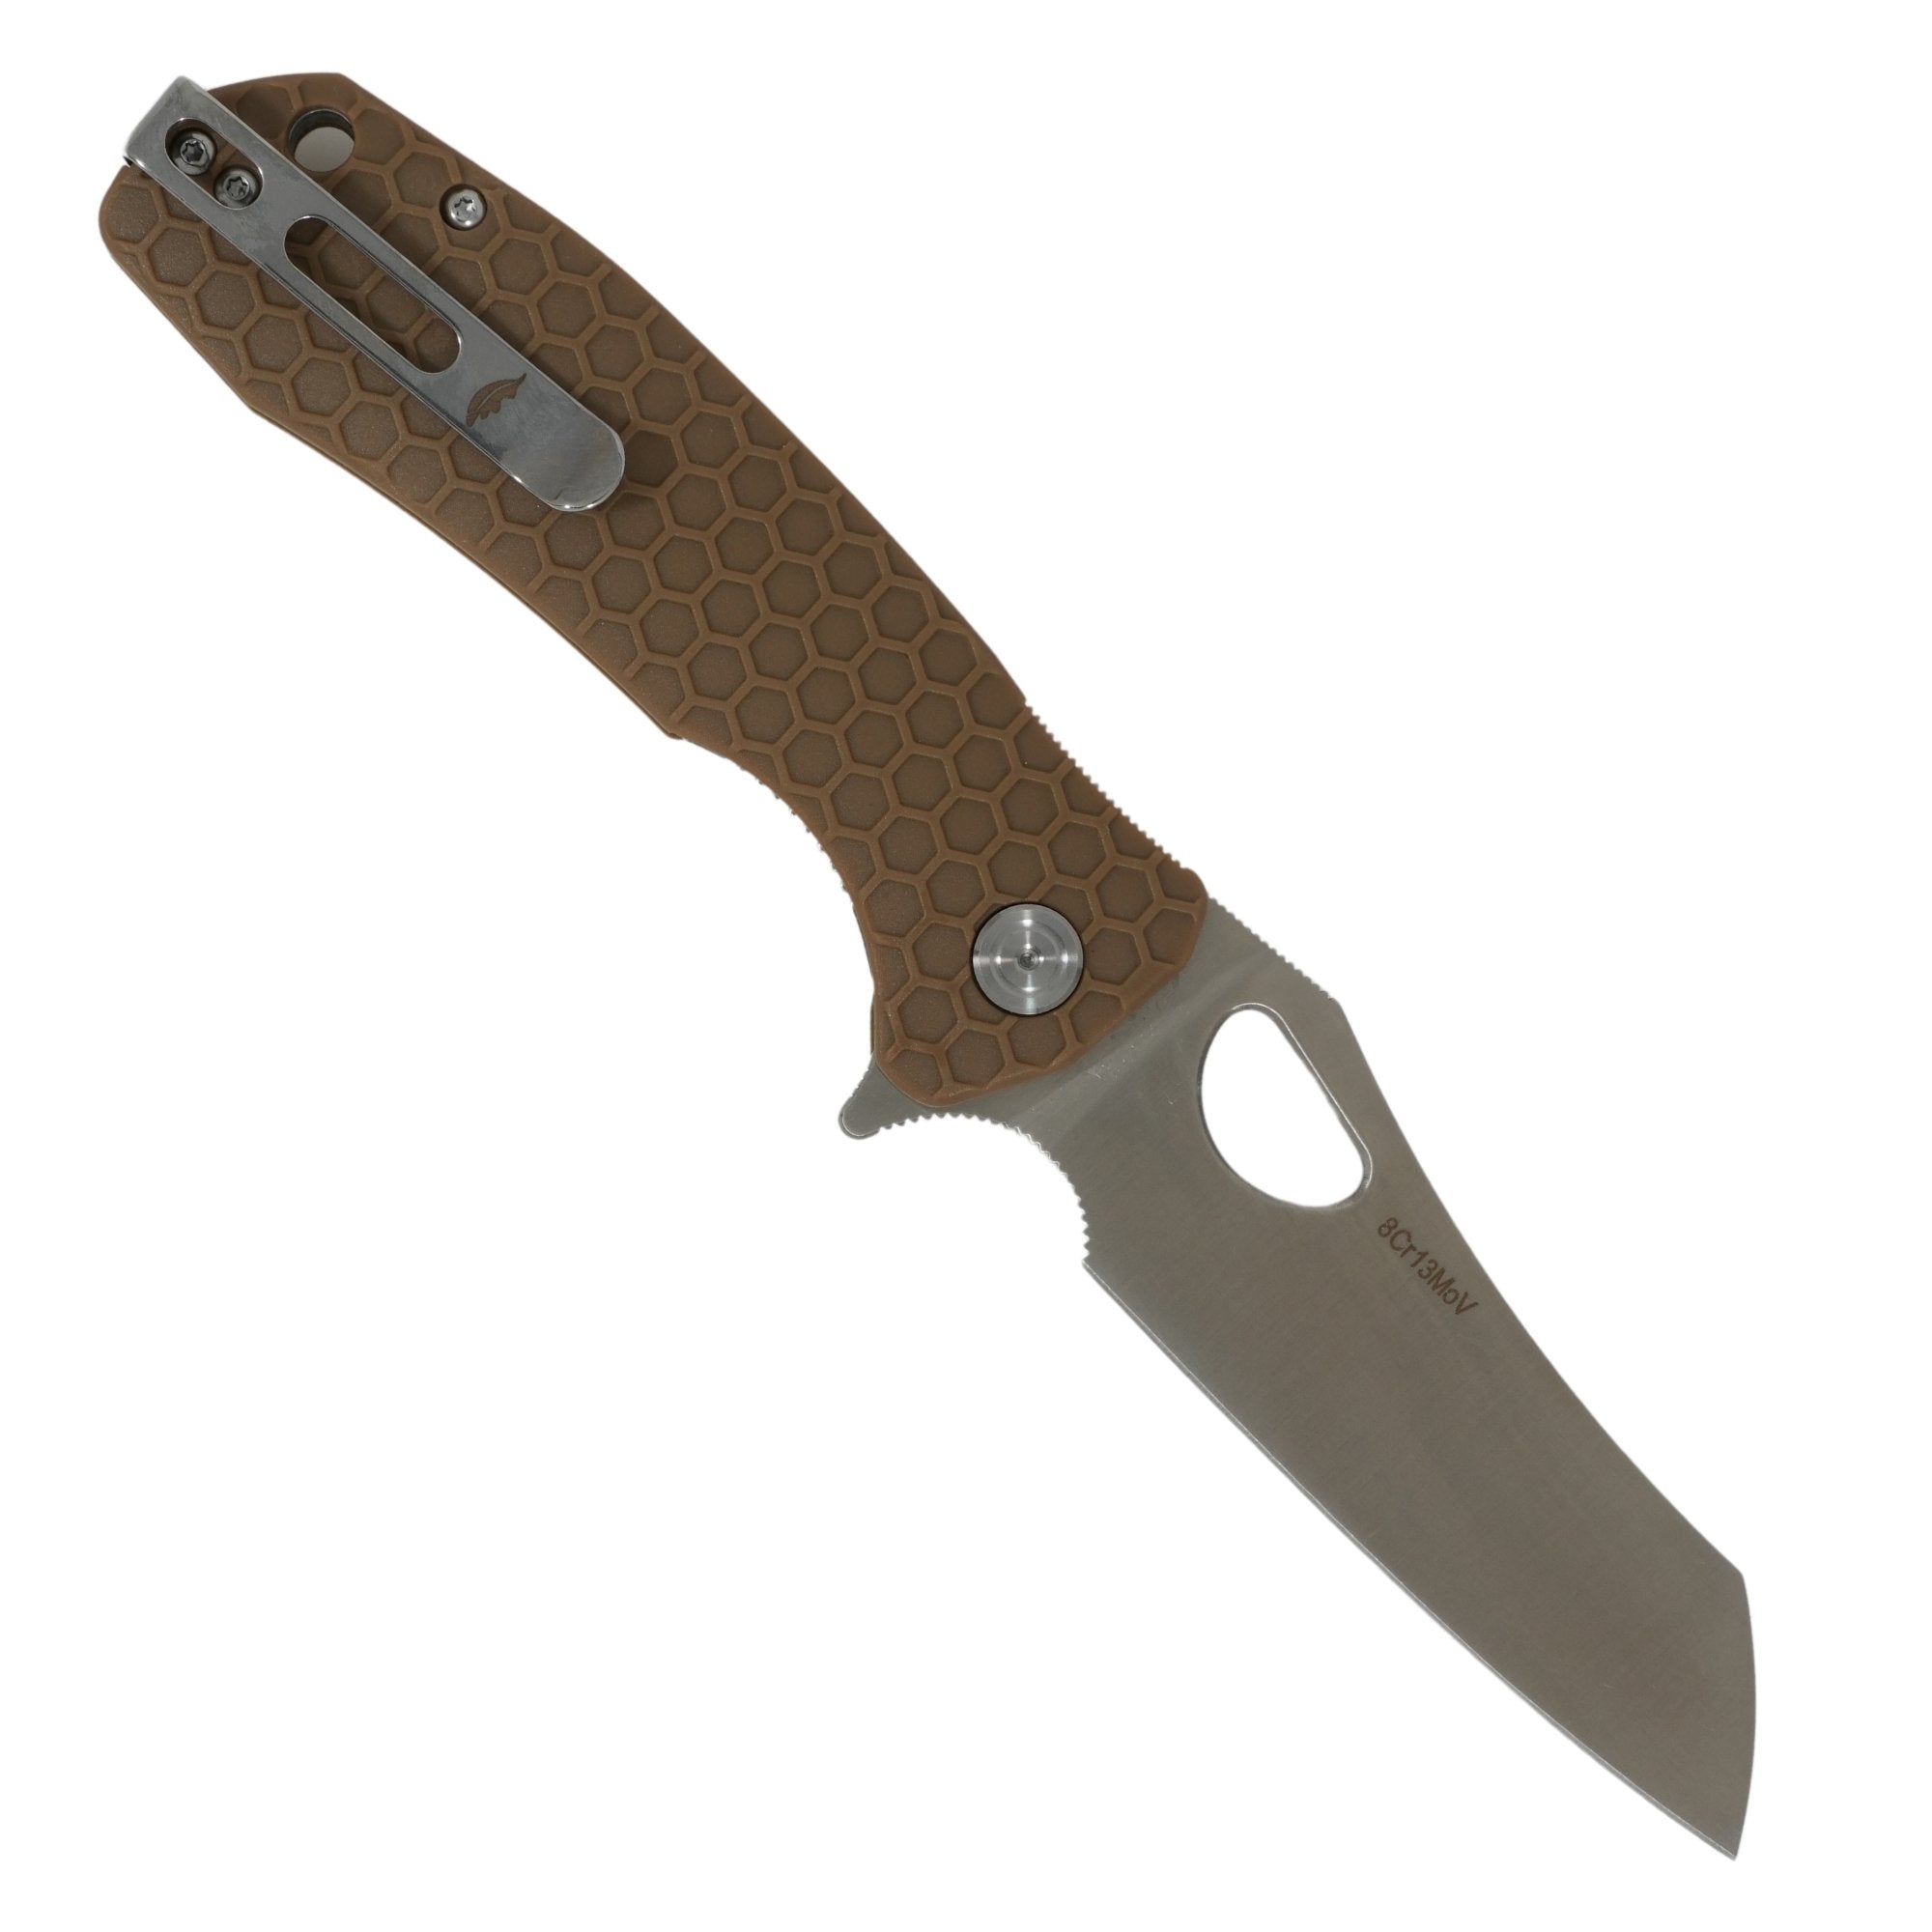
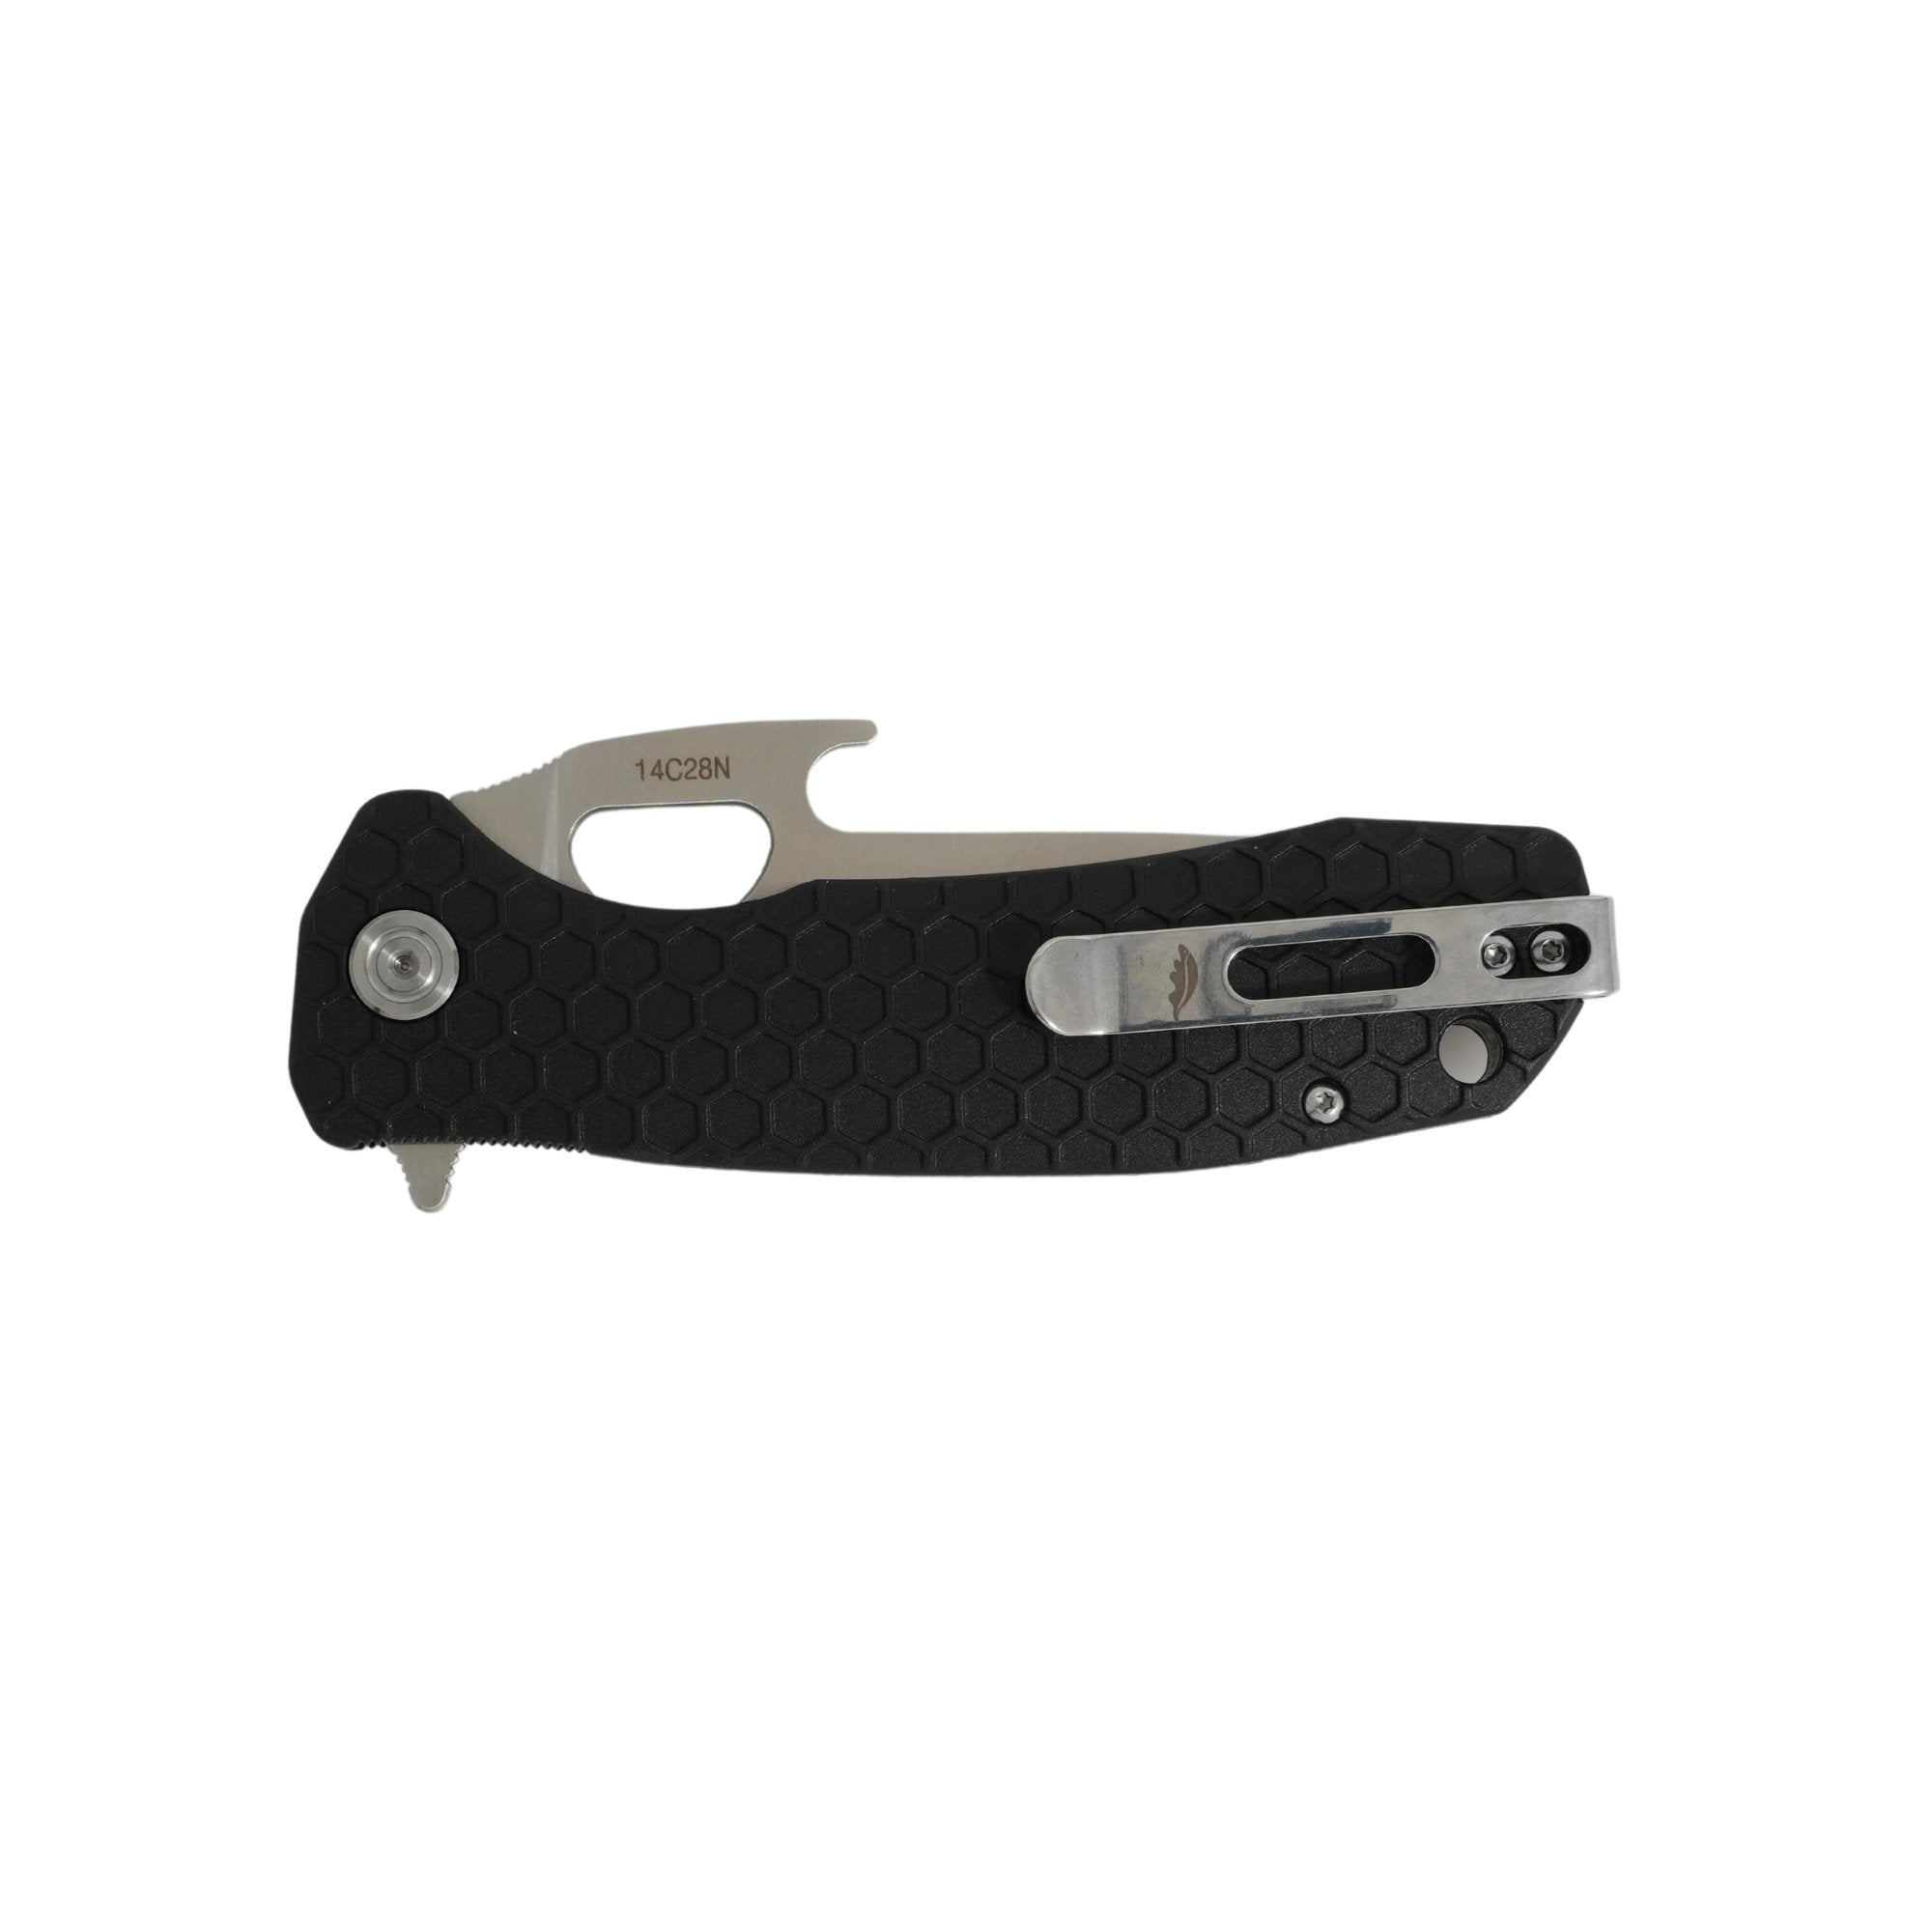
All of the later L/R Honey Badger knives have one large pivot screw, 2 body screws and 4 pocket clip screws. Note as you remove these smaller screws that there 2 different sizes. A smaller screw is used in the lower pocket clip position on both sides.
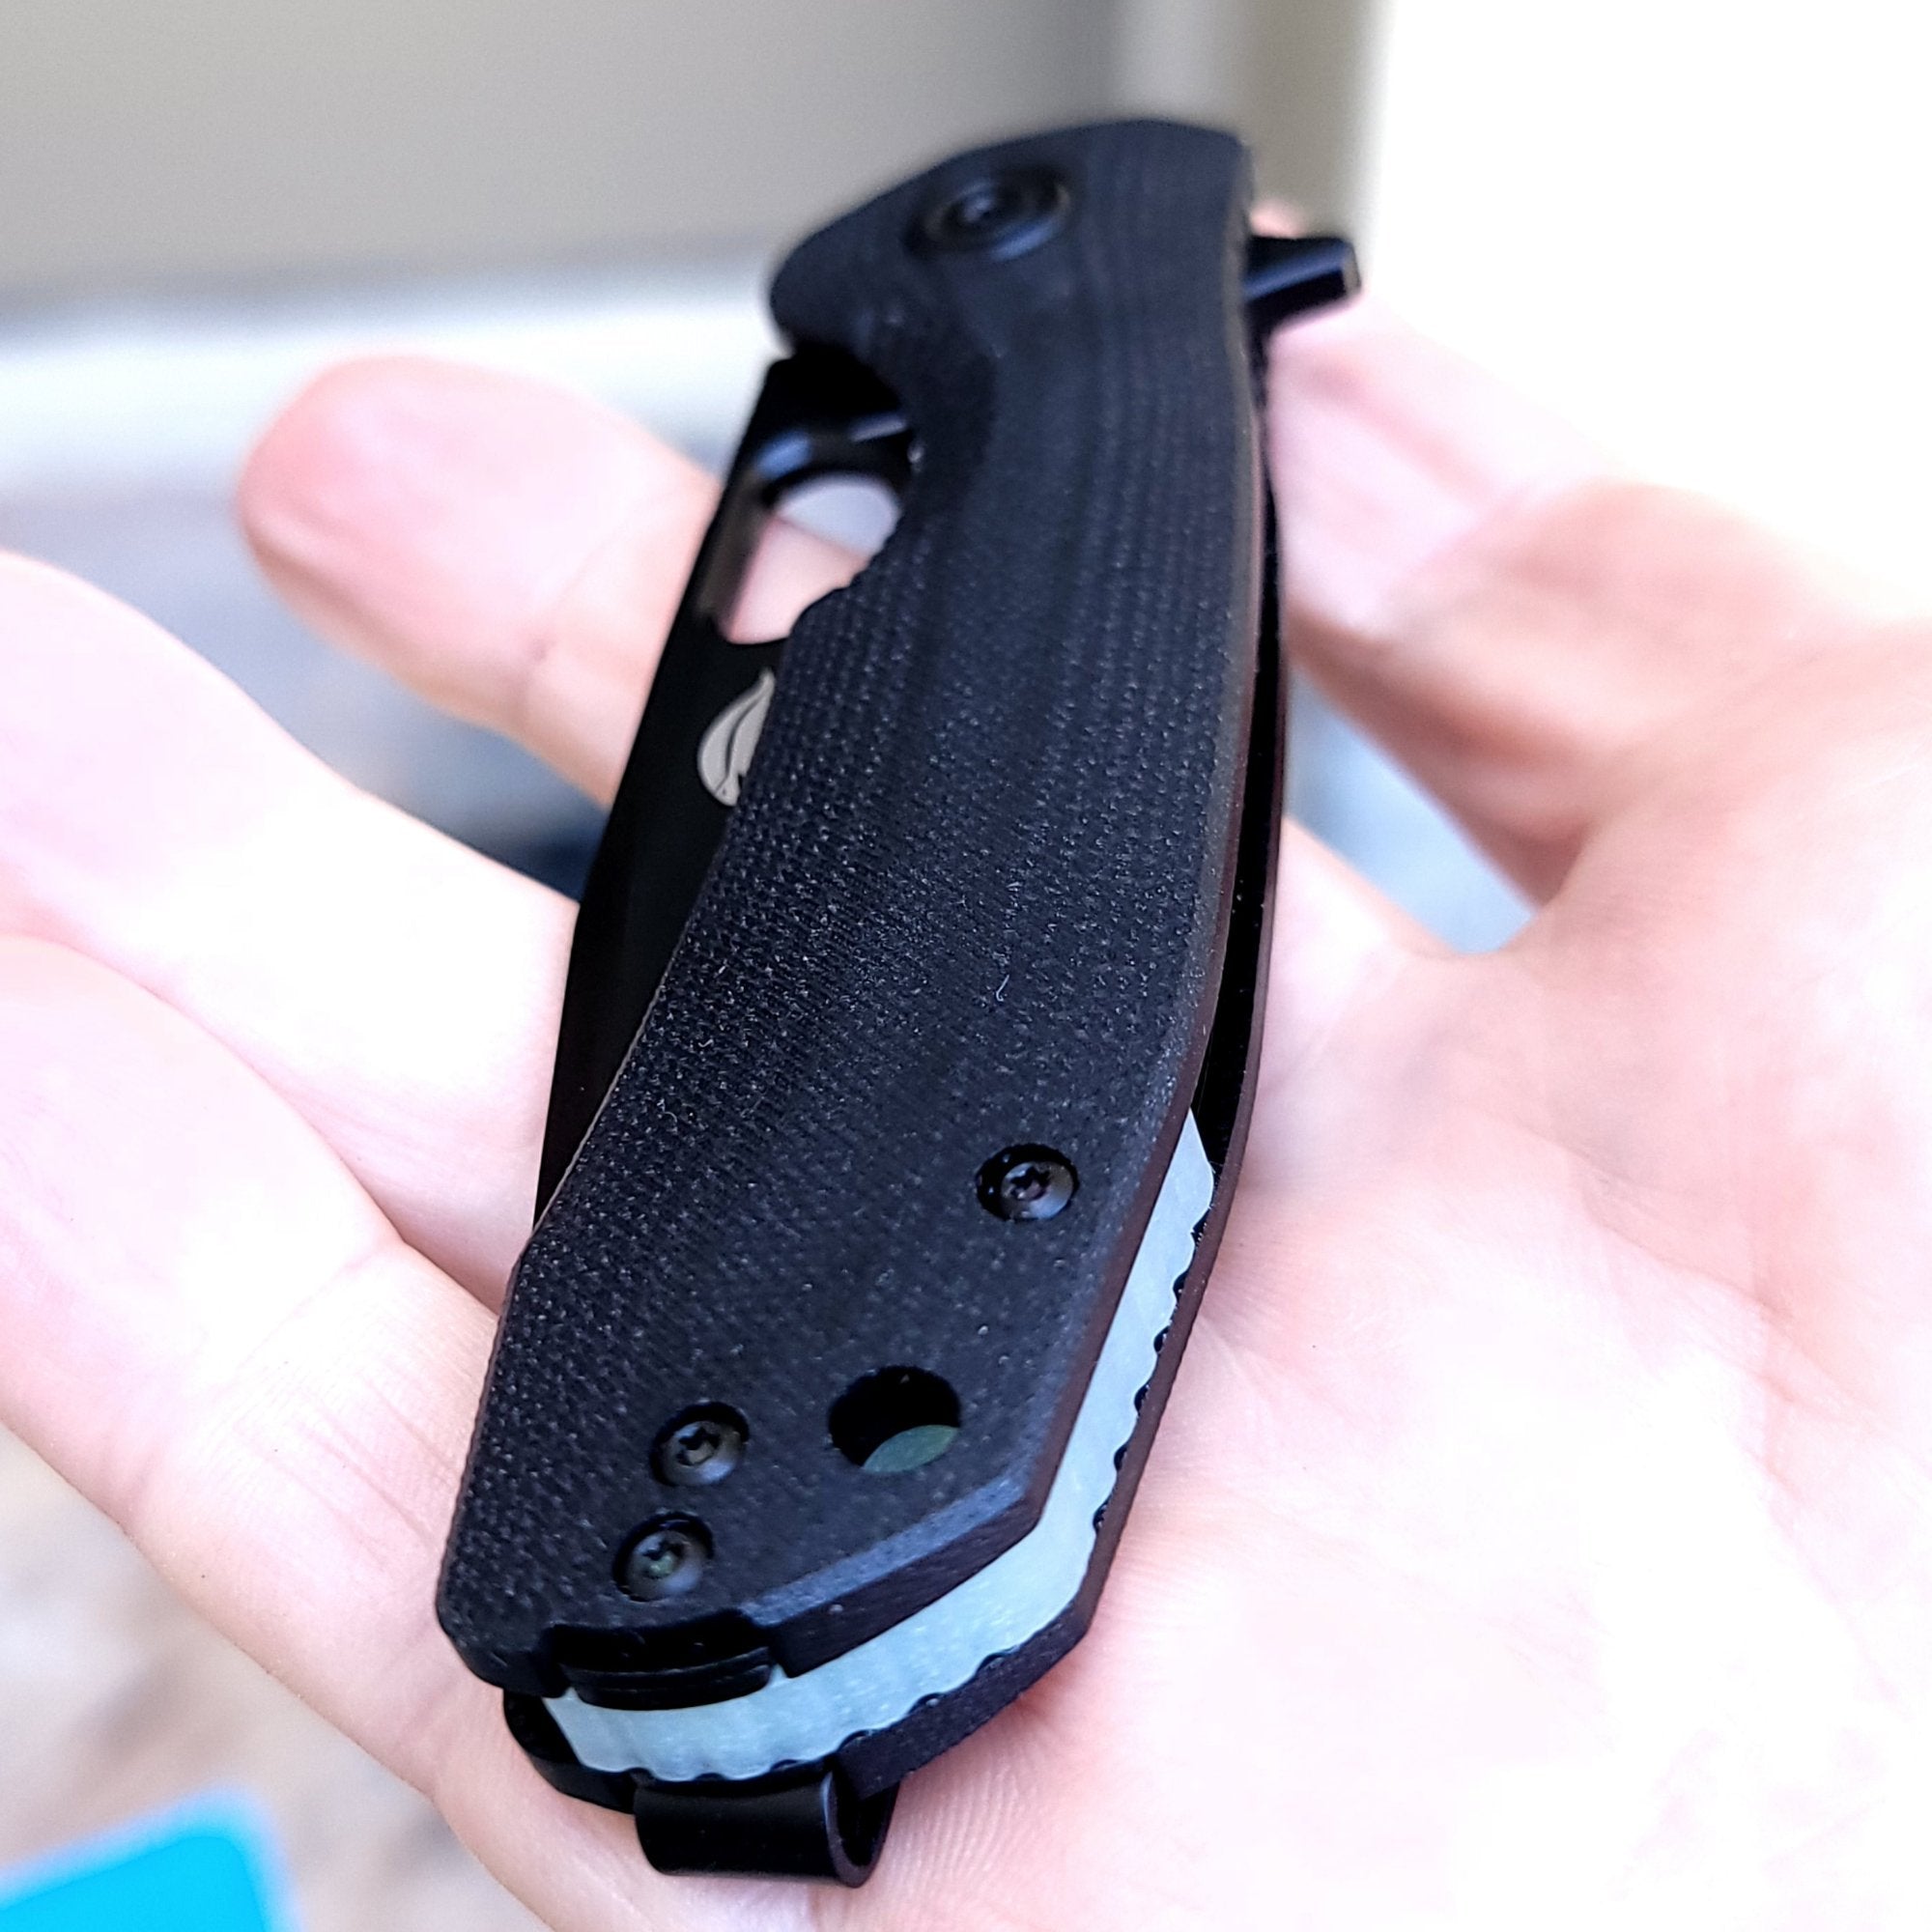
Note that the pivot screw can only be unscrewed from the side opposite to the pocket clip. Sometimes these can be a bit tight depending on how much thread-lock compound was applied at the factory. You may need to use a beefier T8 torx driver.
Note also that because you are disassembling the L/R version of the Honey Badger knife that there is a small metal insert in place of the pocket clip on the side opposite to the pocket clip. Don’t forget to reinsert this (it can only go one way) when reassembling the knife.

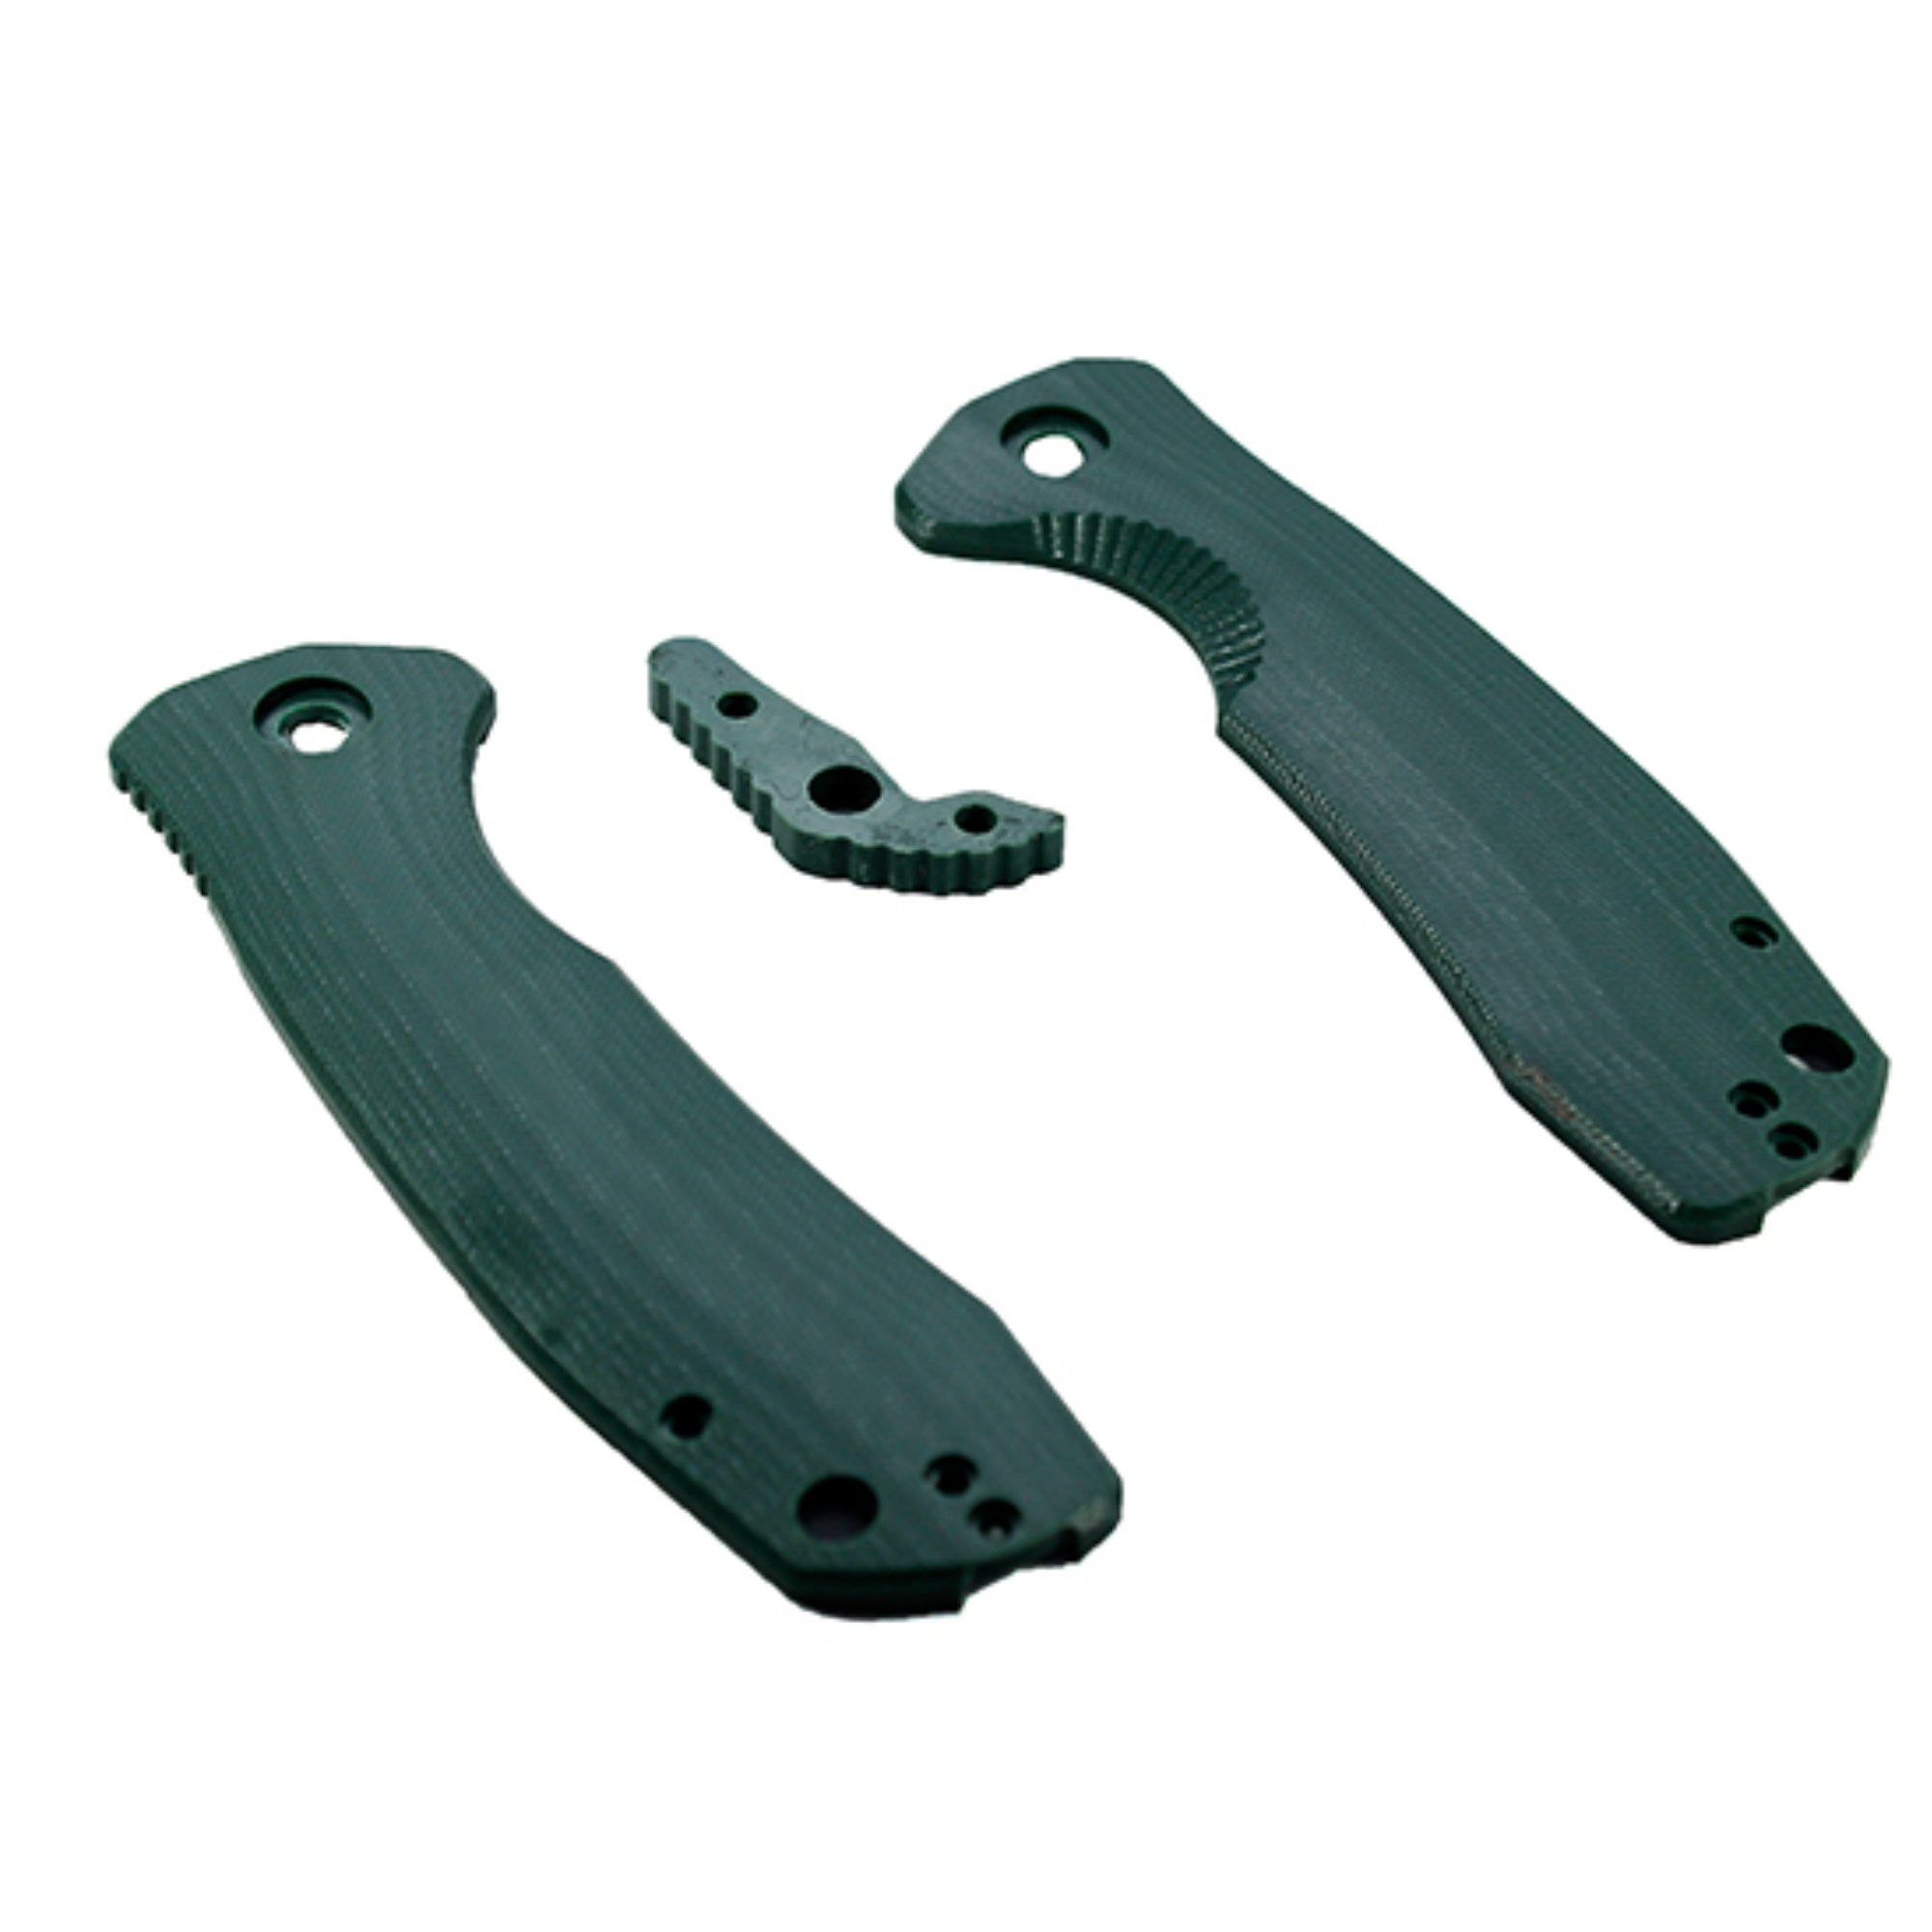
ORDER A BACKSPACER HERE
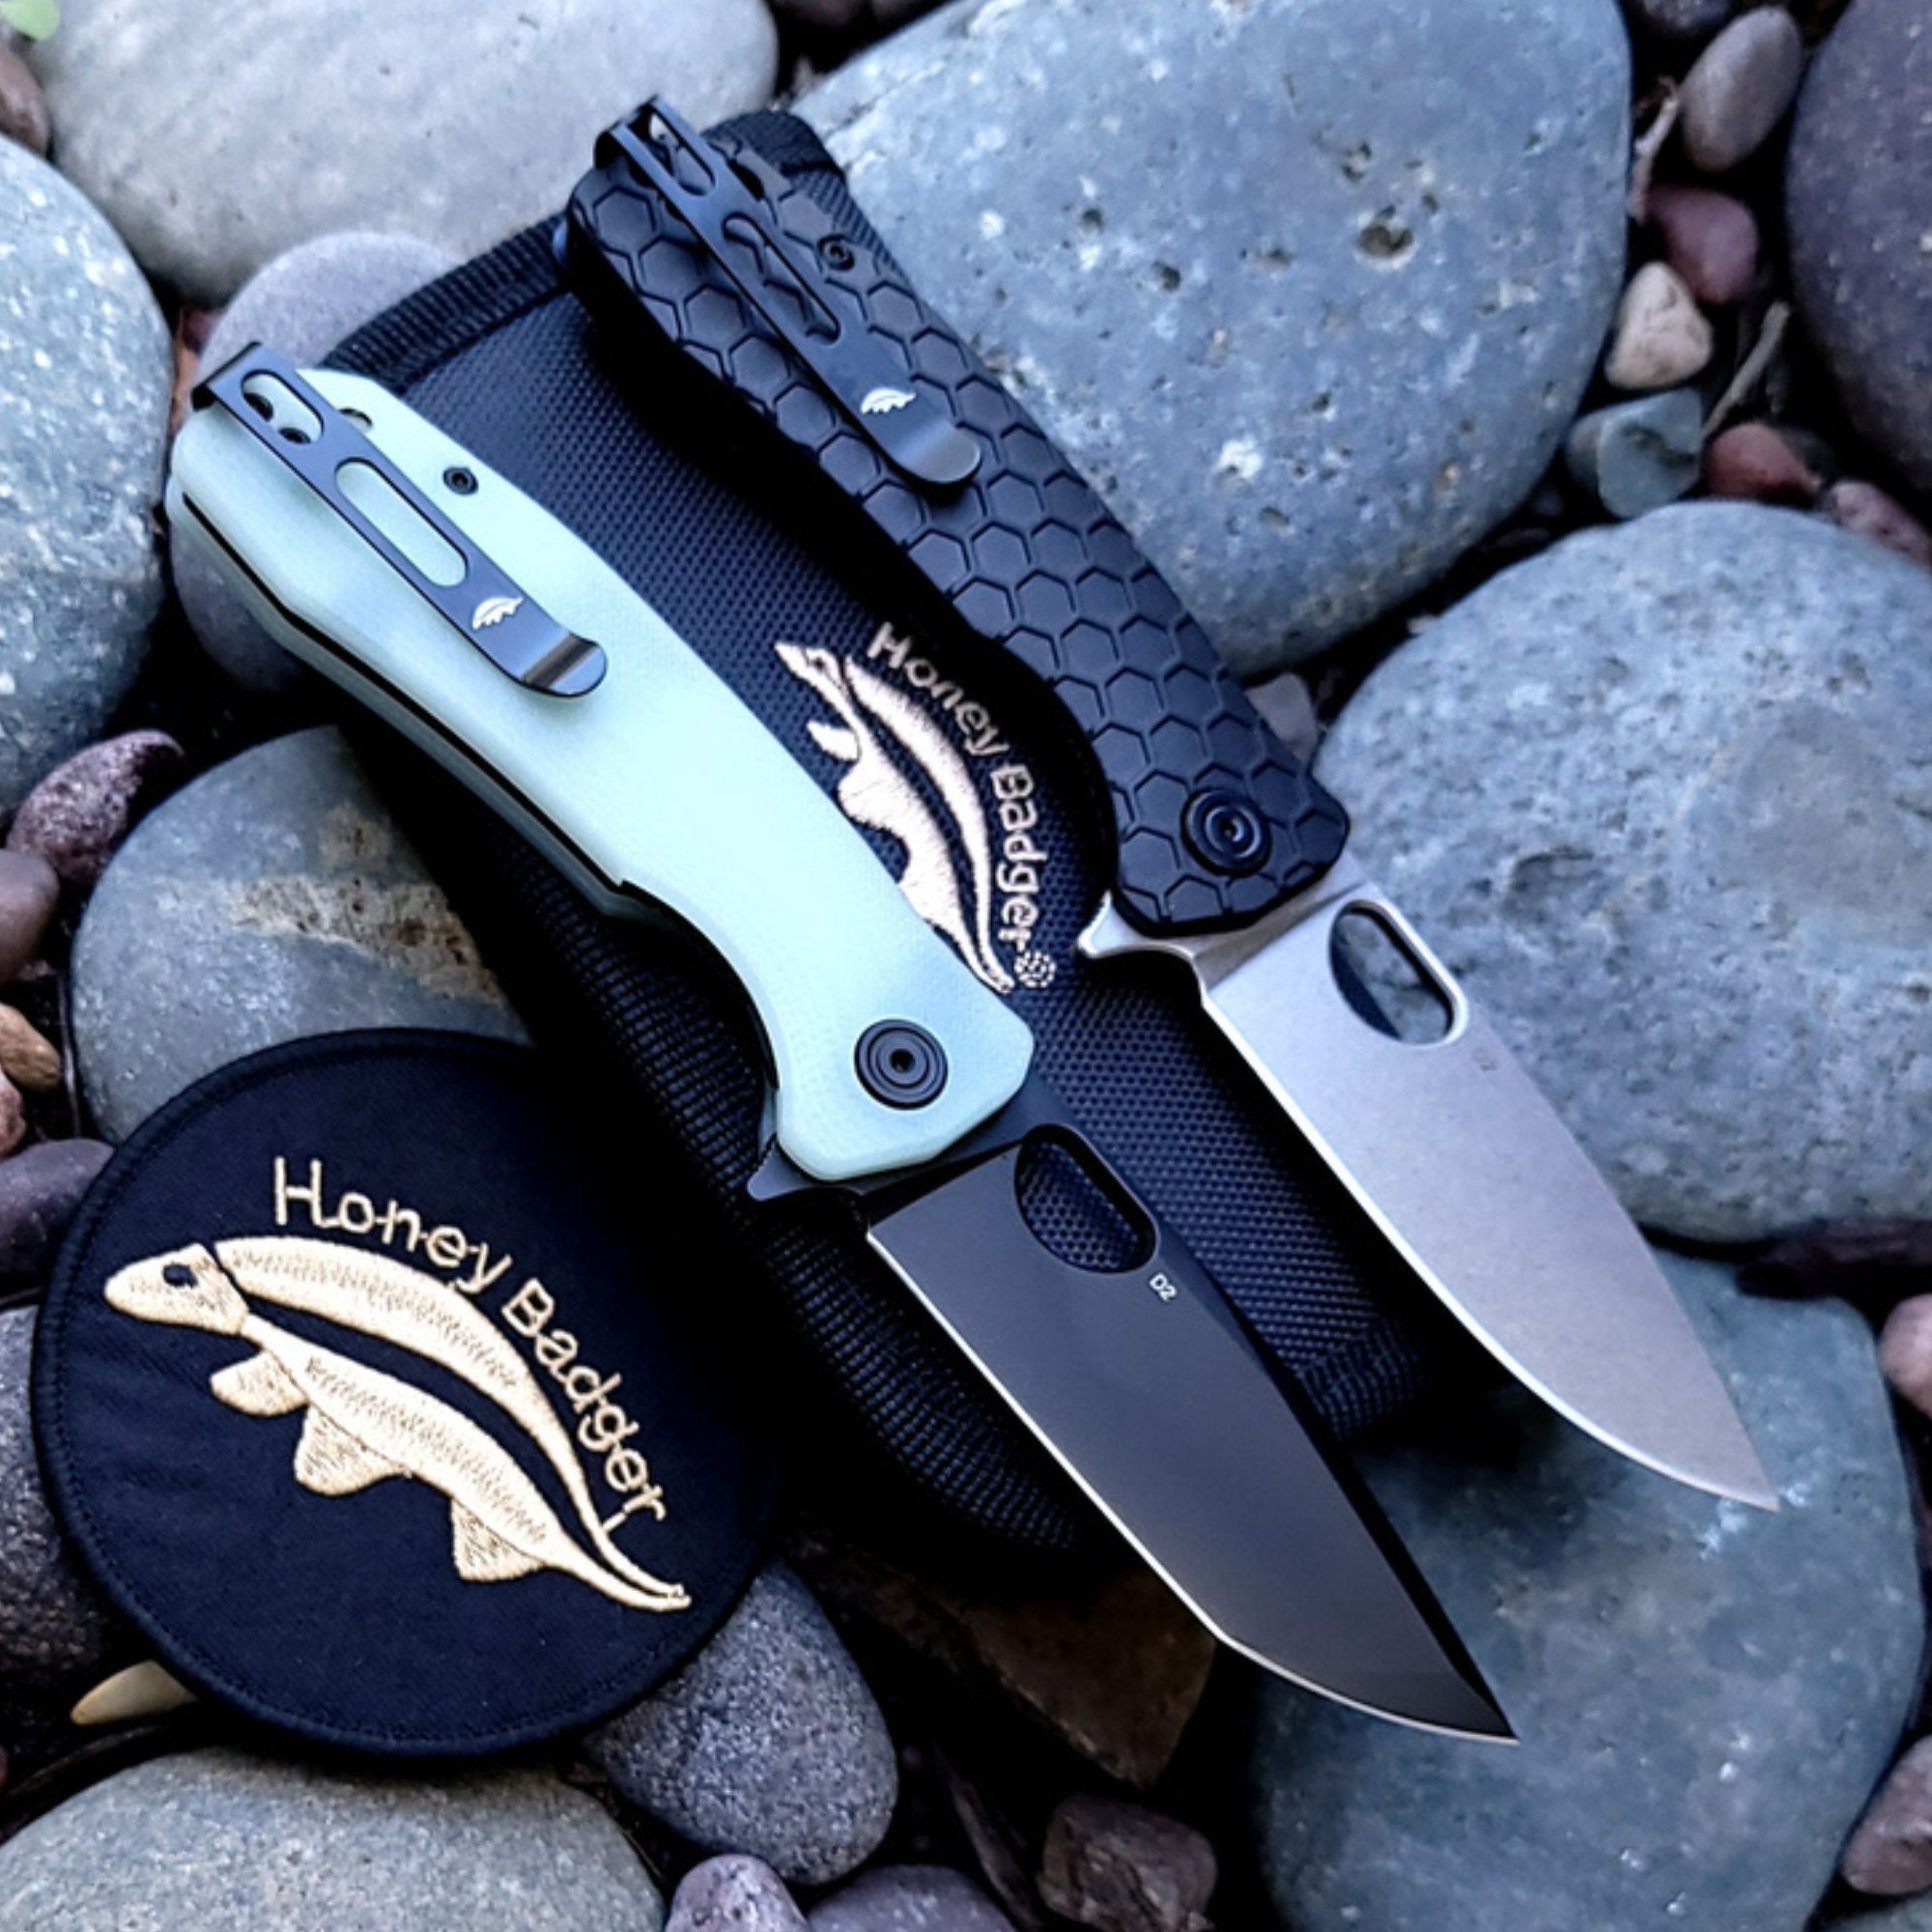
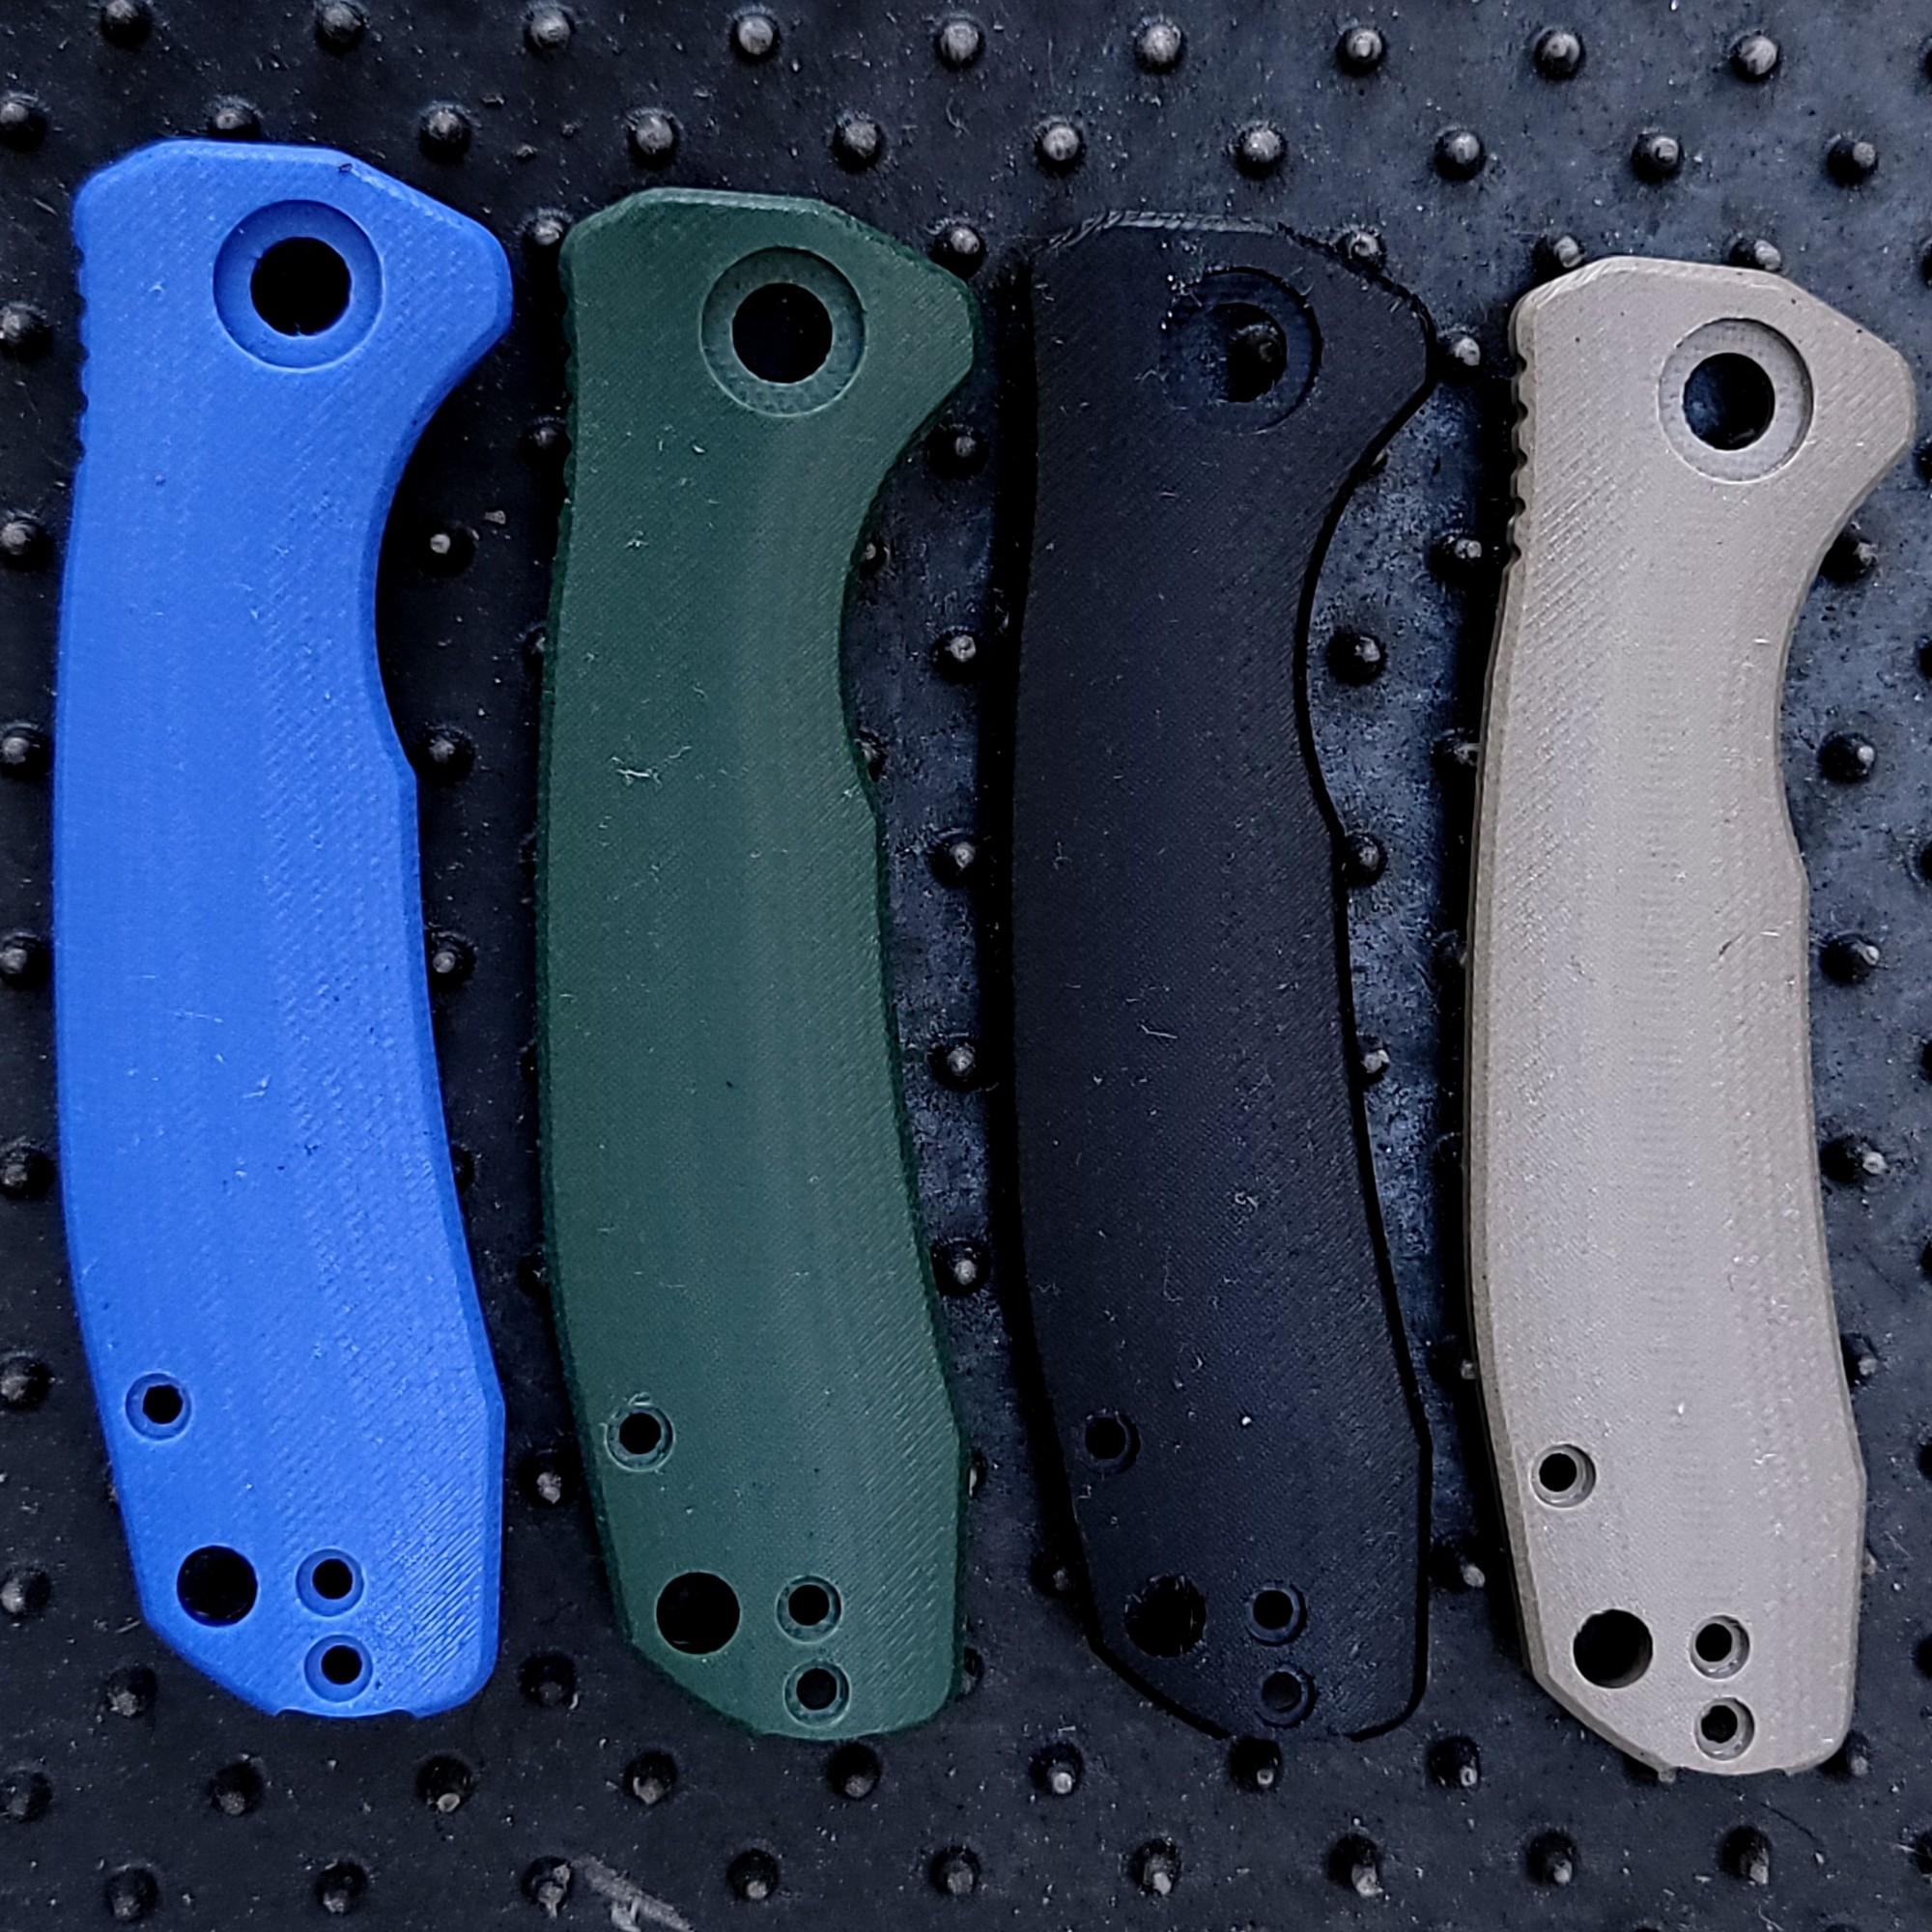
While you have the knife apart why don’t you think about replacing the back spacer with a different color one? Get one here.
Backspacers are available in various colors for all Honey Badger Knives that are Left/Right compatible. Generally knives bought after May 2020 will be able to take a new backspacer.


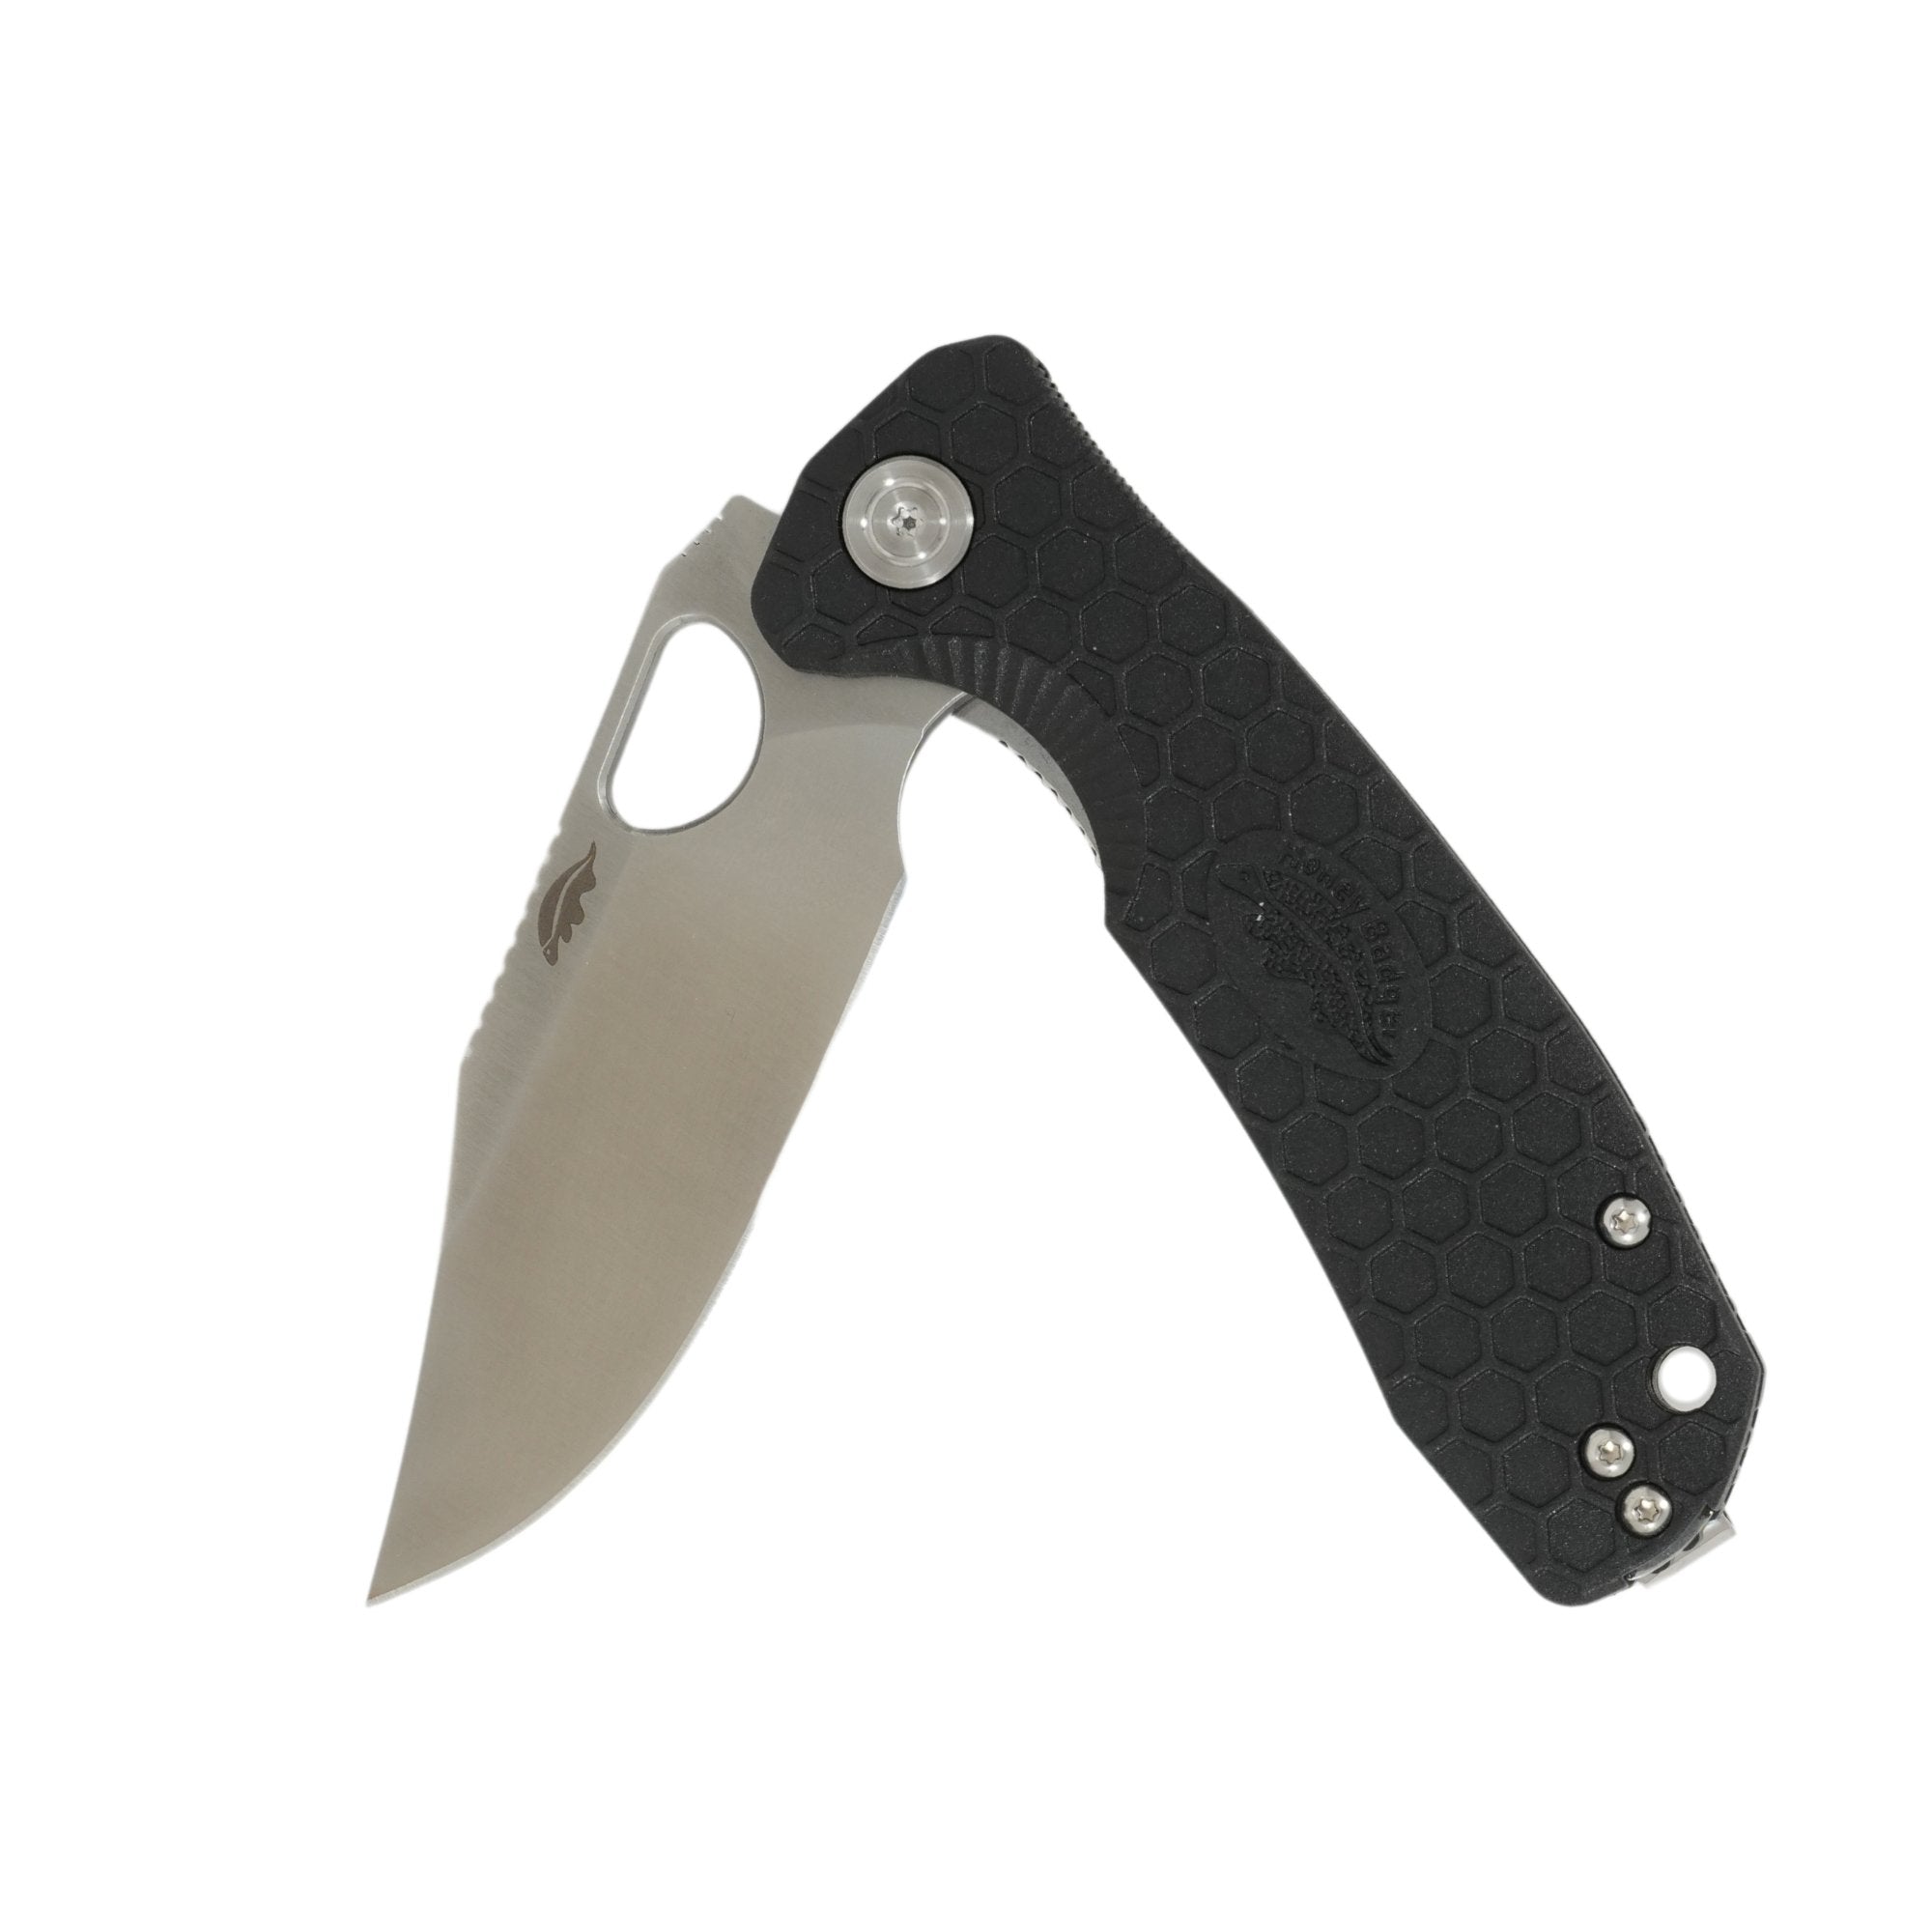
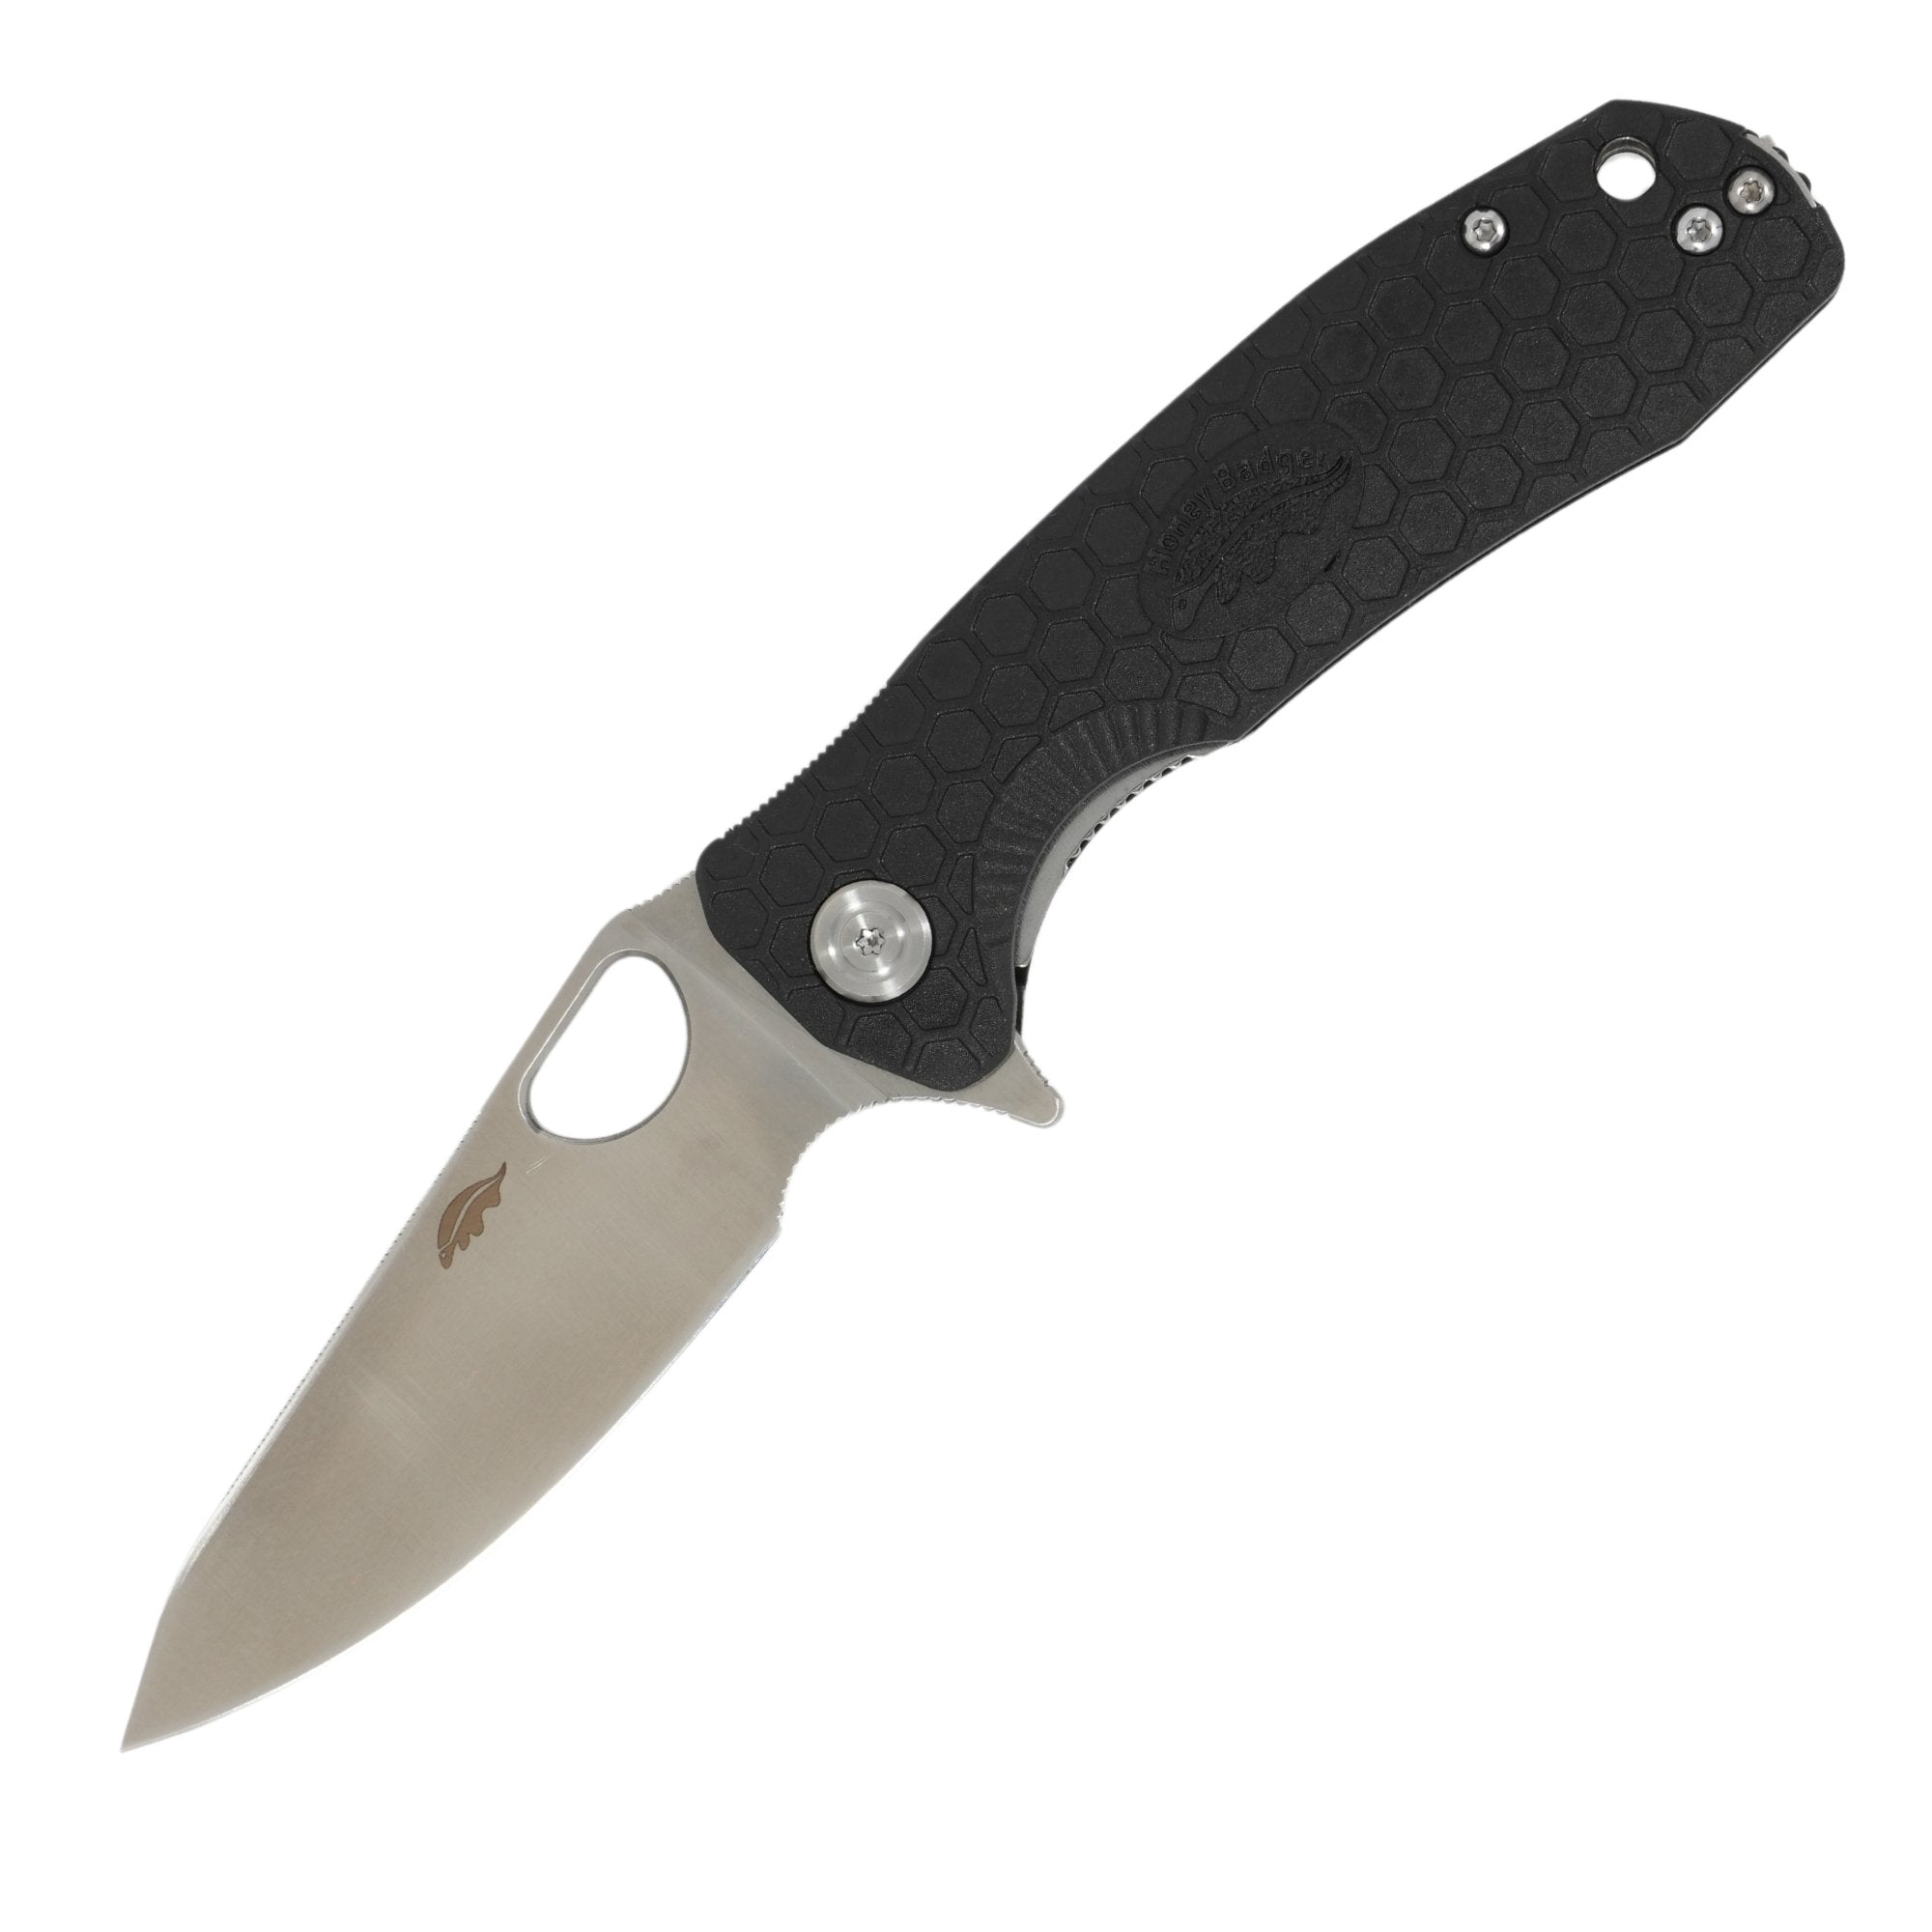
KNIFE DISASSEMBLY
Remove the Pivot Screw

Press out the pivot

Carefully remove blade and 2 bearings

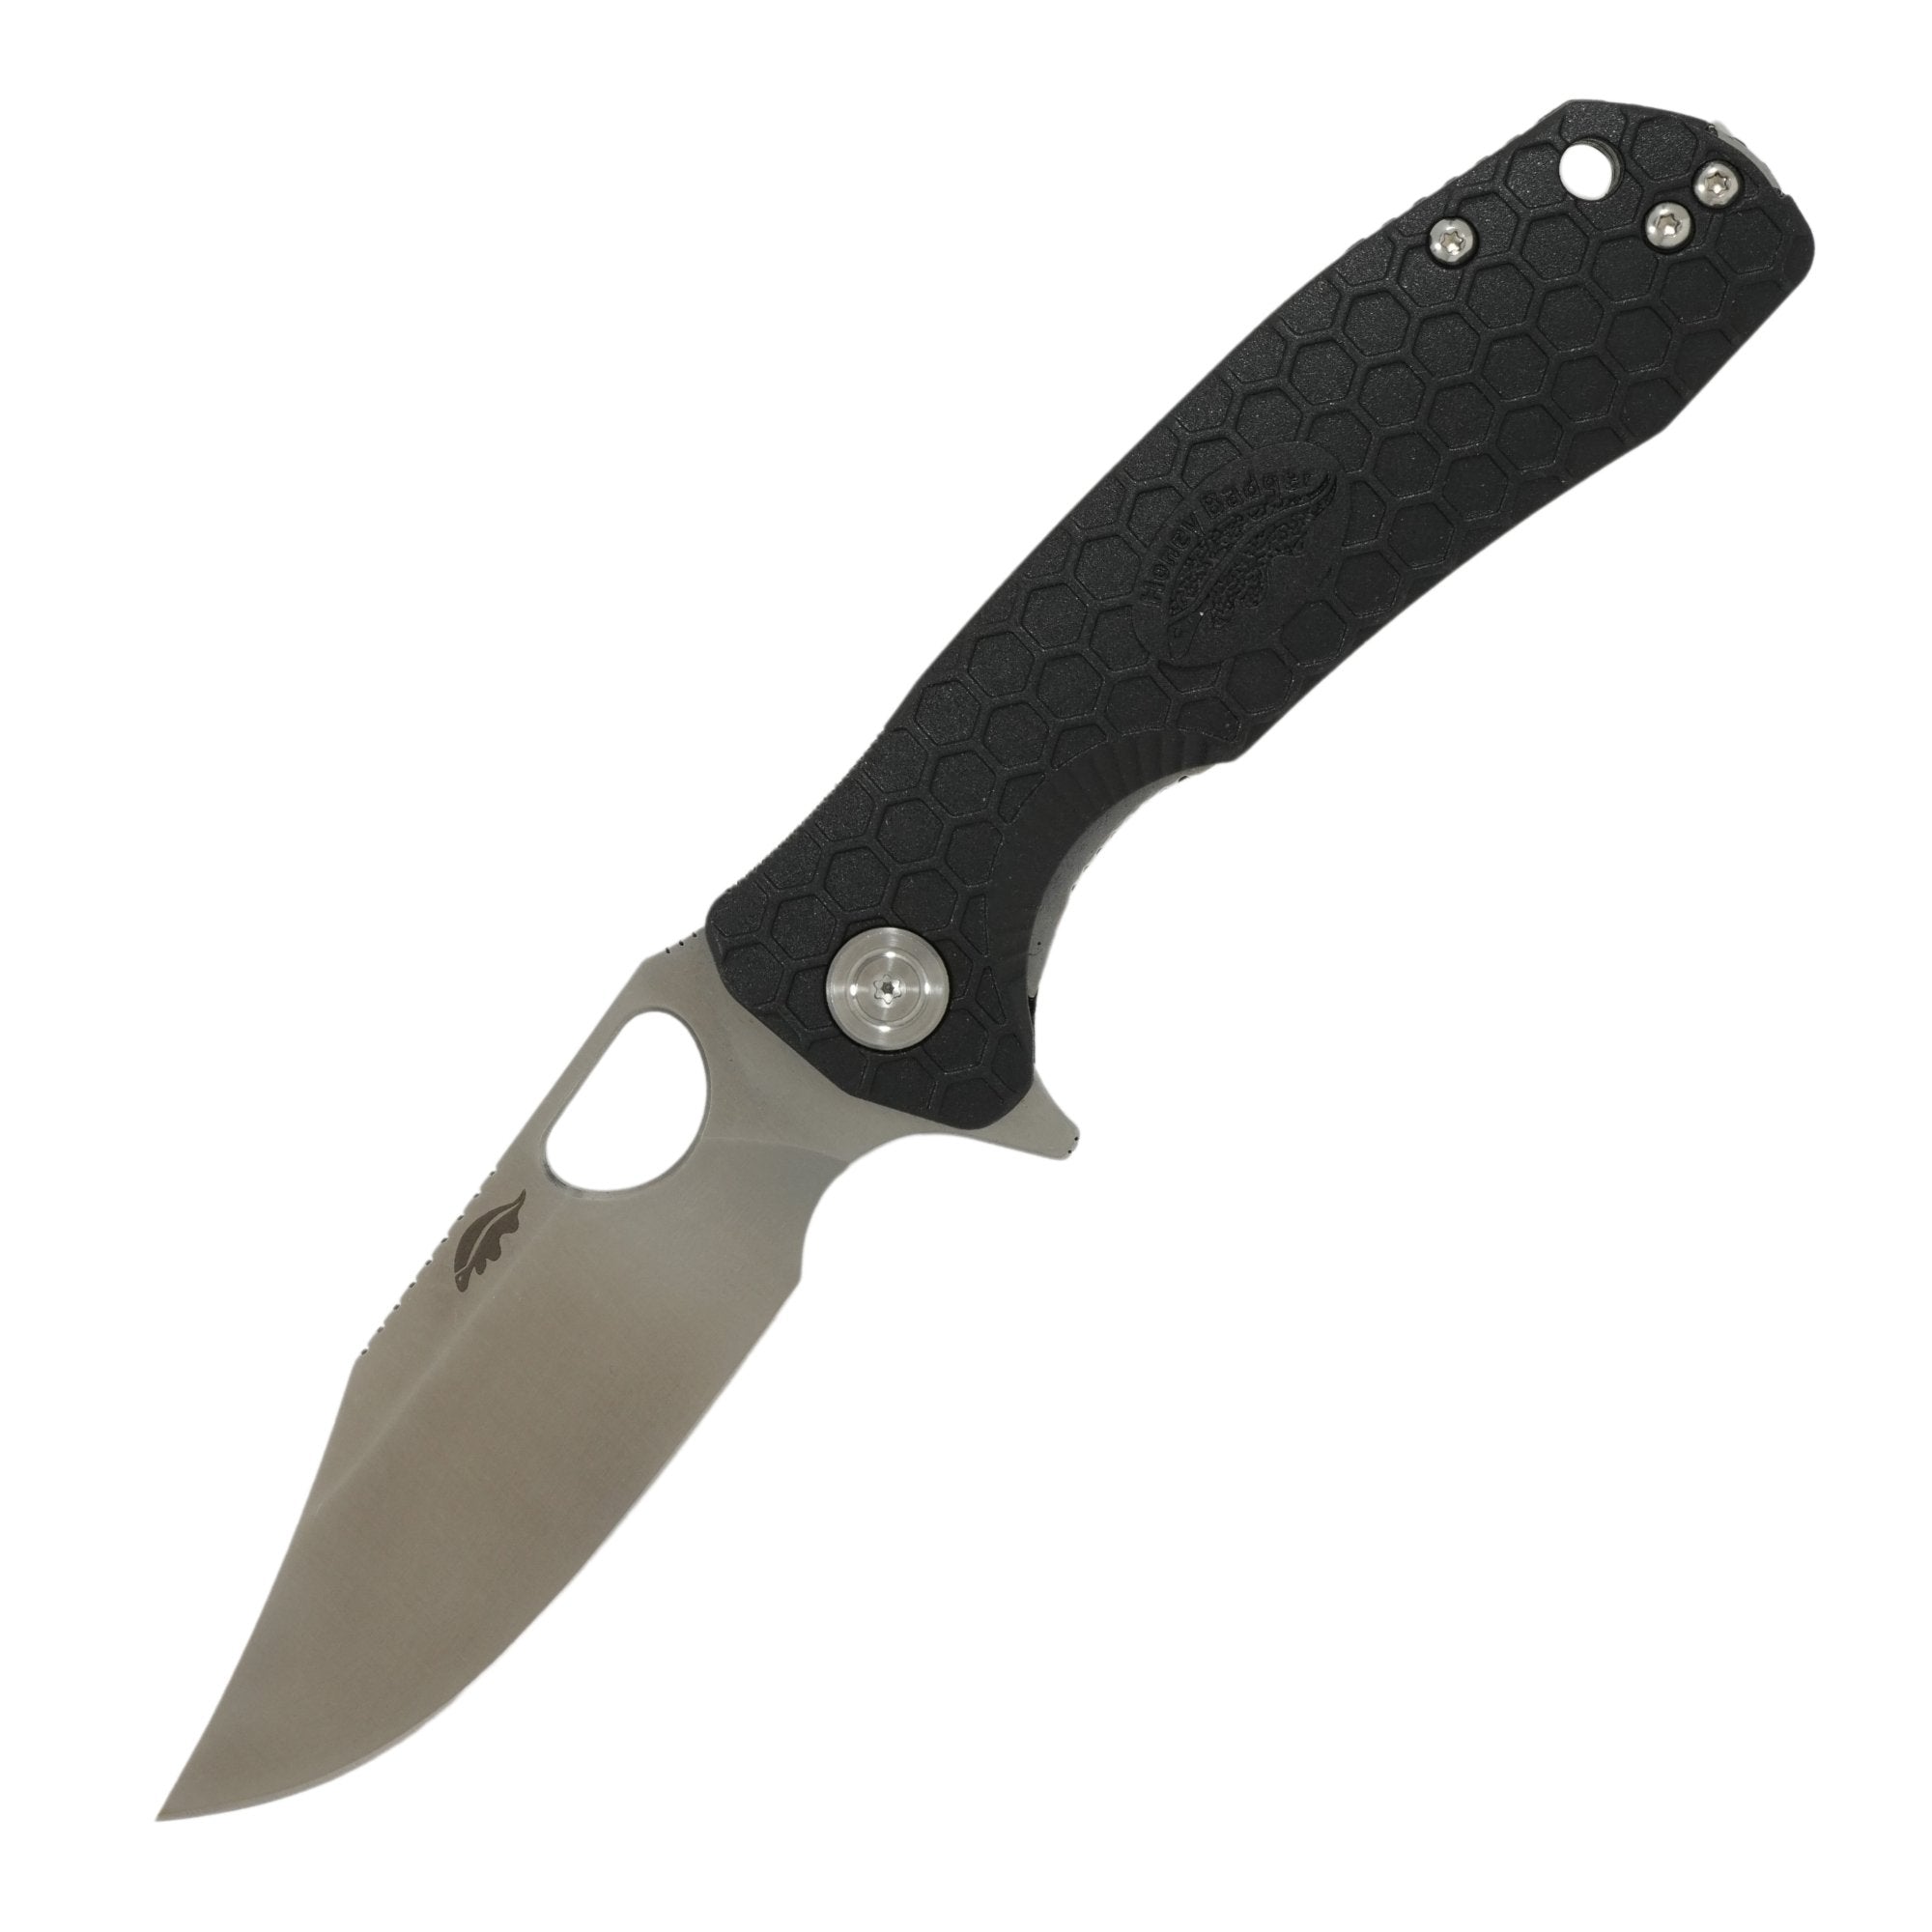
Remove 3 screws and handle on non clip side notice metal clip insert

Remove 3 screws and handle on clip side

Separate liners – note the stop pin top left

Lift off the back spacer

 Honey Badger Knives Pocket Knives")
 Honey Badger Knives Pocket Knives")

REASSEMBLING THE KNIFE
- Place liners on the scales.
- Insert pivot noting that it has a flat side and can only go in one way.
- Place one of the bearings on the pivot and the other bearing in the recess on the blade.
- Place the back spacer in it’s position.


Insert and fit the screws on the non clip side. Again note that the short screw goes into the right hand (lower) clip position as pictured above.